Find every collectible in Doom: The Dark Ages Chapter 4 — Sentinel Barracks, including all secrets, gold, Ruby locations, and more to get that 100% completion!
All Collectibles in Doom: The Dark Ages Chapter 4 – Sentinel Barracks
Chapter 4 of Doom: The Dark Ages, titled Sentinel Barracks, throws you into a gauntlet of intense battles, a badass new weapon called the Shredder, and a classic Doom boss fight. But if you’re aiming for that sweet 100% completion, there are plenty of collectibles scattered across the level — some easy to spot, others tucked away in hidden corners.
Here’s a full breakdown of everything you need to collect in Chapter 4, in the order you’ll encounter them during a regular playthrough. Also check Chapter 10 Secret Key & Secret Door Locations Guide.
✅ Collectibles Checklist for Chapter 4:
- 212x Gold (Used for Sentinel Shrine upgrades)
- 2x Ruby (Unlocks weapon skill upgrades)
- 1x Demonic Essence – Armor (Boosts max armor)
- 6x Secret Areas
- 1x Codex Entry (World lore and story content)
- 1x Collectibles Toy
- 1x Weapon Skin (Nightmare variant for the Accelerator)
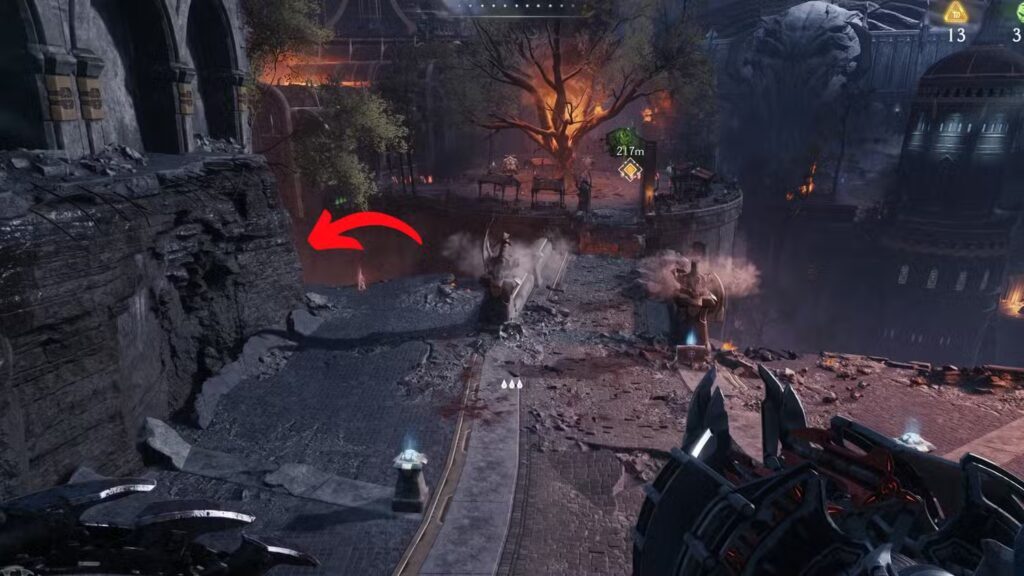
#1 First Secret Area – Gold & Hell Knight Toy
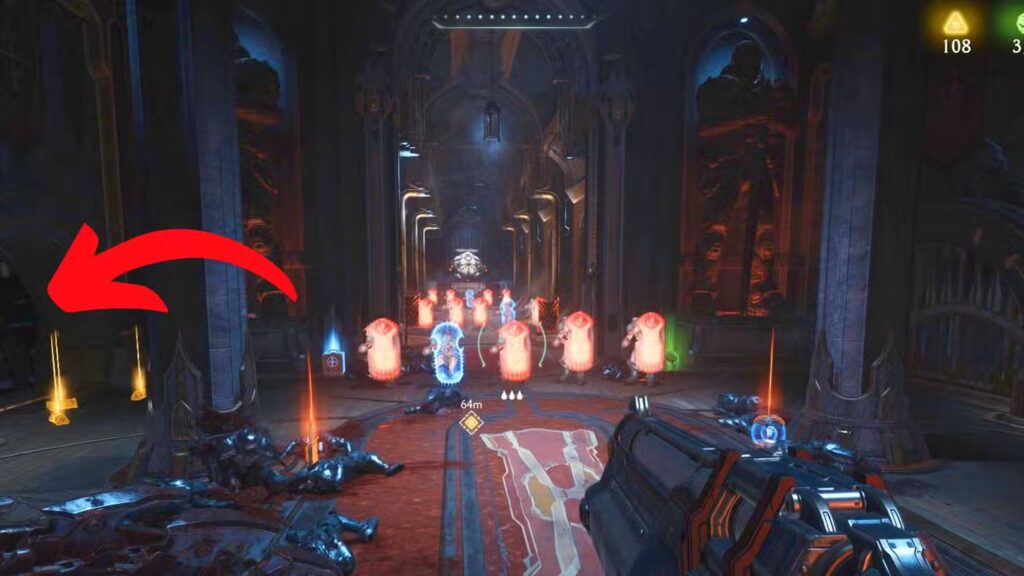
Right after grabbing the Shredder and surviving a demon-filled room, you’ll face an armored Mancubus outside. After beating him, head back inside toward the hallway full of shielded demons.
Look left before the fight starts and smash the barrier with Shield Charge. Inside, you’ll find scattered Gold and a Hell Knight toy on a center platform. There’s even more Gold as you exit up the stairs.
#2 Second Secret Area – Gold
In the next room with the elevator and a button, don’t hit the button just yet. Instead, head left of the elevator to a glowing green Shield Jump pad. Use it to reach an upper corridor full of Gold.
Push a giant block using Shield Charge, climb it, and you’ll reach another secret area with even more Gold, including a Gold chest.
#3 Combat Arena – Gold Only

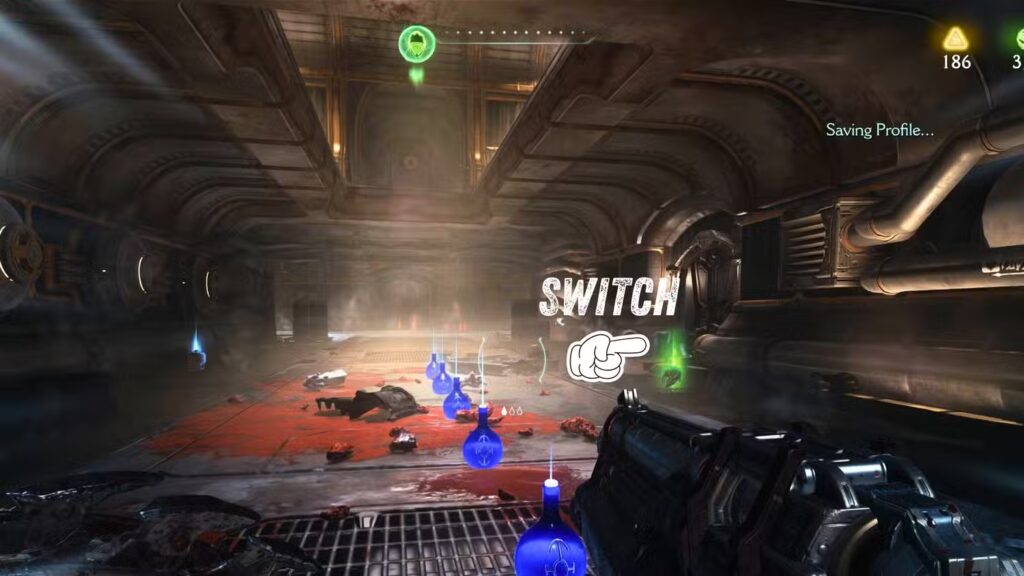
Back at the elevator, stand on the button to bring it down, then use Shield Saw Throw to break the chain and open a new path.
Head into the shaft, and you’ll hit a circular arena with a pile of Gold in the center. Trigger a fight with a wave of demons here.
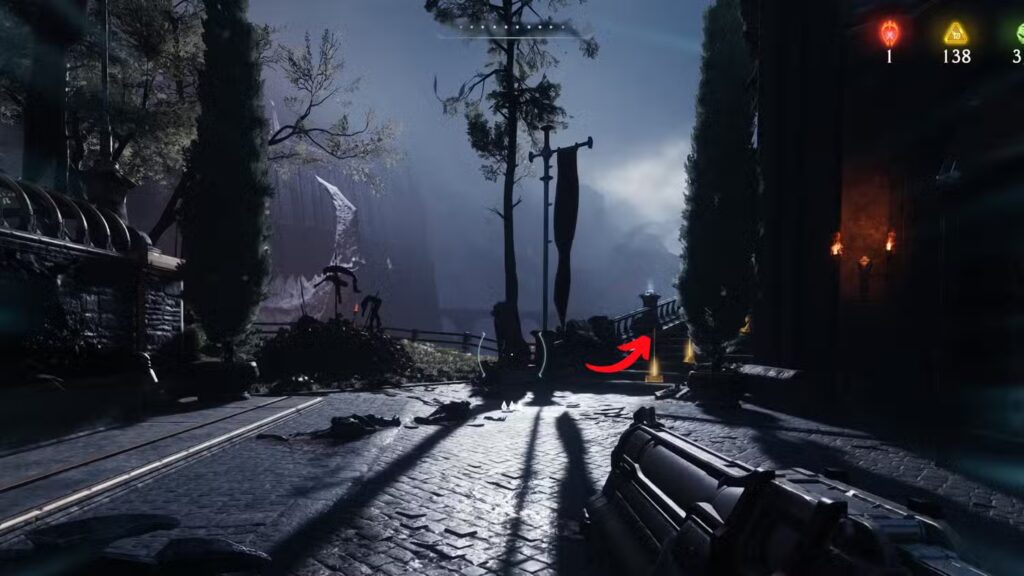
#4 Third Secret Area – Gold & Life Sigil
After clearing that room and moving ahead, you’ll hit a hallway with demons charging at you.
Take them out quickly using explosive barrels, then look near a closed door for a switch. Flip it and follow a trail of Gold up to a secret area with two big piles of Gold and a Life Sigil.
#5 First Ruby
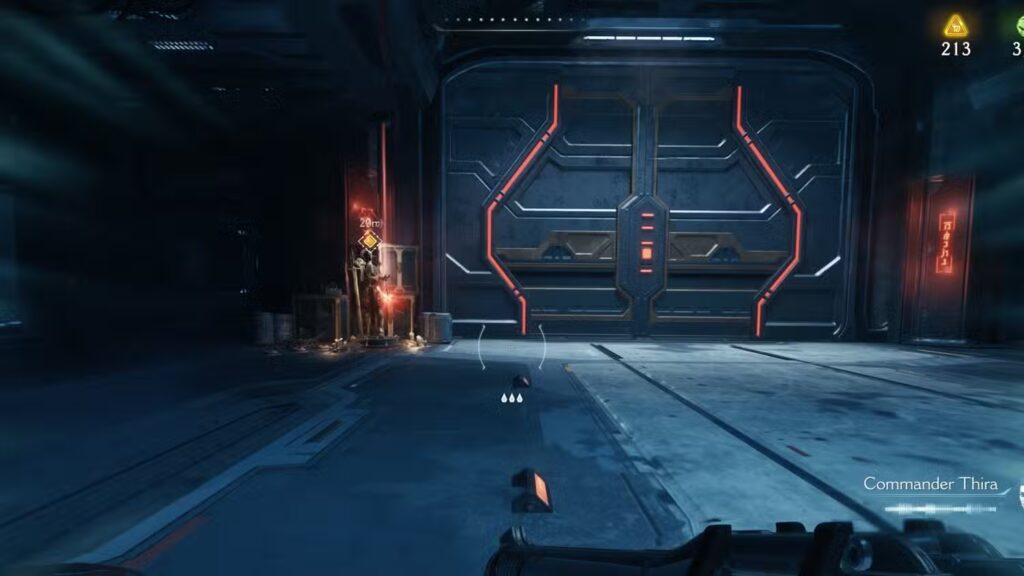
You’ll pick up your first Ruby naturally as part of the story, shortly after a transmission from Command Thira in a room full of soldiers. This one’s hard to miss.
#6 Fourth Secret Area – Gold & Life Sigil
Once you’ve completed the Defend the Barracks objective, head outside to a bridge.
Instead of crossing it right away, turn left and jump into a field across a gap. Follow the Gold trail into the fourth secret area, where you’ll find another Life Sigil. Smash a barricade to exit.
❤️ #7 Demonic Essence – Armor
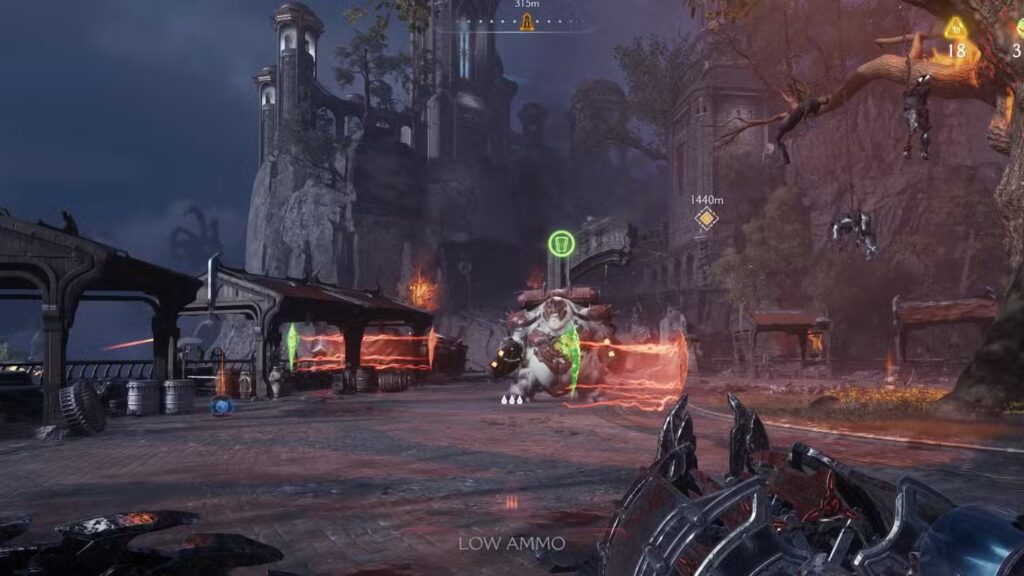
After that last secret, go back and cross the bridge. You’ll hit a nasty fight with two Mancubi and a Pinky Rider. Defeat them to spawn a third, armored Mancubus.
Perform a Glory Kill on this one to trigger a cool animation where the Slayer rips out its heart — the Demonic Essence – Armor, which boosts your max armor.
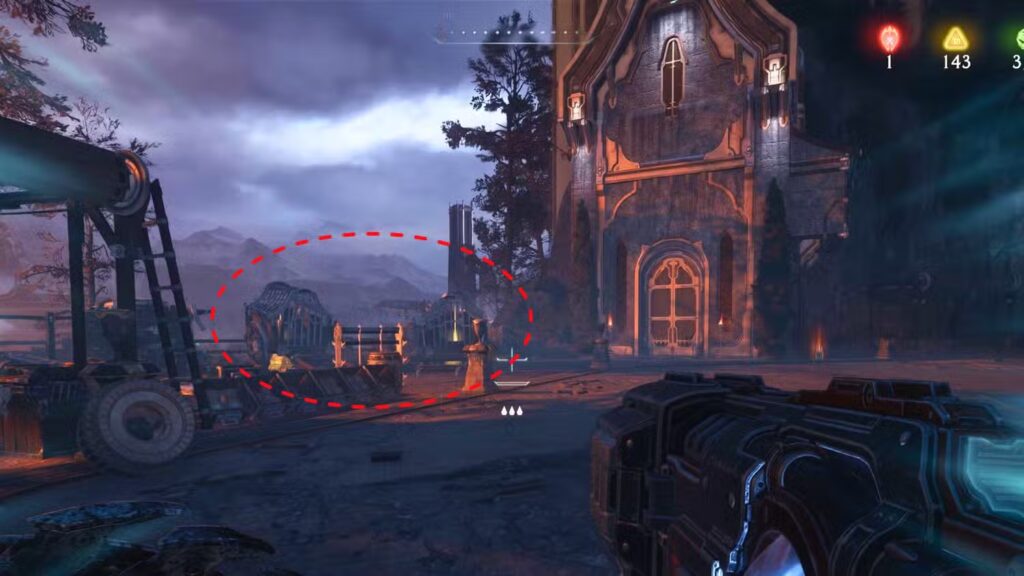
#8 Fifth Secret Area – Gold & Second Ruby
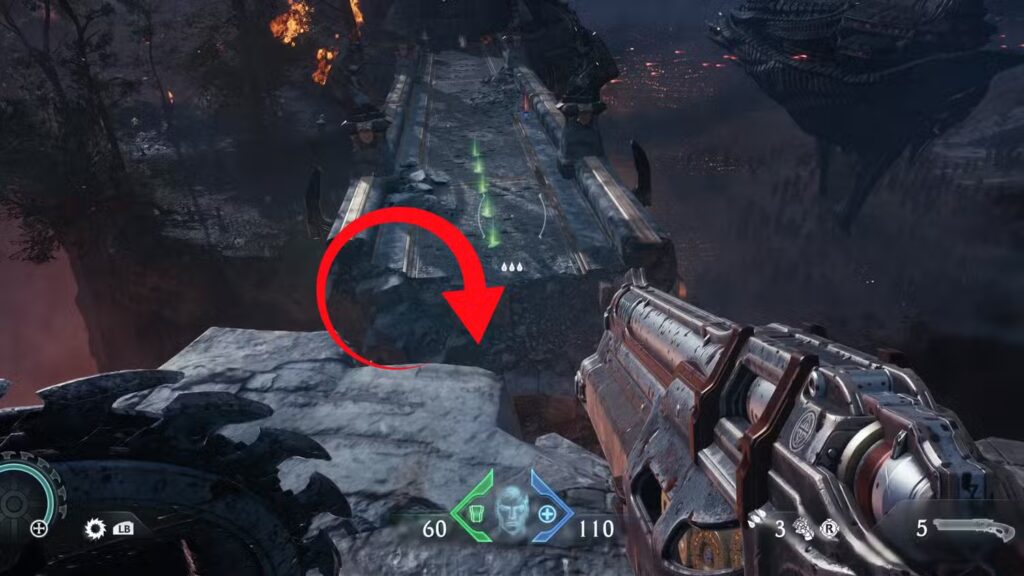
Continue forward until you hit a broken bridge. Drop down and turn around to find a hidden ledge. Jump and climb up, following a Gold-lined path to a room with enemies and fire traps.
Clear the area and enter the fifth secret area, where you’ll find the second Ruby inside a statue and a bunch of Gold.
#9 Gold Chest
After exiting the fifth secret, return to the broken bridge and head to the tower across the gap.
Climb the stairs to the top, and you’ll find a Gold chest in the center of the room — plus an invisible demon lurking around.
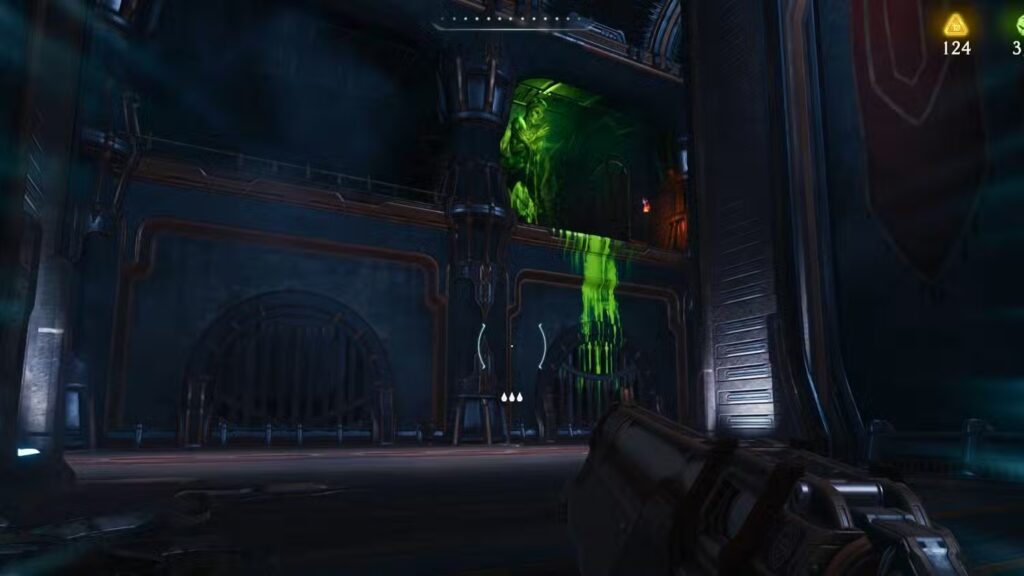
#10 Sixth Secret Area – Accelerator’s Nightmare Skin & Gold
Once you reach the town section, drop down a level and head right to some buildings. There’s a stairway leading up, lined with Gold.
You’ll find the sixth and final secret area here, hiding the Nightmare skin for the Accelerator weapon behind a group of soldiers.
#11 Codex Entry & Final Gold
After grabbing the skin, drop to the lower part of town and deal with waves of enemies. Once it’s safe, head up the stairs to a corner building.
Break a stack of carts across from it to find more Gold, then continue toward the wooden barricaded door. Turn left before entering and follow the path to grab the final pieces of Gold and the Codex Entry.
Final Tip
To make sure you’re hitting 100%:
- Always watch for green Shield Jump points
- Use your map to scan for unexplored areas
- Break suspicious-looking walls with Shield Charge
Now you’re set to fully clear Sentinel Barracks in Doom: The Dark Ages! Time to rip, tear, and collect everything that’s not nailed down. Do check chapter 6 gold, ruby, secrets, codex and challenge locations.
Related Articles:
How to Unlock and Use Shield Runes in Doom: The Dark Ages
Doom: The Dark Ages Chapter 6 – All Gold, Ruby, Secrets, Codex, and Challenge Locations
How to Complete the Layover Challenge in Doom: The Dark Ages (Chapter 5)
For more Games Guide follow us