How to Get Past Ice Blockers in Metroid Prime 4 Beyond (Ice Shot Guide)
Learn how to unlock the Ice Shot and destroy Ice Blockers in Metroid Prime 4 Beyond. Complete Ice Belt dungeon walkthrough and Ice Chip location guide.
Breaking Through the Freeze: Your Complete Ice Shot Unlock Guide
Metroid Prime 4 Beyond introduces a clever elemental weapon system that’s deeply woven into the game’s exploration mechanics. Throughout your journey, you’ll encounter special elemental locks blocking off puzzles, upgrades, and hidden areas—and you’ll need the matching weapon to progress.
This guide focuses specifically on Ice Blockers and walks you through everything you need to unlock the Ice Shot weapon in Metroid Prime 4 Beyond. Trust me, you’ll need this upgrade if you want to fully explore the game’s frozen regions.
Get the Game: Metroid Prime 4 Beyond is available now on Nintendo Switch.
Understanding the Elemental Lock System
Before we dive into the Ice Shot specifics, here’s what you need to know: Metroid Prime 4 Beyond features three elemental weapons tied to a color-coded lock system. Each lock type requires its matching elemental weapon to open:
Advertisement
- Fire Blockers → Fire Shot
- Ice Blockers → Ice Shot
- Electric Blockers → Electric Shot
These locks gate off important areas, so collecting all three elemental weapons is essential for 100% completion. If you haven’t already grabbed the Fire Shot, check out our Fire Shot unlock guide first—you’ll actually need it before you can access the Ice Belt.
How to Get the Ice Chip in Metroid Prime 4 Beyond
Prerequisites: What You Need First
The Ice Shot comes later in the game’s progression. Before you can even think about getting it, you’ll need to:
- Complete Fury Green dungeon (check our Sanctum of Guardians guide if you need help)
- Complete Volt Forge dungeon (see our Volt Forge walkthrough)
- Collect the Fire Chip from Flare Pool in the southeast corner of Sol Valley
- Unlock the Fire Shot at Fury Green base camp
The Fire Shot is mandatory because certain obstacles in the Ice Belt can only be cleared with fire-based attacks. Don’t skip this step!

Step-by-Step: Unlocking the Ice Shot
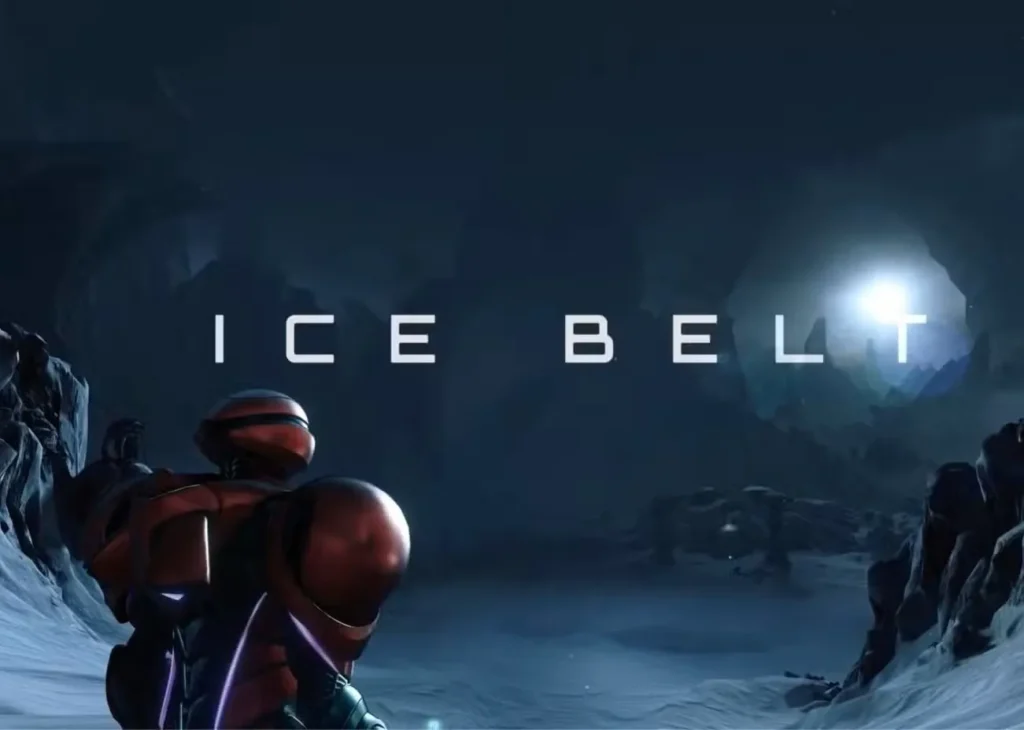
Step 1: Complete the Ice Belt Dungeon
The Ice Shot upgrade requires the Ice Chip, a special item located near the end of the Ice Belt—the game’s third major dungeon. To find it:
- Head to the northwest corner of Sol Valley to enter the Ice Belt
- Take the tram into the dungeon
- You’ll quickly arrive at a large chamber with a hanging pod
- Notice the object emitting a blue light on that pod—that’s your Ice Chip
Here’s the catch: you can’t collect it yet. The Ice Chip is tantalizingly visible, but you’ll need to progress through the entire dungeon first.
Step 2: Survive the Snow Wolves and Beat Keratos
As you explore deeper into the Ice Belt, you’ll face two major challenges:
- The Snow Wolves encounter in the Snowfield (our Snow Wolves survival guide has all the tactics you need)
- Keratos, the Ice Belt’s main boss who guards the Boost Ball upgrade
Defeat Keratos to claim the Boost Ball upgrade—this is the key item you need to actually retrieve the Ice Chip. Once you have it, you’ll backtrack through the dungeon toward the exit.
Advertisement
Step 3: Return to the Ice Chip Chamber with Boost Ball
Now that you have the Boost Ball, return to that initial chamber with the hanging pod. Here’s exactly what to do:
Finding the Upper Chamber:
- Navigate to the enclosed chamber with windows on the upper level
- Locate the malfunctioning door at one end—it won’t open from your side
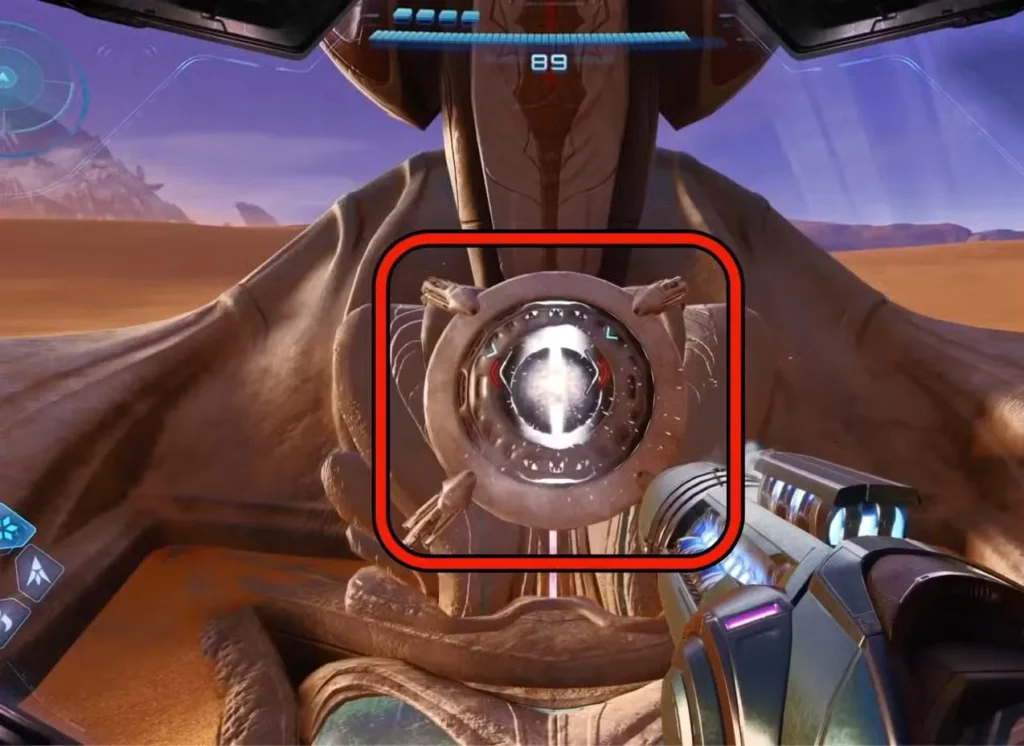
Using the Psychic Charge Beam:
- From the broken window, fire your guided Psychic Charge Beam
- Guide it around to the opposite side of the door
- Hit the oval target to open the door
Activating the Crane:
- Access the now-open room to find a Boost Ball spinner at the crane’s base
- Use your Boost Ball upgrade to restore power to the crane
- Interact with the hologram that appears above the base
- The crane will drop the pod containing the Ice Chip
Collect the Ice Chip:
- Approach the dropped pod
- Interact with the blue light to acquire the Ice Chip
If you’re looking for more upgrade locations, our Psychic Boots guide and Morph Ball Bombs walkthrough cover other essential abilities.
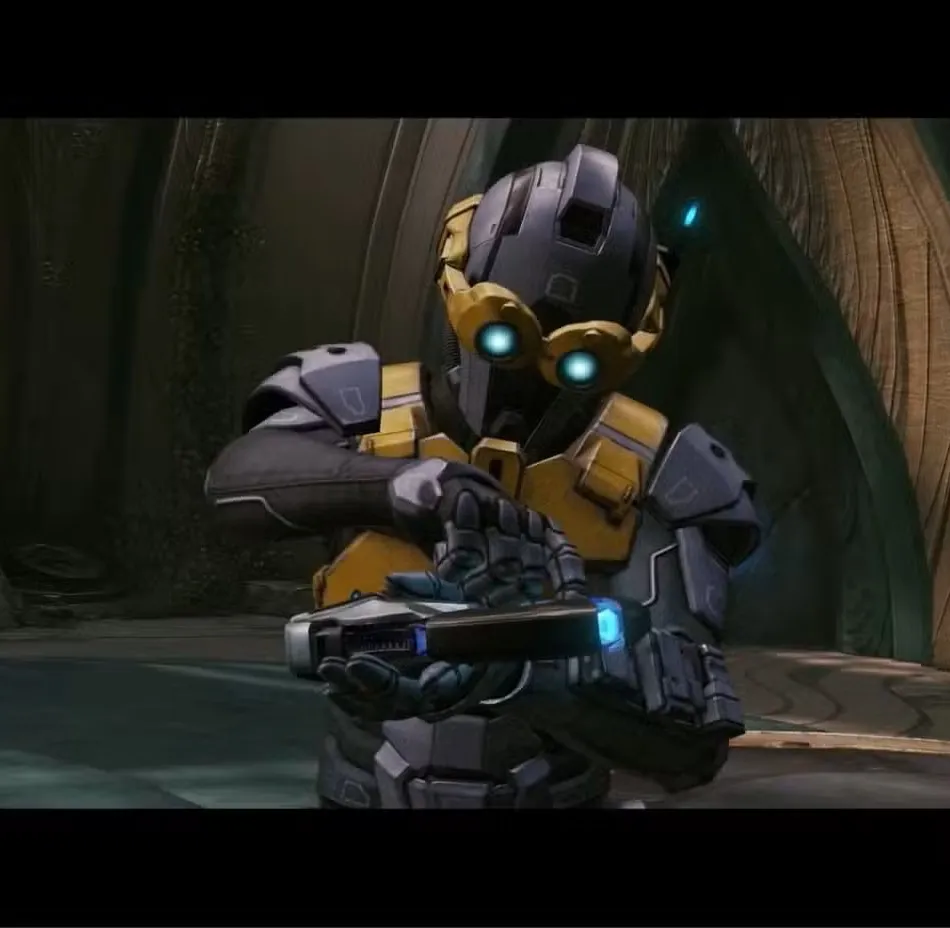
Step 4: Return to Fury Green Base Camp
Just like you did with the Fire Chip, it’s time to visit Myles at his base camp station in Fury Green. The process is simple:
- Fast travel or manually return to Fury Green base camp
- Speak with Myles
- He’ll automatically take the Ice Chip from your inventory
- The Ice Shot will be permanently added to your arsenal
No additional steps required—Myles handles the installation automatically, and you’re ready to start freezing things!
Advertisement
How to Clear Ice Blocker Locks in Metroid Prime 4 Beyond
Now for the fun part: actually using your new Ice Shot weapon. Ice Blockers are those white, frosty-looking locks you’ve probably been seeing throughout your exploration.
Identifying Ice Blockers
You’ll recognize Ice Blockers by:
- Their white, crystalline appearance with frost covering the surface
- The blue/white color coding on your map
- Their locations blocking doors, passages, or upgrade rooms
Destroying Ice Blockers
The process couldn’t be simpler:
- Lock onto the Ice Blocker using your targeting system
- Fire a single Ice Shot at the lock
- Watch it disintegrate permanently
That’s it! Unlike some games where you need multiple shots or specific timing, one Ice Shot is all it takes. The lock disappears for good, so you won’t need to clear it again on return visits.
What Ice Blockers Unlock
With the Ice Shot in your arsenal, you can now access:
- Hidden upgrade rooms scattered throughout Sol Valley and beyond
- Optional passages containing expansion packs for missiles and energy
- Shortcut routes that make backtracking more efficient
- Collectibles and scan data for completion enthusiasts
Make sure to revisit earlier areas—there are Ice Blockers in locations you passed through before getting this upgrade. Our beginner tips and tricks guide has advice on efficient backtracking strategies.
Pro Tips for Using the Ice Shot
Exploration Efficiency:
- Check your map regularly for color-coded blocker indicators
- Revisit early game areas once you have all elemental weapons
- Ice Blockers often hide some of the game’s best upgrades
Combat Applications:
- The Ice Shot isn’t just for locks—it’s effective in combat too
- Certain enemies are vulnerable to ice-based attacks
- Mix elemental shots strategically during boss fights
Resource Management:
- Elemental weapons don’t consume traditional ammo
- Feel free to use the Ice Shot liberally for exploration
- Switch between Fire, Ice, and Electric shots as needed
For more advanced strategies, check out our guides on beating Carvex, unlocking the Motorcycle, and maximizing Amiibo rewards.
Frequently Asked Questions
When can I get the Ice Shot in Metroid Prime 4 Beyond?
The Ice Shot becomes available after completing the Ice Belt dungeon, which is the third major dungeon in the game. You’ll need to finish both Fury Green and Volt Forge first, then collect the Fire Chip and Fire Shot before accessing the Ice Belt. Plan on getting the Ice Shot roughly at the mid-point of your playthrough.
Do I need the Fire Shot before getting the Ice Shot?
Yes, absolutely! You must collect the Fire Chip from Flare Pool and unlock the Fire Shot at Fury Green base camp before you can progress through the Ice Belt dungeon. The Fire Shot is required to bypass certain fire-based obstacles in the Ice Belt, so don’t skip this prerequisite.
Can I return to get the Ice Chip later if I miss it?
Yes, the Ice Belt remains accessible after completion. However, the game is designed so you’ll naturally return to the Ice Chip chamber on your way out after defeating Keratos and obtaining the Boost Ball. It’s almost impossible to miss since it’s directly in your exit path—just make sure you have the Boost Ball before trying to collect it.
What’s the difference between Ice Blockers and other elemental locks?
Ice Blockers have a distinctive white, frosty appearance compared to the red Fire Blockers or yellow Electric Blockers. On your map, they’re marked with blue/white coloring. Functionally, each blocker type simply requires its matching elemental weapon—Ice Shot for Ice Blockers, Fire Shot for Fire Blockers, etc. The Ice Shot won’t work on Fire or Electric Blockers.
Final Thoughts on the Ice Shot Upgrade
The Ice Shot is one of the most satisfying upgrades in Metroid Prime 4 Beyond because it opens up so many previously inaccessible areas. That moment when you backtrack through early zones and finally clear all those Ice Blockers you had to skip? Pure Metroid magic.
The Ice Belt dungeon itself is a solid challenge, but the reward is worth the effort. Between surviving the Snow Wolves ambush and taking down Keratos for the Boost Ball, you’ll have earned this upgrade.
For more Metroid Prime 4 Beyond content, explore our other guides including Samus Unmasked design details, our Explosive Force Missile Launcher guide, and the complete Manufacturing Floor Volt Forge walkthrough.
Now get out there and start freezing some locks, bounty hunter!
Advertisement