Copper Ingots are basically your entry ticket into Hytale’s crafting ecosystem. They’re the first metal resource you’ll work with, and you’ll need them for everything in the early game—tools, weapons, armor, building materials, you name it. Getting a steady supply of Copper Ore and knowing how to smelt it efficiently will make or break your early progression.
The good news? Copper is relatively easy to find and doesn’t require fancy equipment to mine. The process mirrors what you’ll do later with Iron Ingots and other metals, so learning the copper loop now sets you up for success down the line.
Let me walk you through exactly where to find Copper Ore, how to mine it, and how to turn it into shiny Copper Ingots.
Where to Find Copper Ore in Hytale
Copper Ore spawns relatively close to the surface compared to other metals, making it perfect for beginners who aren’t ready to delve super deep underground yet. You’ll find Copper Ore deposits at depths of 10-20 blocks below the surface.
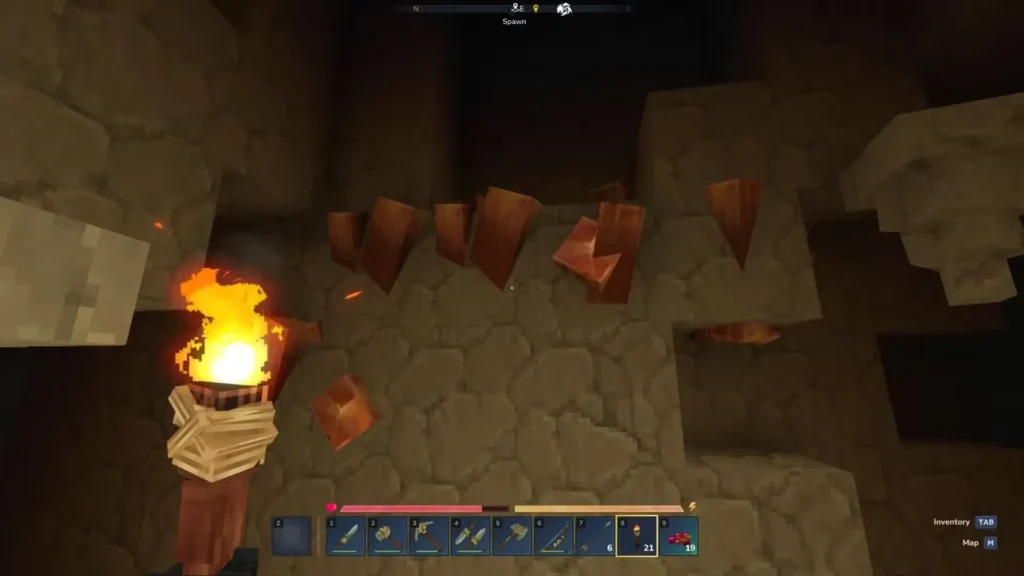
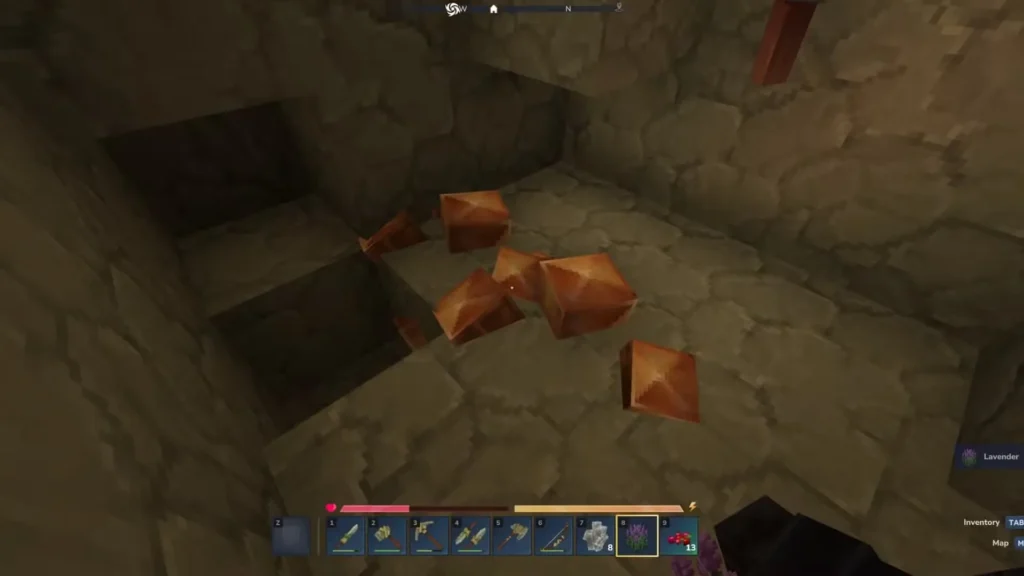
What does Copper Ore look like? Keep your eyes peeled for distinctive rust-colored pillars jutting out from the bedrock, usually with white discoloration near the tops. Once you’ve seen a couple deposits, they’re pretty easy to spot.
Mining Copper Ore: What You’ll Need
Here’s the beauty of copper—it’s the lowest tier ore in Hytale, which means you can mine it with the most basic tool: a Crude Pickaxe. No fancy equipment required!
Crude Pickaxe Recipe:
- 2x Rubble
- 2x Plant Fiber
- 2x Stick
You can craft this directly from your Inventory (TAB) crafting menu without needing a workbench. Super convenient when you’re just starting out.
Best Mining Strategy for Copper
Technically, you could just pick a spot near your base and dig straight down 10-20 blocks to hit copper deposits. It’ll work, and honestly, setting up a “backyard copper mine” isn’t a terrible idea for quick access.
But here’s the thing: the Crude Pickaxe is painfully slow at breaking through cobblestone and other earth blocks. Manually tunneling down takes forever and burns through your pickaxe’s durability like crazy.
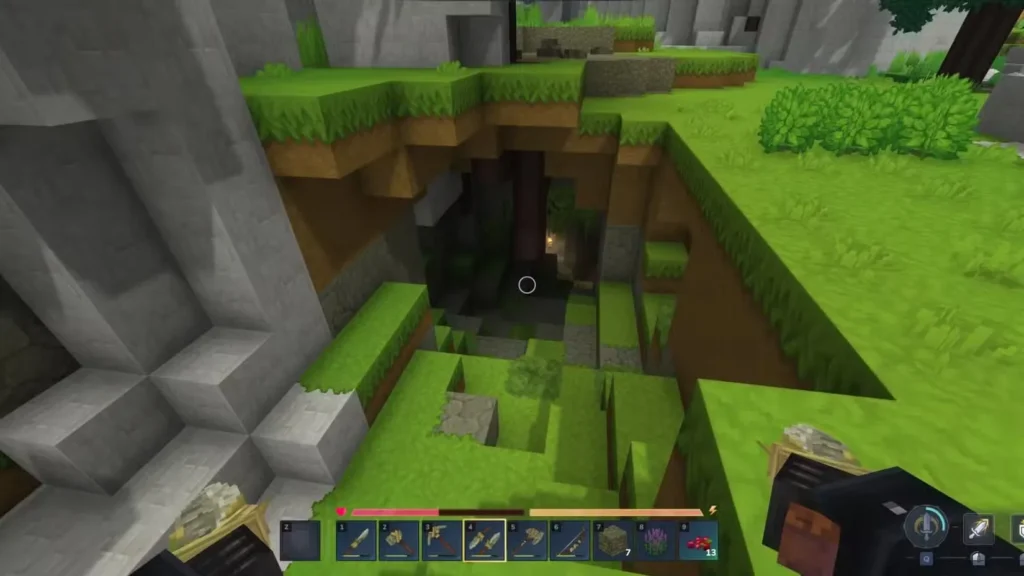
The smarter approach? Explore natural caves instead. Cave systems are already carved out for you, meaning you can cover way more ground in less time while preserving your tool’s durability. Just bring torches, light everything up, and search for those rust-colored copper deposits along the cave walls.
Essential tip: Always carry a Repair Kit with you on mining expeditions. Running out of durability in the middle of a productive mining session absolutely sucks. Learn how to repair items before you head underground—it’ll save you tons of frustration.
How to Make Copper Ingots in Hytale
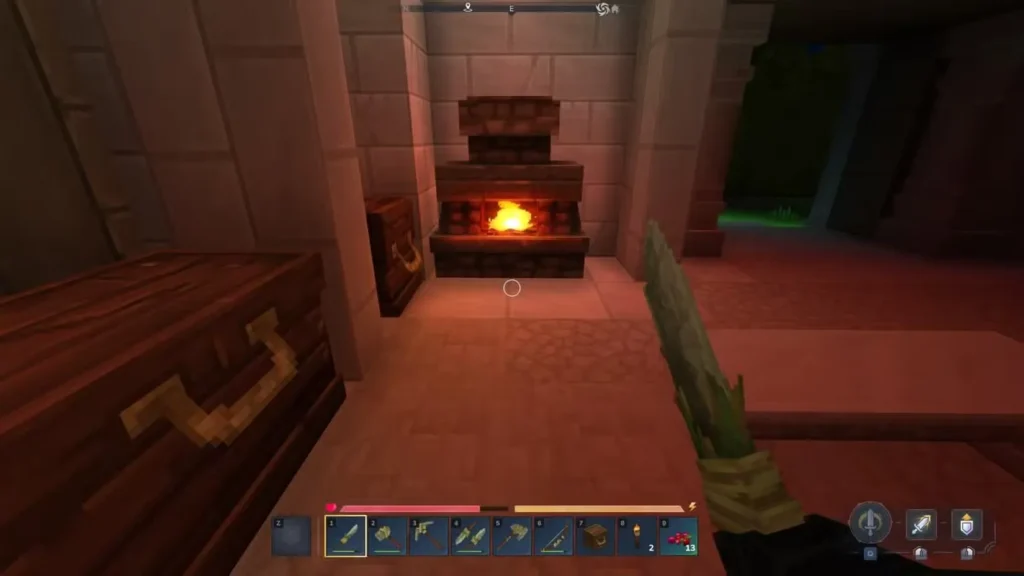
Alright, so your inventory is stuffed with Copper Ore. Great! But you can’t actually craft anything with raw ore—you need to smelt it into Copper Ingots first using a Furnace.
If you haven’t built a Furnace yet, no worries. It requires a Workbench, which is literally the first crafting station you’ll make in Hytale.
Step 1: Craft a Workbench
Workbench Recipe:
- 2x Tree Trunk (any type)
- 2x Stone (any type)
Craft this through your Inventory menu. Once you’ve got it, place it down somewhere in your base—this becomes your primary crafting hub for early-game progression.
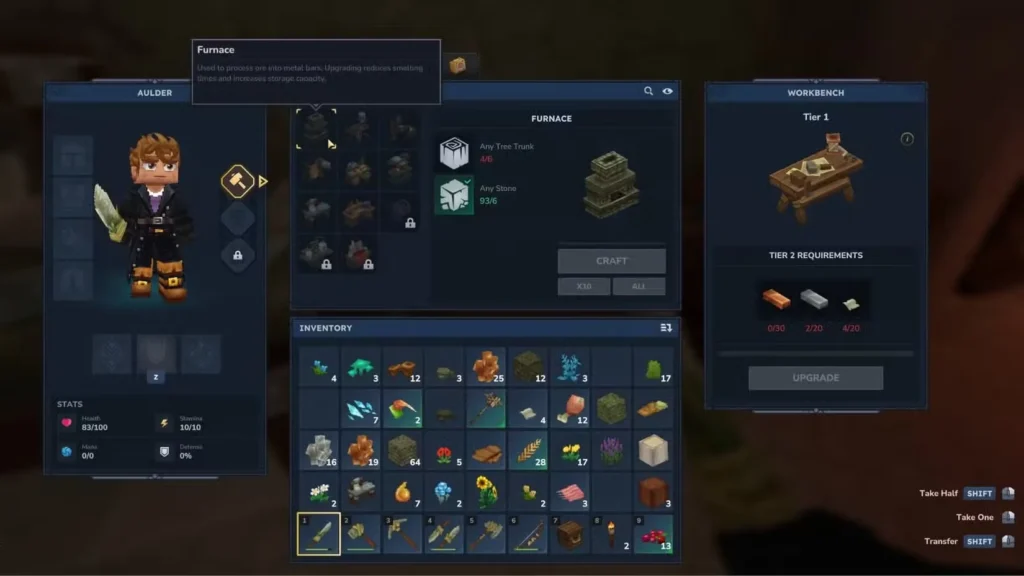
Step 2: Craft a Furnace
Open your Workbench and navigate to the Crafting tab. Here’s what you’ll need for a Furnace:
Furnace Recipe:
- 6x Tree Trunk (any type)
- 6x Stone (any type)
After crafting your Furnace, place it in your hotbar, select it with the corresponding hotkey, and right-click to place it down in your base. I usually set mine up right next to my Workbench for convenience.
Step 3: Smelt Copper Ore into Copper Ingots
Now for the actual smelting process:
- Right-click your Furnace to open its interface
- Place fuel (Wood, Charcoal, or Plant Fiber) in the Fuel Slot
- Put Copper Ore in the Input Slot
- Click “Turn On” to begin smelting
- Watch the progress bar beneath the Copper Ore fill up
- When the bar maxes out, one Copper Ingot appears in the Output Slot
Each Copper Ore smelts into exactly one Copper Ingot—simple 1:1 ratio. Just keep feeding ore into the input slot and collecting ingots from the output. Rinse and repeat until you’ve processed all your ore.
Pro tip: Don’t let Copper Ingots sit in the Output slot forever—move them to your inventory to free up space and keep the smelting process flowing smoothly.

What to Craft with Copper Ingots in Hytale
So you’ve got a pile of Copper Ingots ready to go. What should you prioritize?
Essential Early-Game Crafts:
- Copper Pickaxe: Massively faster than the Crude Pickaxe and essential for mining Iron Ore efficiently
- Copper Tools & Weapons: Significant upgrades over your starter gear
- Backpack Upgrade: Absolutely craft this ASAP for expanded inventory space
- Copper Armor: Basic protection while you farm materials for better gear sets
Other Uses:
- Various workbench upgrades (some require Venom Sacs too)
- Building materials for decorative or functional structures
- Components for more advanced crafting recipes
You’ll also want to gather other materials like leather, rope, and linen scraps as you expand your crafting capabilities.
Tips for Efficient Copper Farming
Want to streamline your copper operation? Here’s how:
- Set up a smelting station: Place multiple furnaces together so you can process ore in bulk
- Stockpile fuel: Keep a chest full of charcoal or wood near your furnaces
- Mark productive caves: If you find a cave system rich with copper, mark the entrance so you can return later
- Upgrade quickly: Once you have enough Copper Ingots for a Copper Pickaxe, craft it immediately—it makes future mining way faster
- Bring extra tools: Pack a backup Crude Pickaxe or Repair Kit on every expedition
- Mine with friends: Playing with friends makes cave exploration safer and more efficient
The game’s Memories system will track your mining milestones too, which is neat if you’re into achievement hunting.
From Copper to Better Materials
Think of copper as your training wheels for Hytale’s resource gathering loop. Once you’ve got solid copper gear, you’ll transition into iron, then progressively rarer materials. Each metal tier follows the same basic process: find ore → mine ore → smelt ore → craft items.
As you advance, you might need specialized materials like cindercloth scraps for certain crafting recipes, or you might want to tame animals to help with resource gathering. But it all starts here with copper.
Frequently Asked Questions
How much Copper Ore should I collect before returning to base?
Aim to fill at least half your inventory before heading back, especially in the early game when your backpack space is limited. Once you upgrade your backpack, you can make longer, more efficient mining runs. Generally, collecting 20-30 Copper Ore per trip is a solid target for beginners.
What’s the best fuel to use for smelting Copper Ore?
Charcoal is hands-down the most efficient fuel option. It lasts significantly longer than raw wood or plant fiber, meaning fewer interruptions to refuel your furnace. Wood works fine in a pinch, and plant fiber is acceptable when you’re just starting out, but prioritize making charcoal once you’ve got the resources.
Can I skip Copper and go straight to Iron equipment?
Technically possible, but really not recommended. Mining iron ore with a Crude Pickaxe is painfully slow and inefficient. You’ll waste tons of durability and time. The smart progression is: Crude Pickaxe → mine Copper → craft Copper Pickaxe → mine Iron efficiently. Each tier builds on the previous one. Trying to skip copper is like trying to skip tutorial levels—you’ll just make things harder for yourself.
How deep should I dig if I want to manually mine Copper instead of exploring caves?
Copper spawns at 10-20 blocks deep, so digging straight down about 15 blocks should put you right in the sweet spot. However, keep in mind that manually digging with a Crude Pickaxe is slow and inefficient. Natural caves remain the better option for most players, but if you want convenient access to copper right next to your base, a 15-block-deep mine shaft works perfectly fine.