Here’s where to find every Healing, Energy, and Revive Tint Shard and Shape in Clair Obscur: Expedition 33 so you can upgrade your healing, AP regen, and revival abilities.
All Tint Upgrades in Clair Obscur: Expedition 33
In Clair Obscur: Expedition 33, Tints are your go-to consumables for healing, restoring energy, and reviving teammates — and they can save your life in tougher battles. There are three types:
- Healing Tints: Restore HP
- Energy Tints: Restore AP
- Revive Tints: Bring back fallen allies
You can upgrade each type to hold more charges or become more effective by collecting Tint Shards and Shapes scattered throughout the world. Here’s where to find every one currently known in the game.

Healing Tint Upgrades
Healing Tint Shards
- Spring Meadows – Abandoned Expeditioner Camp
Give Resin to Jar (an NPC near the flag) and shoot his torch with Free Aim. - Ancient Sanctuary – Sanctuary Maze
After the blue statues, stay right and head into a hidden alcove. - Stone Wave Cliffs – Paintress Shrine
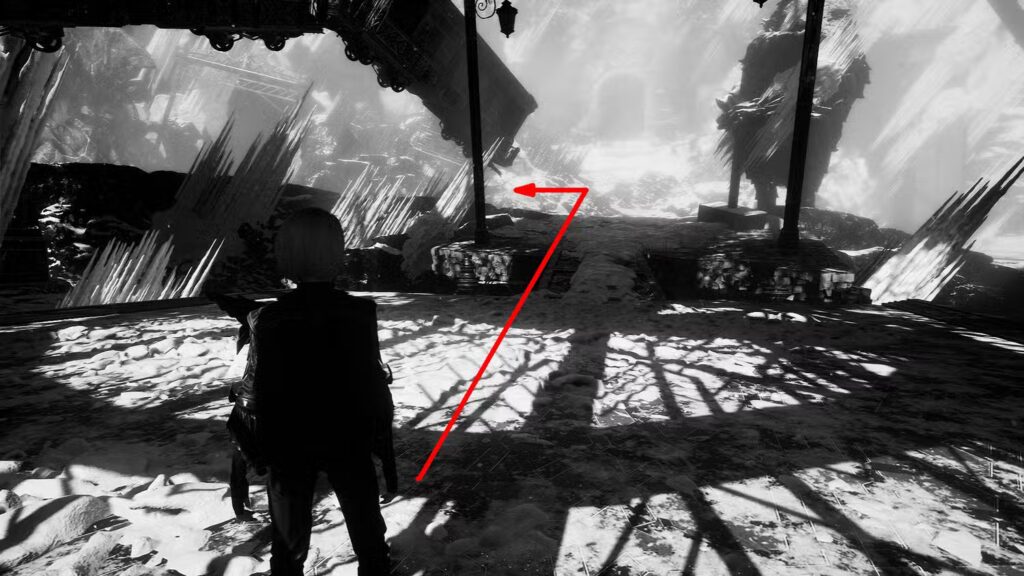
Go left from the flag to find an alcove with the shard. - Forgotten Battlefield – Main Gate
Stick left at each fork, climb the stairs, and find the shard near a wooden ramp. - Visages – Joy Vale
Head up the ramp on the right and enter the first corridor on the right. - Inside the Monolith – Tainted Hearts
Go left after the bridge and climb the wall near a large Nevron. Buy the shard from the merchant at the top.

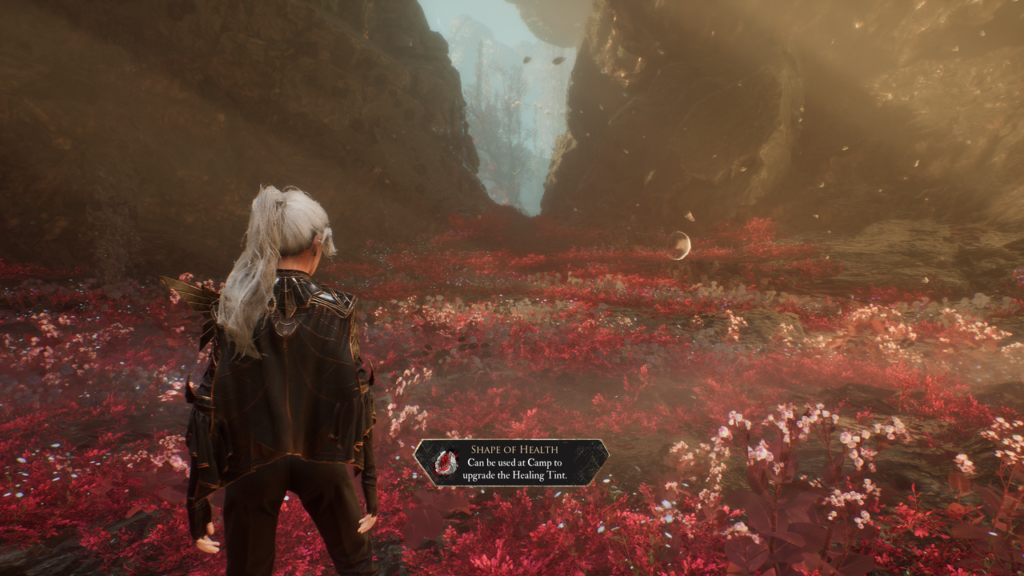
Shape of Health
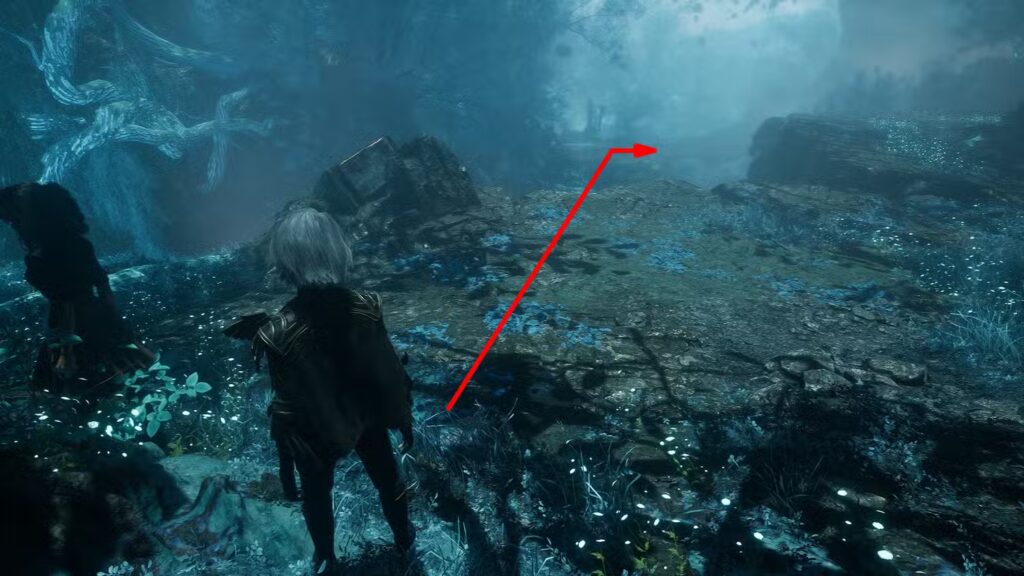
- Flying Waters – Flower Field
Beat the boss at the end of the map. - Sirene – Dancing Classes
After the lift, break the mirror in the Manor’s sink area and pass through the wall.
⚡ Energy Tint Upgrades
Energy Tint Shards
- Spring Meadows – Meadow Corridor
Climb up the golden thread inside the building and go right. - Flying Waters – Lumieran Street
Defeat the large enemy guarding the shard at the far end of the area. - Ancient Sanctuary – Giant Bell Alley
Inside the final boss arena, check the slightly elevated section. - Stone Wave Cliffs – Paintress Shrine
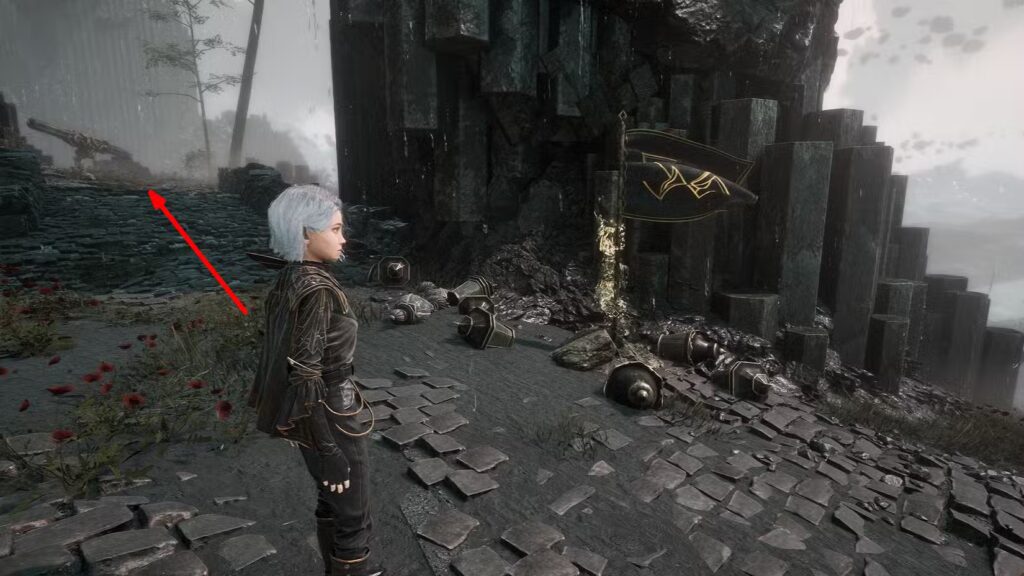
Follow the right path past the boat. - Forgotten Battlefield – Vanguard Point
Destroy a crate stack to the forward-right after the slanted cannon. - Visages – Sadness Vale
Enter the Sorrowful Chapelier arena and go up the right slope to find it near some Nevrons. - Sirene – Crumbling Path
Immediately go right from the flag to find the shard before the gold thread drop.
Shape of Energy
- Gestral Village
In the Manor behind the “Turn Back” sign, interact with the pan and candle to open a hidden area. The shape is in the cellar. - The Continent
On the island south of Blades’ Graveyard. Inside the Manor, climb the spiral staircase and jump across the platforms.
Revive Tint Upgrades
Revive Tint Shards
- Spring Meadows – Abandoned Expeditioner Camp
Continue past where you found the Resin used for the Healing Tint upgrade. - Flying Waters – Coral Cave
Drop into the hole along the lantern-lined path and break the three Paint Cage locks. - Ancient Sanctuary – Sanctuary Maze
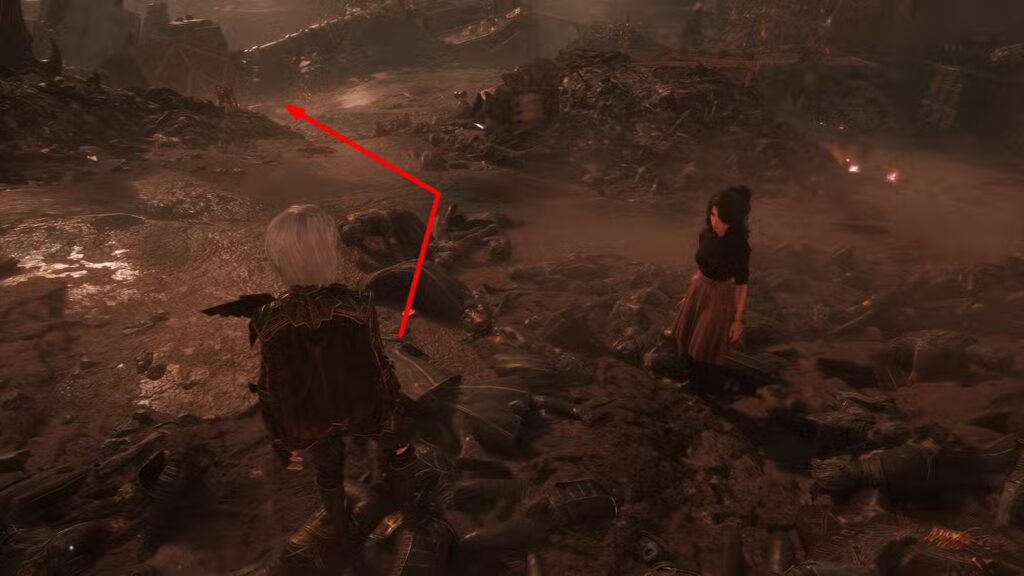
Crawl through the low gap in the alcove, follow the path with the mime, and check the wooden structure. - Forgotten Battlefield – Main Gate
Head left past the Nevron with a hammer and follow the downward ramp. - Old Lumiere – Entrance
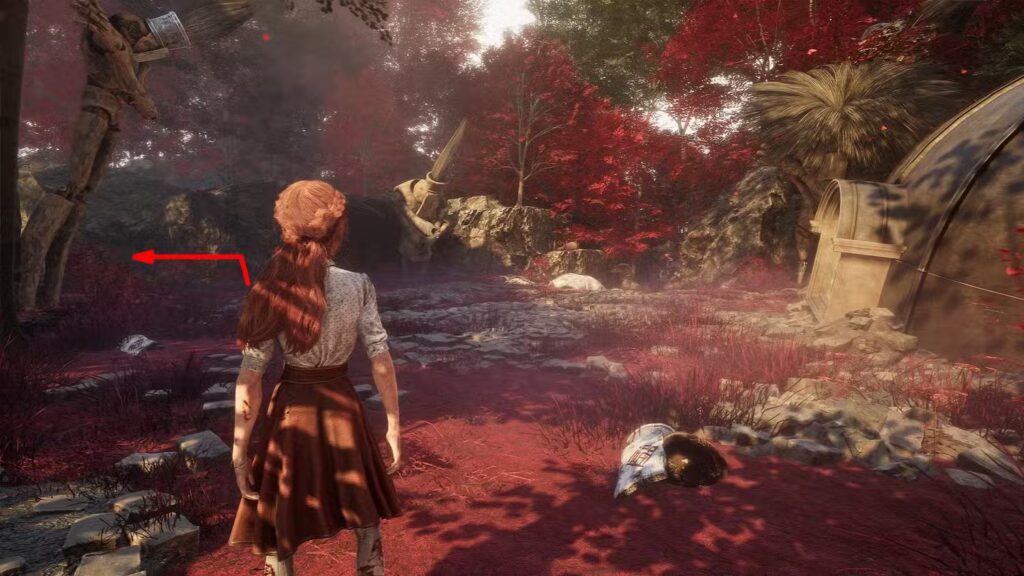
Buy it from the merchant next to the flag. - Visages – Anger Vale
Find the shard near the group of elevated Nevrons straight ahead. - Sirene – Sewing Atelier
In the boss room, climb the rubble on the left and shoot three locks on a Paint Cage. - Inside the Monolith – Tainted Meadows
Turn around from the flag, descend two gold threads, and break the locks on the Paint Cage. - Frozen Hearts – Iced Heart
Backtrack through the cave, then head into the alcove on the right. Break three locks to open the Paint Cage.
Shape of Life
- Stone Wave Cliffs – Basalt Waves
Defeat the map’s boss to earn the shape.
Final Notes
- Resin (used for the first Healing and Revive upgrades) is found at the bottom of a ramp near the Abandoned Expeditioner Camp.
- Paint Cages usually require breaking three locks with Free Aim — always scan your surroundings!
- Shapes are rarer than shards and are often found after boss fights or deeper in story progression areas.
Also playing Doom: The Dark Ages? Check out our full game guide!
Related Articles:
- Clair Obscur: Expedition 33 – How to Complete the Demineur Quest (Choices & Rewards)
- All Status Effects, Buffs & Debuffs in Clair Obscur: Expedition 33 – Complete Guide
- Best PC Settings for Clair Obscur: Expedition 33 – Smooth Gameplay Without Losing Visuals
- How to Use the Camp in Clair Obscur: Expedition 33 – All Camp Features Explained
Follow us for more Games Guides