
Track down all five Garridan’s Tears in Oblivion Remastered with this complete Tears of the Savior quest guide, from starting the quest to locating every crystal.
While fetch quests are everywhere in RPGs, few are as beautifully crafted and rewarding as Tears of the Savior in Oblivion Remastered. What starts as a simple crystal hunt quickly transforms into a trip through frosty lore, chilly combat, and one of the game’s most scenic locations—Frostfire Glade.
This guide walks you through how to start the quest, get the Refined Frost Salts, and locate all five of Garridan’s Tears.

How to Start the Tears of the Savior Quest
- Travel to Leyawiin
Head to the Mages Guild and find a Khajiit named S’drassa. - Speak with S’drassa
He’ll tell you about the mysterious Garridan’s Tears and ask for your help tracking them down. - Go to the Arcane University
Fast travel to the Imperial City and talk to Julian Fanish. She’ll drop lore about the Tears and tell you to grab a book called Knightfall. - Buy the Book at the First Edition
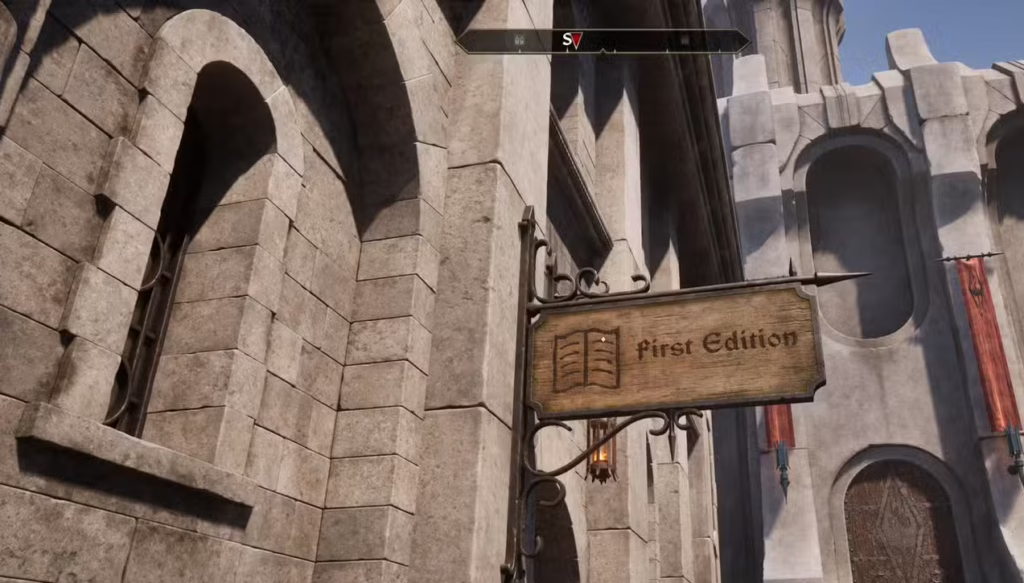
Go to the Market District and grab Knightfall from The First Edition bookstore. - Buy Refined Frost Salts
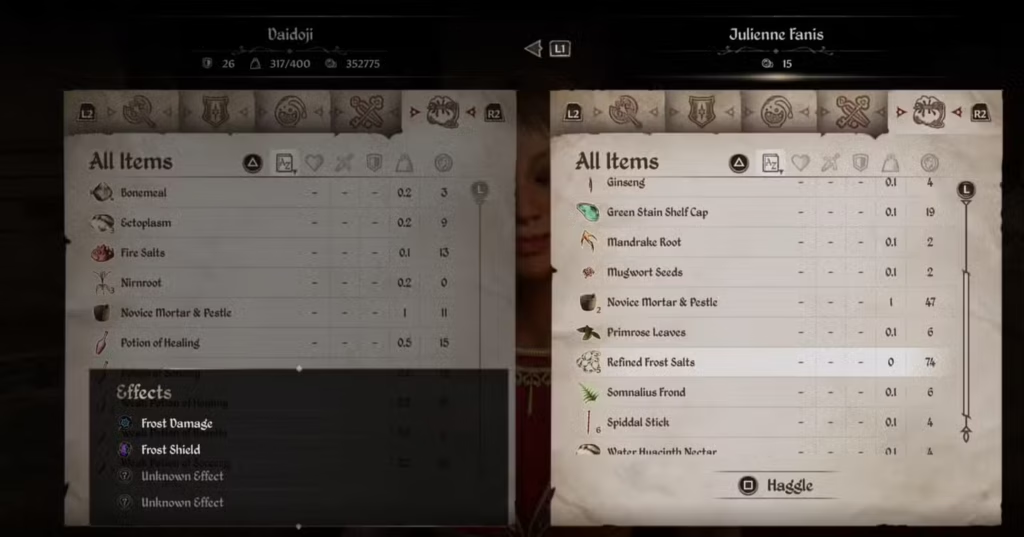
After reading the book, Julian will offer Refined Frost Salts for sale—buy them all. You need these to enter Frostfire Glade.
❄️ How to Get to Frostfire Glade
- Travel to Bruma.
- Head southeast on horseback until you reach Frostfire Glade.
- Use the Refined Frost Salts to open the magical door and enter the frozen zone.
Inside Frostfire Glade: Fighting the Glade Guardian
Once inside, you’ll face a Frostfire Atronach, a powerful Glade Guardian.
Combat Tips:
- Weak to Fire – Use fire spells, scrolls, or enchanted weapons.
- Immune to Frost – Avoid ice-based damage entirely.
- Keep Moving – Stay mobile to dodge heavy hits.
Once it’s defeated, you can begin collecting the Tears.
Where to Find Garridan’s Tears (All 5 Locations)
Follow this step-by-step to track down every Tear:
- Tear #1 – At the base of the large central rock formation. Face northeast on your compass.
- Tear #2 – Further up the same rock—climb or jump if needed.
- Tear #3 – From the central spot, walk northeast, scan the ground.
- Tear #4 – Head east from where you found Tear #3.
- Tear #5 – Go south, near a group of plants, to find the last Tear.
All Tears have a faint bluish glow, so use lighting spells or wait until daytime in-game if you’re struggling to see clearly.
Quest Completion and Reward
With all five Garridan’s Tears in your inventory:
- Return to S’drassa in Leyawiin.
- He’ll reward you with Gold, with the amount scaling based on your character’s level at the time.
Bonus Tip: You can also choose to keep the Tears for alchemy or display if you’re not worried about the gold.
Quick Recap
- Start quest in Leyawiin with S’drassa.
- Visit Arcane University, then buy Knightfall and Refined Frost Salts.
- Travel to Frostfire Glade via Bruma.
- Defeat the Frostfire Atronach using fire damage.
- Collect all five Tears using the location guide.
- Return to S’drassa for your reward.
More Origin of the Gray Prince Quest Guide & Arena Champion Fight
Related Article:
- How to Get Mehrunes Razor in Oblivion Remastered (Full Quest Guide)
- How to Get Shadowmere in Oblivion Remastered (Purification Quest Guide)
- How to Get the Spelldrinker Amulet in Oblivion Remastered (Ulterior Motives Quest Guide)
- Oblivion Remastered Respec Guide: How to Reset Skills and Attributes (PC Only)
Follow us for more Games Guides