
Track down every collectible and secret in Chapter 6 of Doom: The Dark Ages, including gold, rubies, codex entries, toys, and challenges for maximum rewards.
Doom: The Dark Ages Chapter 6 Collectibles & Secrets Guide
Chapter 6 of Doom: The Dark Ages turns the collectible hunt up to 11. With 513 gold, multiple rubies, codex entries, and a ton of secrets and challenges to complete, there’s a lot to grab if you want to power up fast. Whether you’re in it for the gold or just want to clear every objective, this guide has you covered.
All Gold Locations
- Life Sigil Waterfall Area: Left from the first sigil; destroy the demonic tank for 8 gold. More gold lies ahead near the river.
- North of First Ruby: Find 5 gold on the ground. Follow the path toward the artillery cannon for more gold—including a pile after destroying it.
- Cave with Second Ruby: Total of 18 gold in the cave alongside a weapon skin.
- Village Near Second Gore Portal: Fifth secret yields 8 gold near bone-like rock formations.
- Post-Chainshot Gate Area: Kill enemies, go through the gate, and check the right side for a gold stash.
- Hill Overlooking Village: After the third Gore Portal, a ledge has more gold waiting.
- Cave with Third Ruby: Use your shield to climb to a platform with gold. The 8th secret here leads to even more.
- Codex Area: Near the first codex, defeat a big demon and smash a chest for 50 gold.
- Third Sentinel Shrine Area: Turn around and go left past rubble to find gold near a Life Sigil.
- Fifth Gore Portal Area: Jump across the bridge to reach a cache of gold after using a lever.
- Post-Gore Portal Path (Waypoint 250m): Take a left to find another cache.
All Ruby Locations

- Ruby 1: Near the Slayer Toy room. Destroy the demonic structure to drop a barrier around the statue holding the ruby.
- Ruby 2: Found in the cave with the Impaler skin. Use a hidden tunnel, climb walls, solve shield-based puzzles, and lower the central cage to reach it.
- Ruby 3: Located in the cave from the 7th and 8th secrets. Use the secret key to access it.
- Ruby 4: South of the return waypoint near wolf statues. Destroy all statues to grab it.
Demonic Essence (Ammo & Armor)
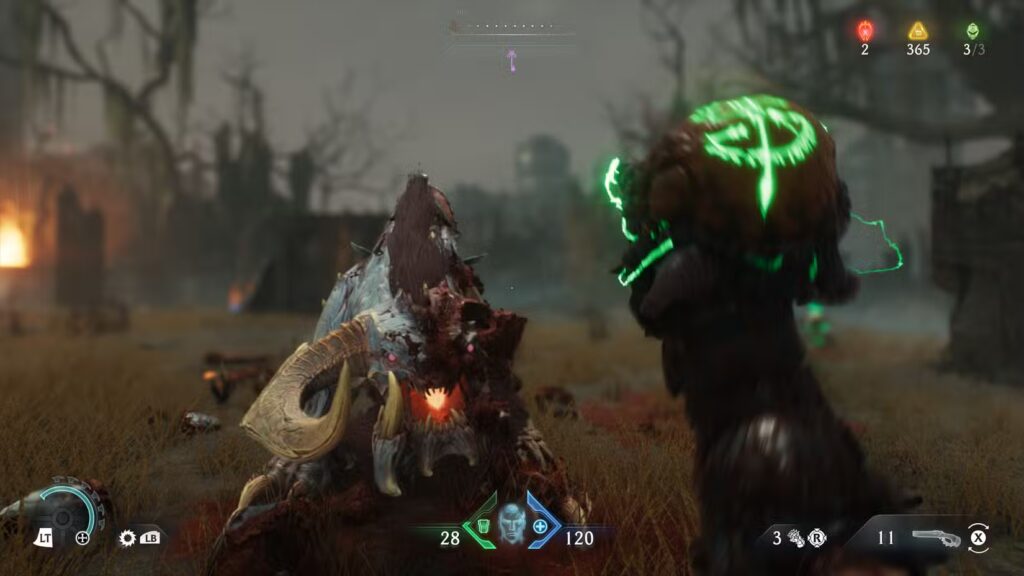
- Mini-Boss 1: Near the second Gore Portal.
- Mini-Boss 2: Near the fourth Gore Portal. These are story-required and unmissable.
Chapter 6 Secrets (Siege Part 1)

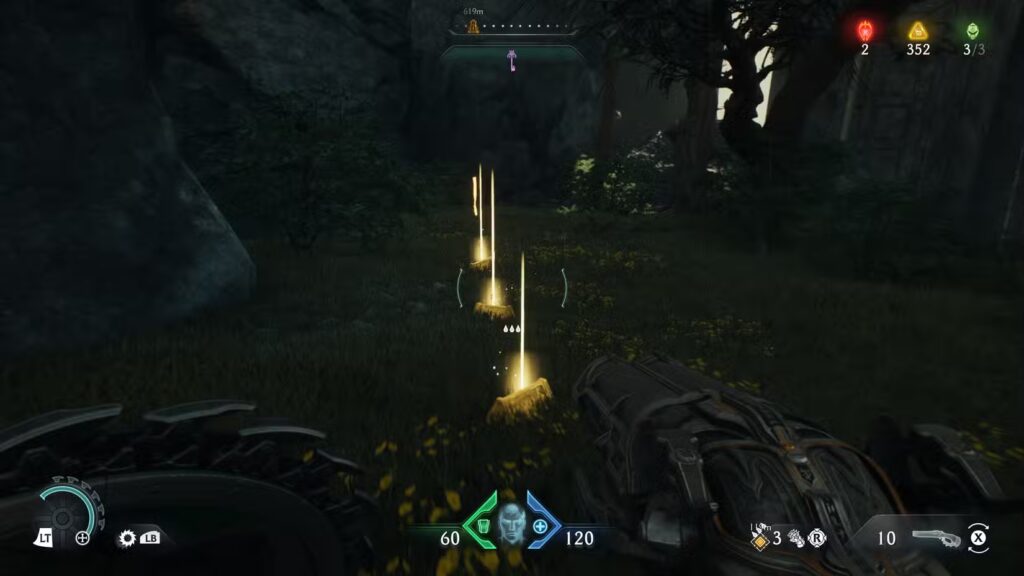
- Life Sigil – Waterfall bridge west of the first Gore Portal.
- Slayer Toy – Near Sentinel Shrine. Kill demons near purple light to grab secret key, unlock door for the toy.
- Impaler Skin – Under a bridge near the first artillery cannon. Two secrets here: the cave itself and the unlockable chamber with the weapon skin.
- Gold Stash in Village – North of cave area. Enter a tunnel under a statue, use your shield to unlock more loot.
- Second Life Sigil & Gold – In cave near second Gore Portal. Solve puzzles involving jump pads and shield-activated walls.
- Ruby 3 & Gold – Cave after the first codex. Use secret key to open up paths, claim ruby and tons of gold.
- More Gold – Continue from previous secret, break walls, dodge fireballs, collect hidden stashes.
- Underwater Gold Stash – Near third artillery. Dive under blue flag to find a tunnel leading to gold.
- More Gold – Climb a wall near the previous stash and smash a barricade.
- Final Secret – After fourth Gore Portal, enter a series of rooms via a portal and use your shield to navigate to a hidden gold cache.
All Codex Entries
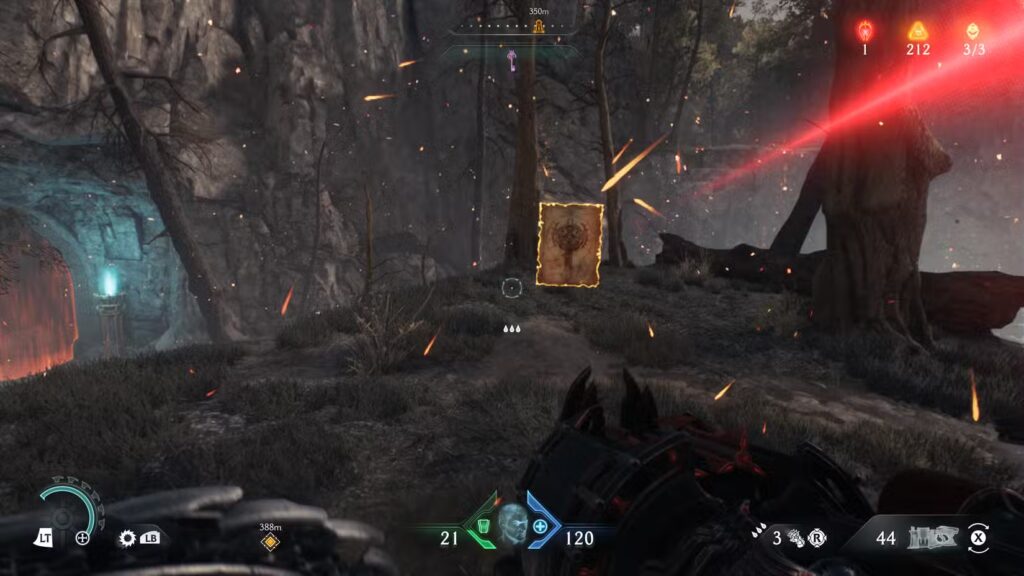
- Codex 1 – After destroying the third Gore Portal, return to the second Gore Portal’s village and go northeast. Jump around rock formations to reach it.
- Codex 2 – Near the Mancubus Toy. Drop down to the left of the statue to find gold and the codex.
Mancubus Toy Location
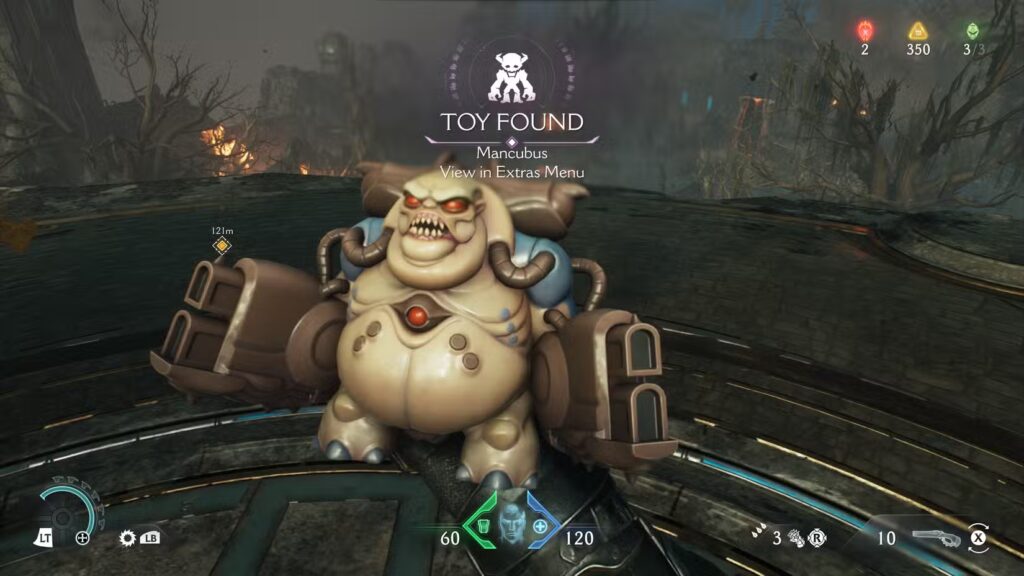
- Found at the feet of a massive statue after you’ve destroyed the third Gore Portal.
⚔️ Chapter 6 Challenges
1. Immovable Object
- Parry 10 Hell Knight attacks. You can get all 10 from one Knight if you time it right.
2. Unstoppable Force
- Use the Flail to hit demons 25 times. Just keep swinging when your melee charge is up.
3. Siege Breaker
- Destroy 4 artillery cannons:
- Artillery 1 – North of the first ruby, under a bridge.
- Artillery 2 – Left path near the second Gore Portal.
- Artillery 3 – Near the fourth Gore Portal, by burning tree and tower.
- Artillery 4 – Across the river near the fourth ruby/wolf statue area.
- Artillery 1 – North of the first ruby, under a bridge.
This chapter is packed, but every bit of gold, ruby, and hidden stash adds to your arsenal. Master Chapter 6, and you’ll be swimming in upgrades and ready to rip through what comes next.
Related Article:
- How to Complete the Layover Challenge in Doom: The Dark Ages (Chapter 5)
- How to Unlock and Upgrade the Shield Saw Throw in Doom: The Dark Ages
- How to Find the Secret Key & Hidden Door in Chapter 1 of Doom: The Dark Ages
- How to Unlock Exclusive Twitch Drop Skins in DOOM The Dark Ages
For more Gaming Guide follow us