Energy Tanks are some of the most valuable collectibles you’ll find in Metroid Prime 4: Beyond. Each one increases Samus’s maximum health, making those tough boss battles and exploration segments much more manageable. While you’ll naturally stumble upon a few Energy Tanks during the main story, tracking down all 14 requires some serious exploration skills.
This guide breaks down every Energy Tank location in the game, organized roughly in the order you’ll encounter them as you progress through the story. Keep in mind that some tanks require specific abilities to access, so don’t worry if you can’t grab everything on your first pass through an area.
Energy Tank #1 – UTO Research Center
Location: UTO Research Center
You can’t miss this one! During the game’s prologue, you’ll roll through a Morph Ball section in the UTO Research Center. Your first Energy Tank is sitting right there in your path—consider it a warm welcome to the world of collectible hunting.
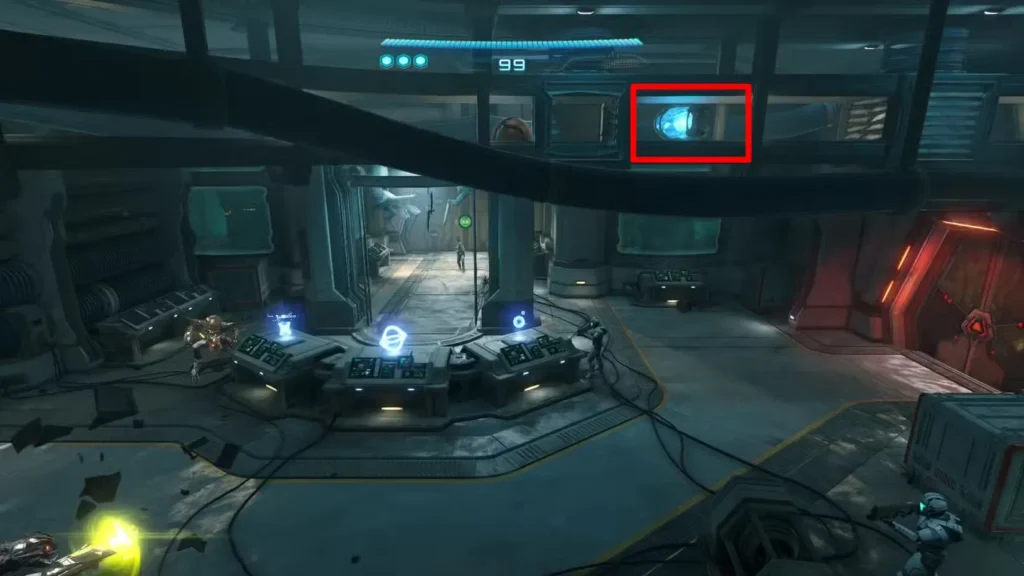
Energy Tank #2 – Fury Green (Cliffside Gate)
Location: Fury Green – Cliffside Gate
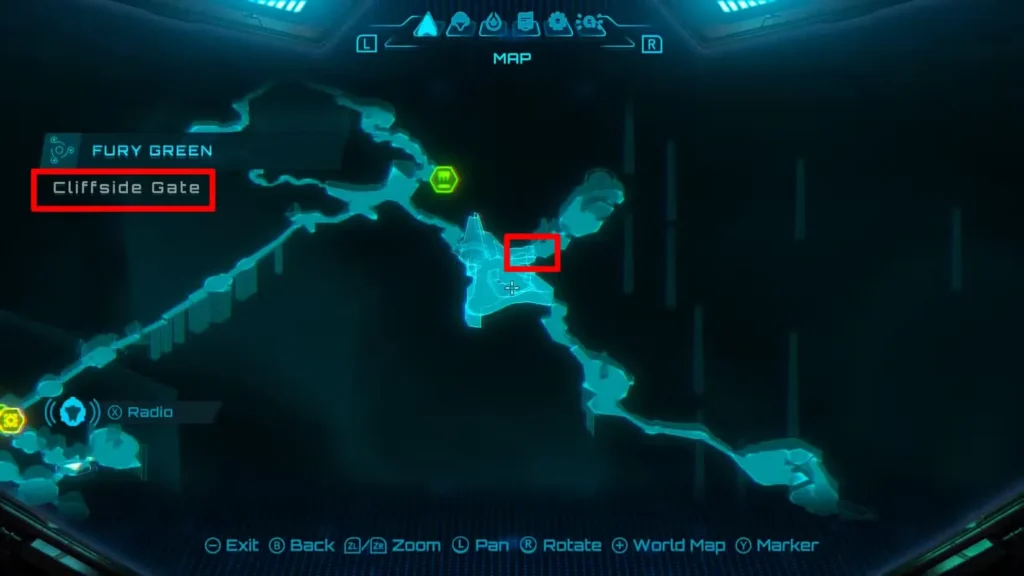
After unlocking the Psychic Glove in Fury Green, head to the door that requires two motes to unlock. Beyond that door, you’ll find a container. Switch to your Psychic Visor, trace the pattern on the container, and claim your second Energy Tank. This is a great early reminder to always scan suspicious-looking containers!
For more tips on navigating Fury Green, check out our Sanctum of Guardians guide.
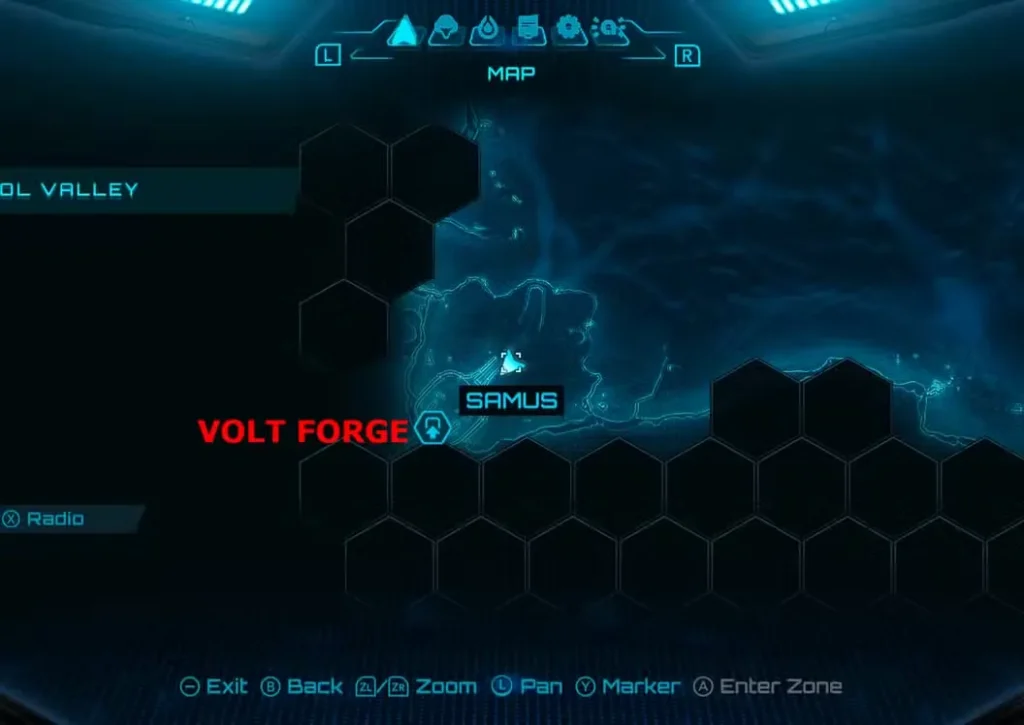
Energy Tank #3 – Volt Forge (First Sylux Encounter)
Location: Volt Forge

You’ll earn this Energy Tank the hard way—by defeating Sylux during your first encounter in Volt Forge. This boss fight is mandatory, so you’ll get this tank as part of the story progression. Need help with the fight? Our Sylux boss guide has you covered.
Energy Tank #4 – Ice Belt (Power Generator)
Location: Ice Belt – Power Generator

Navigate to the Power Generator room in Ice Belt and use the Control Beam to get the generator operational. Once it’s running, interact with the terminal in front of the generator to open up a hidden path in the floor. Drop down and work your way through the Morph Ball section using bombs to eventually reach the Energy Tank.
If you’re having trouble with Ice Belt’s hazards, our Snow Wolves survival guide might help.
Energy Tank #5 – Ladder of Thought Shrine
Location: Ladder of Thought Shrine (Sol Valley)
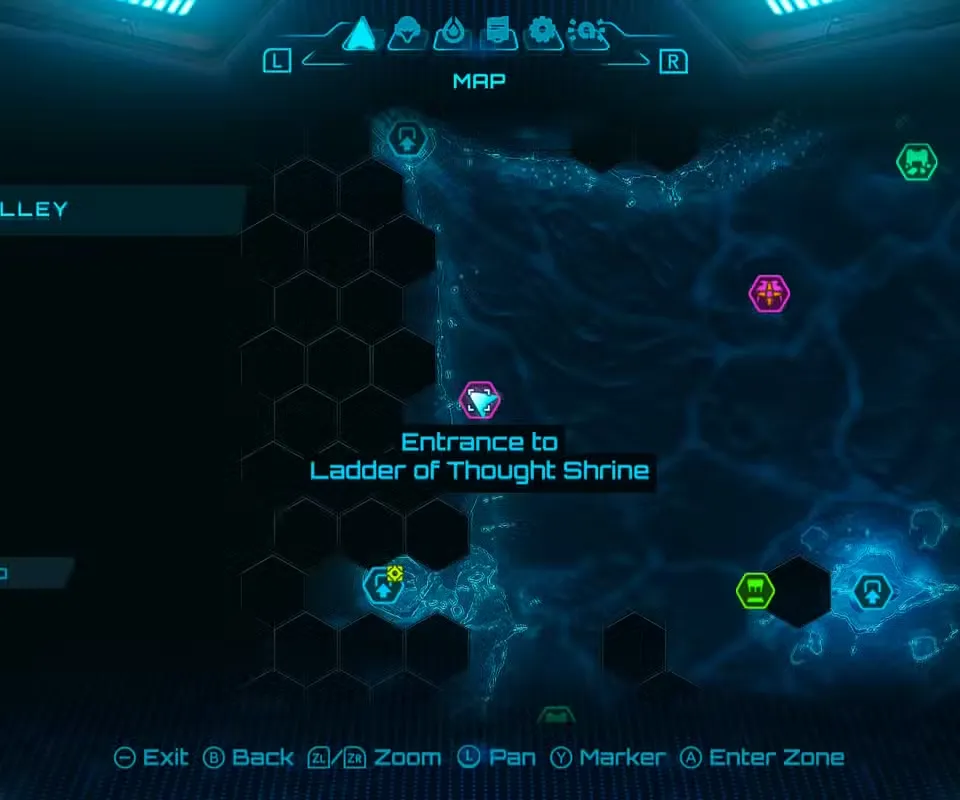
This one requires some precision platforming. Use your Fire Shot to access the Ladder of Thought Shrine on Sol Valley’s west side, just south of Ice Belt. After completing the platform puzzle, burn away the web to the right of the door using Fire Shot.
Here’s where it gets tricky: you need to perform a double bomb jump to reach the Morph Ball tunnel containing the Energy Tank. Here’s how:
- Press X while in Morph Ball form to spring up and place a bomb at the peak of your jump
- Spring again just before the bomb explodes to get launched into the tunnel
Master this technique—you’ll use it again later!
Energy Tank #6 – Sol Valley (Ring of Thunder Shrine)
Location: Sol Valley – Ring of Thunder Shrine
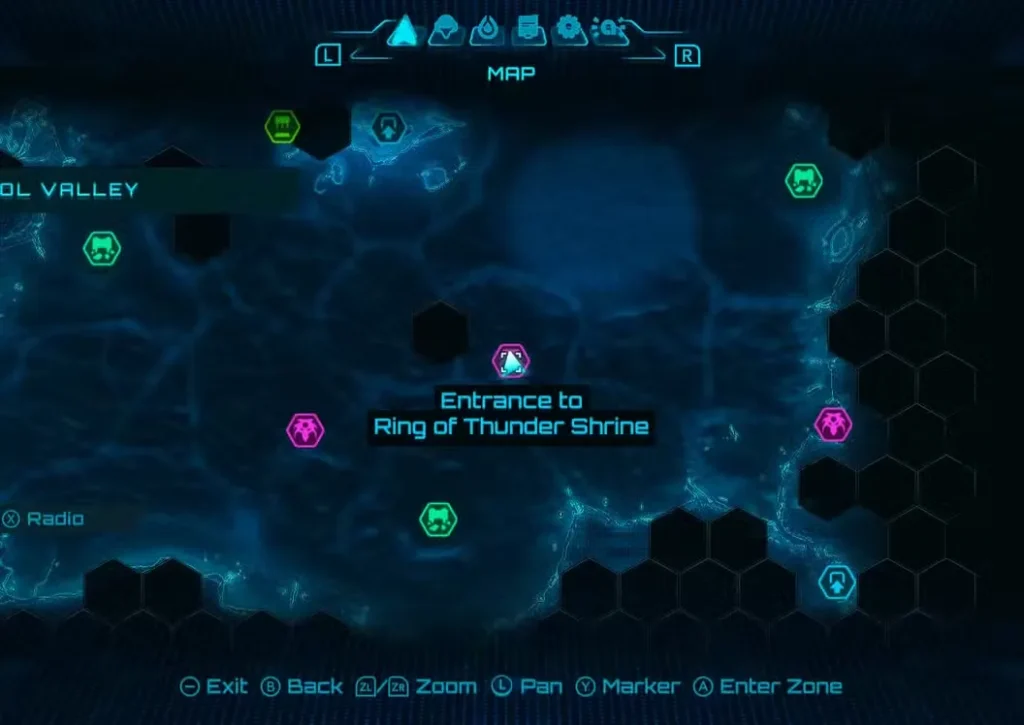
Head to the Ring of Thunder Shrine northwest of Flare Pool, but don’t go inside. Instead, walk around to the back of the statue outside. Use your Psychic Glove to open the hidden compartment on the statue’s back, revealing the Energy Tank. It’s a clever hiding spot that rewards thorough exploration.
Energy Tank #7 – Flare Pool (Storage Room)
Location: Flare Pool – Storage Room

In the Storage Room at Flare Pool, you’ll notice a large floating orb. Activate your Psychic Visor and trace the pattern on it to make the Energy Tank appear. These Psychic Visor puzzles are scattered throughout the game, so always keep an eye out for suspicious objects.
Energy Tank #8 – Volt Forge (Second Sylux Encounter)
Location: Volt Forge
Sylux returns! After unlocking the Psychic Grapple, you’ll make a return trip to Volt Forge and face Sylux again. Defeat him to earn another Energy Tank. By now, you should be getting familiar with his attack patterns.
Energy Tank #9 – Fury Green (Rods of Transference)
Location: Fury Green – Rods of Transference

This is one of the more involved collectibles. After acquiring all three elemental shots (Fire, Ice, and Thunder), return to the Rods of Transference area near base camp in Fury Green. Solve all three elemental puzzles, and an Energy Tank will materialize in front of the nearby statue as your reward.
Energy Tank #10 – Sol Valley (Tower Near Volt Forge)
Location: Sol Valley – Volt Forge Entrance
Right in front of the entrance to Volt Forge, there’s a tower with an Energy Tank inside. The solution is simple but easy to miss: shoot a Thunder Shot into the small opening near the bottom of the tower to access the collectible. Keep this in mind for other similar structures you encounter.
Energy Tank #11 – Ice Belt (Ice Canyon)
Location: Ice Belt – Ice Canyon
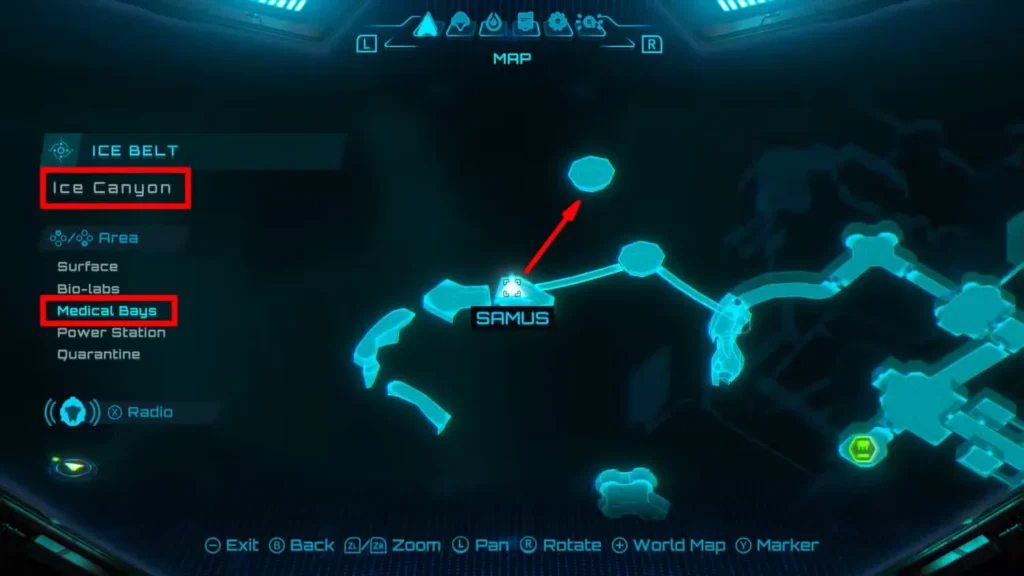
Make a return visit to Ice Belt after obtaining Psychic Grapple. Head to Ice Canyon—the windy section with chains and platforms. Switch to your Psychic Visor to reveal the Psychic Grapple Points, then use them to swing across the gap to a platform holding an Energy Tank. The wind can make this tricky, so time your swings carefully.
Energy Tank #12 – Great Mines (Mine Shaft Level 2)
Location: Great Mines – Mine Shaft Level 2
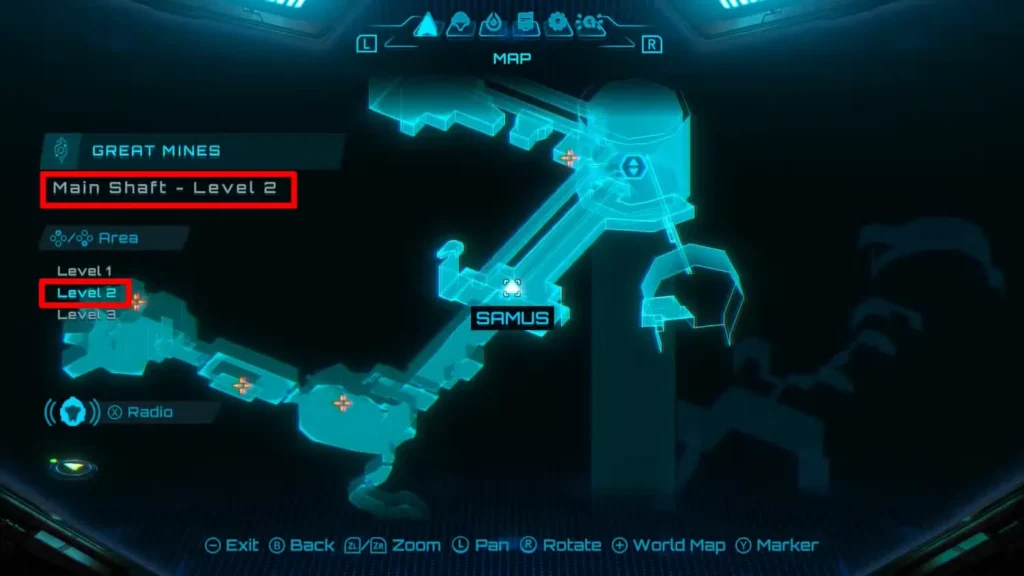
After using Boost Ball to activate the bridge in Mine Shaft Level 2, don’t just cross it. Activate your Psychic Visor to reveal hidden Psychic Platforms along the side of the bridge. Use these platforms to jump up and snag the Energy Tank above. These invisible platforms are easy to overlook, so always scan your surroundings.
For more on navigating the Great Mines, see our Manufacturing Floor guide.
Energy Tank #13 – Flare Pool (Volcano Heart)
Location: Flare Pool – Volcano Heart
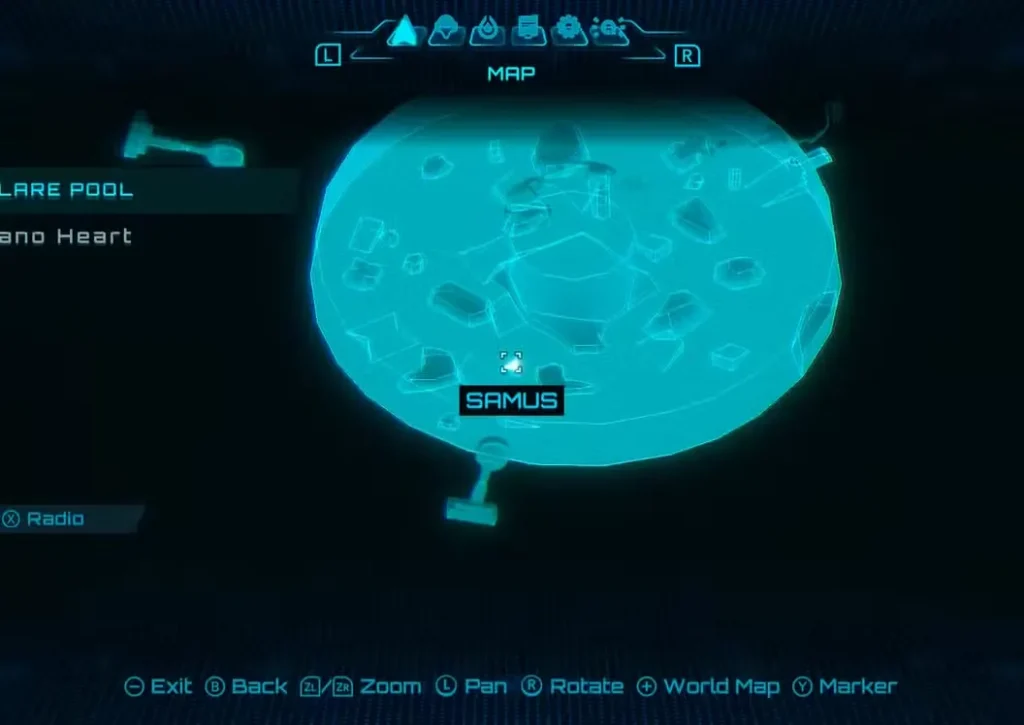
Return to Volcano Heart in Flare Pool—the arena where you fought Phenoros earlier. Near the room’s entrance, you’ll spot a small container sitting on a rock. Shoot it to reveal the Energy Tank, but watch out! A creature will steal the tank and make a run for it. Chase it down and defeat it to finally claim your prize. This is one of the more unique Energy Tank encounters in the game.
Energy Tank #14 – Great Mines (Chasm Tunnel, Level 3)
Location: Great Mines – Chasm Tunnel (Level 3)
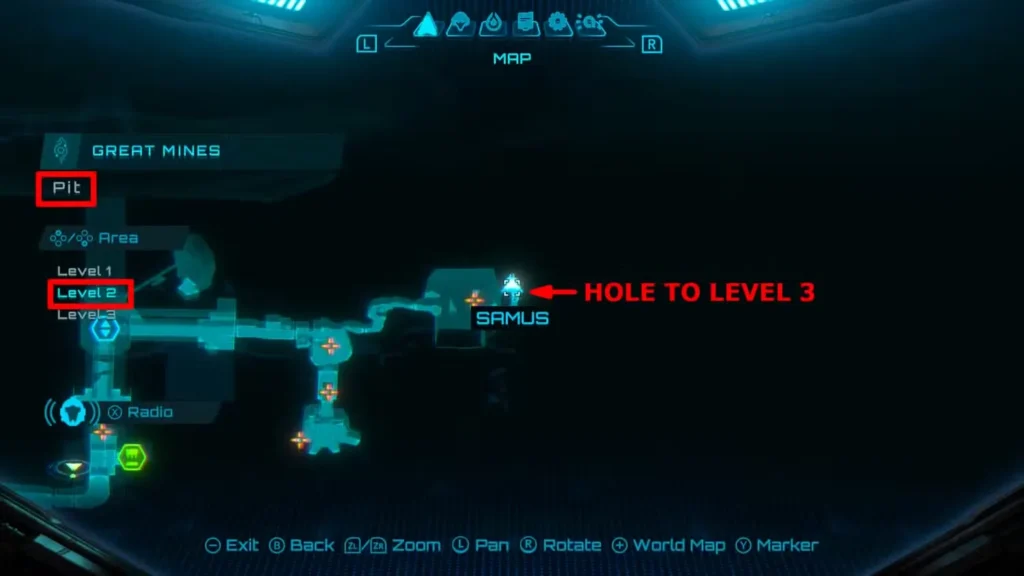
This is the most involved Energy Tank to collect, requiring multiple abilities. You’ll need the Psychic Power Bomb for this one. Start at Mines Level 2 and use the Pit to drop down to Level 3. Progress forward until you reach Main Nest Tunnel.
Here’s the sequence:
- Use a Power Bomb to destroy the Gibardaum Ore wall blocking your path
- Follow the path and use Fire Shot to clear a web, revealing a Morph Ball tunnel
- Inside the tunnel is a large half-pipe section
- Combine Boost Ball and Tether Nodes to build up speed
- At the top of the half-pipe, perform a double bomb jump to grab the Energy Tank
This final tank really tests all the skills you’ve learned throughout the game!
Tips for Energy Tank Hunting
- Backtrack with new abilities: Many Energy Tanks are in areas you visit early but can only access later. Keep a mental note of suspicious containers and blocked paths.
- Use your visors: The Psychic Visor reveals tons of hidden collectibles. Get in the habit of scanning every room thoroughly.
- Master the double bomb jump: This technique is crucial for several Energy Tanks. Practice it early so you’re ready when you need it.
- Don’t stress about order: While this guide follows the story progression, you can grab many tanks out of order if you prefer exploring freely.
For more collectibles, check out our guides on Scout Bot locations and Mech Parts.
Frequently Asked Questions
How many Energy Tanks are in Metroid Prime 4: Beyond?
There are 14 Energy Tanks total in Metroid Prime 4: Beyond. Each one increases Samus’s maximum health, making them essential for surviving tougher encounters later in the game.
Can you miss any Energy Tanks permanently?
No, you can’t permanently miss any Energy Tanks. The game allows you to backtrack to all areas, so even if you can’t access a tank during your first visit to a location, you can always return later once you’ve unlocked the necessary abilities.
What ability do I need most for collecting Energy Tanks?
The Psychic Visor and Psychic Glove are essential for revealing and accessing many Energy Tanks. The elemental shots (Fire, Ice, Thunder) and Psychic Grapple are also required for specific tanks. Mastering the double bomb jump technique is crucial for at least two Energy Tanks.
How much health does each Energy Tank give?
Each Energy Tank increases Samus’s maximum health by one full energy unit (100 energy). With all 14 Energy Tanks collected, you’ll have significantly more survivability for the game’s toughest challenges and boss fights.
With all 14 Energy Tanks collected, you’ll be well-prepared to face anything Metroid Prime 4: Beyond throws at you. Happy hunting, and don’t forget to check out our beginner tips guide for more helpful advice!