If you’re hunting down every collectible in Metroid Prime 4 Beyond, you’ll definitely want to max out your Missile capacity. There are 48 Missile Expansions scattered throughout the game, and collecting them all boosts your ammo reserves to an impressive 250 Missiles—a huge help for tough bosses and exploration challenges.
Here’s the thing: you won’t be able to grab every Missile Expansion on your first visit to each area. Many are locked behind abilities you unlock later in the game, like Psychic Boots, Spider Ball, Super Missiles, and more. So expect to backtrack once you’ve powered up Samus with new gear.
This guide breaks down every single Missile Expansion location by region, with clear instructions on what you need to collect each one. Let’s dive in!
Fury Green Missile Expansions (6 Total)
Fury Green is one of the earlier areas you’ll explore, but several of these expansions require late-game abilities.
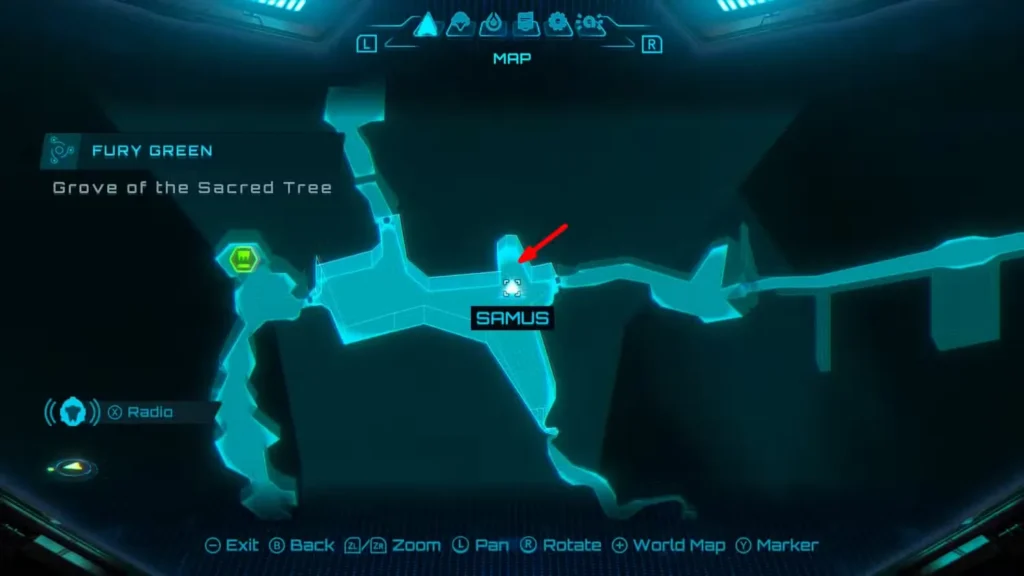
- Expansion #1 – Grove the Sacred Tree: Use a Missile to blast through the sap wall blocking an alcove. Simple grab once you have your Missile Launcher.
- Expansion #2 – Cliffside Gate: After unlocking Psychic Boots, activate the Psychic platforms with your Psychic Visor and jump up to the ledge.

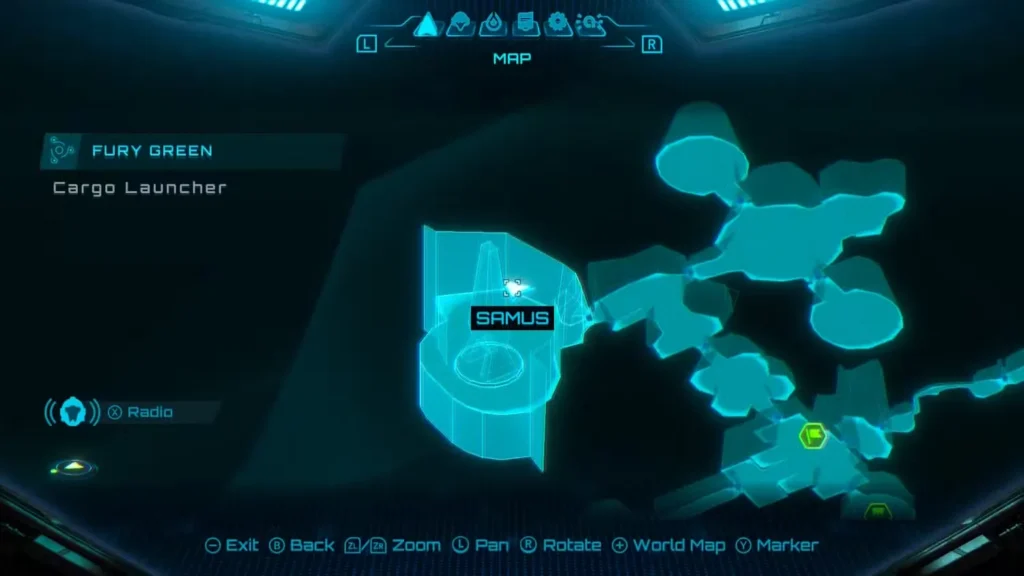
- Expansion #3 – Cargo Launcher: Another set of Psychic Platforms here. Activate them with your visor once you have Psychic Boots equipped.
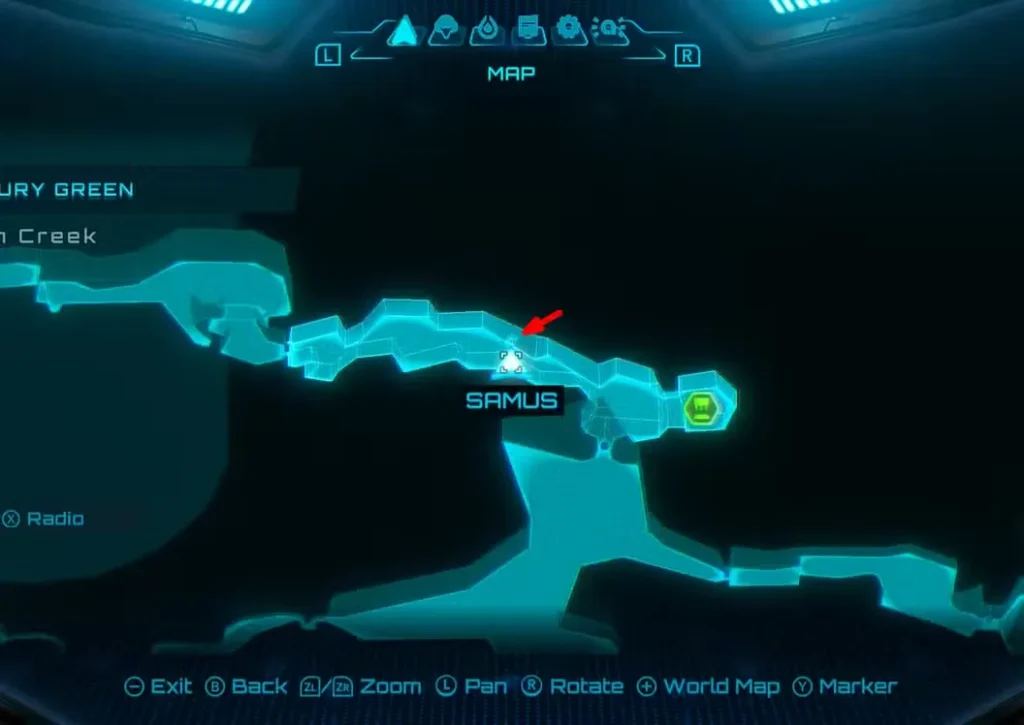
- Expansion #4 – Resin Creek: Look for a red growth on the north wall. Roll into Morph Ball mode and drop a bomb next to it to reveal the expansion.
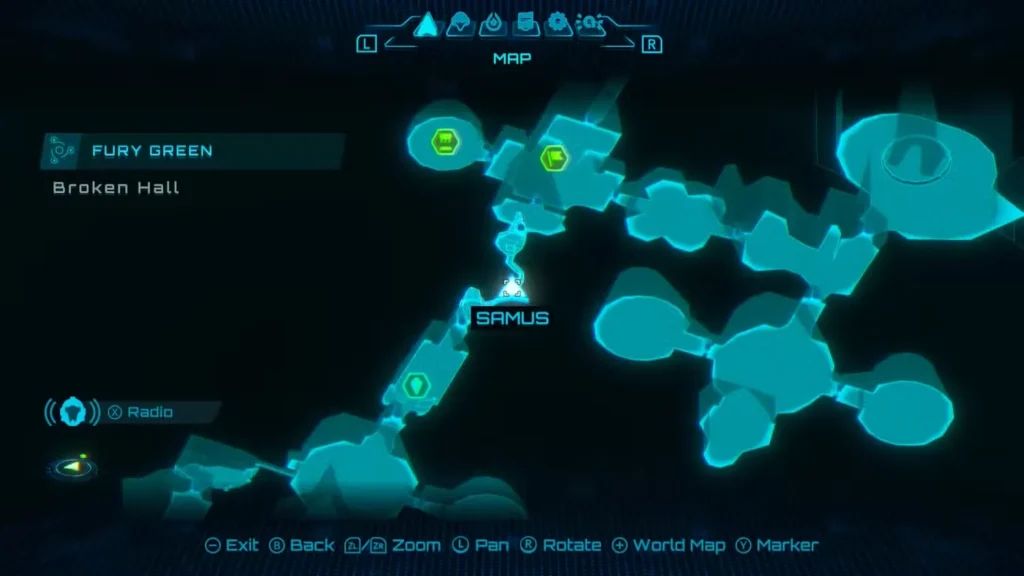
- Expansion #5 – Broken Hall: Similar to the last one—find the red growth in the Morph Ball tunnel and bomb it open.
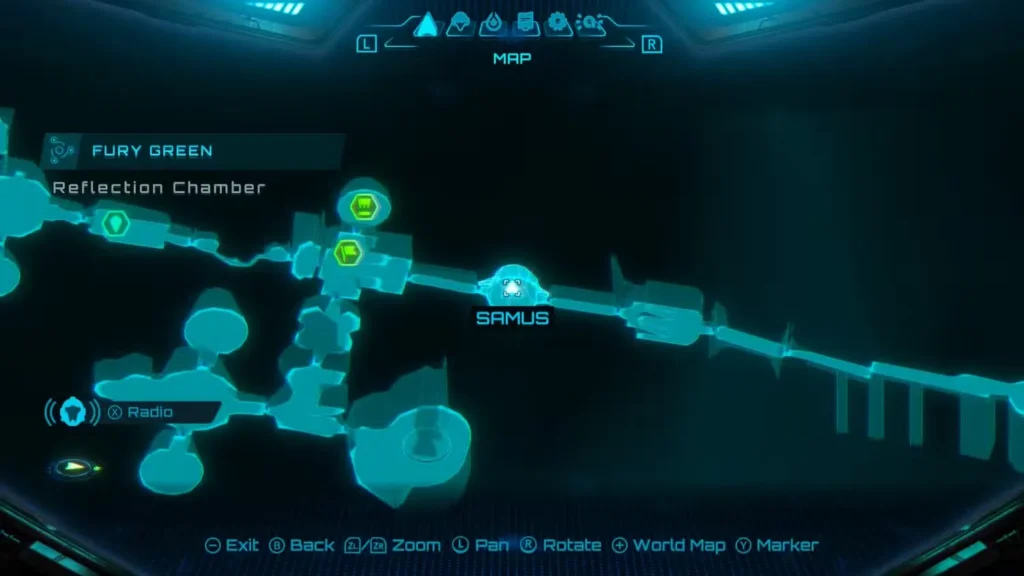
- Expansion #6 – Reflection Chamber: You’ll need Super Missiles for this one. Blast the heavy container to claim your reward.
Volt Forge Missile Expansions (8 Total)
Volt Forge is packed with Missile Expansions, and many require clever use of abilities like Boost Ball and Psychic Lasso. If you’re stuck on where to go after Volt Forge, we’ve got you covered.
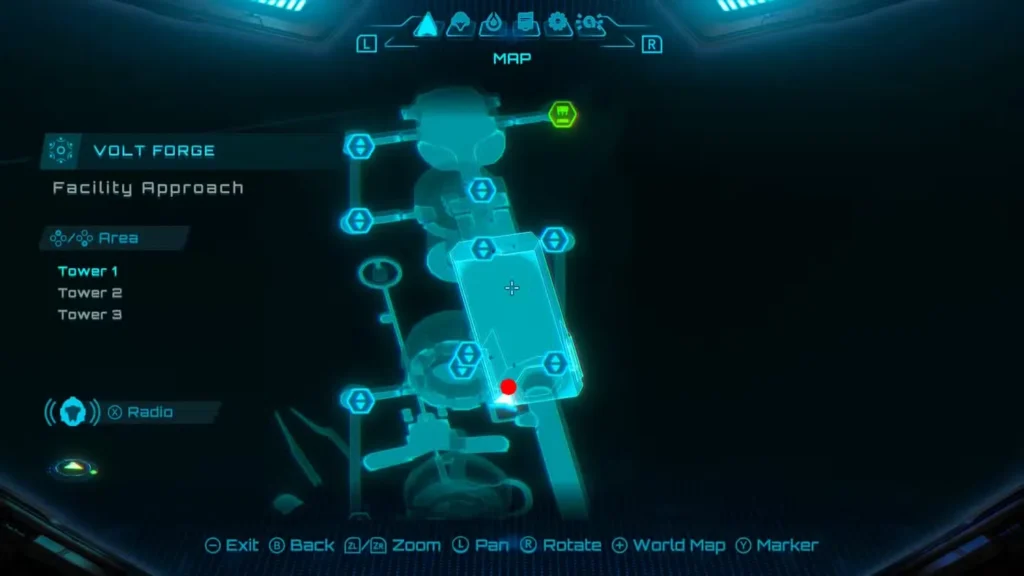
- Expansion #1 – Facility Approach (Tower 1): Check the bottom-left corner when you first enter via Vi-O-La. It’s tucked inside a container.
- Expansion #2 – Receiving Lobby (Tower 2): Enter the Morph Ball path in the floor and carefully navigate the electrified sections to reach the center.

- Expansion #3 – Certification (Tower 3): Destroy the rubble near the Facility Core door with a Missile, then use your Psychic Visor to trace the pattern on the floating container.

- Expansion #4 – Speed Tunnel C: Fire a Control Beam into the elevated tunnel to hit the target and reveal the expansion. Double jump up to grab it.

- Expansion #5 – Loading Airlock (Tower 1): Use Boost Ball in the Spinner to smash one suspended container into another until it drops the expansion.

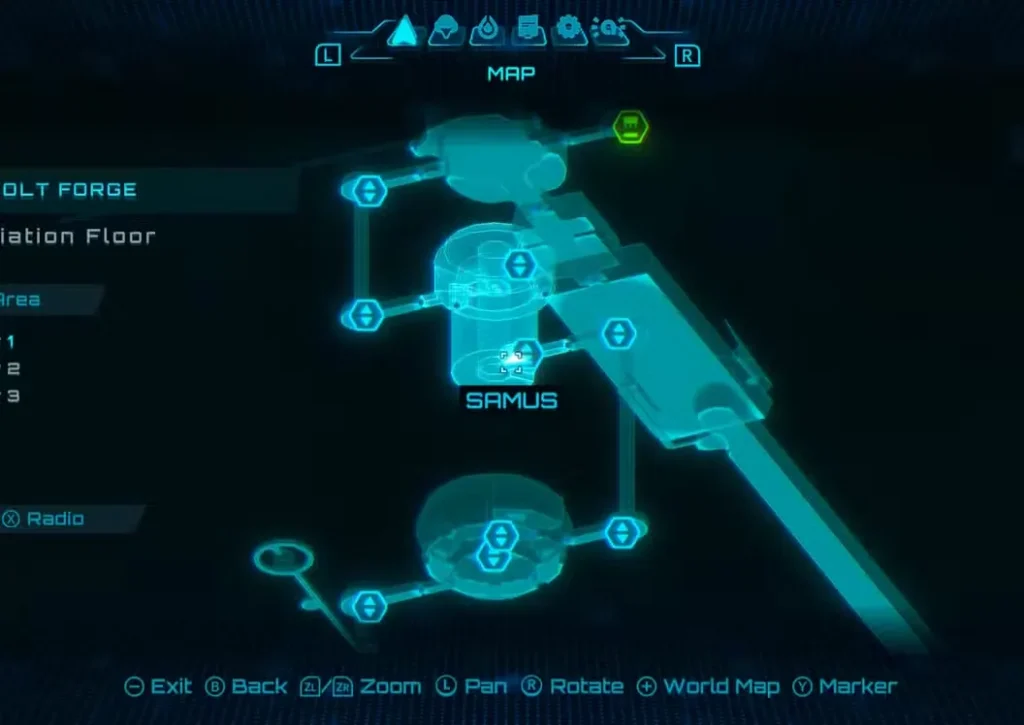
- Expansion #6 – Irradiation Floor (Tower 1): Once you have Boost Ball, enter the central structure in Morph Ball mode and ride the half pipes upward to the top.
- Expansion #7 – Processing (Tower 2): Hit the Spinner surrounded by robotic arms with Boost Ball to unlock the expansion.

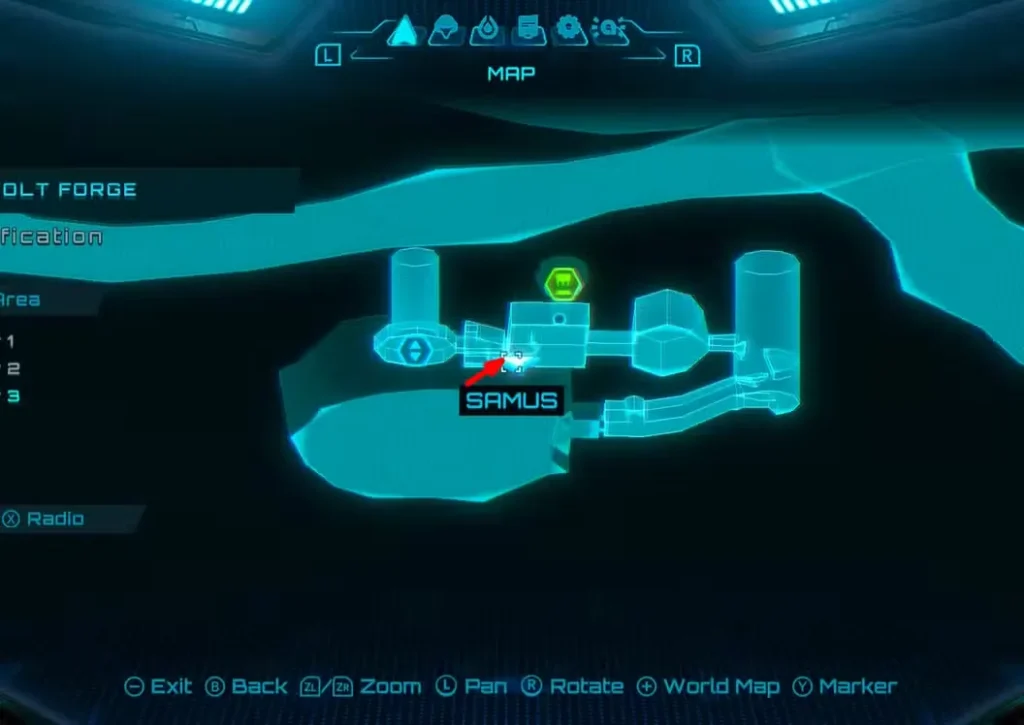
- Expansion #8 – Certification (Tower 3): Use Psychic Lasso to remove a machine cover, then repeatedly blast the core with Thunder Shots to open the nearby container.
Ice Belt Missile Expansions (8 Total)
The Ice Belt region mixes environmental puzzles with combat challenges. Don’t forget to check out our Ice Belt TK Code locations guide while you’re exploring.
- Expansion #1 – Loading Crane: Enter the bomb slot as a Morph Ball and drop a bomb to open the gate.

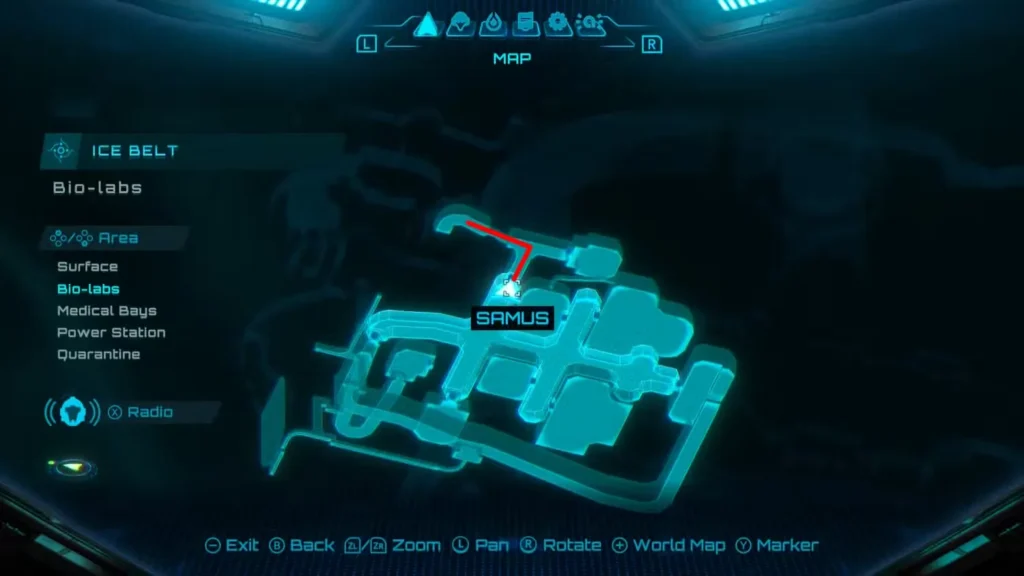
- Expansion #2 – Bio-labs Access: Use Psychic Lasso to unlock the door, clear debris on the left, and enter the Morph Ball tunnel. Destroy the ice wall with a Fire Shot to reveal the expansion.
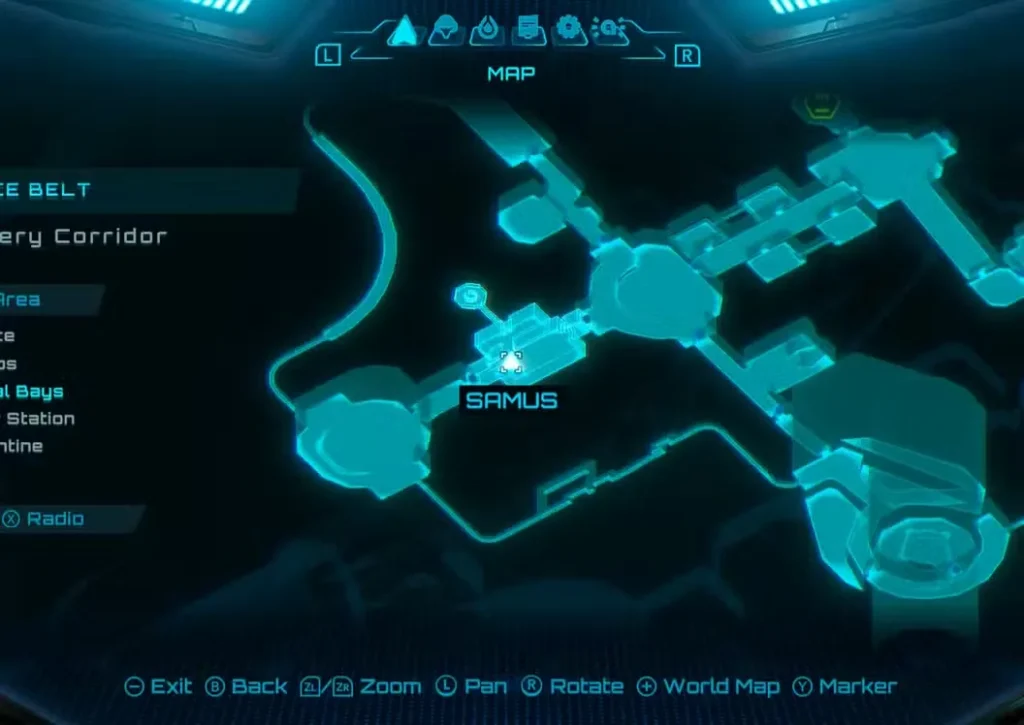
- Expansion #3 – Surgery Corridor: Blast the ice wall with Fire Shot, then use Psychic Lasso to access the Morph Ball tunnel. Bomb the metal barrier to grab the expansion.
- Expansion #4 – Staging Corridor: Bomb your way through the Morph Ball tunnel connecting two small rooms.

- Expansion #5 – Elevator Landing: Return here after unlocking Thunder Shot. Blast open the large door to claim your prize.

- Expansion #6 – Ancient Temple: Check beneath the entrance ramp for an easy grab.

- Expansion #7 – Lobby Conduit: Use Spider Ball to reach the bottom-left corner, then launch yourself toward two red lights with Psychic Tethers. Quickly bomb both lights to release the expansion.

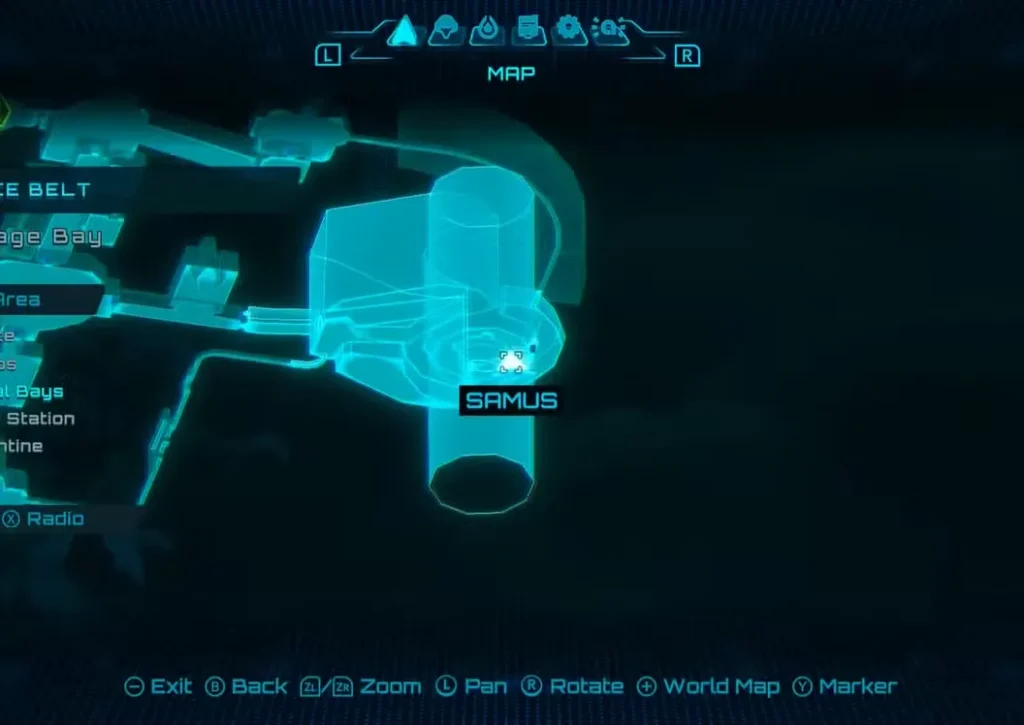
- Expansion #8 – Storage Bay: Enter the Morph Ball slot at the platform’s base, use Spider Ball tracks on the left, and perform a double bomb jump to reach it. (Timing tip: Place a bomb, wait a beat, place another. When the first explodes, drop a third bomb at boost height, then let the second track bomb launch you into the raised bomb.)
Flare Pool Missile Expansions (9 Total)
Flare Pool has the most Missile Expansions of any region, so you’ll be busy here. Several require advanced movement tech.
- Expansion #1 – Volcano Entrance: Activate Psychic platforms above the lava pool and use Psychic Boots to reach the tank.

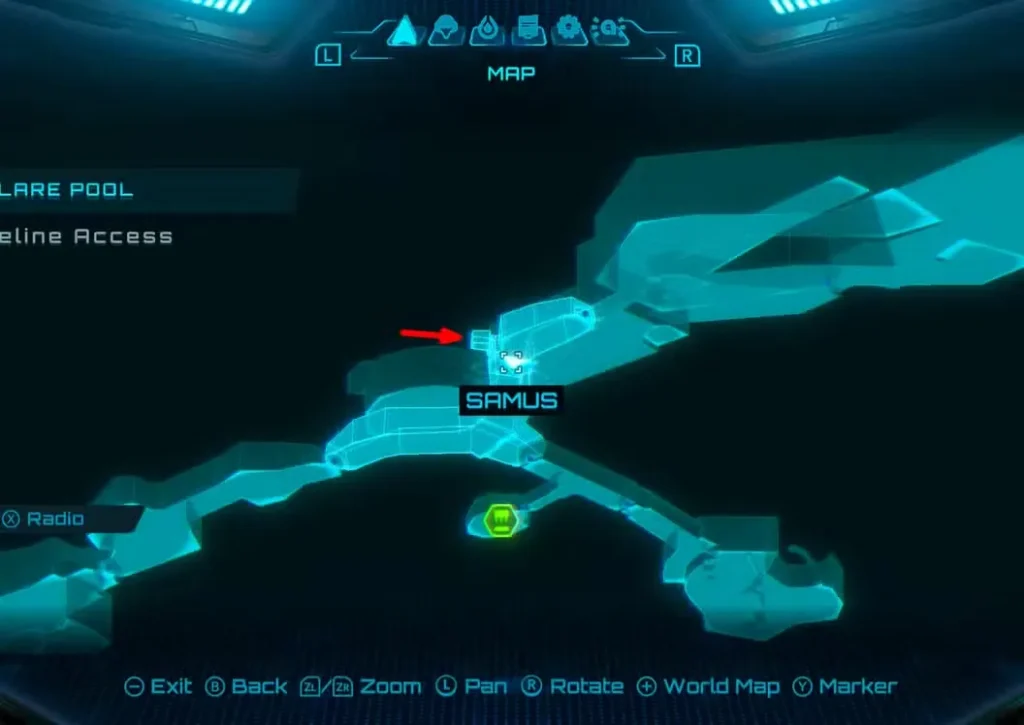
- Expansion #2 – Shoreline Access: Freeze falling lava with an Ice Shot, then destroy it with a Missile to access the alcove.
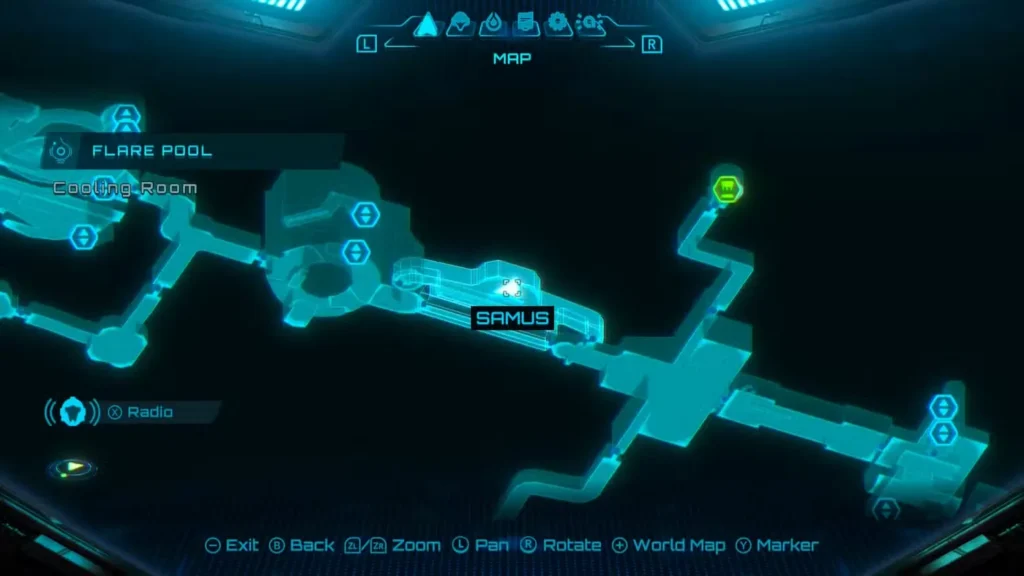
- Expansion #3 – Cooling Room: Straightforward pod grab in this room.
- Expansion #4 – Subobservation Room: Missile the metal barrier to reveal a bracket, use Psychic Lasso to pull it, then enter with Morph Ball. Perform a double bomb jump at the top—spring up, place a bomb at jump height, then spring again before it explodes for a boost.

- Expansion #5 – Overseer Room: Remove the ceiling panel with Psychic Lasso, toss a bomb into the slot, then use a single Control Beam to hit all three emerging points.

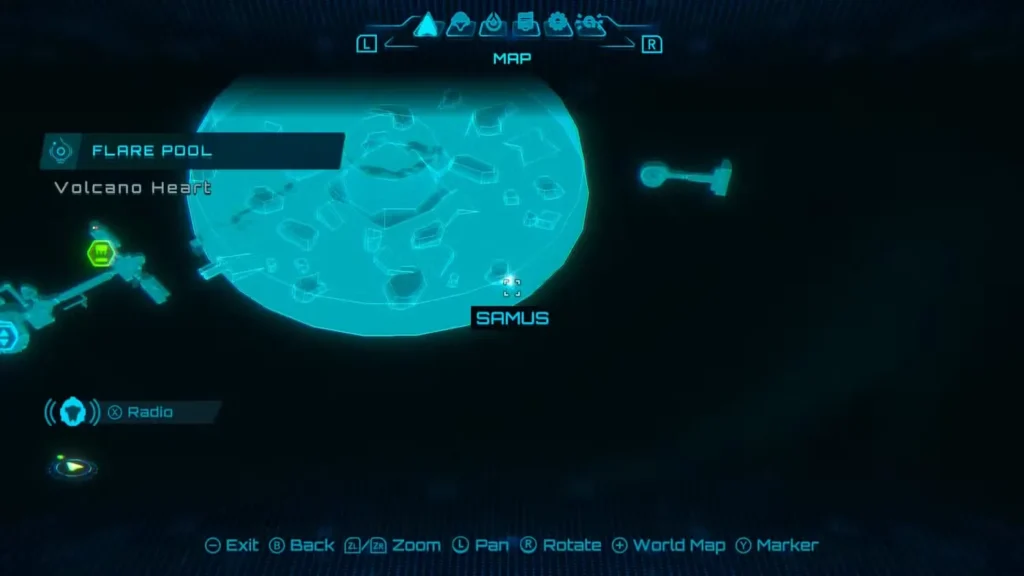
- Expansion #6 – Volcano Heart: After defeating Phenoros, grab the expansion hovering above the lava on the right side.
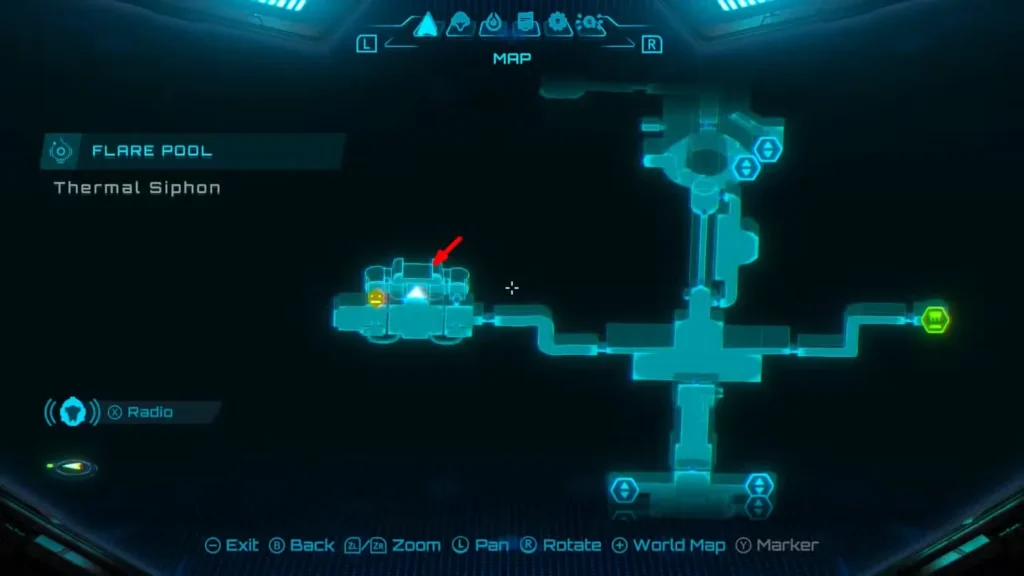
- Expansion #7 – Pressure Monitoring: Use Psychic Lasso on the generator cover, then repeatedly hit the core with Thunder Shots to open two containers (one has the expansion).
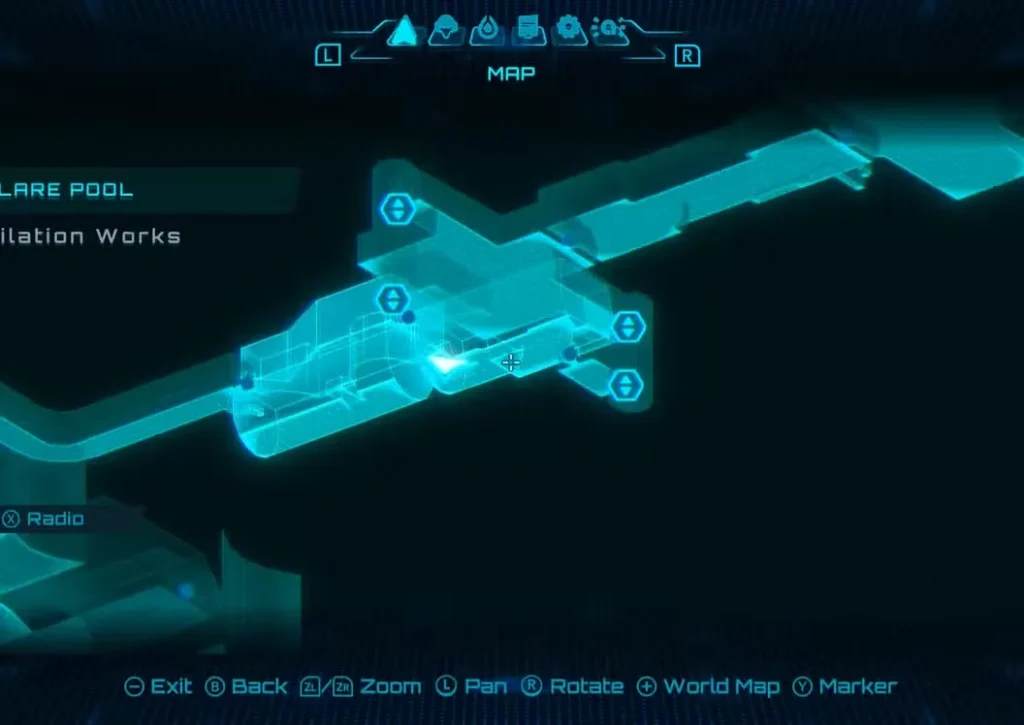
- Expansion #8 – Ventilation Works: Boost Ball up the half pipe to reach a Spider Ball track leading to the expansion.
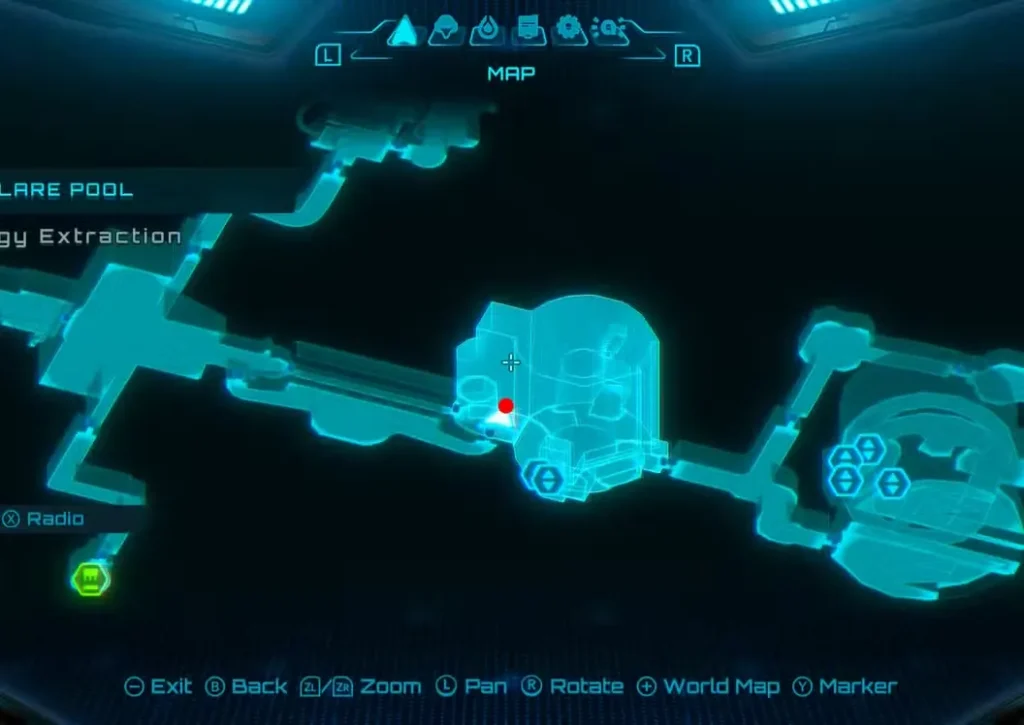
- Expansion #9 – Energy Extraction: After unlocking Spider Ball, use wall tracks to reach the expansion. Watch out for electrical hazards and use bombs to boost across track gaps.
Great Mines Missile Expansions (7 Total)
Great Mines is a late-game area with some tricky expansions requiring Super Missiles and Power Bombs.
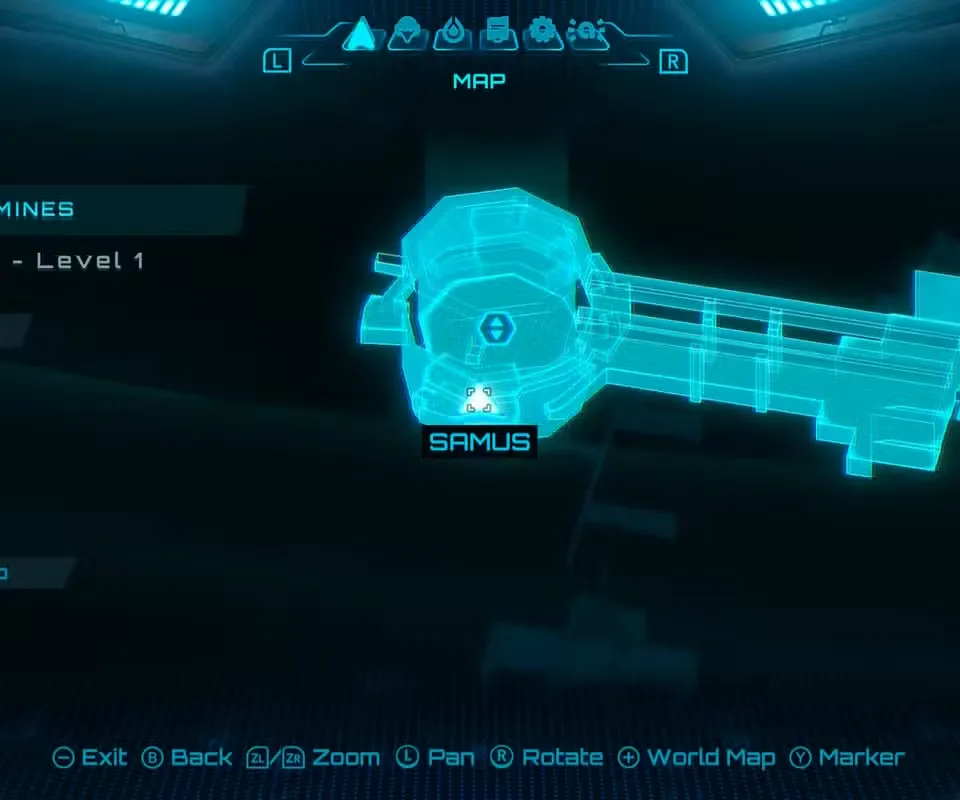
- Expansion #1 – Mine Shaft (Level 1): Climb the exterior Spider Ball track on the elevator shaft. Skip the first track you see, jump the gap, descend the next track, jump left, and climb another track to find it.
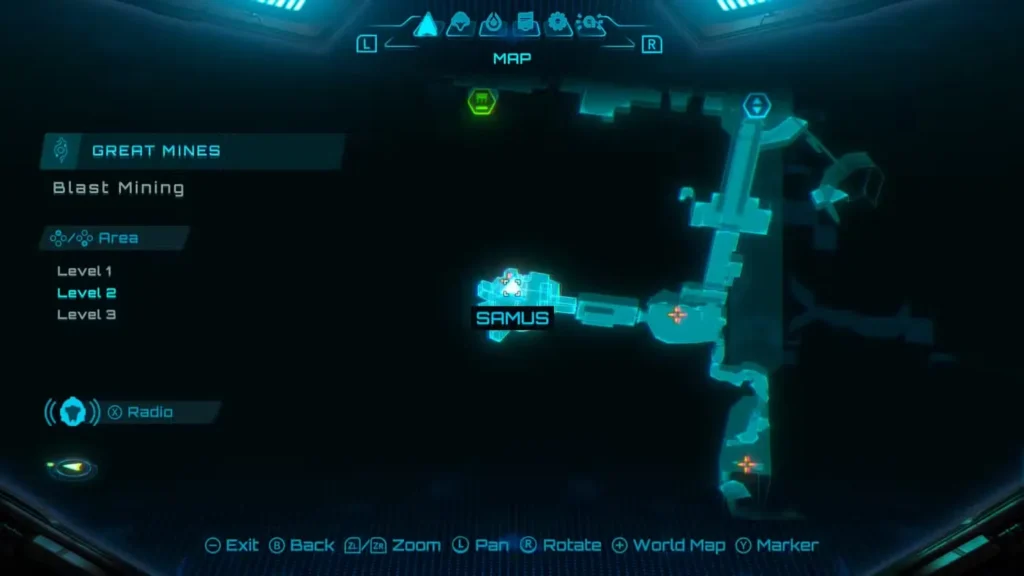
- Expansion #2 – Blast Mining (Level 2): Super Missile through the rock wall.
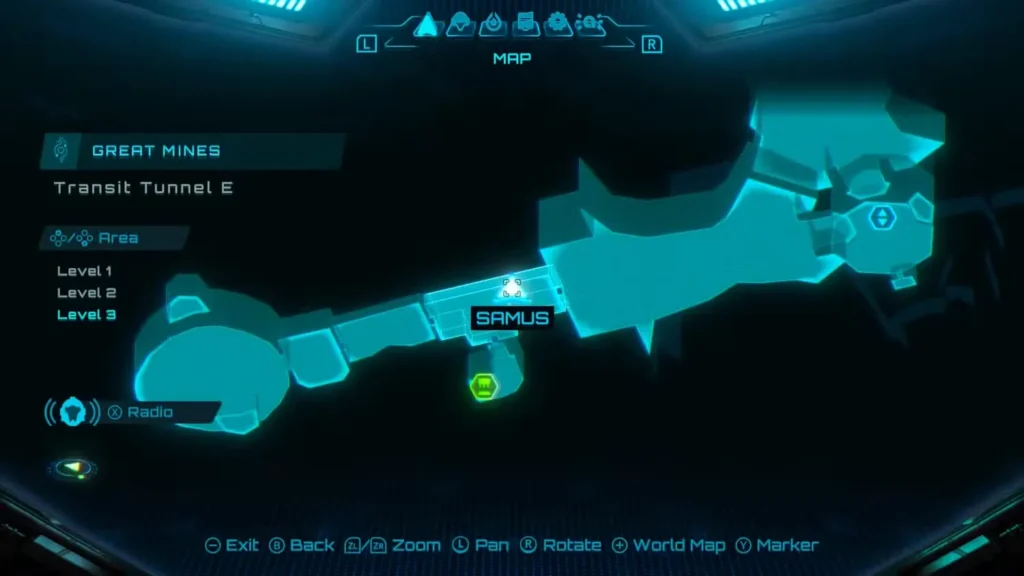
- Expansion #3 – Tunnel E (Level 3): Use Psychic Lasso to raise a door on a tube, enter the tunnel, and head left.
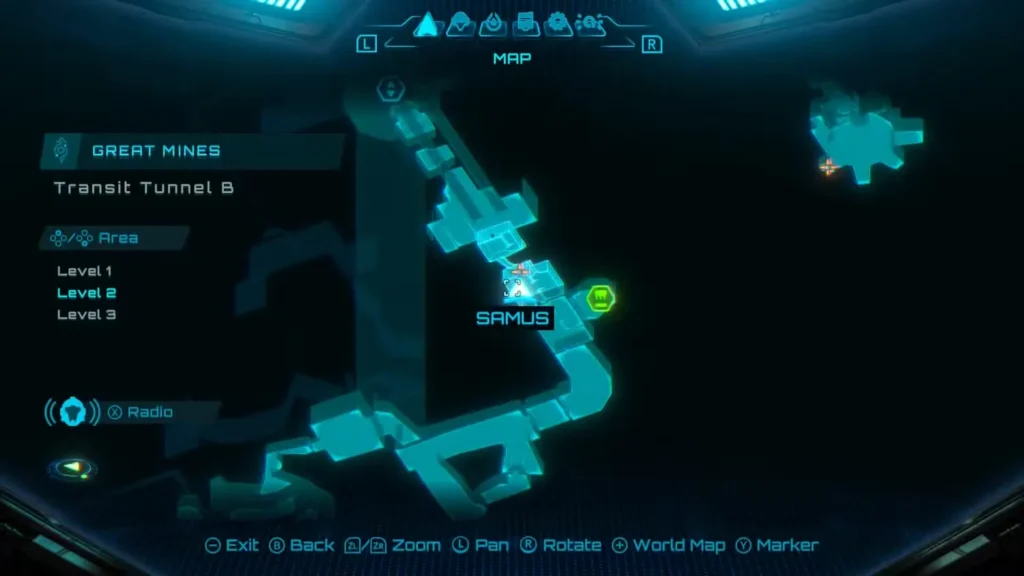
- Expansion #4 – Transit Tunnel B (Level 2): Super Missile the container on the crashed cart.
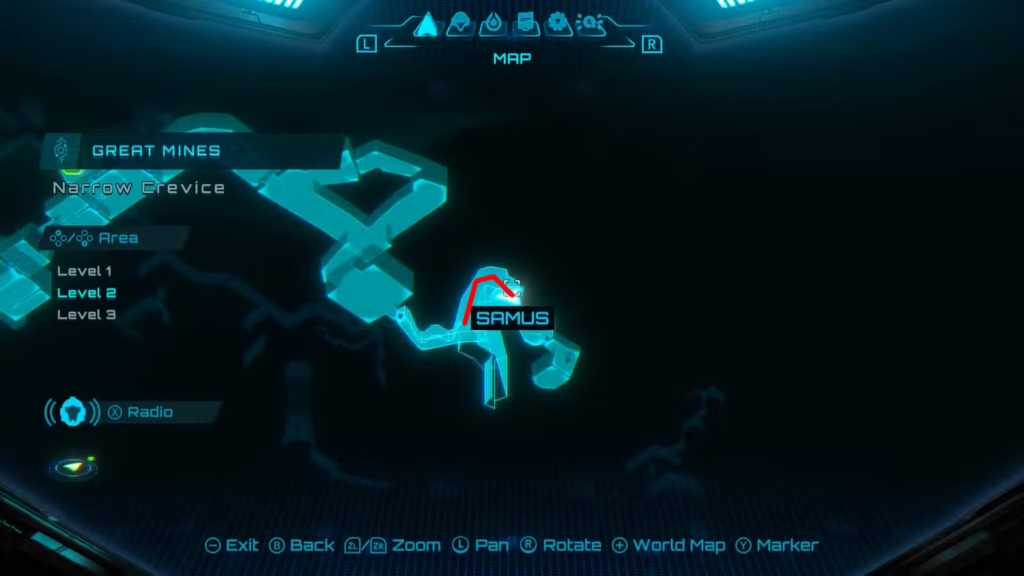
- Expansion #5 – Narrow Crevice (Level 2): Use Psychic Grapple to swing from ceiling creatures to reach the ledge.
- Expansion #6 – Transit Tunnel A (Level 1): Super Missile the heavy latch to access the room.

- Expansion #7 – Easing Tunnel (Level 2): Insert a Power Bomb into the slot, then Super Missile the crystals in the cart that appears.

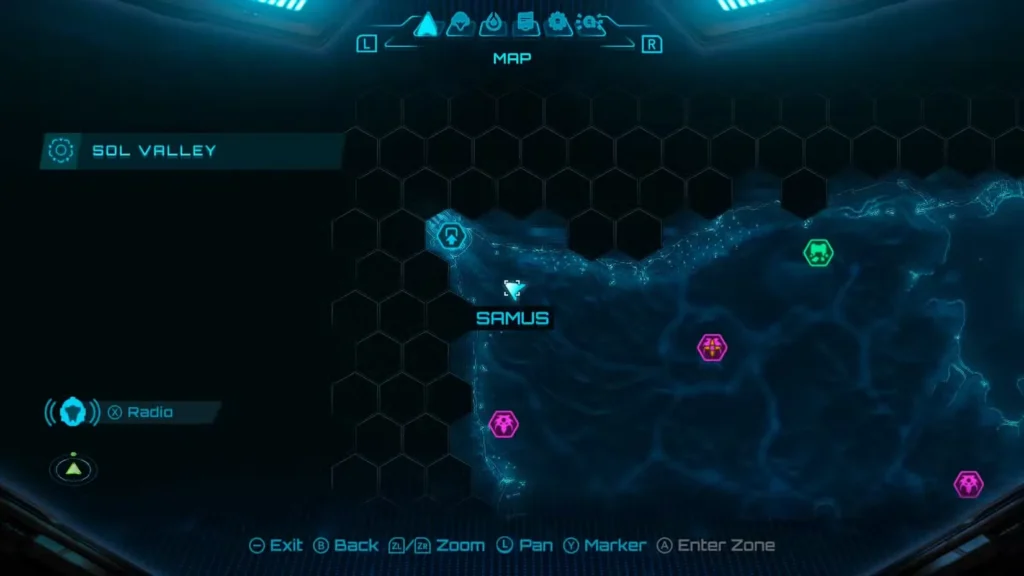
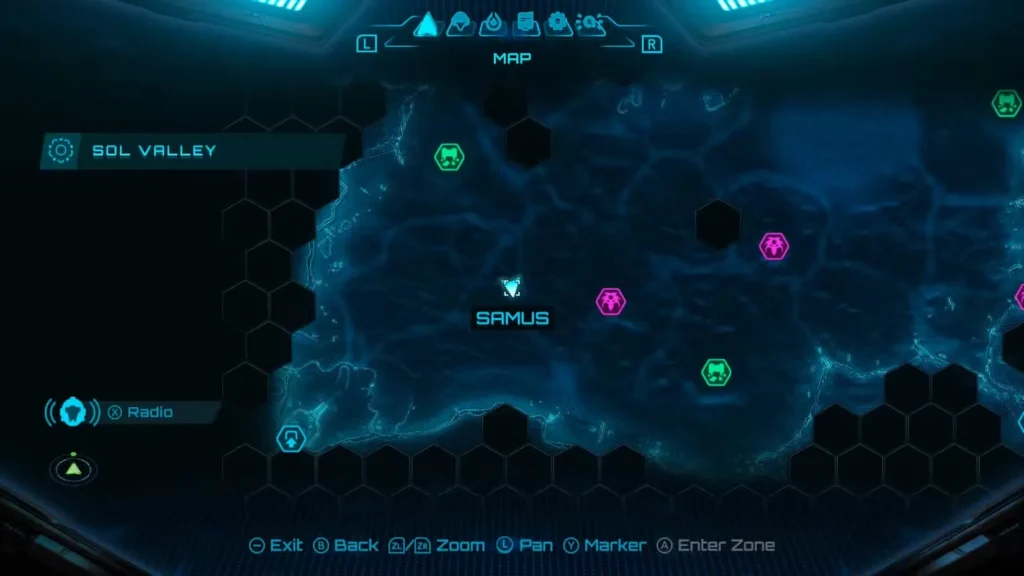
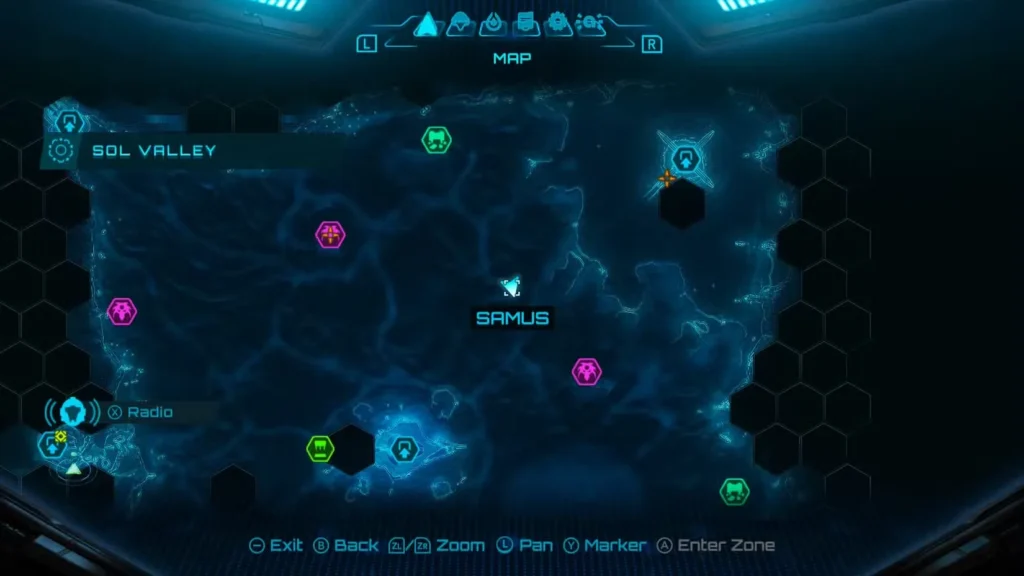
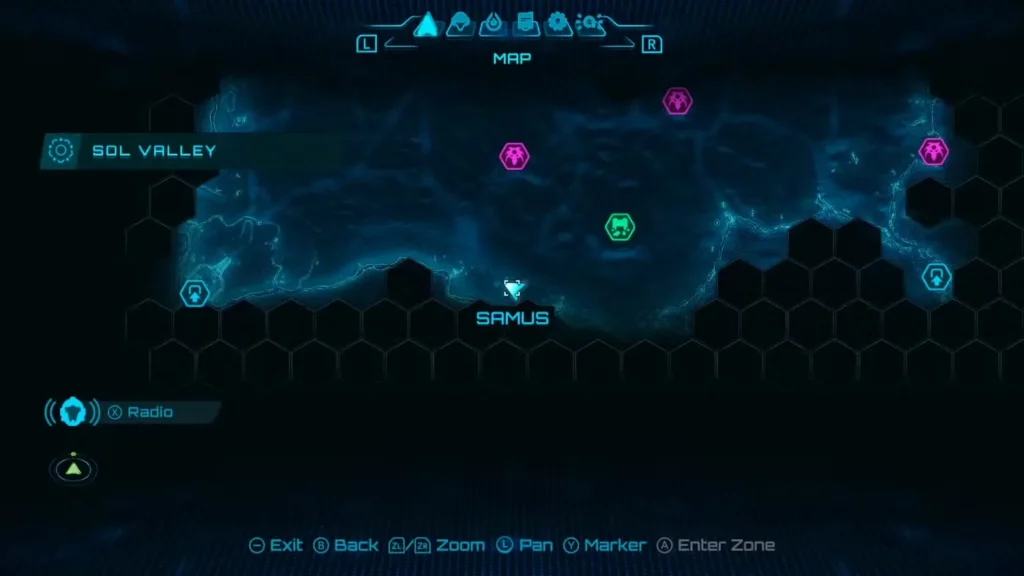
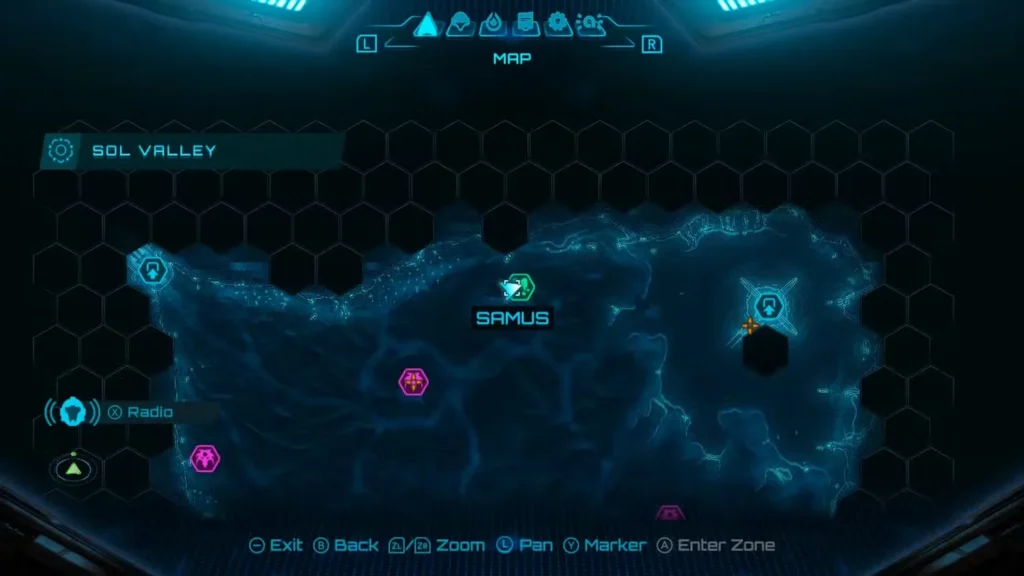
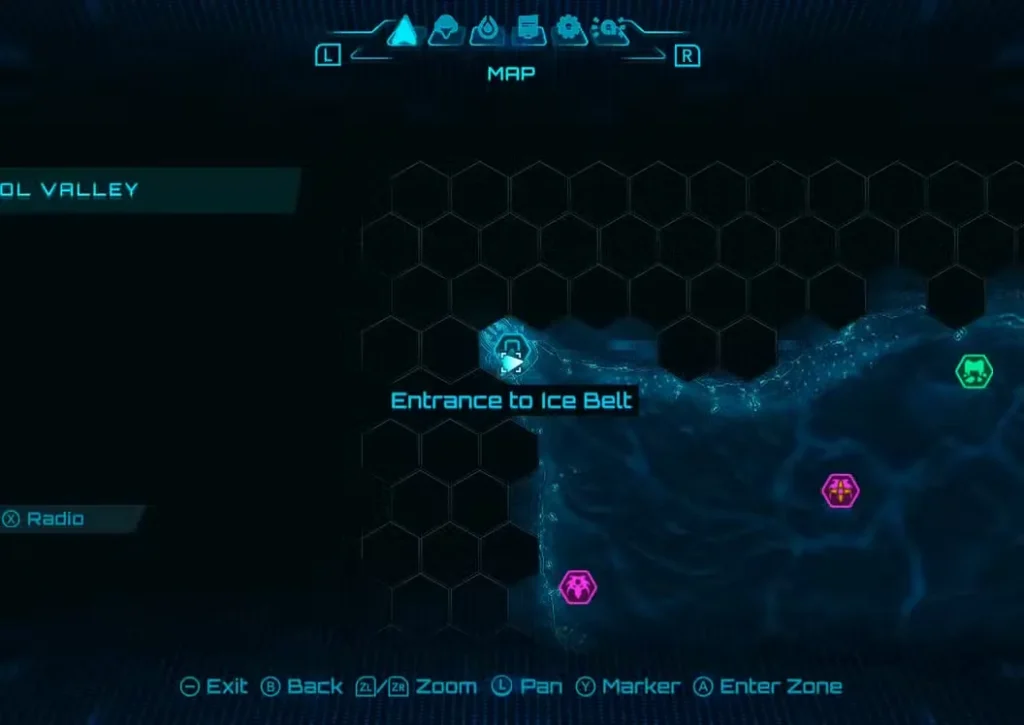
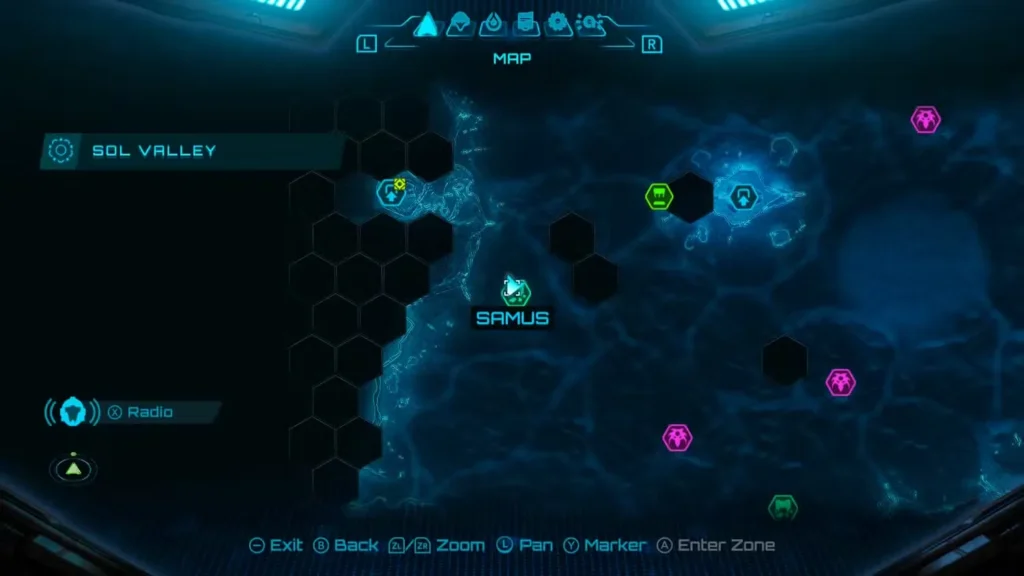
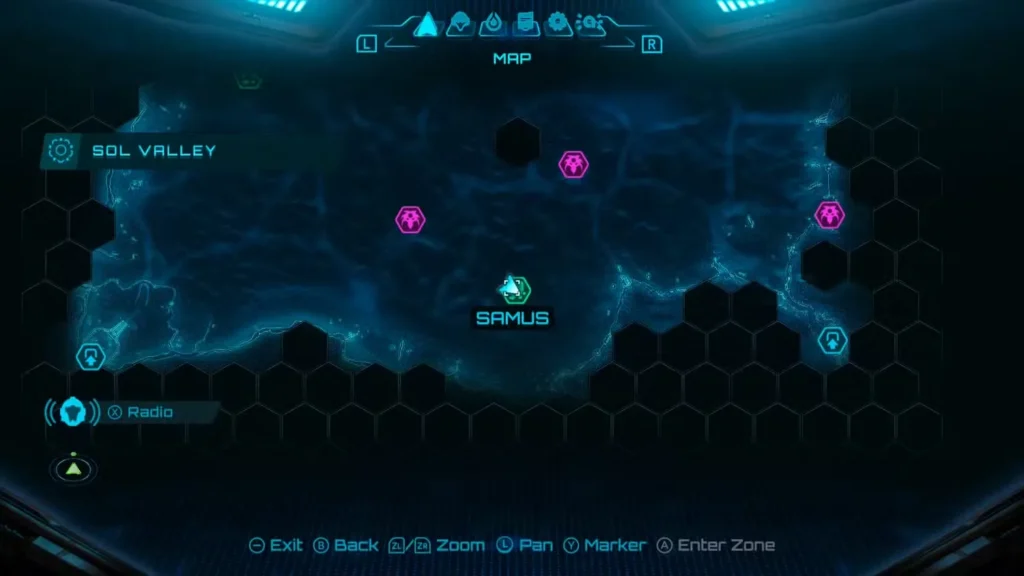
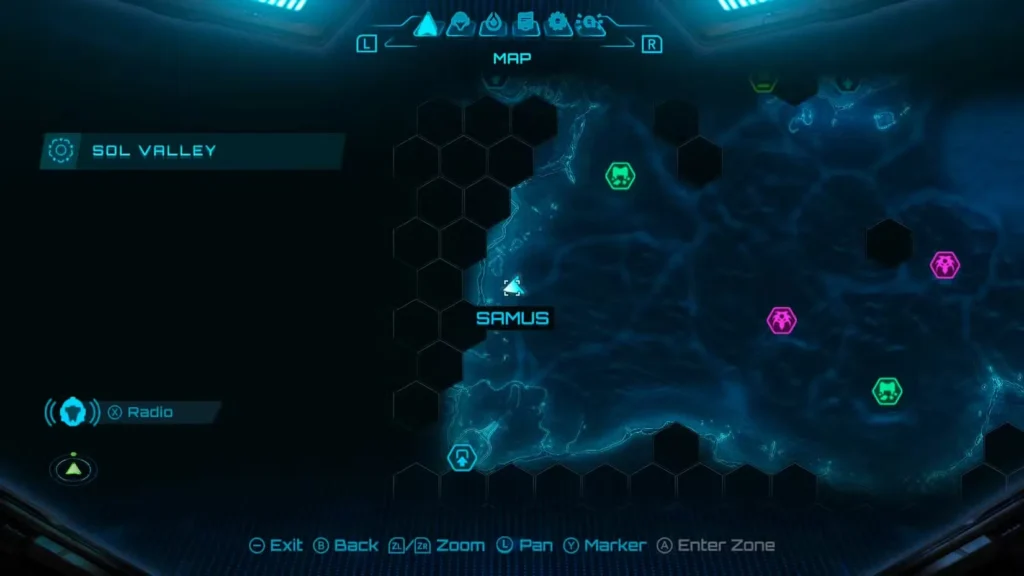
Sol Valley Missile Expansions (10 Total)
Sol Valley is the overworld hub connecting all regions, and these expansions are spread across the desert. Check out our Desert Upgrade Shrines guide for more Sol Valley secrets.
- Expansion #1: Use Psychic Lasso to pull a container from the sand just southeast of Ice Belt.
- Expansion #2: Pull another container west of Floating Path Shrine.
- Expansion #3: Northwest of Falling Labyrinth Shrine, use Psychic Lasso on buried container.
- Expansion #4: Boost up a ramp to hit the expansion hovering inside a tall rock formation opening.
- Expansion #5: Break crates inside the northern G.F. Debris site building.
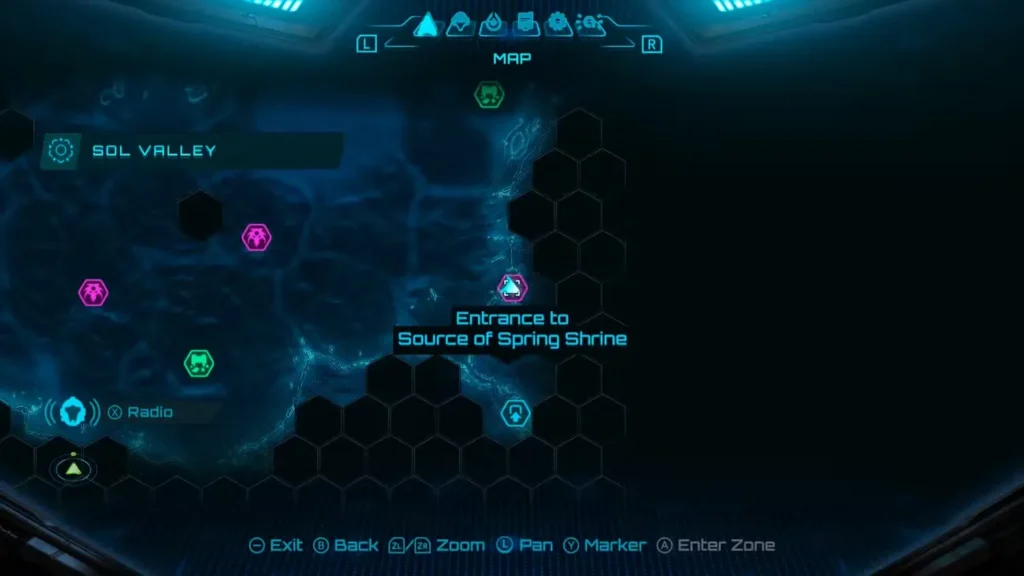
- Expansion #6: Enter the Source of Spring Shrine north of Flare Pool and roll through the Morph Ball tunnel at the bottom.
- Expansion #7: From Ice Belt, pass the elevator and use Psychic Grapple to reach an exterior platform. Use Psychic Boost Ball in the edge rail to reach the expansion.
- Expansion #8: At the G.F. Debris site southeast of Fury Green, shoot a Control Beam into the antenna tube. Grapple from the fallen antenna to reach the expansion.
- Expansion #9: Head to the southern G.F. Debris site, hit the metal shutter with Thunder Shot, and use the revealed Morph Ball tunnel.
- Expansion #10: After completing Great Mines, find Tokabi at various campfire locations throughout Sol Valley. He’ll eventually offer you a Missile Expansion at his final location.
Tips for Collecting Missile Expansions
Mark Your Map: When you spot an expansion you can’t reach yet, pin it on your map so you remember to return later.
Ability Checklist: Keep track of which abilities you’ve unlocked. The most important ones for expansions are:
- Psychic Boots
- Spider Ball
- Boost Ball
- Super Missiles
- Psychic Lasso
- Thunder Shot
- Fire/Ice Shot
- Control Beam
Backtrack Systematically: After unlocking a major ability, revisit each region methodically rather than jumping around randomly.
Don’t Stress Early Game: You’re supposed to miss most expansions on your first pass through areas. Focus on story progression and natural exploration first.
Frequently Asked Questions
How many Missile Expansions are in Metroid Prime 4 Beyond?
There are 48 Missile Expansions total across all regions. Collecting them all increases your maximum Missile capacity to 250, making boss fights and exploration significantly easier.
Can I get all Missile Expansions in one playthrough?
Yes, but not during your first visit to each area. Many expansions require abilities unlocked later in the game, so you’ll need to backtrack after powering up Samus. Plan to revisit areas systematically as you gain new abilities like Spider Ball, Super Missiles, and Psychic Lasso.
What’s the best order to collect Missile Expansions?
Focus on story progression first, grabbing expansions naturally along the way. Once you’ve unlocked most abilities, backtrack through regions in this order: Sol Valley (easiest overworld grabs), Fury Green, Ice Belt, Volt Forge, Flare Pool, and finally Great Mines. This roughly follows the difficulty curve and ability requirements.
Do I need all 48 Missile Expansions to beat the game?
No, you can complete the story without collecting every expansion. However, having maximum Missiles makes boss battles much more manageable and gives you more freedom during combat encounters. Completionists will want all 48 for that satisfying 100% file, though!
Related Guides
Looking for more Metroid Prime 4 Beyond collectibles and secrets? Check out these helpful guides:
- All Energy Tank Locations
- All Scout Bot Locations
- Where to Find All Mech Parts
- Beginner Tips & Tricks
- How to Unlock Vi-O-La Motorcycle
- Metroid Prime 4 Amiibo Unlocks & Rewards
With all 48 Missile Expansions collected, you’ll be fully stocked for whatever challenges lie ahead in Metroid Prime 4 Beyond. Happy hunting, bounty hunters!