Battlefield 6 introduces one of the smoothest movement systems the franchise has ever seen, and at the heart of that fluidity is the Combat Roll—a defensive technique that separates experienced players from beginners.
Here’s why it matters: Combat Rolls let you drop from heights that would normally damage or kill you, preserving both your health and momentum. In a game where positioning and quick repositioning often determine who wins engagements, this seemingly simple mechanic becomes a game-changer.
Whether you’re escaping collapsing buildings, making aggressive flanks across rooftops, or just trying to move around maps more efficiently, mastering Combat Rolls will transform how you navigate Battlefield 6’s destructible battlefields.
What is a Combat Roll?
The Combat Roll is a parkour-style recovery move that your character performs when landing from significant heights. Instead of taking fall damage and stopping dead, your soldier tucks into a roll that:
- Negates or reduces fall damage from qualifying heights
- Preserves forward momentum so you keep moving at speed
- Looks incredibly smooth and makes you harder to hit briefly
- Allows faster repositioning than traditional movement
Think of it as Battlefield’s answer to parkour games—a grounded, tactical movement option that rewards timing and game sense without feeling arcade-like.
How to Perform Combat Rolls: Button Inputs
The execution is simple once you understand the timing:
PC (Keyboard & Mouse)
Press C as you hit the ground from a qualifying height
Important note: The default crouch key is bound to both Ctrl and C, but only the C key works for Combat Rolls. This is a quirk of the system that frustrates many players initially.
Controller (PlayStation/Xbox)
Press Circle (PlayStation) or B (Xbox) as you hit the ground
Alternative: If the default button placement feels awkward, switch to the Alternate control scheme which maps crouch to R3/RS (right stick click). Many players find this more comfortable for precise roll timing.
The Critical Timing Window
Combat Rolls require precise timing—you must press your crouch button right as you make contact with the ground, not before and not after.
Too early: Pressing crouch while airborne makes you crouch in midair (which looks silly but does nothing)
Too late: Landing fully before pressing crouch means you take fall damage, then crouch separately
Just right: Your character smoothly transitions from landing directly into a roll with no damage
Practice Makes Perfect
The timing window is tight but forgiving once you develop muscle memory. Expect to miss the window consistently for your first dozen attempts. After that, your brain starts recognizing the visual cues right before landing, and the timing becomes intuitive.
Pro tip: Hold your forward movement key (W on keyboard, left stick forward on controller) as you fall. This ensures momentum carries through the roll properly and prevents awkward stationary rolls.
Height Requirements: The Sweet Spot
Combat Rolls only work within a specific height range—roughly 8-12 meters. Falls outside this range either don’t require a roll or can’t be saved by one.
Too Low (Below ~8 meters)
Falls from low heights don’t deal damage anyway, so Combat Rolls won’t trigger. Examples:
- Jumping off standard cover objects
- First-floor windows
- Small rocks and terrain features
- Hopping off friendly vehicles at slow speeds
Your character just lands normally without the roll animation.
The Sweet Spot (8-12 meters)
This is where Combat Rolls shine. Examples:
- Second-story windows
- Most building rooftops to ground level
- Elevated terrain features
- Specific destructible environment drops
These heights would normally deal moderate to significant damage, but proper Combat Rolls negate it entirely.
Too High (Above ~12 meters)
Falls from extreme heights exceed what Combat Rolls can save you from. Examples:
- Third-floor or higher buildings
- Jumping from helicopters without parachutes
- Extreme terrain elevation changes
- Most vehicle bail-outs at speed
You’ll take damage or die regardless of roll timing. Use your parachute instead.
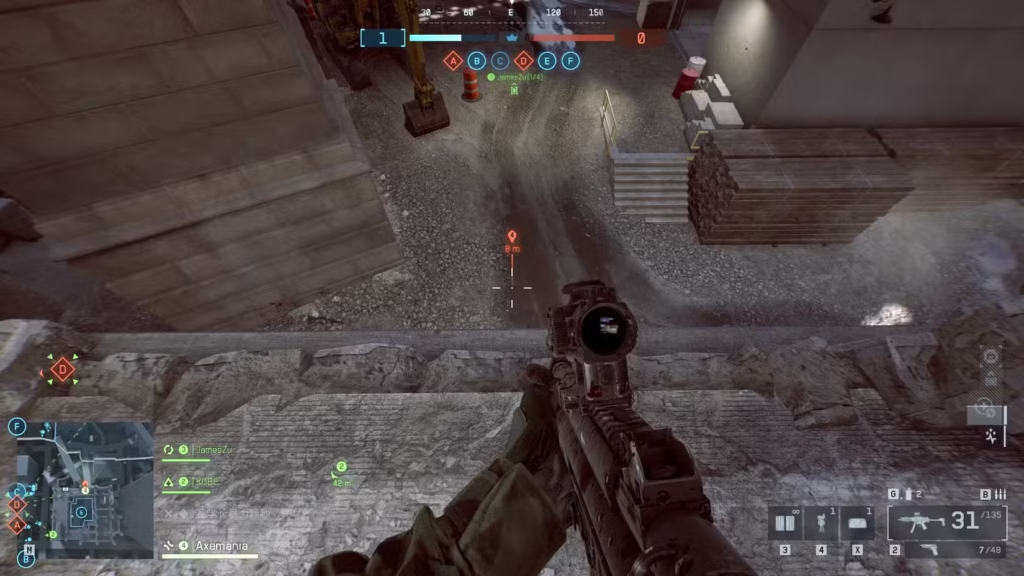
Measuring Heights: The Range Finder Trick
Not sure if a drop is rollable? Here’s a clever trick: Double-tap your Ping button while looking at the ground below. This displays the distance to that point.
If the reading shows 8-12 meters, you’re in the perfect Combat Roll range. Below 8 meters, don’t worry about rolling. Above 12 meters, deploy your parachute.
This technique is especially useful on unfamiliar maps where you haven’t memorized which drops are safe. For map-specific positioning advice, check our complete maps guide.
Advanced Combat Roll Techniques
Once you’ve mastered basic rolls, these advanced applications multiply your effectiveness:
Parachute-Roll Combos
The most stylish and effective movement tech in the game combines parachutes with Combat Rolls:
- Jump from extreme height
- Deploy parachute and glide toward your destination
- Cut parachute at ~10 meters altitude
- Combat Roll on landing
Why this matters: You reach positions much faster than parachuting all the way down, and you land with full mobility instead of the vulnerable post-parachute animation. This is crucial for aggressive flanks and escaping danger zones quickly.
Timing challenge: Cutting your parachute too high means you’re outside roll range and take damage. Too low means you hit the ground still attached to the chute. The sweet spot takes practice but becomes second nature.
Escaping Collapsing Buildings
Battlefield 6’s destruction system means buildings collapse around you constantly. Combat Rolls let you escape situations that would normally trap you:
The scenario: You’re on a second-story floor when explosives destroy the building’s structural support. The floor beneath you disappears.
The escape: As you fall through the collapsing structure, position yourself toward open ground and Combat Roll the moment you land on the first-floor debris or ground level.
Why it works: The roll preserves momentum, letting you continue moving away from the collapsing structure rather than stopping dead in the rubble where follow-up explosives or enemies can finish you.
Fast Terrain Traversal
Combat Rolls maintain forward momentum, meaning they actually speed up movement across certain terrain:
Urban environments: Drop from second-story windows with Combat Rolls to take shortcuts through buildings rather than using stairs. This is especially powerful on maps like Empire State and Manhattan Bridge.
Natural terrain: On maps with elevation changes like Liberation Peak or Mirak Valley, you can aggressively drop down terrain features while maintaining speed instead of taking long routes around.
Pursuit and escape: When chasing fleeing enemies or running from superior forces, Combat Rolls let you take vertical shortcuts that would normally slow you down or damage you.
For maps where this technique shines, check our tips and tricks guide for positioning fundamentals.
Combat Roll + Knife Sprint
Here’s a lesser-known movement optimization: Pull out your knife before performing Combat Rolls.
Your knife is your fastest movement speed in Battlefield 6. By holding your knife as you perform rolls, you maintain that maximum movement speed throughout the entire maneuver, making you even faster.
The sequence:
- Switch to knife (usually 3 key or D-pad)
- Jump/fall from qualifying height
- Combat Roll on landing
- Continue sprinting with knife out
This is overkill for casual play but matters in competitive situations where every fraction of a second counts.
Common Combat Roll Mistakes
Wrong Crouch Key (PC)
Many PC players wonder why their rolls aren’t working—they’re pressing Ctrl (the primary crouch bind) instead of C (the only bind that works for rolls). This is confusing and feels like a bug, but it’s just how the system is coded.
Solution: Either rebind crouch to only C, or train yourself to press C specifically when attempting rolls.
Not Holding Forward Movement
Players sometimes press crouch while falling but forget to maintain forward movement input. This results in awkward stationary rolls that don’t preserve momentum.
Solution: Always hold W/forward stick during your fall and roll. This should be automatic once it becomes habit.
Misjudging Heights
The 8-12 meter range is specific. Players often attempt rolls from too high (taking damage anyway) or waste inputs on falls that don’t require rolls.
Solution: Use the double-tap ping technique to measure drops until you develop intuitive height judgment for each map.
Poor Landing Positioning
Rolling into walls, obstacles, or enemy fire negates the benefits of the roll entirely.
Solution: Plan your landing zone before jumping. Aim for open areas with escape routes, not corners or dead ends.
Troubleshooting: When Rolls Don’t Work
“I pressed crouch but nothing happened”
- You’re likely outside the 8-12 meter range
- Try pressing C instead of Ctrl (PC)
- Make sure you’re pressing crouch at landing, not before
“My character crouches mid-air instead of rolling”
- You’re pressing crouch too early during the fall
- Wait until the exact moment your feet touch ground
“I rolled but still took damage”
- The fall exceeded the maximum rollable height (~12m)
- Your timing was slightly off, catching only partial damage mitigation
- Network latency might be affecting input timing in rare cases
“The button layout feels awkward”
- Switch to Alternate controller scheme for R3/RS crouch
- PC players can rebind keys in settings for better comfort
- Practice in Portal modes against AI to build muscle memory safely
Best Maps for Practicing Combat Rolls
Some maps offer better learning environments than others:
Empire State – Abundant second-story buildings with safe landing zones. Perfect for learning basic rolls without severe punishment for mistakes.
Manhattan Bridge – Varied elevation with rooftop routes where Combat Rolls enable fast repositioning. Great for practicing parachute-roll combos.
New Sobek City – Destructible buildings mean you’ll need emergency rolls frequently. Practical application under pressure.
Siege of Cairo – Urban density creates many rollable height opportunities for aggressive movement.
For detailed map breakdowns showing specific roll opportunities, see our maps ranking guide.
Integrating Combat Rolls Into Your Playstyle
Combat Rolls shouldn’t be random—they should serve tactical purposes:
Aggressive Flanking
When executing flanks on Assault class or completing Close Quarters challenges, use Combat Rolls to:
- Drop behind enemy lines from elevated positions
- Quickly reposition between cover without taking damage
- Escape contested buildings by jumping to ground level
Defensive Escapes
When overwhelmed or caught in bad positions:
- Drop from defended positions to ground level for retreat
- Escape buildings under fire or destruction
- Avoid getting trapped on rooftops
Efficient Rotation
For objective-based gameplay:
- Rotate between capture points faster using vertical shortcuts
- Reach teammates in need faster than ground-level routes
- Maintain momentum when chasing or fleeing
Combat Rolls in Different Game Modes
Conquest/Breakthrough: Use rolls for fast objective rotations and building escapes during intense point fights. The large map sizes make movement efficiency crucial.
Team Deathmatch/Domination: Smaller maps mean more building combat. Rolls let you aggressively push or escape cramped interiors quickly.
Rush: Attackers benefit from rolls when pushing through defender positions with elevation advantages. Defenders can use rolls to quickly reposition when their positions are compromised.
The Competitive Advantage
Here’s the reality: most players don’t consistently use Combat Rolls. This means mastering them gives you a tangible movement advantage.
You can:
- Take routes enemies don’t expect or can’t follow safely
- Survive situations that kill less experienced players
- Apply pressure more aggressively knowing you have escape options
- Move around maps faster than opponents who avoid vertical shortcuts
The mechanical execution is simple, but the tactical applications are deep. Every building, every piece of terrain, every elevated position becomes a potential movement opportunity once you internalize Combat Roll mechanics.
Practice Drills
Want to master Combat Rolls quickly? Run these practice drills:
Drill 1: Basic Height Recognition
- Find a two-story building on any map
- Jump from second floor repeatedly until rolls feel natural
- Goal: 10 consecutive successful rolls
Drill 2: Parachute-Roll Transitions
- Deploy from spawn beacon at height
- Cut parachute at various altitudes
- Practice timing the transition to rolls
- Goal: Smooth transitions without damage
Drill 3: Under Pressure
- Play Domination on Empire State or Saint’s Quarter
- Force yourself to use rolls whenever dropping from height
- Goal: Natural integration during actual combat
Drill 4: Escape Routes
- On any map, identify buildings with second floors
- Practice escape routes from each building using rolls
- Goal: Develop instinctive escape patterns
Run these drills in Portal’s Co-op vs AI mode if you want zero-pressure practice, or jump into live matches if you prefer learning under fire.
Beyond Combat Rolls: Complete Movement Mastery
Combat Rolls are just one element of Battlefield 6’s movement system. Combine them with:
- Slide mechanics for maintaining momentum on flat ground
- Vaulting optimization for seamless obstacle navigation
- Tactical sprint management for repositioning without exhausting stamina
- Proper crouch/prone usage for accurate shooting
For comprehensive movement and positioning advice, check our complete tips guide.
Final Thoughts: Small Technique, Big Impact
Combat Rolls seem like a minor mechanic—just a way to avoid fall damage. But in practice, they fundamentally change how you navigate Battlefield 6’s vertical environments.
Players who master rolls move faster, survive longer, and apply pressure more effectively than those who stick to ground-level movement. The skill ceiling is low (you can learn basic rolls in 30 minutes), but the tactical applications reward creative thinking and map knowledge.
Start simple: practice basic rolls from qualifying heights until the timing feels automatic. Then gradually integrate advanced techniques like parachute-roll combos and aggressive repositioning. Within a few hours of focused practice, Combat Rolls will feel as natural as sprinting or aiming.
Essential Battlefield 6 Resources:
- Battlefield 6 Official Site
- Battlefield 6 on Steam
- Battlefield 6 on PlayStation
- Community Discussions
- Epic Games Store
Master Combat Rolls, and you’ll never look at Battlefield 6’s buildings and terrain the same way again. Every elevated position becomes a potential tactical advantage, every multi-story building becomes a movement opportunity. See you on the battlefield—probably dropping from somewhere unexpected.