Where Should You Train Zombies in Ashes of the Damned?
Black Ops 7 Zombies launched with arguably the most ambitious map in COD Zombies history—Ashes of the Damned. This massive, open-world style map features six distinct locations connected by Ol’ Tessie, the trusty vehicle driven by T.E.D.D. himself.
After countless high-round attempts across every location, I’ve learned the hard way which spots are zombie training paradise and which ones will get you cornered faster than you can say “Max Ammo.” Some areas look spacious but hide elevation nightmares, while others seem cramped but offer surprisingly effective training routes.
In this comprehensive guide, I’ll rank every location in Ashes of the Damned based on training effectiveness, available equipment, and overall survival potential. Whether you’re grinding for exfil rewards or pushing for round 100, knowing where to set up camp can mean the difference between victory and being overwhelmed.
Understanding Zombie Training in Ashes of the Damned
Before we rank the locations, let’s establish what makes a good training spot:
Essential Training Criteria:
- Open space for circular movement patterns
- Flat terrain for consistent headshots and critical kills
- Minimal obstacles that disrupt zombie trains
- Multiple escape routes when things go wrong
- Nearby equipment access (Pack-a-Punch, perks, armor)
Ashes of the Damned’s Unique Challenge: Unlike traditional round-based maps, Ashes of the Damned spreads resources across six locations. You’ll need Ol’ Tessie to travel between areas, which adds a strategic layer—do you stay at one location with good training but limited resources, or relocate to stock up on supplies?
The map’s verticality and varied terrain create unexpected challenges. Some locations that look perfect on paper become death traps once zombies start pouring in from multiple elevations.
If you’re new to zombie training mechanics, check our beginner zombies guide to understand the fundamentals before tackling high-round strategies.
Complete Location Overview & Quick Reference
Here’s every location at a glance before we dive into detailed rankings:
| Location | Training Quality | Key Equipment | Best Feature | Biggest Drawback |
|---|---|---|---|---|
| Vandorn Farm | ★★★★★ | Arsenal, Crafting, Perks | Widest open space | Distance from spawn |
| Blackwater Lake | ★★★★☆ | Speed Cola, Arsenal | Long flat lanes | Narrow corridors |
| Exit 115 | ★★★☆☆ | Deadshot, Elemental Pop | Verticality options | Limited space |
| Janus Towers Plaza | ★★★☆☆ | Quick Revive, Der Wunderfizz | Spawn convenience | Uneven terrain |
| Ashwood | ★★☆☆☆ | Ol’ Tessie upgrades, 3 perks | Central hub location | Vertical design |
| Zarya Cosmodrome | ★☆☆☆☆ | PhD Flopper, Wisp Tea | Nostalgia factor | Literally everything else |
Ranking Every Location (Worst to Best)
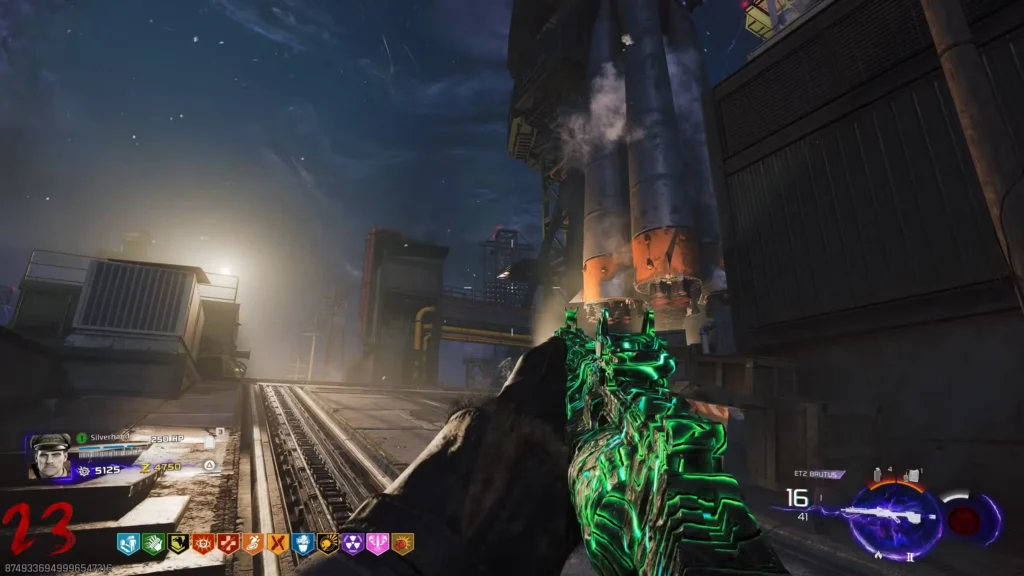
6. Zarya Cosmodrome – Avoid This Death Trap
Location: Southeast from Ashwood
Notable Equipment: PhD Flopper, Wisp Tea
Training Rating: 1/5 ⭐
Why It’s the Worst:
I had high hopes for Zarya Cosmodrome. As someone who loved training on Ascension’s lunar lander areas, I expected similar wide-open spaces. Instead, I got a claustrophobic nightmare that punishes you for even attempting to train here.
The Problems:
- Linear ramp design forces you into predictable paths
- Zombies spawn from all directions including connecting road doorways
- Constant elevation changes make headshots inconsistent
- Tight walkways leave no room to maneuver when surrounded
- Multiple mantle spots break up training flow
The area consists mainly of a long, narrow ramp that Ol’ Tessie drives through. While this works fine for vehicular transit, it’s absolutely terrible for on-foot combat. Zombies pour in from side entrances you can’t effectively monitor, and the uneven platforms mean you’re always either shooting uphill or downhill—both awful for securing critical kills.
The Only Reasons to Visit:
- PhD Flopper – Essential perk for explosive weapon builds
- Wisp Tea – Useful utility perk
- Quick transit through – Don’t stop, just drive
My Verdict: Grab your perks and get out. I tried training here for three rounds during a high-round attempt and quickly learned why this location is nicknamed “The Cosmo-trap” in the BO7 community. The nostalgia isn’t worth the frustration.
Want to make the most of PhD Flopper elsewhere? Our best perk augments guide explains how to maximize explosive builds.
5. Ashwood – The Necessary Evil
Location: Center hub (East of Vandorn Farm, West of Blackwater Lake)
Notable Equipment: Ol’ Tessie Upgrade Station, Jugger-Nog, Double Tap, Vulture Aid
Training Rating: 2/5 ⭐⭐
Why It’s Underwhelming:
Ashwood is the map’s central hub, and while it’s absolutely essential for logistics, it’s a poor choice for actual zombie training. Think of it as the supply depot you visit between training sessions, not where you set up camp.
The Hub Utility:
- Ol’ Tessie Upgrade Station – Pack-a-Punch your vehicle and apply modifications
- Vehicle Respawn/Teleport – Summon Ol’ Tessie from the garage
- Three crucial perks – Jugger-Nog (health), Double Tap (fire rate), Vulture Aid (loot)
- Central location – Direct road access to all other landmarks
Why Training Here Sucks:
- Excessive verticality makes navigation clunky
- Upper town areas are cramped with tight corners
- Fall damage from jumping between levels is surprisingly harsh
- Limited open space compared to dedicated training spots
The One Decent Training Area:
If you absolutely must train at Ashwood, stick to the area outside Ol’ Tessie’s garage. It’s the most expansive section with reasonably flat ground. Anywhere else in town—especially the elevated western platforms—is asking for trouble.
My Strategy: Visit Ashwood regularly to:
- Upgrade Ol’ Tessie’s capabilities
- Stock up on essential perks
- Use as a fast-travel hub
- Quickly transit to better training locations
Then immediately drive to Vandorn Farm or Blackwater Lake for actual training. Don’t try to be a hero and train in the cramped town streets. Learn more about vehicle upgrades in our Pack-a-Punch guide.
4. Janus Towers Plaza – Decent Spawn Training
Location: Starting spawn area
Notable Equipment: Der Wunderfizz (Round 20+), Quick Revive, Rampage Inducer
Training Rating: 3/5 ⭐⭐⭐
Why It’s Middle-Tier:
Janus Towers Plaza is where everyone spawns, and it’s actually not terrible for early-round training. The space is adequate, and having Quick Revive right at spawn is undeniably convenient for solo players.
The Good Stuff:
- Three distinct lanes provide multiple training routes
- Decent open space for basic circular training patterns
- Quick Revive proximity means easy respawn recovery
- Rampage Inducer access for players wanting aggressive gameplay
- Der Wunderfizz from Round 20 offers random perk opportunities
The Significant Problems:
- Uneven terrain makes critical headshots frustratingly inconsistent
- Fog barriers at exits limit escape routes and can trap you
- No Crafting Table means no lethal equipment restocks
- No Arsenal Machine prevents rarity upgrades
- No Armor Station forces you to travel elsewhere for protection
My Experience:
I’ve trained here plenty during early rounds while gathering points to open up the map. It works fine for rounds 1-15, but once zombies get faster and more numerous, the terrain irregularities become a serious liability. You’ll miss critical headshots because a slight elevation difference throws off your aim.
The fog at the edges is particularly annoying. During one high-round attempt, I backed into the fog while kiting my train and got absolutely demolished by the environmental hazard while zombies poured in from behind. Not fun.
Best Use Case:
- Early round farming (1-10)
- Quick matches when you don’t want to explore
- Testing loadouts before committing to a location
- Solo play where Quick Revive proximity matters
For extended survival, you’ll want to relocate. Need help with armor management? Check our manual armor plate application guide.
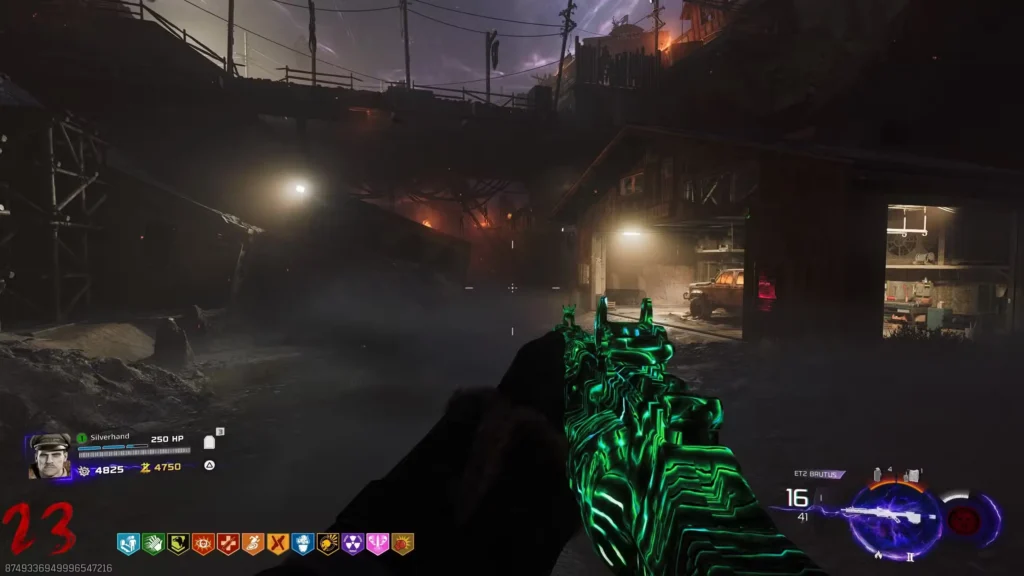
3. Exit 115 – The Underrated Gem
Location: Southwest of Ashwood
Notable Equipment: Deadshot Daiquiri, Elemental Pop
Training Rating: 3.5/5 ⭐⭐⭐⭐
Why It Deserves More Credit:
Exit 115 is surprisingly effective despite being one of the smaller locations. The diner setting offers a unique training experience that combines ground-level and rooftop combat in ways that actually work.
What Makes It Work:
- Flat ground sections allow consistent critical kills
- Vehicle mantling options provide vertical escape routes
- Mixed floor/roof combat adds tactical variety
- Secluded location means less traffic from other players in co-op
- Multiple crossing routes prevent total zombie entrapment
The Training Strategy:
Here’s how I train at Exit 115: Start your loop on the ground level, gathering zombies into a tight train. When the horde gets too close, mantle onto one of the parked vehicles and cross the rooftops to create distance. Drop back down on the opposite side and repeat.
This vertical movement breaks up the zombie AI pathfinding slightly, giving you breathing room. It’s not as braindead easy as pure circular training, but it’s engaging and effective.
Limitations:
- Smaller footprint than top-tier locations
- Limited equipment – only two perks available
- No crafting or arsenal access on-site
- Tight quarters indoors if you get pushed inside
Perk Synergy:
The two perks here are actually perfect for training:
- Deadshot Daiquiri – Auto-aim headshots, crucial for the flat ground sections
- Elemental Pop – Random elemental damage procs make crowd clearing easier
Combine these with the right ammo mod augments and you’ve got a surprisingly strong setup.
My Verdict: Exit 115 is the dark horse training location. It won’t win any awards for pure space, but the verticality adds a skill expression element that can actually save your life. Perfect for players who get bored with simple circular training and want more dynamic movement.
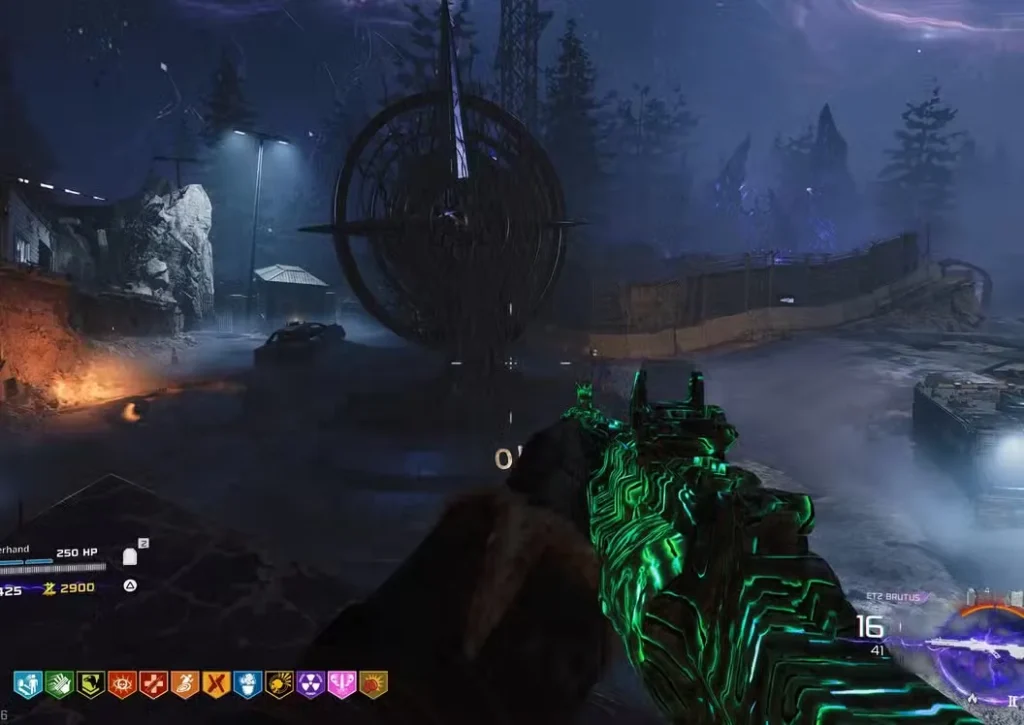
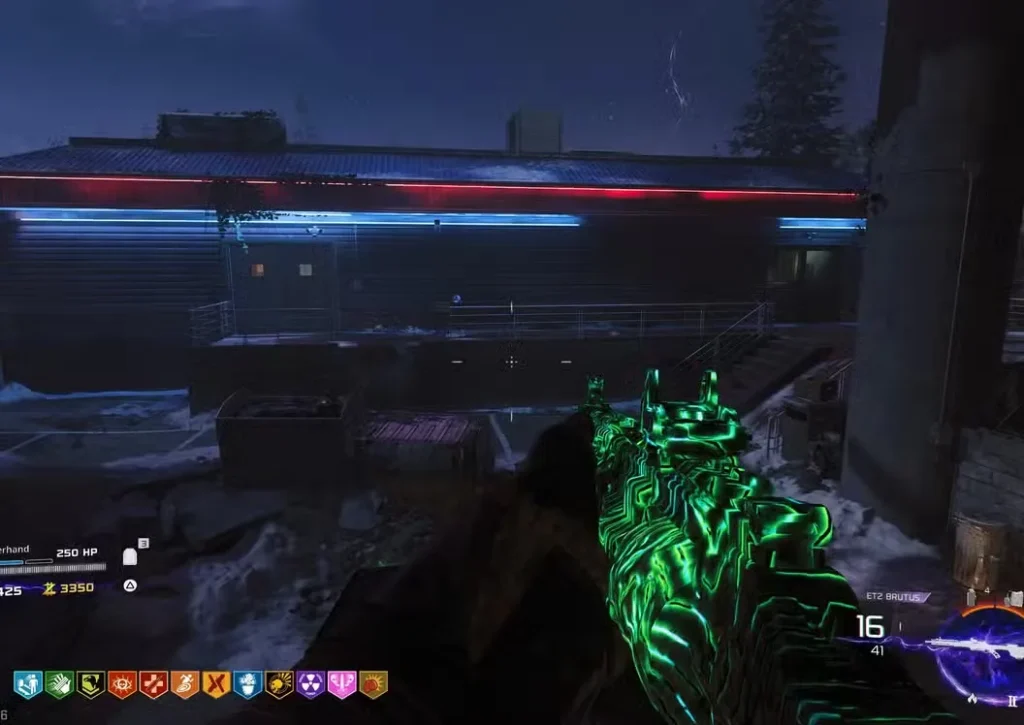
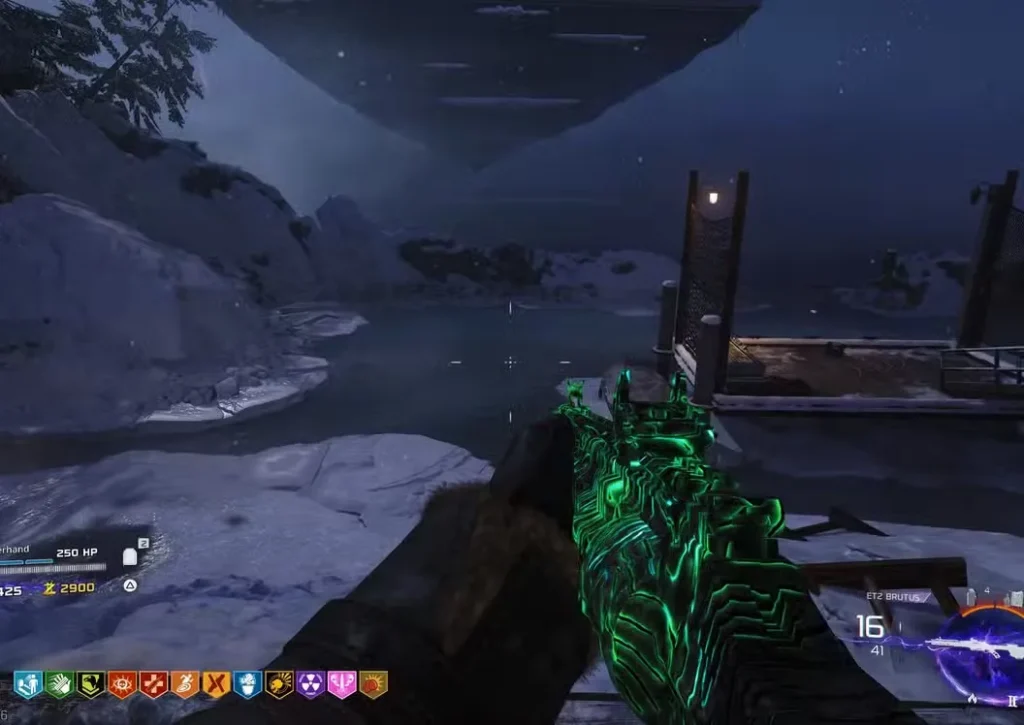
2. Blackwater Lake – The Long Lane Legend
Location: West of Janus Towers Plaza
Notable Equipment: Melee Macchiato, Speed Cola, The Arsenal
Training Rating: 4/5 ⭐⭐⭐⭐
Why It’s Elite-Tier:
Blackwater Lake is where I go when I want to push high rounds without the massive footprint of Vandorn Farm. The winter cabin setting provides long, narrow lanes that are perfect for the classic back-and-forth training style.
The Lane Training Method:
This location excels at a specific training technique:
- Run to one end of the long lane
- Turn around and let zombies form a line behind you
- Sprint back to the starting position
- Turn and unleash concentrated fire down the zombie line
- Repeat
The length of these lanes is perfect for this strategy. You have enough distance to safely turn around without getting grabbed, and the narrow width forces zombies into tight formations perfect for multi-kills.
Strategic Advantages:
- Extremely long corridors provide ample kiting distance
- Flat terrain throughout ensures consistent headshot accuracy
- The Arsenal access allows weapon rarity upgrades without leaving
- Jump Pad connectivity offers quick escape to spawn or Ashwood
- Speed Cola synergy – faster reloads complement the run-and-gun style
Dealing with Zursa Bears:
The expansive lanes are particularly excellent for handling the zombie bear boss, Zursa. When that furry nightmare spawns, you can outrun it indefinitely while still managing the regular zombie horde. The long straightaways give you clear sightlines to monitor threats.
Need help taking down Zursa efficiently? Our dedicated Zursa Bear guide has specific strategies.
The Drawbacks:
- Narrow width means less room for circular training patterns
- Indoor cabin area is cramped – avoid training inside
- Limited equipment variety – no crafting table or munitions box
- Can feel repetitive if you prefer more open training
Melee Macchiato Value:
Having Melee Macchiato here is interesting. If you’re running a melee-focused build (which can be surprisingly viable with the right equipment), Blackwater Lake becomes even more attractive. The lanes provide space to build momentum for melee kills while Speed Cola ensures quick recovery between attacks.
My Experience: I’ve hit round 50+ multiple times at Blackwater Lake. The lane training method is so consistent and predictable that it almost feels like easy mode once you master the rhythm. The biggest danger is getting bored and making careless mistakes because the pattern becomes hypnotic.
1. Vandorn Farm – The Undisputed Champion
Location: East of Janus Towers Plaza
Notable Equipment: Stamin-Up, Death Perception, The Arsenal, Crafting Table, Munitions Box, Armor Station
Training Rating: 5/5 ⭐⭐⭐⭐⭐
Why It’s Perfect:
Vandorn Farm isn’t just the best training location—it’s everything you need in one place. There’s a reason this location has its own dedicated Survival Map mode. After pushing to round 100 here, I can confidently say this is where you should be setting up for any serious high-round attempt.
Complete Equipment Suite:
Vandorn Farm is the only location with EVERYTHING:
- Munitions Box – Ammo restocks without returning to spawn
- Crafting Table – Lethal and tactical equipment using salvage
- The Arsenal – Weapon rarity upgrades on-site
- Armor Station – Tier increases without traveling
- Stamin-Up – Movement speed for better training
- Death Perception – Enemy tracking and bonus damage
Having all these resources in one location eliminates the biggest weakness of other training spots—the need to relocate for essential supplies.
Training Paradise:
Beyond the equipment, Vandorn Farm’s layout is training perfection:
The Open Farm Grounds:
- Widest training area in the entire map
- Completely flat terrain for consistent headshots
- Minimal obstacles interrupting zombie trains
- Multiple circular training routes of varying sizes
- Spacious enough that Zursa spawns feel manageable
The Extended Walkway:
- Long pathway just outside the farm proper
- Perfect for back-and-forth lane training
- Alternative route when you need a change of pace
- Natural chokepoint for concentrated fire
Strategic Depth:
What makes Vandorn Farm truly elite is how forgiving it is. Made a mistake? You have space to recover. Need supplies? Everything’s right there. Zursa spawned? Plenty of room to outrun him while managing the horde.
The flat ground cannot be overstated. After dealing with Zarya Cosmodrome’s elevation nightmare and Janus Plaza’s uneven terrain, the consistent flatness of Vandorn Farm feels like playing on easy mode. Every headshot lands exactly where you expect it to.
Perk Synergy:
Stamin-Up and Death Perception are excellent training perks:
- Stamin-Up increases sprint duration, letting you maintain faster zombie trains
- Death Perception shows zombies through walls, preventing surprise attacks from spawns
Pair these with other strong perks and augments, and you’ve got an unstoppable setup.
Survival Map Validation:
The fact that Vandorn Farm is featured as a standalone Survival Map in Black Ops 7 tells you everything. The developers recognized this location’s perfect balance of space, resources, and training potential. It’s designed from the ground up to support extended high-round gameplay.
My High-Round Strategy:
For serious attempts, here’s my Vandorn Farm routine:
- Early game (Rounds 1-10): Train at spawn to build points
- Mid game (Rounds 11-30): Relocate to Vandorn Farm and establish base
- Late game (Rounds 31+): Never leave except to grab specific perks
- Emergency supplies: Everything needed is on-site
- End game (Round 50+): Circle the outer farm area for maximum space
I keep my training pattern simple—wide circles around the farm perimeter, using the corner near the crafting table as my “reset” point where I turn and fire into the horde. When ammo runs low, I duck into the barn area for a quick munitions box purchase, then back to training.
The Only Downside:
Vandorn Farm’s lone weakness is its distance from spawn. In co-op matches, you might miss early action while driving there. For exfil challenges, you’ll need to drive back toward spawn if the exfil site spawns at Janus Plaza.
But honestly? That’s a tiny price to pay for having the best training location with complete equipment access.
My Verdict: If you’re serious about high rounds, permanent perk unlocks, or just want the smoothest training experience, Vandorn Farm is non-negotiable. Master this location and you’ll dramatically improve your zombies performance.
Training Spot Selection by Playstyle
Different players have different priorities. Here’s where you should train based on your goals:
Casual Play / Early Exfil (Rounds 1-15)
Best Location: Janus Towers Plaza or Ashwood Why: Convenient, central, sufficient for early rounds Strategy: Don’t overthink it, train at spawn until exfil
High Round Grinding (50+)
Best Location: Vandorn Farm Why: Complete equipment access, maximum space, flat terrain Strategy: Establish base early, never leave except for specific perks
Solo Challenge Runs
Best Location: Vandorn Farm or Blackwater Lake Why: Self-sufficient equipment, consistent training patterns Strategy: Pick based on training style preference (circular vs. lane)
Co-Op Squad Play
Best Location: Vandorn Farm (dedicate 1-2 players here) Why: Resources support entire team, space for multiple players Strategy: Coordinate training patterns to avoid interfering with teammates
Speed Running
Best Location: Blackwater Lake Why: Efficient lane training, jump pad for fast rotations Strategy: Master the back-and-forth rhythm for fastest kills
Melee-Focused Builds
Best Location: Vandorn Farm or Exit 115 Why: Space to build momentum, easy escape routes Strategy: Use Speed Cola at Blackwater or Stamin-Up at Vandorn
Wonder Weapon Mastery
Best Location: Vandorn Farm Why: Space to test weapons safely, ammo box for restocks Strategy: Learn weapon mechanics in the safest environment
Advanced Training Tips for Ashes of the Damned
After hundreds of rounds across all locations, here are the pro techniques that separate good players from great ones:
The Spiral Training Pattern
Instead of pure circles, spiral outward from center:
- Start with tight circles to gather zombies
- Gradually expand the circle radius
- When at maximum distance, turn and fire
- Spiral back inward for the next cycle
This works exceptionally well at Vandorn Farm where space permits spiral expansion.
Using Ol’ Tessie Strategically
Don’t abandon Ol’ Tessie once you’ve established a training location:
- Park it near your training area for emergency escapes
- Use it to quickly clear zombie trains by running them over
- Drive through your horde to thin numbers when overwhelmed
- Upgrade it regularly at Ashwood for better combat capability
Learn all the upgrade options in our Ashes of the Damned Pack-a-Punch guide.
Elevation Exploitation
At locations with verticality (Exit 115, Ashwood):
- Higher ground provides sight line advantages
- Zombies climb slower than they run on flat ground
- Mantling breaks zombie pathing temporarily
- Use vertical movement for emergency repositioning
Jump Pad Mastery
Blackwater Lake’s jump pad is underutilized:
- Instantly escape when overwhelmed
- Quickly rotate to Ashwood for Ol’ Tessie upgrades
- Access Der Wunderfizz at spawn from Round 20
- Return with full supplies without driving
Perimeter Training vs. Center Training
Perimeter (Recommended for Vandorn Farm):
- Use entire location space
- Easier to monitor zombie spawns
- Natural circle formation
- Lower risk of corner traps
Center (Works at Janus Plaza):
- More compact training area
- Faster zombie gathering
- Higher risk, higher reward
- Better for speed running
Critical Kill Optimization
Maximize critical damage multipliers:
- Train at flat locations (Vandorn, Blackwater lanes)
- Use Deadshot Daiquiri for auto-head-tracking
- Line up zombies in straight formations
- Fire in controlled bursts rather than spray
Pair with field upgrade augments for maximum effectiveness.
Equipment Positioning
Place equipment strategically before training:
- Crafted equipment near your training loop
- Scorestreaks in safe activation zones
- Armor plates along your circular path
- Ammo boxes between training runs
Map-Specific Loadout Recommendations
For Vandorn Farm Training:
- Primary: High-capacity LMG or assault rifle
- Secondary: Wonder weapon or high-damage special
- Lethal: Combat Axe for infinite damage
- Tactical: Smoke grenades for emergency escapes
- Perks Priority: Stamin-Up, Jugger-Nog, Speed Cola, Death Perception
For Blackwater Lake Lane Training:
- Primary: Accurate AR or Tactical Rifle
- Secondary: Shotgun for close-quarters panic
- Lethal: Semtex for quick throws
- Tactical: Stun grenades for crowd control
- Perks Priority: Speed Cola, Deadshot Daiquiri, Jugger-Nog
For Exit 115 Vertical Training:
- Primary: Mobile SMG or compact AR
- Secondary: Melee weapon for roof combat
- Lethal: Frag grenades for rooftop throws
- Tactical: Decoys to redirect zombies
- Perks Priority: Stamin-Up, Deadshot Daiquiri, Elemental Pop
Want to optimize your weapon choices? Check our complete level unlocks guide to see what’s available.
Common Training Mistakes to Avoid
1. Training at Zarya Cosmodrome Just don’t. I can’t stress this enough. Grab perks and leave.
2. Ignoring Elevation Changes Uneven terrain ruins critical kills. Stick to flat locations.
3. Training Too Close to Exits Fog barriers and spawn doors can trap you. Maintain distance.
4. Neglecting Equipment Restocks Running out of ammo/armor mid-training is a death sentence. Use locations with equipment access.
5. Poor Ol’ Tessie Management Your vehicle is a tool, not just transportation. Park it strategically and upgrade it.
6. Overcommitting to Bad Locations If a location isn’t working, drive to Vandorn Farm. Don’t force it.
7. Ignoring Jump Pad Routes Fast travel saves time and can save your life. Learn the jump pad connections.
Community Training Records & Meta
The Black Ops 7 community has established some impressive training records:
Highest Solo Rounds by Location:
- Vandorn Farm: Round 150+ (multiple players)
- Blackwater Lake: Round 120+
- Exit 115: Round 85+
- Janus Towers Plaza: Round 75+
- Ashwood: Round 60+
- Zarya Cosmodrome: “We don’t talk about this”
Speed Run Meta: Current fastest round 50 completion uses Blackwater Lake lane training with specific weapon setups and GobbleGum combinations.
Join the COD Community Discord to discuss strategies and share your high-round achievements.
Location Quick Decision Guide
Still not sure where to train? Use this flowchart:
Do you need complete equipment access? → Yes: Go to Vandorn Farm → No: Continue
Do you prefer lane training or circular training? → Lanes: Go to Blackwater Lake → Circles: Go to Vandorn Farm or Janus Plaza
Are you in early rounds (1-15)? → Yes: Stay at spawn (Janus Plaza) or head to Exit 115 → No: Go to Vandorn Farm
Do you want to test vertical mobility? → Yes: Try Exit 115 → No: Stick with flat locations
Are you a masochist? → Yes: Train at Zarya Cosmodrome → No: Smart choice
Final Recommendations: Where You Should Train
After extensive testing and high-round attempts across every location, here’s my definitive advice:
For 99% of Players: Train at Vandorn Farm. The combination of space, equipment, and flat terrain makes it objectively superior for survival and high-round attempts.
For Variety and Skill Development: Rotate between Vandorn Farm (for serious attempts) and Blackwater Lake (for lane training practice). Master both and you’ll have adaptable skills for any situation.
For Challenge Runs: Try Exit 115 if you want to test your vertical movement skills, but don’t expect it to be easier than top-tier locations.
Never: Train at Zarya Cosmodrome unless you’re doing a challenge run or hate yourself.
Strategic Hub: Use Ashwood exclusively for upgrades, perks, and fast travel. Don’t attempt sustained training there.
Spawn Training: Janus Towers Plaza is acceptable for rounds 1-15, then relocate to better locations.
Conclusion: Master Your Training Grounds
Ashes of the Damned’s six locations offer incredible variety, but not all areas are created equal for zombie training. Understanding the strengths and weaknesses of each spot will dramatically improve your survival rates and high-round potential.
Quick recap of rankings:
- Vandorn Farm – The complete package, best for high rounds
- Blackwater Lake – Elite lane training with essential equipment
- Exit 115 – Solid verticality option for skilled players
- Janus Towers Plaza – Decent spawn training, limited equipment
- Ashwood – Hub location, poor for training
- Zarya Cosmodrome – Avoid for training, perks only
Whether you’re grinding salvage, completing TEDD tasks, or pushing for round 100, choosing the right training location is half the battle.
Master Vandorn Farm first, then experiment with other locations once you’ve built solid training fundamentals. And seriously, stay away from Zarya Cosmodrome unless you enjoy pain.
Now get out there, fire up Ol’ Tessie, and start training like a pro!
Essential Ashes of the Damned Guides:
More BO7 Resources: