Master Your Slot 2 Perk Selection
Slot 2 perks in Black Ops 7 Multiplayer fundamentally shape how you engage with the game’s tactical layer. Unlike Slot 1 perks that focus on mobility and survivability, Slot 2 is all about utility, awareness, and sustain—the difference between constantly running out of ammo mid-streak and maintaining momentum throughout the match.
With 8 perks to choose from, each tied to different Combat Specialties, making the right choice requires understanding both the meta and your personal playstyle. Whether you’re grinding levels efficiently or pushing for high killstreaks, your Slot 2 perk can make or break your loadout.
Complete Slot 2 Perk Unlock Guide
All Slot 2 perks unlock through natural progression. Here’s what you’ll gain access to and when:
| Perk | Unlock Level | Combat Specialty |
|---|---|---|
| Vigilance | Level 4 | Recon |
| Tech Mask | Level 5 | Strategist |
| Scavenger | Level 6 | Enforcer |
| Blast Link | Level 9 | Recon |
| Fast Hands | Level 14 | Strategist |
| Assassin | Level 27 | Enforcer |
| Close Shave | Level 36 | Enforcer |
| Engineer | Level 42 | Recon |
Planning tip: If you’re considering which perk to permanently unlock after prestige, Engineer (Level 42) and Assassin (Level 27) are the highest-level perks worth prioritizing. However, as you’ll see below, the best Slot 2 perks unlock fairly early.
Slot 2 Perks Ranked (Tier List)
S-Tier: Must-Have Perks
1. Vigilance (Level 4 – Recon)
Vigilance is arguably the single best Slot 2 perk in Black Ops 7, and it’s available from nearly the start of your progression. Here’s why it dominates:
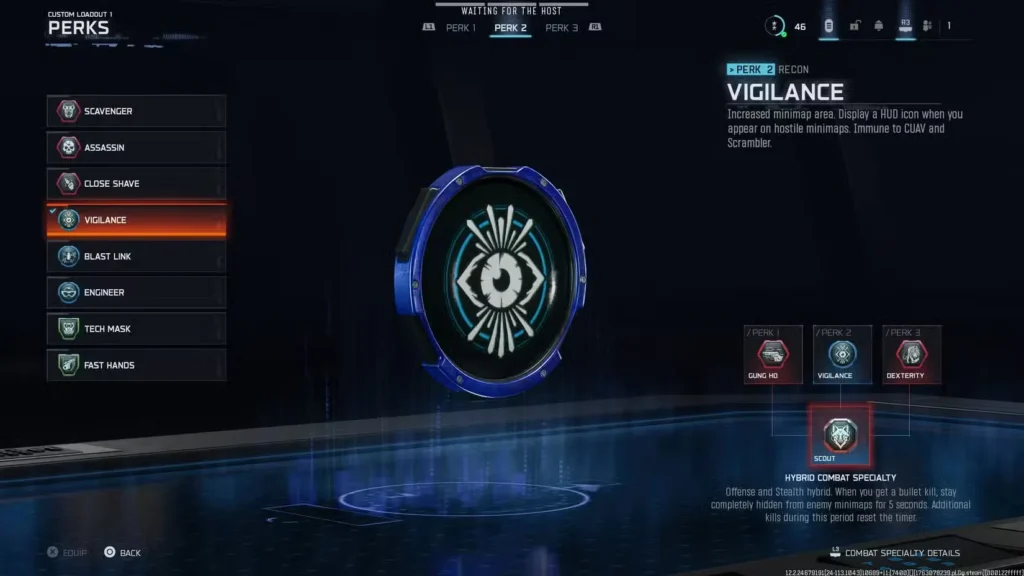
What it does:
- Immunity to Counter-UAV and Scrambler (the primary benefit)
- Expanded minimap range for better situational awareness
- HUD warning when you appear on enemy minimaps (spy plane, UAV, etc.)
Why it’s S-tier:
Counter-UAV is one of the most common scorestreaks in the game. When the enemy team pops one, your entire squad loses minimap access—except you. While your teammates are blind, you maintain full awareness of gunfire, movement, and positioning. This information advantage alone decides gunfights.
The expanded minimap gives you a wider view of the battlefield, essentially functioning as a passive recon tool. You’ll spot flankers earlier, track objective rotations better, and make more informed decisions.
The HUD warning is underrated. Knowing when you’re visible to enemies lets you anticipate pushes, adjust positioning, or play more aggressively since you’re already compromised.
Best for:
- Aggressive players constantly pushing for kills
- Objective players who need awareness in chaotic hardpoints/domination zones
- Anyone who values information and hates being caught off guard
- Players who want consistency across all match types
Loadout synergy: Pairs perfectly with UAV spam strategies and Recon Combat Specialty bonuses.
2. Scavenger (Level 6 – Enforcer)
If you’re serious about maintaining killstreaks or simply hate running out of ammo, Scavenger is non-negotiable.
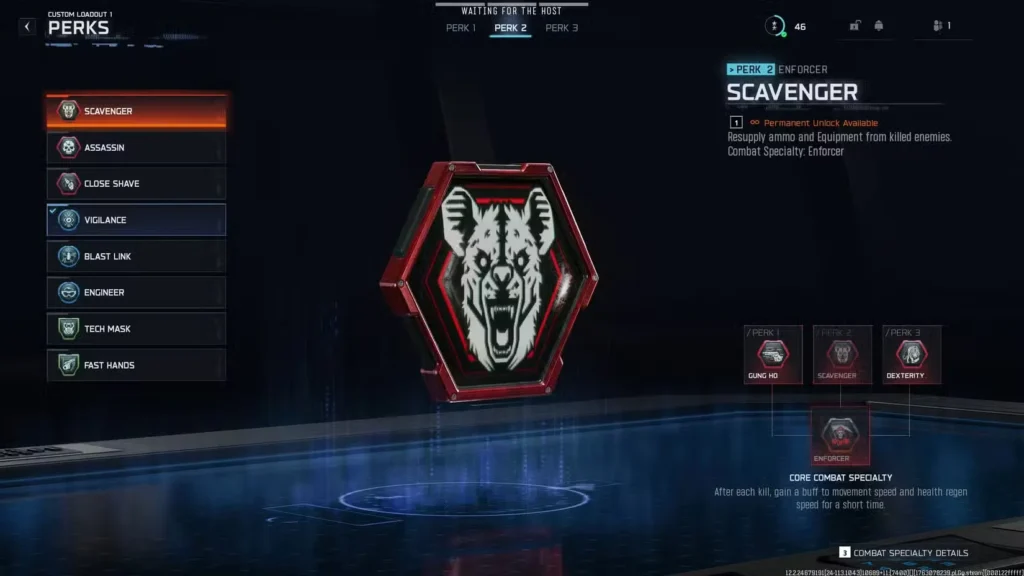
What it does:
- Resupply ammo from killed enemies (primary magazines)
- Resupply equipment (lethals and tacticals)
Why it’s S-tier:
Black Ops 7 has limited ammo reserves. A standard AR or SMG runs dry after 3-4 engagements if you’re not landing perfect accuracy. Without Scavenger, you’re forced to either:
- Pick up random floor weapons (losing your custom loadout)
- Die and respawn
- Play passively near ammo sources
Scavenger eliminates this problem. Every kill refills your reserves, meaning you can chain engagements indefinitely. This is critical for:
- Nuke attempts: You literally cannot hit 30+ kills without Scavenger unless you constantly swap weapons
- High killstreaks: Maintaining your preferred weapon through 15-20 consecutive kills
- Equipment spam: Getting lethal equipment back after every kill amplifies your offensive pressure
Best for:
- Slayers pushing high kill counts
- Players running lightweight weapons with small magazines
- Equipment-heavy playstyles
- Anyone attempting Prestige challenges requiring extended streaks
Loadout synergy: Essential with Enforcer Combat Specialty for aggressive playstyles. Pairs well with weapons using your best custom builds.
A-Tier: Situationally Excellent
3. Fast Hands (Level 14 – Strategist)
Fast Hands doesn’t sound impressive until you’re caught reloading during a fight and survive because of it.
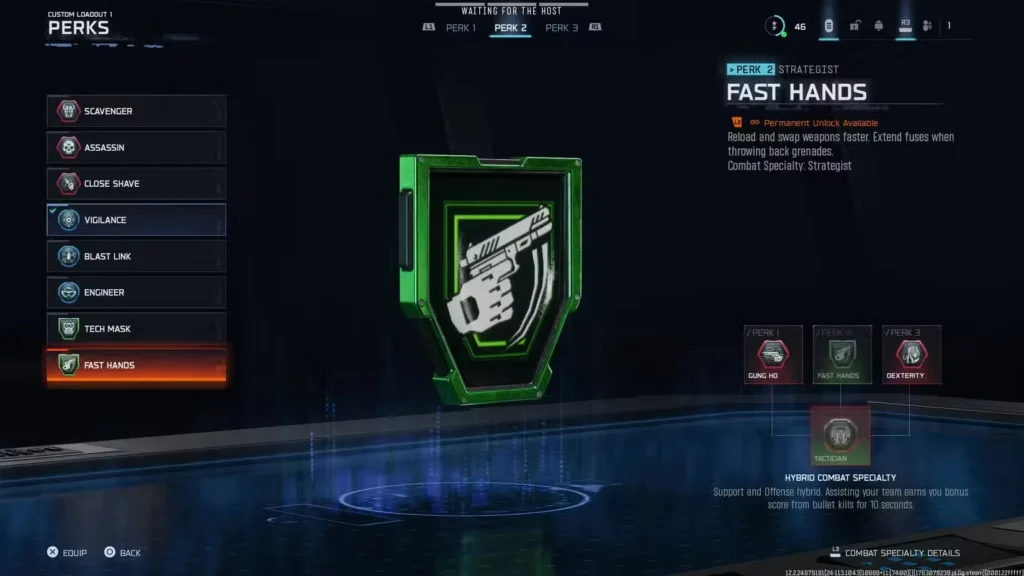
What it does:
- Faster reload speed across all weapons
- Faster weapon swap (primary to secondary)
- Extended fuse time when throwing back grenades
Why it’s A-tier:
The reload speed buff directly impacts your combat uptime. In Black Ops 7’s fast TTK environment, every fraction of a second matters. Fast Hands lets you reload mid-fight and still challenge your opponent, whereas without it, you’re dead.
Weapon swapping becomes viable as a reload alternative. Running out of primary ammo? Swap to your pistol and finish the fight instantly rather than suffering through a full reload.
The grenade counter is situational but powerful against coordinated teams using frag grenades.
Best for:
- Players who reload habitually (even with ammo remaining)
- Aggressive rushers who take multiple consecutive fights
- Sniper builds that need quick secondary swaps
- Run-and-gun SMG players with frequent reloads
Why not S-tier: Scavenger reduces the need to reload as frequently by keeping you supplied. If you’re managing ammo well, Fast Hands becomes less critical.
Loadout synergy: Excellent with Strategist Combat Specialty for equipment-focused builds.
4. Tech Mask (Level 5 – Strategist)
Tech Mask is the ultimate tactical equipment counter, shutting down an entire category of utility.
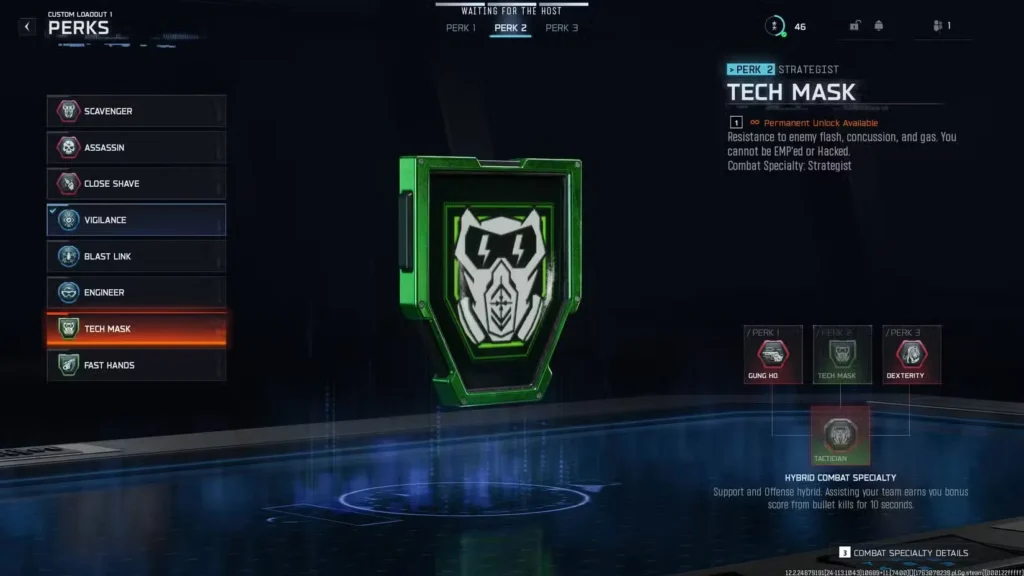
What it does:
- Resistance to flash, concussion, and gas grenades
- Immunity to EMP and hacking equipment
Why it’s A-tier:
In matches against coordinated teams spamming flash/concussion grenades, Tech Mask transforms you into an unstoppable force. You simply walk through their tactical spam and eliminate them while they expect you to be stunned.
The EMP immunity matters in objective modes where equipment denial is common. You can’t be hacked off points, and your minimap stays active during EMP effects.
Why not S-tier: Its value fluctuates based on enemy loadout choices. If the enemy team isn’t running flash/concussion, Tech Mask provides zero benefit. In lower skill lobbies, tactical equipment usage is inconsistent, making this perk wasted.
Best for:
- Objective players pushing hardpoints and domination flags
- Players facing coordinated teams
- Ranked/competitive modes where tactical spam is prevalent
- Countering specific tactical equipment meta
Loadout synergy: Pairs with aggressive Slot 1 perks for unstoppable objective rushing.
B-Tier: Niche but Effective
5. Engineer (Level 42 – Recon)
Engineer is incredible in specific scenarios but too situational for universal S-tier status.
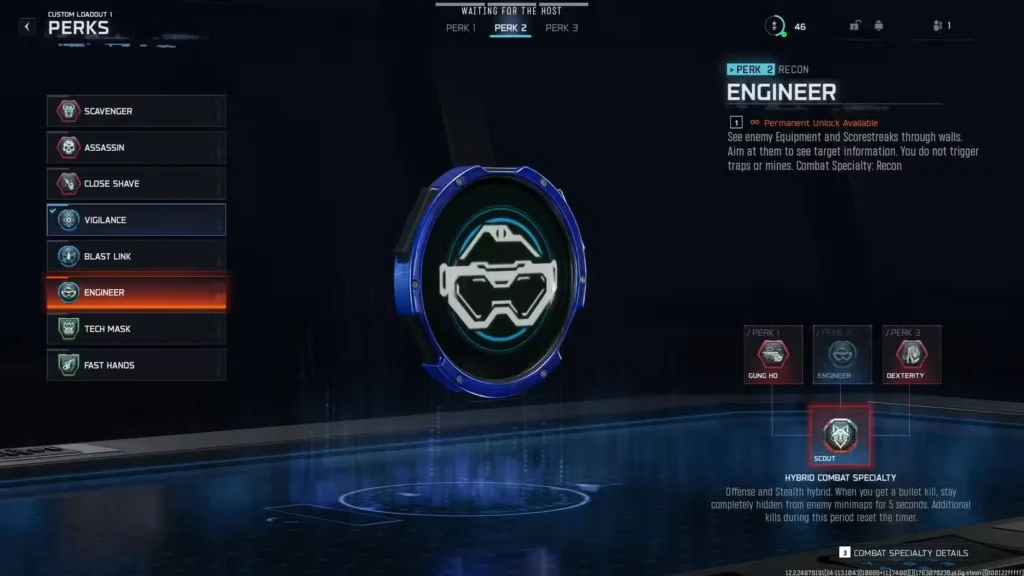
What it does:
- See enemy equipment and scorestreaks through walls
- Aim at equipment to see owner information
- Immunity to traps and mines (no trigger damage)
Why it’s B-tier:
Being able to see equipment through walls is powerful for:
- Clearing out Trophy Systems before throwing lethals
- Spotting claymore/mine placement to avoid deaths
- Identifying camper positions based on equipment placement
- Destroying scorestreaks safely with advanced knowledge
The trap immunity is situational but can save your life on certain maps where mine spam is common.
Why not higher: Equipment usage varies dramatically by mode and skill level. In faster modes like Kill Confirmed, equipment spam is minimal, making Engineer largely pointless. It’s fantastic in Search & Destroy or slower, tactical modes—useless in respawn chaos.
Best for:
- Objective modes with heavy equipment usage
- Search & Destroy players
- Players who flank frequently and encounter claymores
- Countering Trophy System spam in competitive hardpoints
Loadout synergy: Excellent with Recon Combat Specialty for information dominance.
6. Assassin (Level 27 – Enforcer)
Assassin is fun, rewarding, and encourages aggressive play, but it’s not consistent enough for higher tiers.
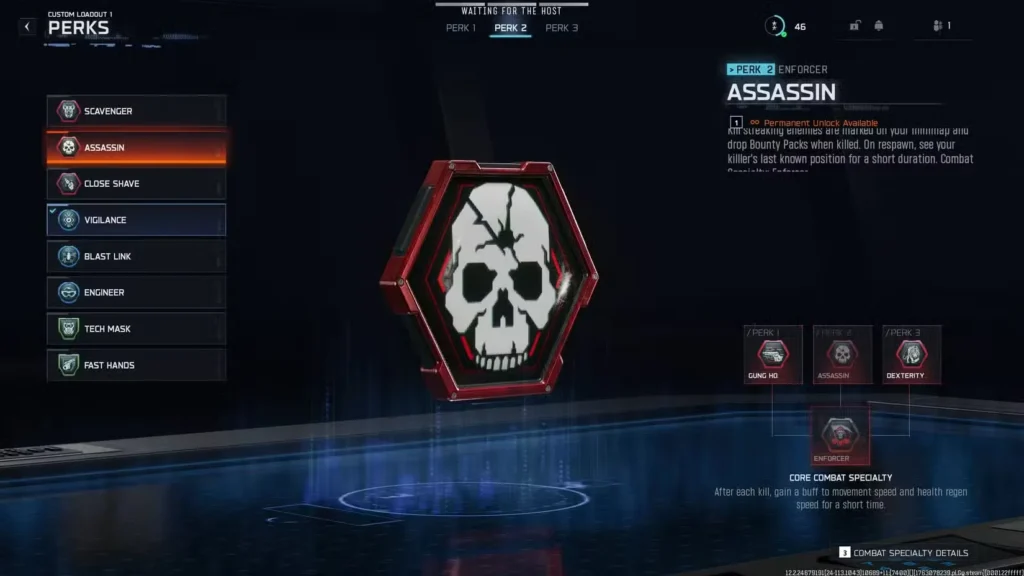
What it does:
- Mark killstreaking enemies on your minimap
- Bounty Packs drop from high-value targets (bonus score)
- See your killer’s position after respawning (temporary)
Why it’s B-tier:
Tracking the top enemy player creates a target for you to hunt. If you’re the kind of player who thrives on revenge kills and disrupting enemy momentum, Assassin feeds that playstyle perfectly.
The Bounty Pack rewards accelerate your scorestreak progress, helping you reach UAVs and Counter-UAVs faster.
Seeing your killer’s position after respawning prevents them from holding the same angle/position and farming easy kills.
Why not higher: The benefits only activate under specific conditions (enemies on streaks, you dying). If you’re dominating and never dying, half the perk does nothing. If the enemy team is bad and not getting streaks, the tracking does nothing.
Best for:
- Aggressive players who don’t mind trading kills
- Players who want revenge mechanics
- Leveling efficiently by targeting high-value enemies
- Countering dominant enemy players
Loadout synergy: Works well with Enforcer Combat Specialty for aggressive builds.
C-Tier: Avoid Unless Memeing
7. Blast Link (Level 9 – Recon)
Blast Link has an interesting concept but fails in execution.
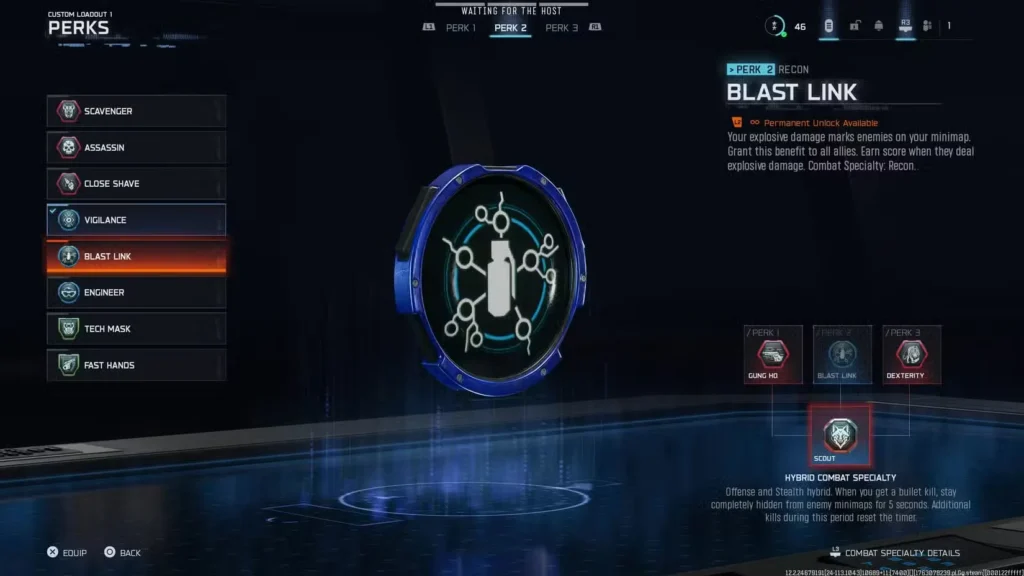
What it does:
- Mark enemies hit by explosive damage on minimap
- Grant this benefit to allies
- Earn score when allies deal explosive damage
Why it’s C-tier:
The fundamental problem: if you’ve landed explosive damage on an enemy, you should be finishing the kill immediately. Black Ops 7’s fast TTK means enemies rarely survive explosive hits long enough for the marking to matter.
The allied score sharing is negligible—you’re not getting enough bonus points to justify the perk slot.
When it’s useful (barely):
- Coordinated teams with equipment-focused strategies
- Specific objective modes where you’re spamming grenades into hardpoints
- Softening targets for teammates in coordinated pushes
Why you should skip it: Vigilance, Scavenger, and Fast Hands all provide more consistent value. Blast Link’s benefits are too conditional.
8. Close Shave (Level 36 – Enforcer)
Close Shave is the ultimate meme perk—fun, but completely impractical for serious play.
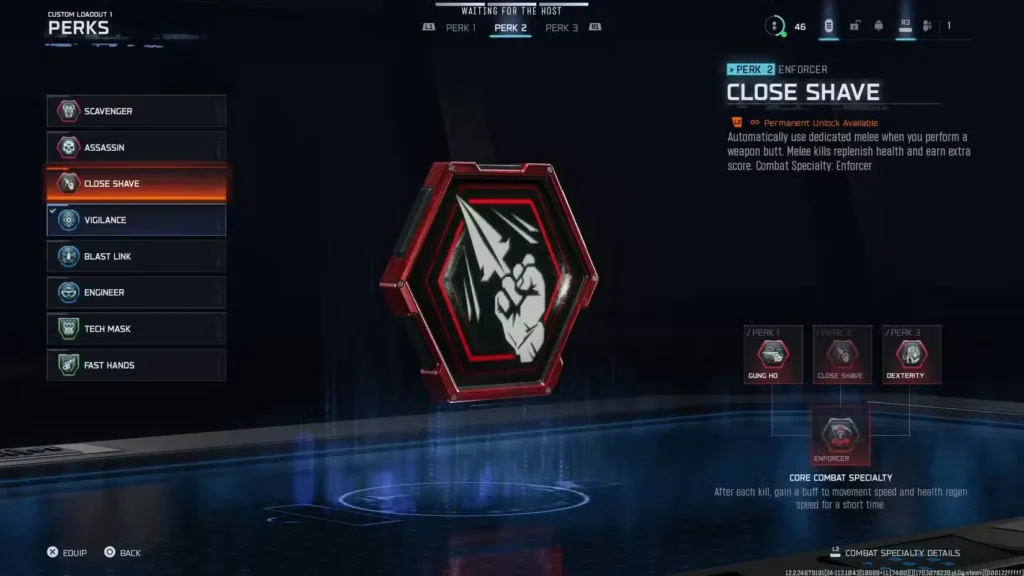
What it does:
- Automatically use dedicated melee weapon instead of gun butt
- Melee kills recover health
- Melee kills grant bonus score
Why it’s C-tier:
Melee builds are high-risk, low-reward in Black Ops 7. The maps are too open, the TTK is too fast, and you’ll get gunned down before closing distance. Close Shave only benefits a playstyle that’s already disadvantaged.
The health recovery is nice for sustain, but you’re more likely to die during the charge than successfully chain multiple melee kills.
The bonus score doesn’t matter since melee builds struggle to get scorestreaks anyway due to dying frequently.
When to use it:
- Meme lobbies with friends
- Completing specific melee challenges
- Playing for fun, not wins
- Trolling low-skill lobbies
Skip it for: Any serious competitive play or ranked grinding.
Recommended Loadout Combinations
Aggressive Slayer Build
- Slot 2: Scavenger
- Slot 1: Mobility-focused perk
- Weapons: SMG or AR with extended mag
- Combat Specialty: Enforcer
This setup maximizes your ability to chain kills without ever running dry on ammo.
Objective Anchor Build
- Slot 2: Vigilance
- Slot 1: Survivability perk
- Weapons: Versatile AR for medium-range dominance
- Combat Specialty: Recon
Maintain map awareness while anchoring objectives, immune to Counter-UAV spam.
Rush/Entry Fragger Build
- Slot 2: Fast Hands
- Slot 1: Sprint/mobility perk
- Weapons: Fast-firing SMG with pistol backup
- Combat Specialty: Strategist
Quick reloads and weapon swaps keep you fighting through multi-target engagements.
Tactical Counter Build
- Slot 2: Tech Mask
- Slot 1: Survivability perk
- Weapons: Balanced AR
- Combat Specialty: Strategist
Walk through tactical spam and maintain offensive pressure on objectives.
Final Recommendations by Playstyle
If you’re new to Black Ops 7: Start with Vigilance. The minimap immunity and awareness benefits help you learn map flow and positioning while compensating for lack of game knowledge.
If you’re grinding camos or levels: Use Scavenger. You’ll complete weapon challenges faster by never running out of ammo, and you can chain together critical kills consistently.
If you’re competitive: Alternate between Vigilance (most matches) and Tech Mask (against coordinated teams). These are the only two Slot 2 perks that significantly impact high-level play.
If you’re going for nukes/high streaks: Scavenger is mandatory. You physically cannot reach 30 kills without ammo resupply unless you get lucky with weapon pickups.
If you’re playing casually: Pick whatever sounds fun. Assassin for revenge kills, Fast Hands if you reload compulsively, or even Close Shave for meme gameplay.
Avoid Common Mistakes
Don’t sleep on Vigilance: New players underestimate how much Counter-UAV ruins their awareness. Vigilance completely negates the most popular scorestreak in the game.
Don’t overvalue Engineer: It seems powerful but only shines in specific modes. Don’t waste your perk slot in respawn modes where equipment spam is minimal.
Don’t run Scavenger on short-range builds: If you’re running shotguns or melee-focused loadouts, you’re often dying before ammo becomes an issue. Pick Vigilance instead.
Don’t ignore Combat Specialty synergy: Each perk ties to a specific Combat Specialty. Maximize your build by choosing perks that enhance your specialty’s strengths.
Prestige Considerations
When you hit Prestige, you’ll lose access to all perks temporarily. Here’s what to prioritize with permanent unlock tokens:
Top choices:
- Engineer (Level 42) – Highest unlock, significant wait otherwise
- Assassin (Level 27) – High unlock, fun aggressive perk
Skip these:
- Vigilance (Level 4) – Unlocks almost immediately naturally
- Scavenger (Level 6) – Same as above
- Fast Hands (Level 14) – Unlocks quickly through normal play
Focus your permanent unlocks on weapons and high-level perks. Slot 2’s best perks unlock early enough to regain naturally.
Beyond Slot 2: Complete Your Loadout
Your Slot 2 perk is just one piece of your overall build. Don’t forget to optimize:
- Slot 1 perks for mobility and survivability
- Combat Specialties for ability synergy
- Best weapon builds for gunfight advantages
- Game settings for optimal performance
And if you’re experiencing connection issues, check our packet burst fix guide to ensure your perk choices aren’t being wasted by technical problems.
Additional Black Ops 7 Resources
Multiplayer guides:
- Enable/disable crossplay
- Split-screen multiplayer
- How to take enemies hostage
- Longshot kills guide
- Point-blank kills guide
Progression guides:
Cosmetic guides:
External Resources:
Choose your Slot 2 perk wisely—it might be the difference between an average match and a personal best. Now get out there and dominate!