Surviving high rounds in Black Ops 7 Zombies isn’t just about having the right gun or perks—it’s about making smart tactical decisions under pressure. When you’re surrounded by hordes of undead, one well-placed piece of tactical equipment can mean the difference between clutching a round and watching your screen fade to black.
The game offers seven distinct tactical equipment options, each serving unique purposes from crowd control to emergency healing. Some are absolute lifesavers that belong in every serious player’s loadout, while others look good on paper but fall flat when zombies are actually breathing down your neck.
I’ve spent countless hours testing each piece of equipment across various maps, round counts, and team compositions. This guide ranks every tactical item by actual usefulness, explains when and how to use each one effectively, and helps you decide which equipment deserves your precious salvage.
Complete Tactical Equipment Unlock Table
Before diving into rankings, here’s everything you need to know about unlocking and crafting tactical equipment:
| Equipment | Unlock Level | Salvage Cost | Loadout Available? |
|---|---|---|---|
| Stun Grenade | Level 1 (Default) | 250 Salvage | Yes |
| Stim Shot | Level 21 | 250 Salvage | Yes |
| Cymbal Monkey | Level 24 | 1,000 Salvage | No (Crafting only) |
| Psych Grenade | Level 29 | 800 Salvage | Yes |
| Hunter Bot | Level 42 | 250 Salvage | Yes |
| LT53 Kazimir | Level 47 | 1,500 Salvage | No (Crafting only) |
| Decoy | Level 50 | 500 Salvage | Yes |
Important notes:
- The LT53 Kazimir and Cymbal Monkey cannot be equipped in loadouts—you must craft them at crafting tables during matches using salvage
- Salvage costs represent what you’ll pay at crafting tables to acquire additional copies during matches
- Level requirements only affect initial unlock; once unlocked, you can use them indefinitely
For players still working through early levels, check our complete level unlocks guide to see what else becomes available as you progress.
The Definitive Tactical Equipment Tier List
I’m ranking these from most essential to least impactful based on versatility, cost-effectiveness, and how often they’ll genuinely save your life in high-pressure situations.
S-Tier: Absolute Must-Haves
1. Stim Shot – The Ultimate Survival Tool
Unlock Level: 21
Salvage Cost: 250
Why it’s S-tier: This isn’t just the best tactical equipment—it’s arguably the most important item in your entire Zombies loadout.
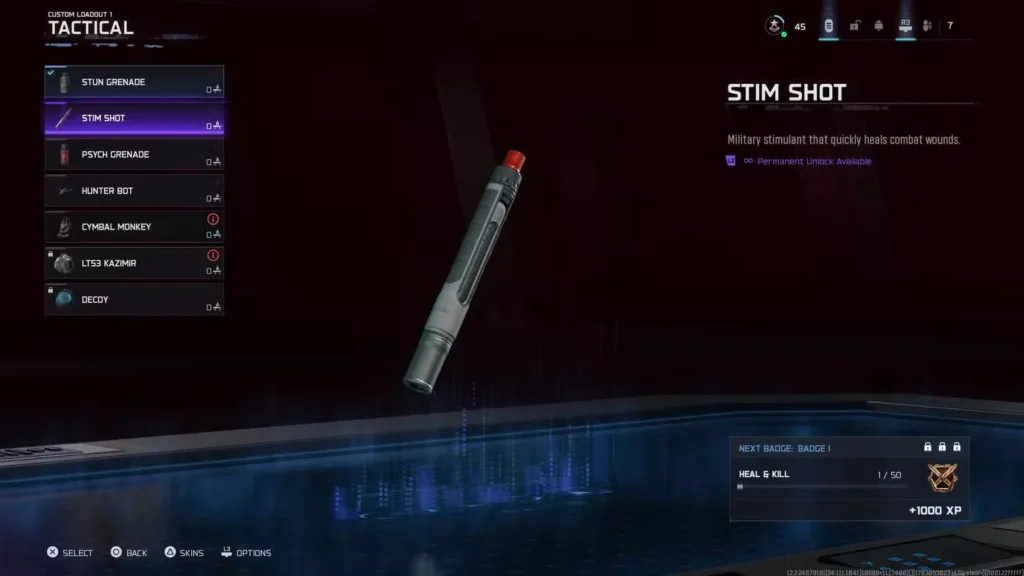
The Stim Shot instantly triggers rapid health regeneration, far faster than what Quick Revive provides naturally. In early rounds, this might seem unnecessary since zombies hit slowly and you have plenty of time to regenerate between encounters. But once you push past round 30, the game completely changes.
Late-game reality check:
- Zombies sprint at breakneck speeds
- Their hits come in rapid succession with minimal recovery time
- A few consecutive hits down you instantly
- Traditional health regeneration can’t keep pace with incoming damage
Why Stim Shot dominates:
The Stim Shot creates clutch survival moments that wouldn’t otherwise be possible. Trapped in a corner with three hits worth of damage taken? Pop a Stim Shot and you’re back to full health before the next zombie swipes. Zursa Bear dealing damage-over-time with its tracking attacks? Stim Shot outhals the damage.
The stacking advantage: Multiple Stim Shots can be used in quick succession, creating an overheal effect that pushes your effective health well beyond normal limits. This transforms desperate situations into manageable ones.
Cost efficiency: At only 250 salvage per craft, Stim Shots are incredibly economical. You can stock up on 4-5 Stim Shots for the same price as a single LT53 Kazimir.
Pro strategy: Always keep at least 2-3 Stim Shots in your inventory during high rounds. Use them proactively when you take significant damage rather than waiting until you’re one hit from death. The faster healing starts, the more margin for error you maintain.
Players struggling with survivability should also check our Zombies beginner tips for complementary strategies.
2. LT53 Kazimir – Crowd Control Perfection
Unlock Level: 47
Salvage Cost: 1,500 (Crafting only)
Why it’s S-tier: The most powerful offensive tactical equipment in the game, bar none.

The LT53 Kazimir creates a literal black hole that sucks in every zombie within range and kills them. No escape, no survivors—just complete horde deletion.
What makes it exceptional:
Instant deployment: Unlike the Cymbal Monkey’s wind-up or the Decoy’s delay, the Kazimir throws as quickly as a Semtex. When zombies are already on top of you, that speed difference is critical.
Universal effectiveness: Works on regular zombies, special enemies, and elite threats. The black hole doesn’t discriminate—everything gets pulled in and eliminated.
Complete safety window: While the black hole is active, affected zombies literally cannot attack you. They’re helplessly drawn toward the singularity, giving you time to heal, revive teammates, reload, or reposition.
When to use it:
- Boss fight preparation (stock up before major encounters)
- Emergency horde control when overwhelmed
- Creating space for objective completions
- Buying time for downed teammates during revives
- High-round survival when ammo efficiency matters
The cost consideration: Yes, 1,500 salvage per Kazimir is expensive. But the situations where you need a Kazimir are exactly the situations where salvage becomes secondary to survival. By the time you’re in rounds where Kazimirs matter most, you should have salvage farming down to a science.
Loadout limitation: You can’t equip Kazimirs at match start—they must be crafted during the game. Plan your salvage economy accordingly and prioritize crafting these before challenging encounters.
A-Tier: Highly Effective in Most Situations
3. Stun Grenade – Reliable and Economical
Unlock Level: 1 (Default)
Salvage Cost: 250
Why it’s A-tier: Available from moment one and effective from round one through round 100+.
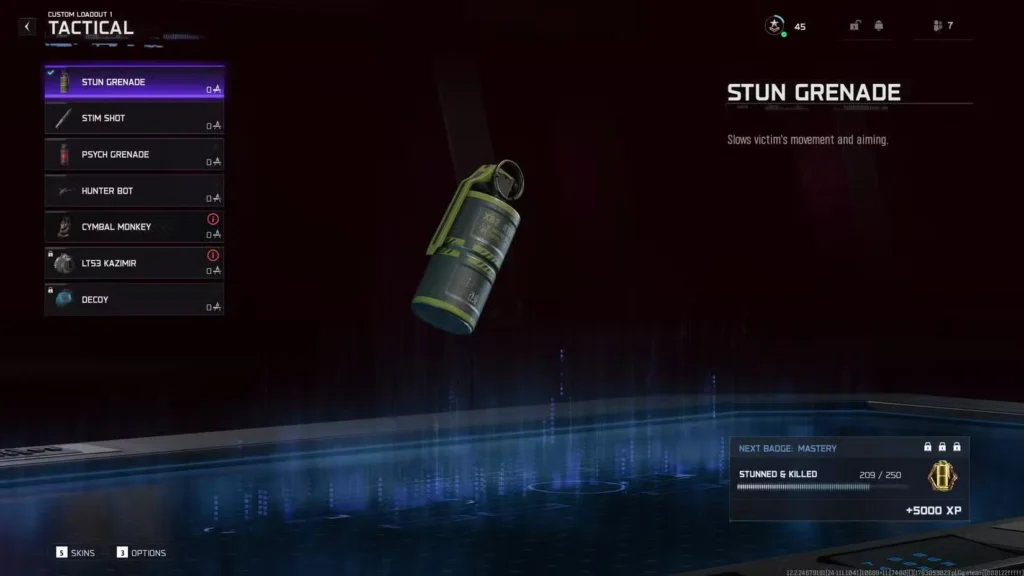
The Stun Grenade does exactly what it says: stuns zombies in its blast radius, freezing them temporarily and creating opportunities for easy eliminations or tactical escapes.
Key advantages:
Default unlock: Every player has access immediately, making it the most reliable tactical for beginners still learning Zombies fundamentals.
Cheap to craft: At 250 salvage, you can stock up without bankrupting your economy for other essentials like Pack-a-Punch or armor plates.
Zursa Bear counter: Elite enemies like the Zursa Bear can be devastating, but Stun Grenades completely halt their advance. A well-timed stun gives you several seconds of free damage while the bear stands helplessly.
Versatile applications:
- Stunning hordes for headshot practice or camo challenges
- Creating escape routes through zombie crowds
- Neutralizing elite enemies during critical moments
- Buying time for armor plate applications
Tactical considerations: The Stun Grenade has a slight delay between throw and detonation. Factor this into your timing—throw it where zombies will be, not where they currently are.
Why not S-tier? While excellent, it’s reactive rather than transformative. Stun Grenades manage situations but don’t fundamentally change outcomes the way Stim Shots and Kazimirs do.
4. Psych Grenade – Chaos Engineering
Unlock Level: 29
Salvage Cost: 800
Why it’s A-tier: Turns enemy hordes against themselves with hallucinogenic gas.
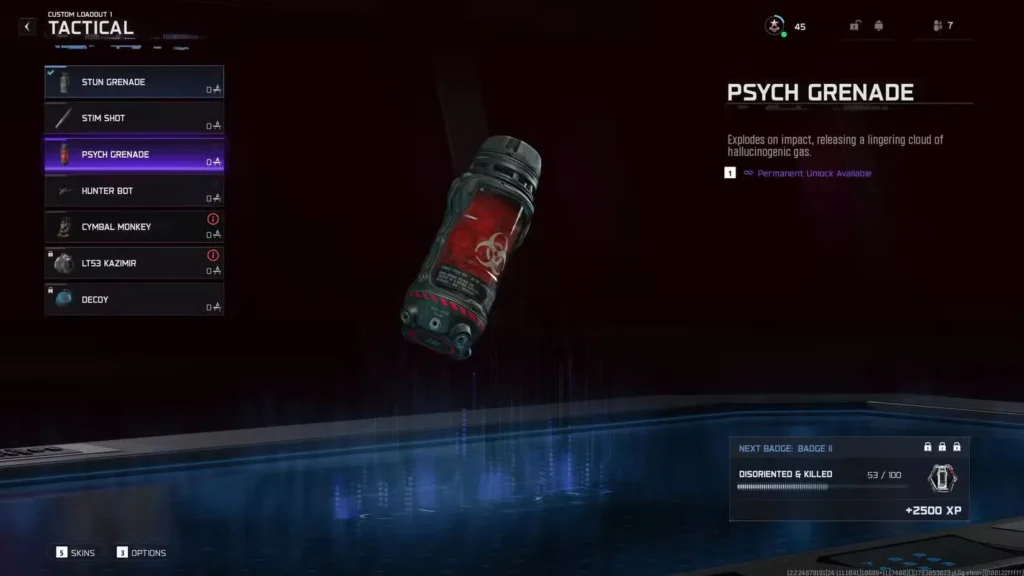
The Psych Grenade explodes on impact, releasing a gas cloud that causes zombies to hallucinate. Affected zombies temporarily become allies, attacking their former teammates instead of you—similar to the Brain Rot ammo mod effect.
Tactical brilliance:
Self-sustaining crowd control: Unlike equipment that just buys time, the Psych Grenade actively reduces enemy numbers. While you reposition or reload, confused zombies eliminate each other.
Ammo conservation: Particularly valuable during high rounds when ammo becomes precious. Why waste bullets when zombies will kill themselves?
Large area denial: The gas cloud covers significant ground, affecting multiple zombies simultaneously. Throw one into a dense train and watch the chaos unfold.
Strategic applications:
- Breaking up massive zombie trains that have gotten unmanageable
- Creating breathing room when low on ammo
- Distracting hordes while completing objectives
- Softening enemy numbers before re-engaging
Usage notes: The Psych Grenade explodes on impact, so precision matters. Throw it directly at zombies or at the ground near them—don’t expect it to bounce around corners like other grenades.
Cost-benefit analysis: At 800 salvage, it’s not cheap, but the enemy elimination it provides often justifies the investment during challenging rounds.
B-Tier: Situationally Useful
5. Decoy – Budget Distraction
Unlock Level: 50
Salvage Cost: 500
Why it’s B-tier: A more affordable alternative to the Cymbal Monkey with some notable trade-offs.
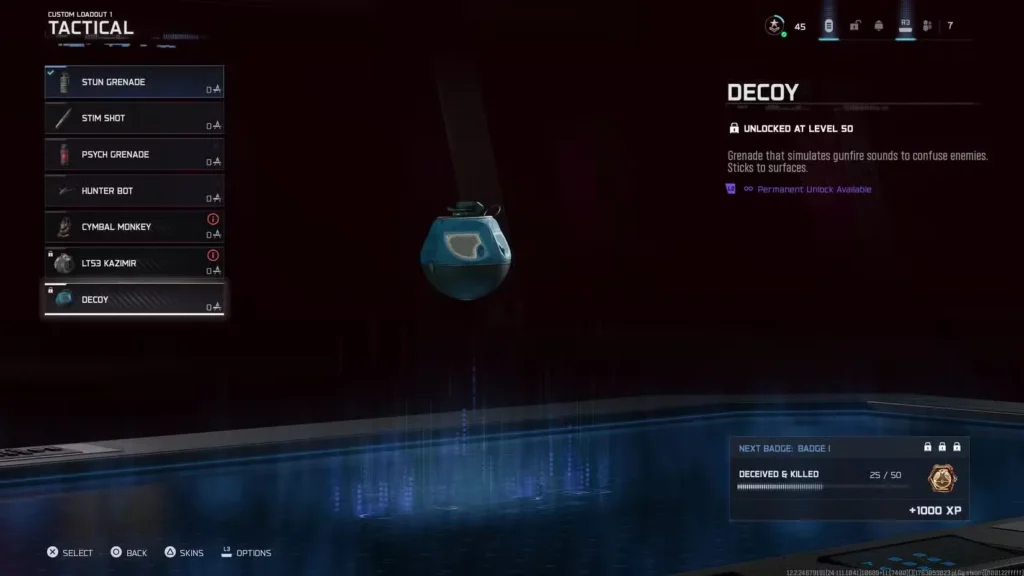
The Decoy works like a simplified Cymbal Monkey—throw it, and nearby zombies rush toward it and stand still, distracted by its presence. The key difference? No explosion at the end.
Advantages over Cymbal Monkey:
Half the cost: At 500 salvage versus the Monkey’s 1,000, you can afford twice as many Decoys for the same investment.
Instant activation: No wind-up animation means zombies are distracted immediately upon landing, making it slightly faster in practice.
Decent distraction duration: While not as long as the Cymbal Monkey, the Decoy provides enough time to revive teammates, complete objectives, or reposition strategically.
Why it’s only B-tier:
No kill potential: The lack of explosion means you still need to eliminate distracted zombies yourself. This makes it purely defensive rather than offensive.
Short distraction window: Once zombies realize the Decoy is a dud, they immediately resume hunting you. There’s less margin for error compared to equipment that kills enemies outright.
Late unlock: Requiring level 50 means newer players won’t have access for a significant portion of their early Zombies experience.
Best use cases:
- Emergency revives when teammates go down
- Creating brief repositioning windows
- Budget-conscious players who need cheap crowd control
- Situations where you need distraction but don’t need the killing power
For players working through TEDD tasks or other objectives requiring positioning, Decoys create those crucial few seconds needed to complete tasks safely.
6. Cymbal Monkey – Classic but Costly
Unlock Level: 24
Salvage Cost: 1,000 (Crafting only)
Why it’s B-tier: A Zombies mode classic that’s effective but economically questionable.
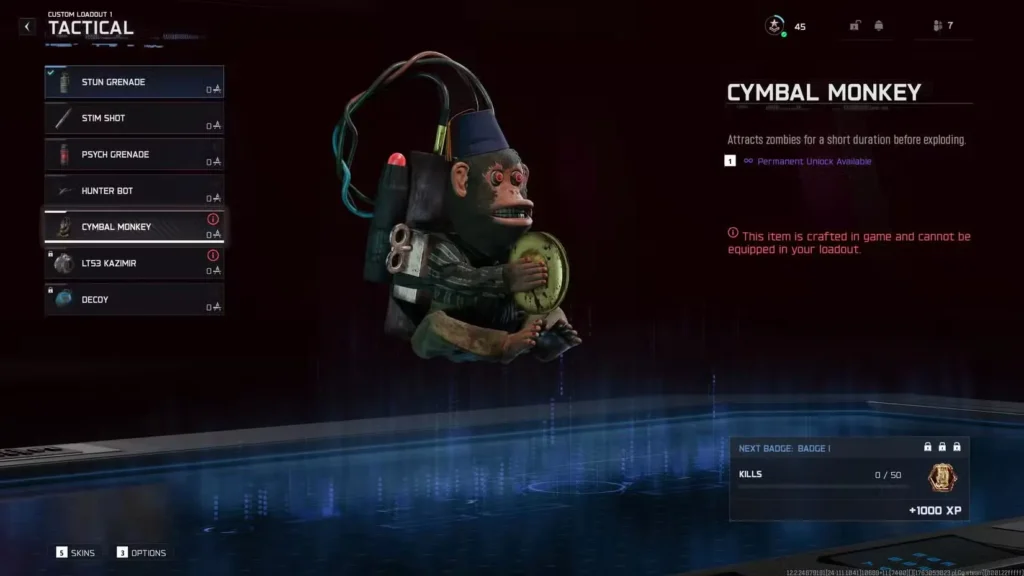
The Cymbal Monkey has been a franchise staple since the original Zombies mode, and its function remains unchanged: throw it, zombies are distracted by its cymbal-clashing antics, then it explodes, killing most zombies in the blast radius.
What it does well:
Total distraction: Every zombie in range drops what they’re doing and rushes the Monkey. It’s 100% effective at pulling aggro.
Explosive finish: Unlike the Decoy, the Cymbal Monkey detonates, eliminating most regular zombies caught in the blast and significantly damaging elites.
Lengthy distraction: The time between throw and explosion is generous, giving you more working time than cheaper alternatives.
Why it’s problematic:
Prohibitive cost: At 1,000 salvage per use, it’s expensive enough to make you think twice about every throw. Compare this to the Stun Grenade’s 250 salvage—you could buy four stuns for the price of one Monkey.
Crawler creation: The explosion doesn’t always kill zombies cleanly. Sometimes you’re left with a messy field of crawlers that are annoying to hunt down and eliminate.
Slow wind-up: The Cymbal Monkey has a noticeable start-up animation before zombies begin reacting. In truly desperate situations, this delay can be fatal.
Crafting-only limitation: You can’t load out with Cymbal Monkeys at match start. Every single one must be crafted during the game, which impacts your salvage economy planning.
When to use it: Save Cymbal Monkeys for specific high-pressure moments—major boss fights, emergency teammate rescues, or situations where you need both distraction and killing power simultaneously. For routine crowd control, cheaper alternatives make more sense.
C-Tier: Underwhelming Performance
7. Hunter Bot – Disappointing Drone
Unlock Level: 42
Salvage Cost: 250
Why it’s C-tier: Sounds cool in theory, performs poorly in practice.

The Hunter Bot is a drone that targets special, elite, and HVT (High-Value Target) enemies automatically. You throw it, it hovers forward, locates priority targets, and attacks them with… disappointingly weak damage.
The fundamental problems:
Inadequate damage output: The Hunter Bot’s damage is described as “below-average,” and that’s generous. Against the very elite enemies it’s designed to counter, it barely makes a dent.
Time inefficiency: The seconds spent throwing and watching the Hunter Bot engage could be better spent just shooting the target yourself with your optimized weapon loadout.
Opportunity cost: Your tactical equipment slot is incredibly valuable. Using it on something that deals minimal damage when you could have Stim Shots (survival), Stun Grenades (control), or Kazimirs (elimination) is a poor trade.
Niche scenarios where it’s acceptable:
- Absolute beginners who want automated assistance
- Players testing all equipment for completion purposes
- Situations where you’re conserving ammo and want any additional damage source (rare)
Honest assessment: The Hunter Bot feels like it was designed to help newer players but doesn’t provide enough value to justify choosing it over any other tactical option. Even the Decoy, which doesn’t deal damage, creates more tactical value through distraction.
Recommendation: Unlock it for completeness, try it once for curiosity, then never equip it again. Your tactical slot deserves better.
Building Your Optimal Tactical Loadout
Given you can only equip one tactical item in your starting loadout (crafting-only items like Kazimir and Cymbal Monkey excepted), here’s what I recommend:
For High-Round Attempts:
- Primary choice: Stim Shot
- Craft during match: LT53 Kazimir (multiple copies before difficult rounds)
- Reasoning: Stim Shot keeps you alive through sustained pressure, while Kazimirs handle emergency horde situations
For Objective-Focused Play:
- Primary choice: Stun Grenade
- Craft during match: Decoys for quick objective completions
- Reasoning: Stuns provide reliable crowd control for combat, while Decoys create windows for safe objective interaction
For Budget-Conscious Runs:
- Primary choice: Stun Grenade
- Craft during match: Additional Stun Grenades or Decoys
- Reasoning: Both are economical, allowing you to invest salvage in weapon upgrades, perks, and armor instead
For Team Play:
- Primary choice: Stim Shot (self-sufficiency reduces teammate burden)
- Craft during match: LT53 Kazimir for emergency team saves
- Reasoning: Being self-sufficient with healing means teammates don’t risk themselves reviving you, while Kazimirs create safe revive windows when someone does go down
Advanced Tactical Equipment Strategies
Salvage economy management: Don’t blow all your salvage on tactical equipment early. Prioritize Pack-a-Punch and armor plates first, then craft tacticals once your core setup is established.
Equipment timing: Save high-cost items like Kazimirs and Cymbal Monkeys for rounds where they’ll have maximum impact. Using a 1,500 salvage Kazimir on round 15 when a 250 salvage Stun would suffice is wasteful.
Combo opportunities: Stun Grenades + Stim Shots create powerful survival combinations. Stun the horde, heal yourself, then eliminate the frozen enemies. This one-two punch handles most dangerous situations.
Map-specific considerations: Some maps have tighter corridors where equipment effects are amplified. Learn which maps favor area-denial tools like Psych Grenades versus which benefit more from targeted stuns.
Emergency protocols: Always keep emergency supplies available. Heading into round 40+ without at least one Kazimir and two Stim Shots is asking for trouble.
Common Tactical Equipment Mistakes
Mistake 1: Over-relying on Cymbal Monkeys The nostalgia factor makes players default to Monkeys, but their cost rarely justifies the benefit. Use them sparingly or skip them entirely in favor of budget options.
Mistake 2: Ignoring Stim Shots early New players often overlook Stim Shots because early rounds don’t require aggressive healing. Then they hit round 30+ without any Stims in inventory and wonder why they keep dying.
Mistake 3: Wasting Kazimirs on manageable hordes Save these premium items for genuinely overwhelming situations. If a Stun Grenade can handle it, don’t burn 1,500 salvage on a Kazimir.
Mistake 4: Forgetting to restock After using tactical equipment, immediately craft replacements when you have salvage available. Don’t wait until you desperately need them again.
Mistake 5: Equipment hoarding Some players never use expensive items because they’re “saving them for later.” If you die with five unused Kazimirs in inventory, they did you zero good. Use equipment proactively.
Tactical Equipment and Augment Synergies
Your tactical equipment choices should complement your field upgrade augments and overall build strategy.
Healing-focused builds: If running healing field upgrades, Stim Shots create redundancy that keeps you alive even when cooldowns are active.
Aggressive playstyles: Psych Grenades and Stun Grenades enable close-quarters combat by controlling enemies before they become threats.
Support roles: Decoys and Kazimirs create safe spaces for reviving teammates without putting yourself at excessive risk.
Solo runs: Stim Shots become even more critical since you have no teammates to revive you. Pair with defensive augments for maximum survival.
Unlocking and Leveling Priorities
If you’re still progressing through levels, here’s the priority order for unlocking tactical equipment:
- Level 21 – Stim Shot: Rush this ASAP. It transforms your survivability immediately
- Level 47 – LT53 Kazimir: Your second major priority once available
- Level 29 – Psych Grenade: Nice to have for variety and crowd control
- Level 50 – Decoy: Useful but not essential; can wait
- Level 24 – Cymbal Monkey: Unlocks automatically as you progress; don’t stress it
- Level 42 – Hunter Bot: Honestly, you can skip caring about this one
Remember that Stun Grenades are available from level 1, so you have viable tactical equipment from the start of your Zombies journey.
Players working through Prestige levels should consider using permanent unlock tokens on Stim Shot if they Prestige before reaching level 21 naturally.
Map-Specific Tactical Recommendations
Ashes of the Damned: This map features tight corridors and numerous wall buy locations where zombie traffic is predictable. Stun Grenades and Psych Grenades excel here since enemies funnel through choke points.
Also note the perk locations when planning your tactical equipment routes—craft stations near perks create efficient resupply loops.
General tips: Learn each map’s crafting table locations and plan your equipment restocking around them. Running low on tacticals in a far corner of the map creates unnecessary risk.
The Psychology of Tactical Equipment
Confidence factor: Having Stim Shots in inventory changes how you play. You’ll take calculated risks you’d otherwise avoid, knowing you can outheal mistakes. This confidence enables more aggressive, efficient gameplay.
Panic button syndrome: Don’t save tactical equipment “just in case.” If you’re in trouble now, that IS the case you’ve been saving for. Use equipment proactively rather than dying with full inventories.
Team dynamics: In co-op, communicate tactical equipment usage. If one player throws a Kazimir, others should capitalize on the safe window it creates rather than wasting their own equipment redundantly.
Comparing Tactical Equipment to Lethal Equipment
Tactical equipment focuses on utility—crowd control, healing, distraction—while lethal equipment provides direct damage. Both categories have their place, but tactical equipment often provides more versatility in Zombies mode specifically.
Why tactical edges out lethal in Zombies:
- Survival mechanics matter more than raw damage in high rounds
- Crowd control enables safe positioning for damage dealing
- Healing extends runs when mistakes happen
- Lethal equipment damage becomes negligible in late rounds anyway
That said, certain lethal options complement tactical choices nicely. Research your options and build loadouts that balance both categories effectively.
Future-Proofing Your Tactical Strategy
As Black Ops 7 receives updates, balance changes may affect tactical equipment effectiveness. Stay informed about:
- Salvage cost adjustments
- Equipment effect duration changes
- New tactical equipment additions
- Map-specific equipment interactions
The fundamentals outlined here should remain relevant, but specific recommendations might shift as the meta evolves.
Final Recommendations: Your Tactical Equipment Roadmap
Priority 1: Always have Stim Shots available. This single item will save more runs than any other tactical equipment combined.
Priority 2: Craft LT53 Kazimirs before difficult encounters. Don’t enter boss fights or high rounds without at least one emergency Kazimir.
Priority 3: Keep Stun Grenades as your budget reliable option. Cheap, effective, and available from the start.
Priority 4: Experiment with Psych Grenades and Decoys to find which situational option fits your playstyle better.
Priority 5: Avoid wasting resources on Hunter Bots. They simply don’t provide enough value to justify the tactical slot.
The beauty of Black Ops 7 Zombies is that you can adapt your tactical equipment choices to match your evolving strategy. Start with Stim Shots and Stun Grenades while learning the ropes, then graduate to more expensive options like Kazimirs once your salvage economy and map knowledge improve.
Whether you’re grinding through early rounds, pushing for high-round records, or just enjoying casual co-op sessions, having the right tactical equipment at the right time makes every Zombies experience better.
For more Zombies strategies, explore our guides on Gobblegums, getting permanent perks, and creating the legacy HUD.
And if you’re looking for a break from Zombies, try mastering multiplayer techniques or check out the official Black Ops 7 site for the latest updates.
Now get out there, stock up on Stim Shots, and show those zombies who’s boss!