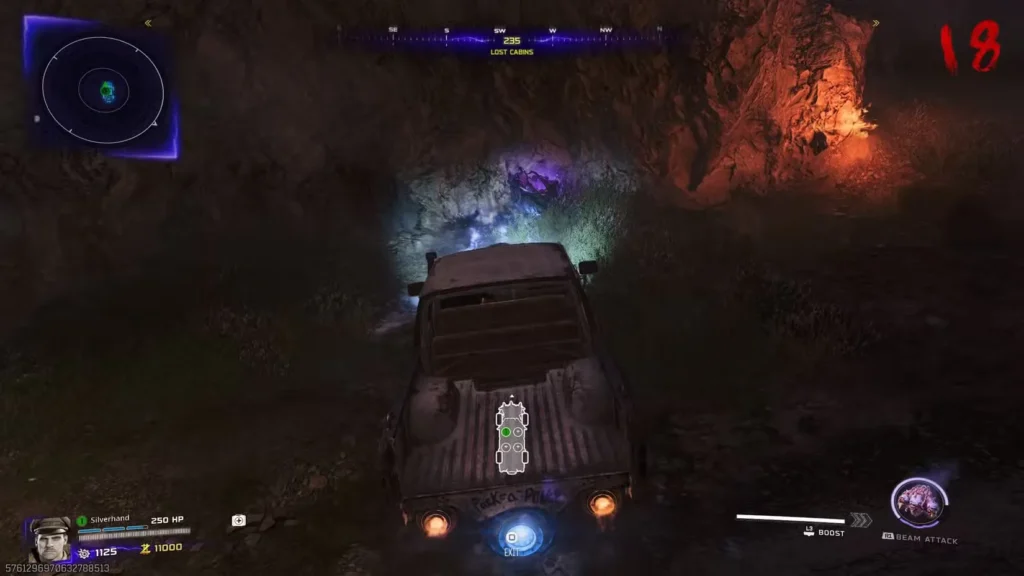
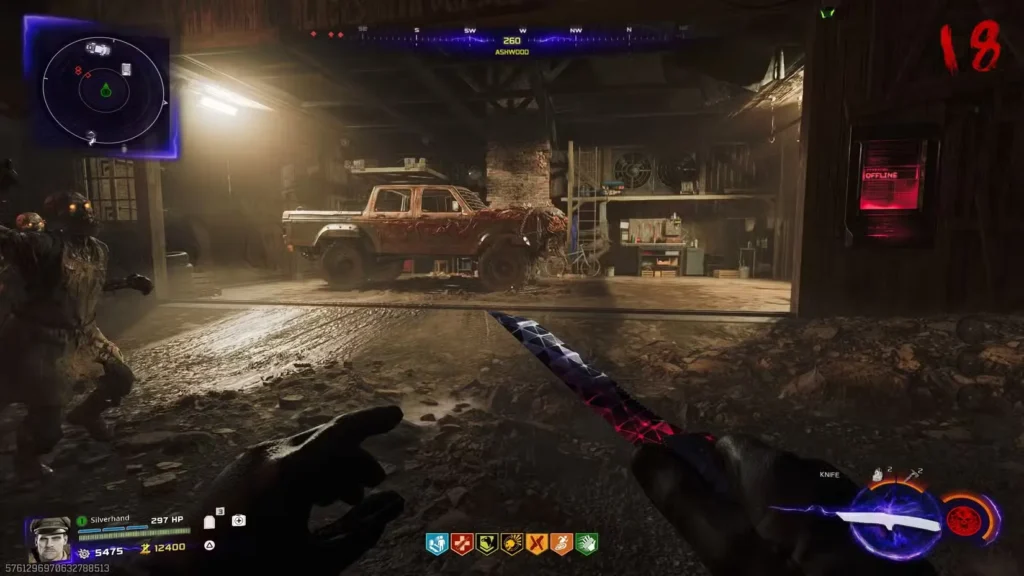
Navigating the Dark Aether on foot in Black Ops 7 Zombies is basically asking for trouble. That’s where Ol’ Tessie comes in—your trusty Wonder Vehicle that makes traveling between zones not only safer but actually enjoyable. But here’s the thing: stock Ol’ Tessie is just the beginning. With the right upgrades, she transforms from a simple transport vehicle into an absolute powerhouse.
After spending considerable time with the Ashes of the Damned map, I can confidently say that fully upgrading Ol’ Tessie changes the entire flow of your Zombies runs. This guide breaks down every upgrade step-by-step, including the notoriously tricky Wunderwaffe Turret that requires preparation and patience.
Unlocking Ol’ Tessie: Your First Steps
Before diving into upgrades, you need to actually get Ol’ Tessie. Here’s how:
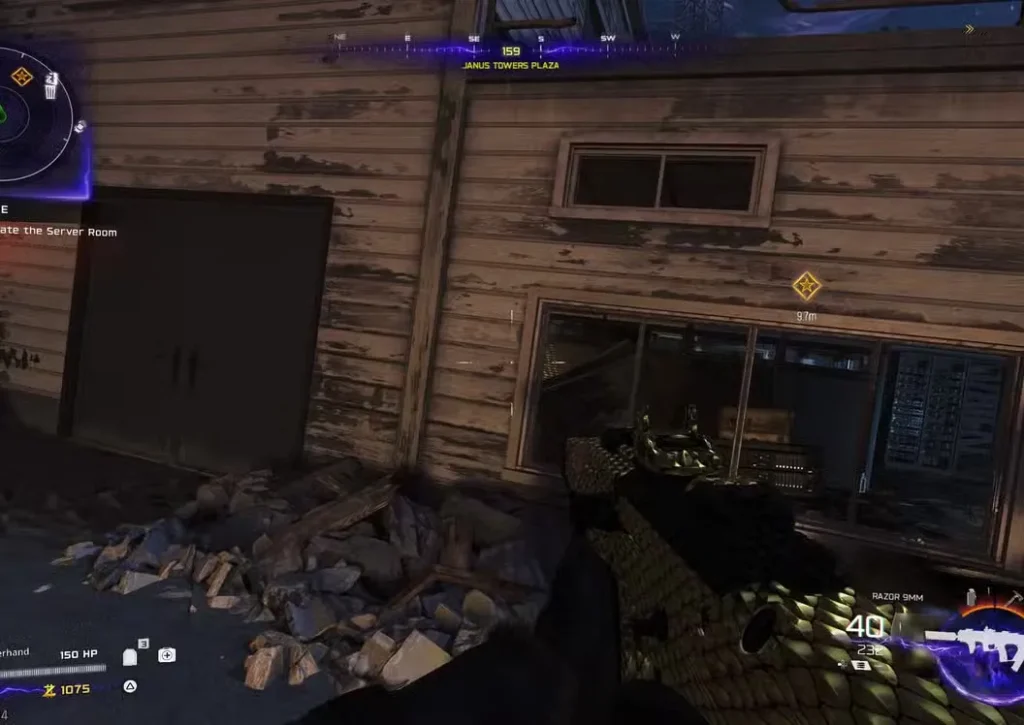
Starting Location: Head to Janus Towers Plaza (the spawn area)
Find T.E.D.D.’s Head:
- Enter the Server Room on the south side of the plaza
- Look for a floor grate—melee it to break through
- Grab T.E.D.D.’s Head from underneath
Activate the Vehicle:
- Exit the Server Room and locate the disabled truck nearby
- Interact with the truck to install T.E.D.D.’s Head
- Ol’ Tessie is now yours to drive
Pro tip: Don’t rush past this step. Take a moment to get familiar with Ol’ Tessie’s basic controls before heading into the Dark Aether. The handling takes some getting used to, especially in tight spaces.
Upgrade #1: Pack-a-Punch & Rocket Boost
This first major upgrade is essential and gives you two massive benefits in one go.
What You Need:
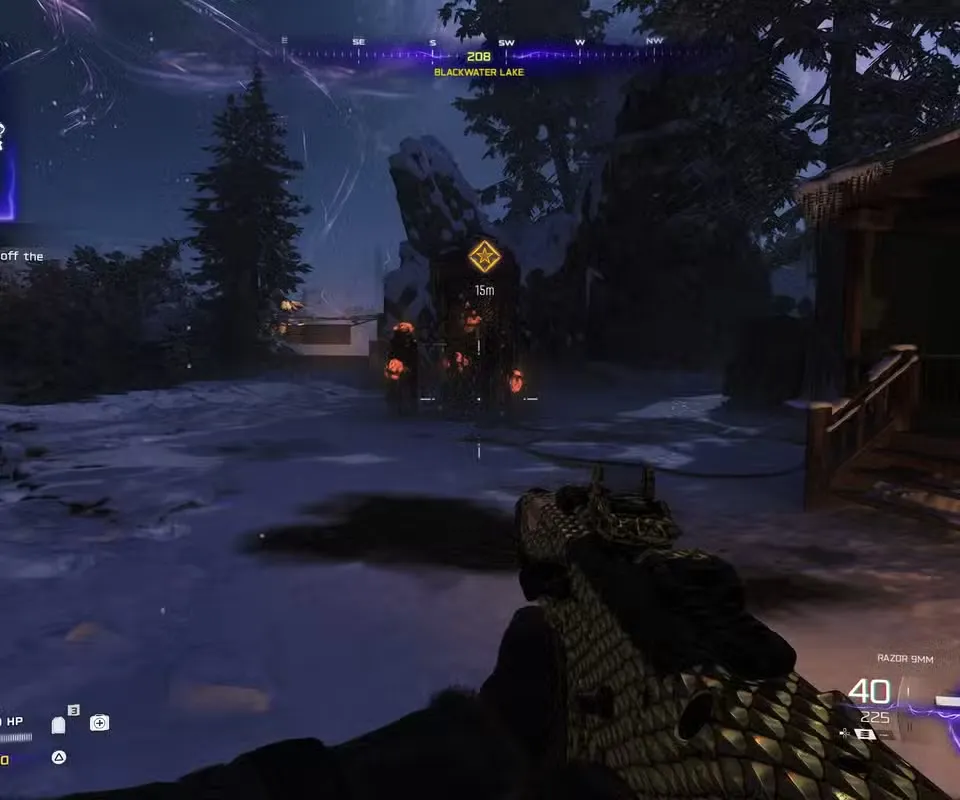
- Complete a Power Pump at either Vandorn Farm (east) or Blackwater Lake (west)
- Activate the gate to Ashwood
- Complete the Power Pump at Ashwood Bridge
Step-by-Step Process:
- Finish one of the initial Power Pumps at Vandorn Farm or Blackwater Lake
- Head through the newly opened gate to Ashwood
- Complete the Ashwood Bridge Power Pump
- Drive Ol’ Tessie back down to Ashwood’s garage (bottom area)
- Park in the garage and look for the Pack-a-Punch machine in the west corner
- Interact with the machine while inside Ol’ Tessie
What This Upgrade Does:
- Mobile Pack-a-Punch: Upgrade weapons by looking at Ol’ Tessie’s rear end (no more running back to stationary machines)
- Rocket Boost: Press L3 to activate a speed boost that clears zombies off your vehicle and increases velocity
- Moderate cooldown between boosts prevents spam but allows frequent use
The boost function alone makes this upgrade worth pursuing early. Getting swarmed while driving? Hit that boost and watch zombies fly off. Need to make a dangerous crossing? Boost through and cut your travel time significantly.
Upgrade #2: Abomination Carcass (Beam Attack)
This upgrade turns Ol’ Tessie into an offensive vehicle capable of clearing entire hordes while driving.
Location: Reba’s Diner at Exit 115 (southwest gate from Ashwood)

How to Get It:
- Drive Ol’ Tessie through Ashwood’s southwest gate to reach Exit 115
- Enter Reba’s Diner and wait for the Chef zombie to spawn (special enemy)
- Kill the Chef and collect the Freezer Key
- Use the key on the freezer door (southwest wall inside the diner)
- Grab the Abomination Carcass from inside the freezer
- Return to Ashwood’s garage
- Interact with the hanging Abomination Heads on the garage wall to install
What This Upgrade Does:
- Press R1 to fire devastating Abomination Beams from Ol’ Tessie
- Instantly kills zombies directly in your path
- Perfect for clearing roads between zones
- Makes traversing no man’s land significantly safer
My Experience: This upgrade completely changed how I approach movement in Ashes of the Damned. Instead of dodging zombies and hoping for the best, you can actively clear your route. The beam has excellent range and damage, making it invaluable during high rounds when the roads are absolutely packed.
Upgrade #3: Wunderwaffe DG-2 Turret (The Ultimate Upgrade)
Here’s where things get serious. This final upgrade is by far the most complex, requiring multiple steps, specific kills, and patience (you can’t even complete it until Round 16).
Prerequisites You Must Have:
The Necrofluid Gauntlet Wonder Weapon – This is non-negotiable. You need this weapon for multiple steps in the process. Check our dedicated guide for the full unlock quest.
Collecting All Serum Components
You need six specific items. Here’s the breakdown:
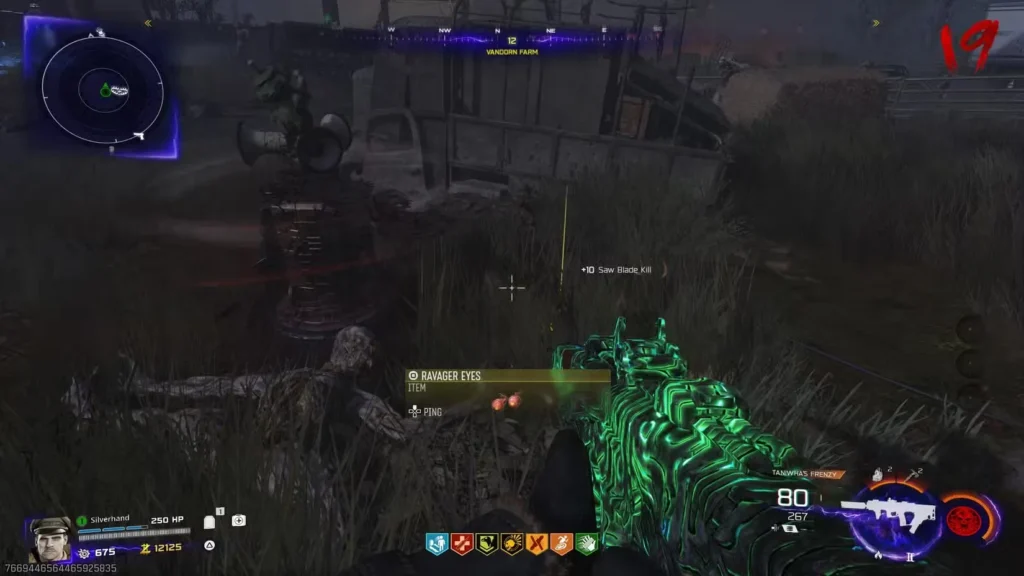
1. Ravager Eyes
- Kill a Ravager using the Saw Blade Trap
- Easiest location: Vandorn Farm trap
- Pick up the eyes after the kill
2. Human Bones
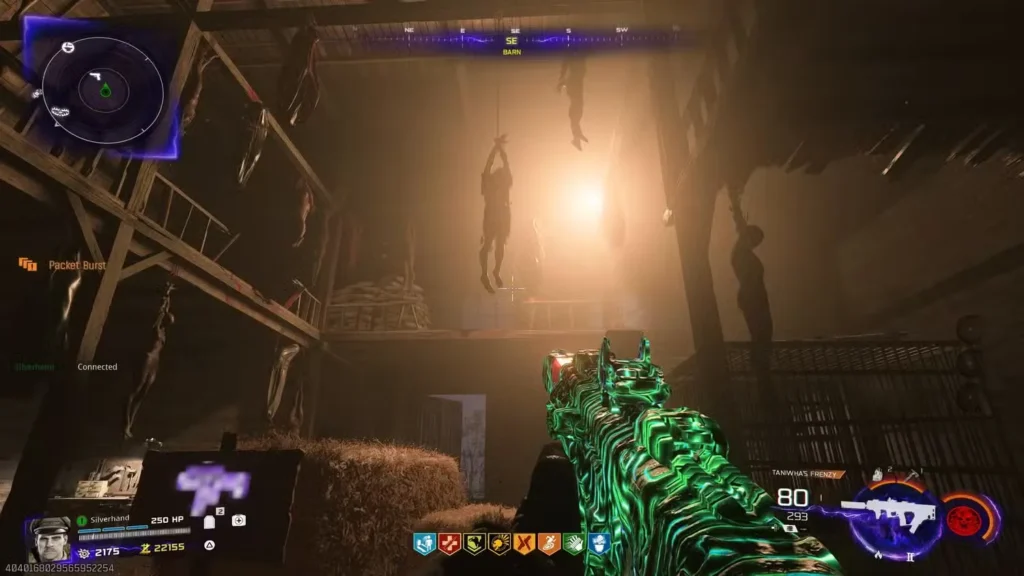
- Go to the Barn at Vandorn Farm
- Find the hanging corpse and throw a Combat Axe at its right foot
- Throw a Molotov at the fallen foot on the ground
- Collect the bones
3. Mysterious Limb
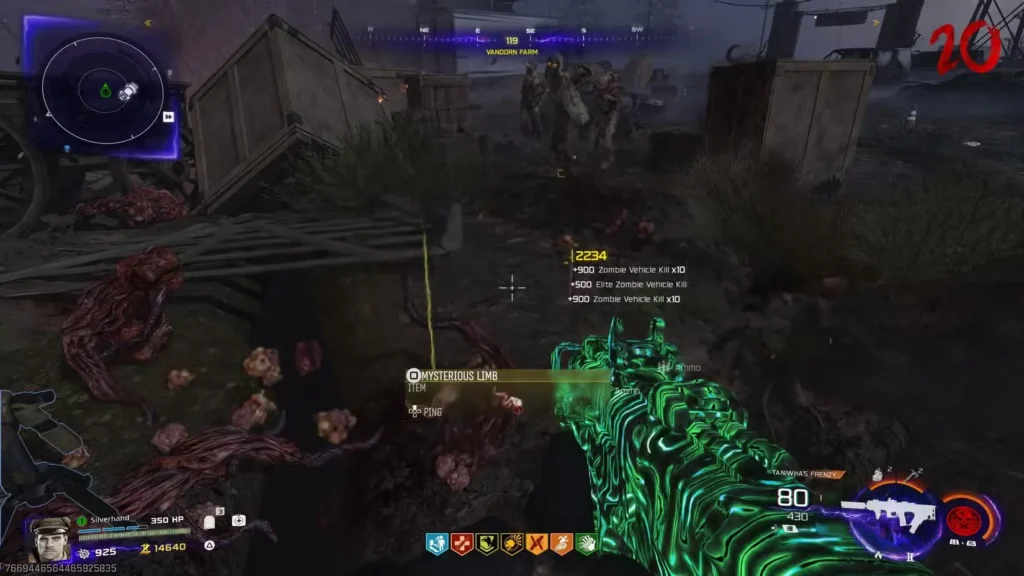
- Kill a Zursa zombie bear using Ol’ Tessie’s Abomination Beam Attack (requires previous upgrade)
- This is why you can’t rush this upgrade—you need the Abomination upgrade first
- Pick up the limb after the kill
4. Hoard Husk Chunks
- Look for glowing purple plants along the roads connecting locations
- Use the Abomination Beam Attack on these plants
- Collect the chunks that drop
5. Widow’s Lantern
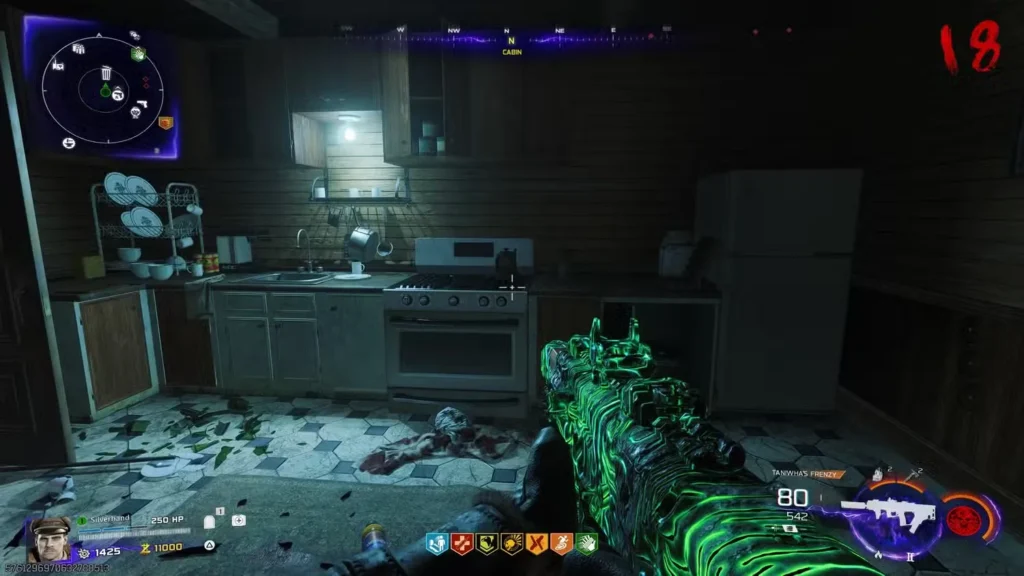
- Find the Jar of Spores in Blackwater Lake (Cabin kitchen, south cabinet)
- Take it to the dead horse outside Vandorn Farm and interact
- Wait 3 full rounds
- Return to collect the Widow’s Lantern from the horse corpse
6. Powder of the Forgotten
- Acquire the Wisp Tea perk from Zarya Cosmodrome
- While the perk is active, go to the Tailor Shop in Ashwood (east room)
- Find the mirror and shoot it with the Necrofluid Gauntlet
- Collect the powder
Planning tip: Start collecting these items early in your run. The Widow’s Lantern alone requires a 3-round wait, so grab that Jar of Spores as soon as possible.
Creating the Serum at Yuri’s Lab
Once you have all components, head to Yuri’s Lab (southwest room at Zarya Cosmodrome).
The Table Setup:
- Bowl 1: Human Bones (>)
- Bowl 2: Hoard Husk Chunks (L)
- Bowl 3: Widow’s Lantern (C)
- Bowl 4: Ravager Eyes (C.)
- Bowl 5: Powder (trigger—don’t use as ingredient)
- Bowl 6: Mysterious Limb (L.)
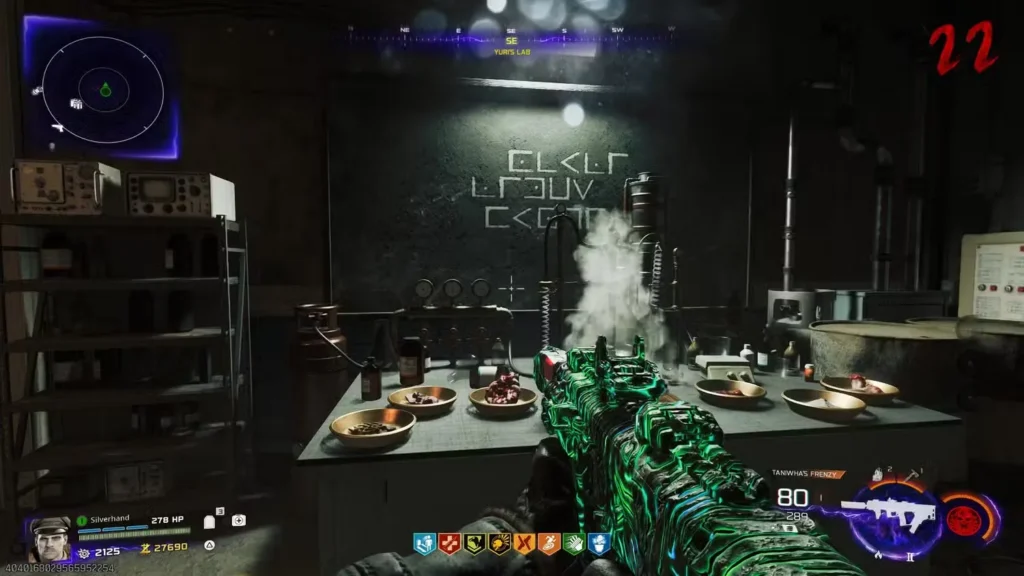
How It Works:
- Interact with the 5th bowl (powder) to start the process
- Smoke appears and reveals 3 symbols on the chalkboard
- Match each symbol to the corresponding ingredient in order
- Use the symbol guide above to identify which bowls to use
- After selecting 3 correct ingredients, smoke turns red
- Interact with the red smoke to add blood as the final ingredient
- Lockdown triggers—you’re trapped and must eliminate all zombies
- Use your Necrofluid Gauntlet (fire then reload to heal yourself during the fight)
Survival tip: Don’t panic during the lockdown. The Necrofluid Gauntlet is your lifeline—remember that reloading after firing heals you. Keep moving and use the room’s space to train zombies before unleashing the Gauntlet.
Finding the Three Keys
After completing the serum, a clock tower appears floating above Ashwood. A locked box also appears in Rabbit Alley (upper west area of Ashwood). You need three keys to open it.
Important: Each key spawns in one of three possible locations on specific roads. Use the Necrofluid Gauntlet to shoot the key, then reload to pull it to you. Each key gives you a unique debuff until you deposit it.
Bruin Key (Yellow) – Crashed Rocket Road (Ashwood to Zarya Cosmodrome)

- Debuff: Forces knife out when picked up
- Possible locations:
- Near cliff edge close to Ashwood by the burning vehicle
- Inside the crashed pylon
- On top of the southwest array building
Nightbird Key (Red) – Orda Graveyard (Ashwood to Exit 115)
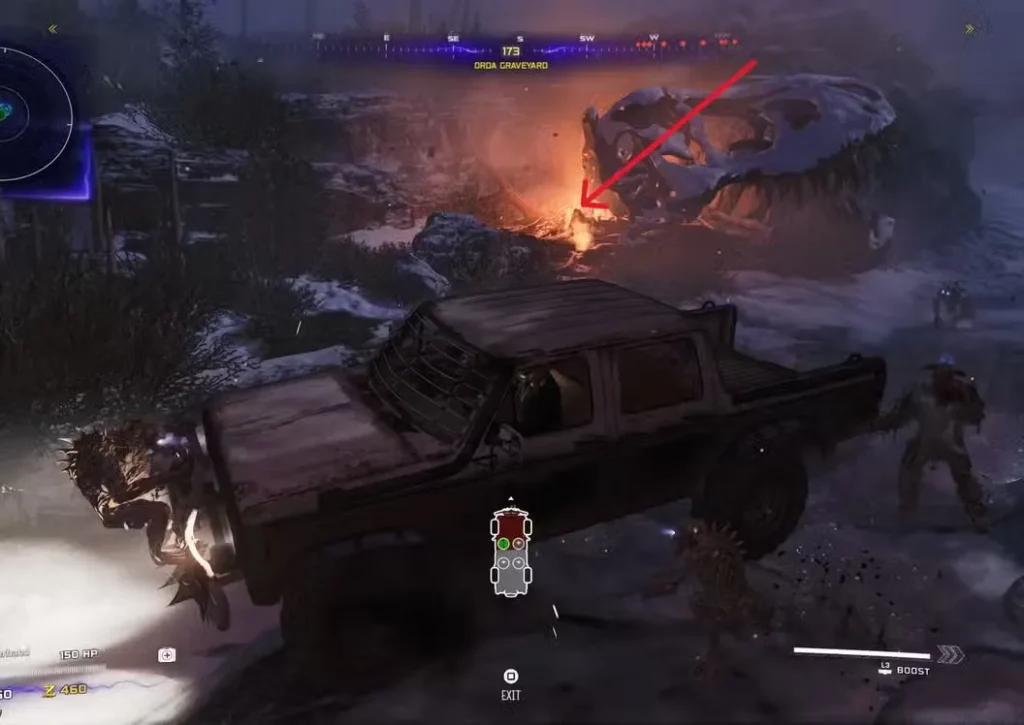
- Debuff: Disables health regeneration
- Possible locations:
- Back of the ground-level dinosaur skull
- Inside the mouth of the cliff dinosaur skull
- Behind a car in the snow near Exit 115
Terrapin Key (Green) – Grounded Ship (Ashwood to Vandorn Farm)
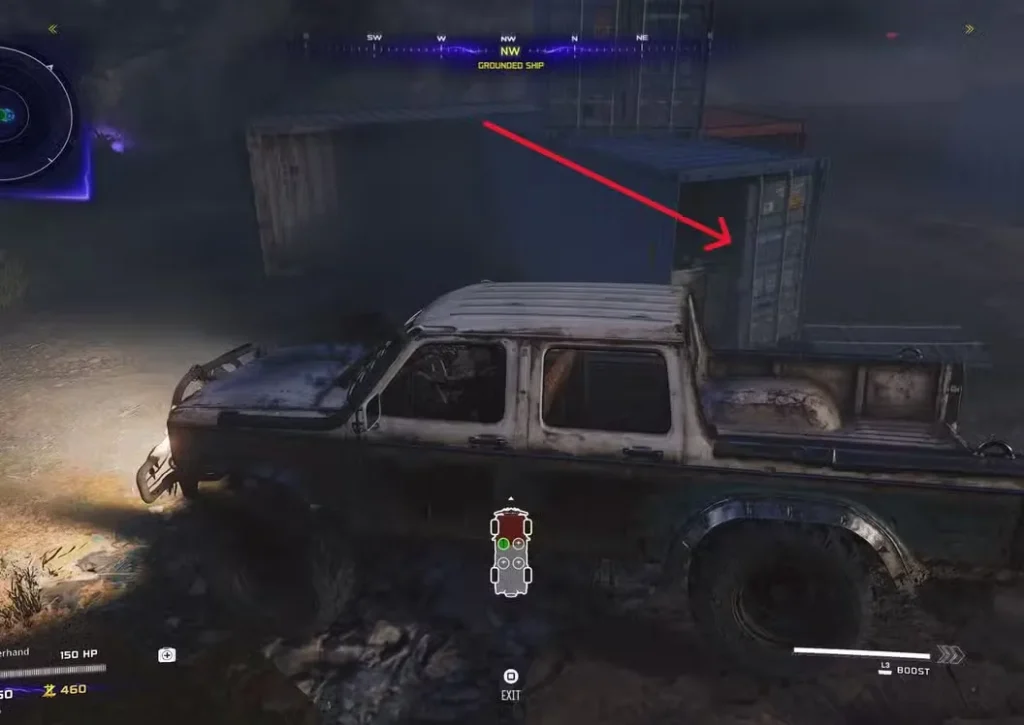
- Debuff: Disables sprint
- Possible locations:
- Inside zombie barrier on top of ship (facing southwest)
- Corner of open blue shipping container at ship’s back
- Underneath the ship’s back between two barrels
Search strategy: Keys are extremely hard to spot. Check all three possible spawn points on each road methodically. If you don’t find it in the first two spots, it’s definitely in the third location.
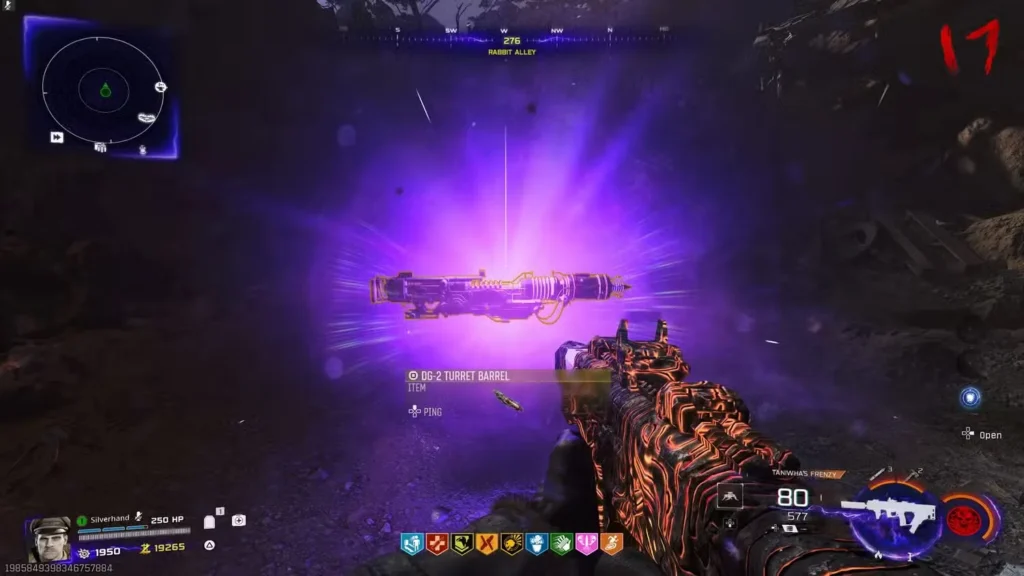
Final Installation
- Collect all three keys and place each one in the Ashwood box individually
- Watch the cutscene that triggers automatically
- Pick up the floating DG-2 Turret Barrel
- Drive Ol’ Tessie into Ashwood garage’s workshop
- Interact to install the Wunderwaffe Turret
What This Upgrade Does:
- Automatic firing turret when you’re driving solo
- Won’t kill the last zombie (prevents accidental round progression)
- Devastating damage against hordes
- Perfect for high-round strategies
The mounted turret essentially gives you a guardian angel while driving. Combined with the Abomination Beam and Rocket Boost, fully upgraded Ol’ Tessie becomes nearly unstoppable.
Essential Maintenance: Keeping Ol’ Tessie Running
Even fully upgraded, Ol’ Tessie takes damage. Here’s how to keep her operational:
Quick Healing Methods:
- Drive through green Dark Aether plants between roads (also gives Essence and Salvage)
- Park Ol’ Tessie safely and exit—she auto-repairs when empty
- Drive into Ashwood garage and park on the central pad for faster healing
If Destroyed:
- Wait until the next round—Ol’ Tessie auto-respawns
- Summon a fresh one at Ashwood garage for 1,000 Essence
- Teleport directly inside for 500 Essence
Maintenance tips: Keep an eye on Ol’ Tessie’s health bar. Don’t push through dangerous areas when she’s low on health. Those green plants are everywhere—make a habit of hitting them whenever you pass by for free healing.
Strategic Tips for Maximizing Ol’ Tessie
After using fully upgraded Ol’ Tessie for dozens of runs, here are some insights:
Upgrade Priority:
- Pack-a-Punch/Boost first (immediate utility)
- Abomination Beam second (offense and required for Turret quest)
- Wunderwaffe Turret last (requires Round 16+ anyway)
Combat Applications:
- Use the beam to clear training spots before stopping
- Boost through tight situations rather than trying to carefully navigate
- The turret handles defense while you focus on driving during exfil sequences
Team Play:
- Designate a driver who knows the routes well
- Passengers can focus on getting critical kills while mobile
- Coordinate with Field Upgrades for maximum efficiency
Common Mistakes to Avoid
Don’t rush the Wunderwaffe quest early. You physically cannot complete it before Round 16 due to the Zursa requirement. Focus on other objectives first.
Don’t ignore the green plants. Free healing, Essence, and Salvage—there’s zero reason not to hit every one you pass.
Don’t forget key debuffs. When collecting keys for the Wunderwaffe quest, each one hampers you differently. Grab the red key last if possible since no health regen is the most dangerous debuff.
Ending Note
Fully upgrading Ol’ Tessie transforms Ashes of the Damned from a challenging survival map into a more manageable experience. The mobile Pack-a-Punch alone is worth the effort, but adding offensive capabilities makes Ol’ Tessie indispensable for high-round attempts and efficient weapon leveling.
The Wunderwaffe Turret quest is definitely the most time-consuming upgrade, but it’s incredibly satisfying to complete. Plus, having that automated firepower covering your back while navigating the Dark Aether roads makes the entire investment worthwhile.
For more help with Black Ops 7 Zombies, check out our guides on best Gobblegums, beginner tips, and permanent perks.
External Resources: