Shields are your first line of defense in Borderlands 4, but the best legendary shields do far more than just absorb damage. They trigger devastating Nova explosions, grant damage immunity, regenerate ammo, boost fire rate and movement speed, or even turn you into a melee-focused tank. Choosing the right shield for your Vault Hunter build can be the difference between dominating endgame content and constantly respawning.
This guide breaks down the 8 best legendary shields in Borderlands 4, explaining what makes each one special, which builds benefit most, and exactly where to farm them. From the Onion Shield’s ridiculous damage immunity windows to the Timekeeper’s New Shield that replaces your shield entirely with health bonuses, we’re covering the shields that actually matter for serious builds.
Whether you’re running a melee Amon build that needs Heavyweight, a survivability-focused tank setup that wants Super Soldier, or just looking for the most overpowered defensive option available, this guide has you covered.
Let’s find the perfect legendary shield for your playstyle.
How Legendary Shields Work in Borderlands 4
Before diving into specific shields, here’s what you need to know about legendary defensive gear:
Shield Mechanics
Shield capacity: The amount of damage your shield can absorb before breaking
Recharge delay: How long after taking damage before your shield starts regenerating
Recharge rate: How quickly your shield refills once regeneration begins
Special effects: Unique legendary abilities that activate under specific conditions
Key concept: The best legendary shields aren’t necessarily the ones with the highest capacity. Special effects often matter more than raw stats, especially for specialized builds.
Shield Types in Borderlands 4
Energy Shields: Standard shields that absorb all damage types equally
Armor Shields: Segmented shields that break in chunks (like Onion Shield)
Hybrid Shields: Combine shield capacity with additional health bonuses
No-Shield Shields: Items like Timekeeper’s New Shield that replace shields with other benefits
Build consideration: Some class mods and skills interact specifically with shield mechanics, so choose shields that synergize with your build’s strengths.
1. Onion Shield ⭐ BEST OVERALL
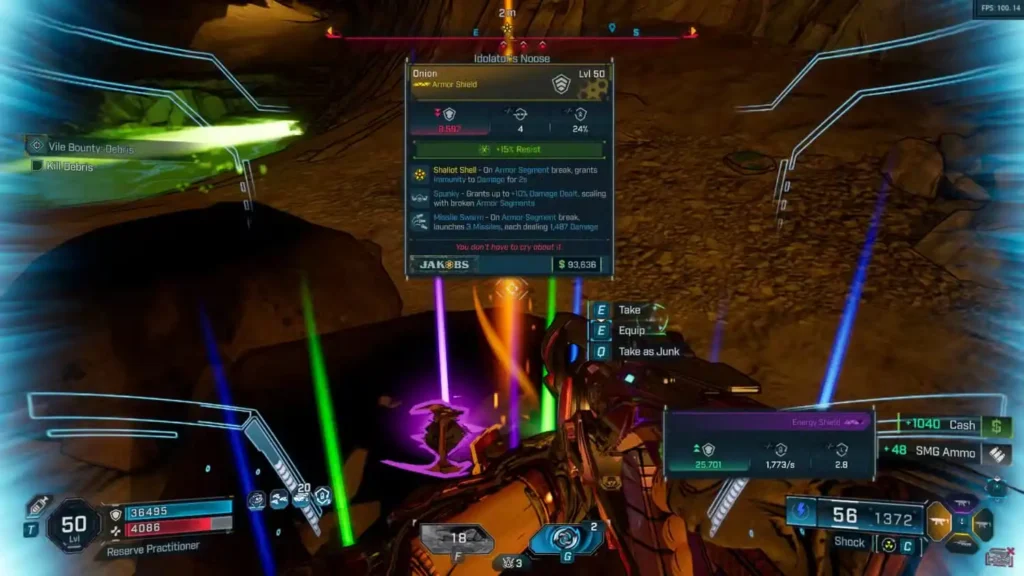
Special Ability: Shallot Shell – On Armor Segment break, grants Immunity to Damage for 2 seconds
Where to Farm Onion Shield
Boss: Sludgemaw
Location: Idolator’s Noose, Fadefields
Availability: After completing main story, accept “All Charged Up” Faction Mission from the Outbounders
Loot Pool: 3 legendaries (Birts Bees SMG, Kickballer Shotgun, Onion Shield)
Farming guide: See our complete Sludgemaw farming strategy for boss mechanics and efficient kill methods.
Why Onion Shield is Top Tier
The Onion Shield is arguably the most overpowered defensive legendary in Borderlands 4. Here’s the breakdown:
Armor segments: 4 total segments
Damage immunity per break: 2 seconds
Maximum immunity time: 8 seconds total (if all 4 segments break in sequence)
Immunity refreshes: Yes, when segments regenerate
The math on this is absurd: During intense combat, you’re essentially invulnerable for significant portions of the fight. Each armor segment breaking gives you a 2-second window where you take zero damage—no chip damage, no one-shots, nothing touches you.
Best Builds for Onion Shield
Aggressive glass cannon builds:
- Players who prioritize damage over defense
- Burst DPS builds that need brief immunity windows to survive
- Boss nuking strategies where you need 8 seconds of immunity to unload your full damage combo
Boss farming:
- The immunity windows let you face-tank attacks that would normally down you
- Perfect for learning boss patterns without dying to one-shot mechanics
- Eliminates need for Second Wind situations
Why it works: Most bosses have telegraph windows for big attacks. Time your segment breaks correctly, and you can completely ignore their strongest moves. It turns borderline impossible encounters into comfortable farms.
Shrek Reference Bonus
The Onion Shield’s “Shallot Shell” ability is, of course, a reference to Shrek’s “ogres are like onions—they have layers” speech. Borderlands loves its pop culture references (see also: Noisy Cricket, Aegon’s Dream), and this one actually resulted in an incredibly powerful legendary.
Fun fact: The Shrek Easter egg location is at Mirehome in Idolator’s Noose, the same region where you farm Sludgemaw for this shield. Gearbox clearly had ogres on the brain while designing Fadefields content.
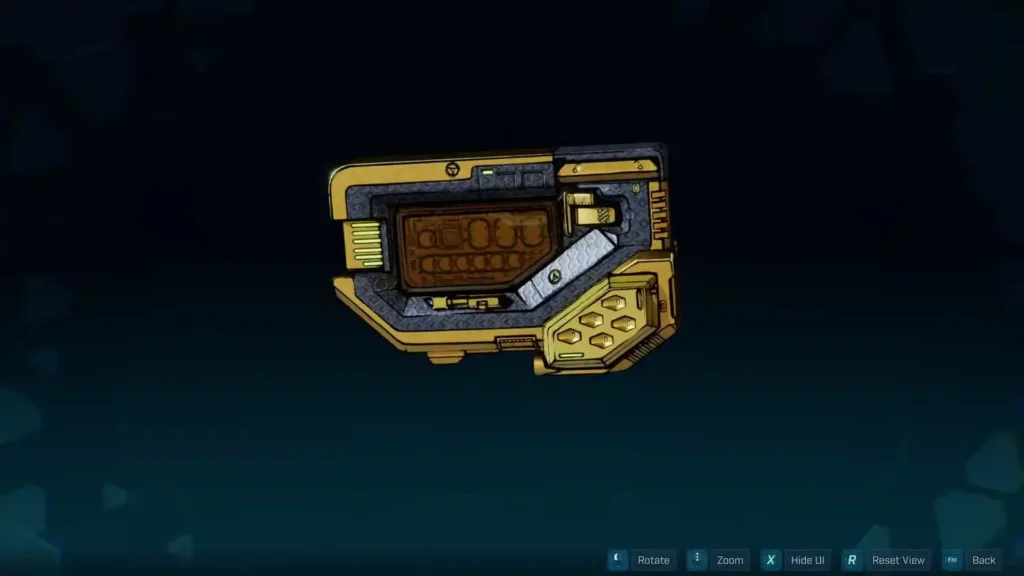
2. Super Soldier Shield ⭐ BEST FOR SUSTAINED DPS
Special Ability: Power Play – When Energy Shield fills, grants an Overshield. When Energy Shield is full, grants +25% Fire Rate, +25% Movement Speed, and regenerates 1 Ammo per second
Where to Farm Super Soldier Shield
Boss: Vile Lictor
Location: Umbral Foundry, Windspear, Terminus Range
Availability: After Main Mission “His Vile Sanctum”
Loot Pool: 7 legendaries (including all 4 Vault Hunter class mods)
Why this farm is efficient: Vile Lictor is a priority farm anyway because he drops class mods for all four characters. Getting Super Soldier while hunting class mods is excellent efficiency.
Why Super Soldier Shield Excels
Super Soldier is the best shield for maintaining high DPS uptime. Here’s why:
At full shield capacity, you gain:
- +25% Fire Rate = more damage per second
- +25% Movement Speed = better positioning, easier dodging
- 1 Ammo regeneration per second = never run out of ammo for your best weapons
The Overshield bonus: Even when your shield drops below full, the Overshield provides an extra buffer before your main shield starts taking damage.
Best Builds for Super Soldier
High fire-rate weapon builds:
- SMG-focused builds that empty mags quickly
- Assault rifle builds that benefit from fire rate stacking
- Any build using ammo-hungry weapons
Defensive playstyles:
- Players who prioritize avoiding damage over face-tanking
- Builds with strong shield regeneration skills
- Solo players who need consistent performance
Ammo economy:
- The passive ammo regeneration eliminates ammo concerns during extended fights
- Perfect for boss farming runs where vending machines aren’t nearby
- Synergizes with weapons that have small magazine sizes but high damage per shot
Playstyle note: Super Soldier rewards careful play. Stay at range, maintain your shield, and you become a mobile turret with infinite ammo. Let your shield break constantly, and you lose all the bonuses. This shield teaches you to play smarter, not harder.
3. Timekeeper’s New Shield ⭐ BEST FOR HEALTH BUILDS
Special Ability: Bininu – When equipped, grants + Maximum Health, + Health Regeneration per second, and reduces Damage Taken by 33%. Has no shield capacity.
Where to Farm Timekeeper’s New Shield
Boss: The Timekeeper (Final Boss)
Location: Upper Dominion, Terminus District, Dominion
Availability: After Main Mission “The Timekeeper’s Order”
Loot Pool: 5 legendaries (Borstel Ballista sniper, Symmetry sniper, Plasma Coil SMG, Star Helix AR, Timekeeper’s New Shield)
Farming accessibility: As the final story boss, The Timekeeper is guaranteed to be farmable once you complete the campaign. Use quit/reload method for efficient farming.
Why Timekeeper’s New Shield is Unique
This “shield” completely redefines how defensive gear works in Borderlands 4:
What you lose:
- All shield capacity (you have 0 shields when equipped)
- Shield regeneration mechanics
- Shield-based skill interactions
What you gain:
- Massive health pool increase
- Constant health regeneration (passive healing)
- 33% damage reduction on all incoming damage
The trade-off: You’re trading reactive defense (shields that break and recharge) for consistent tanking (large health pool with constant regen and damage reduction).
Best Builds for Timekeeper’s New Shield
Health-stacking builds:
- Vault Hunters with skills that boost maximum health
- Builds with health regeneration bonuses from skill trees
- Firmware sets that grant health-based bonuses
Tank builds:
- Players who want to face-tank boss mechanics
- Builds focused on survivability over damage
- Co-op tanks who need to draw aggro and survive
Skill tree synergies:
- Any skills that trigger “on health damage taken” effects now activate more consistently
- Skills with “while at low health” bonuses become safer to maintain
- Life steal/health-on-kill effects become more valuable
Who should avoid it:
- Builds that rely on shield-based skills or class mods
- Players who use shields to trigger damage buffs
- Glass cannon builds that rely on shields as their only defense
Important note: The 33% damage reduction is applied to the damage you actually receive, not the damage dealt to you. Combined with a massive health pool, this makes you remarkably difficult to kill—you just can’t rely on shields bailing you out of bad situations anymore.
4. Heavyweight Shield ⭐ BEST FOR MELEE BUILDS
Special Ability: Bareknuckle – On Melee Hit, consumes an Armor Segment to grant +100% Melee Damage. When Armor Shield is empty, grants +50% Melee Damage
Where to Farm Heavyweight Shield
Source: Random world loot drop
How to farm:
- Kill world bosses and check drops
- Open Red Chests in Order Bunkers
- Use Golden Keys for legendary chest rolls
- Check Maurice’s Black Market weekly rotation
- Farm high-density enemy areas and hope for world drops
RNG warning: World drops are significantly less reliable than dedicated boss farms. Expect to play for a while before seeing Heavyweight drop naturally.
Why Heavyweight Shield is Melee MVP
For melee-focused builds, Heavyweight is non-negotiable:
At full armor segments:
- Each melee hit consumes one segment
- Each consumed segment grants +100% melee damage for that hit
- Essentially doubles your melee damage with armor to spare
At empty armor:
- Still grants +50% melee damage permanently
- You never lose melee bonus completely
The math: With 4 armor segments, you get 4 hits at double damage, then permanent +50% damage after. For melee builds, this is massive sustained DPS.
Best Builds for Heavyweight
Melee-focused Vault Hunters:
- Amon Onslaught build – THE melee character
- Rafa Arc Knives build – Benefits from melee damage scaling
- Any build using melee as primary damage source
Hybrid melee/gun builds:
- Builds that weave melee attacks between gunfire
- “Punch then shoot” playstyles
- Close-quarters combat specialists
Synergies:
- Stack with melee damage bonuses from skill trees
- Combine with class mods that boost melee
- Pair with weapons that have melee attachments or bonuses
Playstyle: Heavyweight encourages aggressive close-range play. You’re literally incentivized to punch enemies in the face, which fits perfectly with the Borderlands “shoot and loot” (or in this case, “punch and loot”) philosophy.
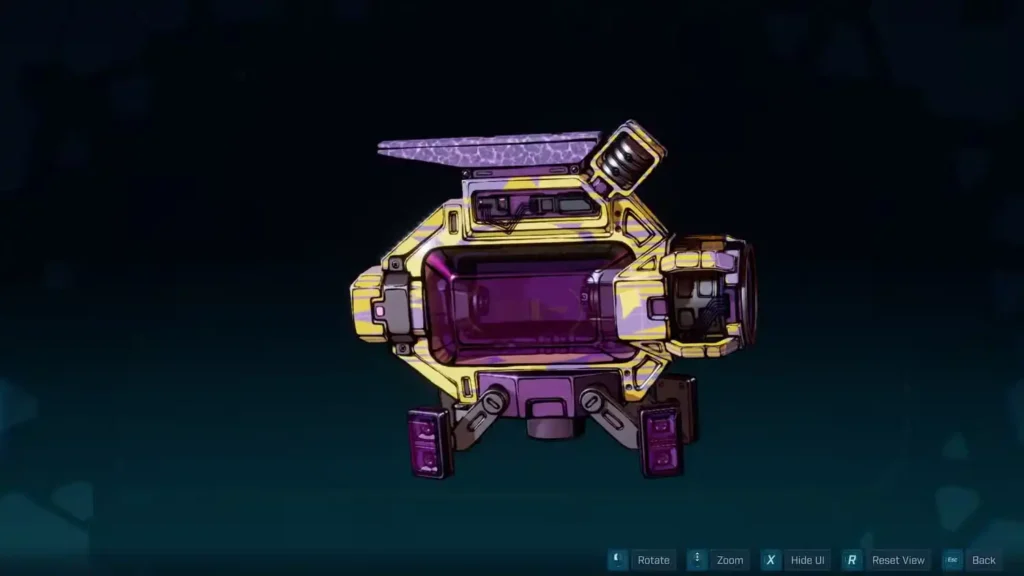
5. Extra Medium Shield ⭐ BEST OFFENSIVE SHIELD

Special Ability: Nucleosynthesis – When Energy Shield breaks OR fills, triggers a Nova that deals massive damage
Where to Farm Extra Medium Shield
Boss: Primordial Guardian Inceptus (Vault Monster)
Location: Arch of Inceptus, Dissected Plateau, Fadefields
Availability: After collecting all 3 Fadefields Vault Key Fragments
Loot Pool: 7 legendaries (including all 4 Vault Hunter class mods)
Vault Monster note: This is an endgame challenge boss. You’ll need to complete significant Fadefields content before accessing this fight.
Why Extra Medium is Offense-Focused
Extra Medium turns your shield into a damage-dealing weapon:
Nova trigger conditions:
- Shield breaks → Nova explosion
- Shield fully recharges → Nova explosion
The offensive loop:
- Let enemies break your shield → Nova damages them
- Shield recharges while you fight → Another Nova when full
- Repeat constantly during combat
Damage scaling: The Nova damage scales to your level, making it relevant throughout the game including endgame content.
Best Builds for Extra Medium
Aggressive playstyles:
- Players who constantly take damage (shield breaks frequently)
- Close-range builds that are always in Nova explosion radius
- Shotgun-focused builds fighting in melee range
Fast shield recharge builds:
- Vault Hunters with shield regen skills
- Builds that trigger frequent shield fills
- Quick shield delay reduction setups
Crowd control:
- Nova explosions hit multiple enemies simultaneously
- Great for mobbing situations with dense enemy spawns
- Helps clear adds during boss fights
Strategy tip: Don’t baby this shield. Let it break. The Nova damage is part of your DPS, not a consolation prize for failing to maintain shields. Play aggressively and turn your “weakness” (shield breaking) into consistent AoE damage.
6. Firewerks Shield ⭐ BEST FOR CHAIN REACTIONS

Special Ability: Bundled – On kill, spawns Missiles that home in on nearby enemies and deal damage
Where to Farm Firewerks Shield
Boss: Splashzone
Location: Riptide Grotto, Coastal Bonescape, Fadefields
Availability: After Main Mission “Recruitment Drive” (early campaign unlock)
Loot Pool: 3 legendaries (Firewerks shield, Jelly grenade, Lead Balloon shotgun)
Early farm advantage: Recruitment Drive is an early story mission, making Firewerks one of the first legendary shields you can farm consistently.
Why Firewerks Creates Chaos
Firewerks turns every kill into a chain reaction of explosions:
Kill chain mechanic:
- Kill an enemy → Missile spawns from corpse
- Missile seeks nearest enemy → Explodes on impact
- If that explosion kills, spawn another missile → Repeat
The domino effect: In dense enemy groups, Firewerks creates cascading explosions. One kill can trigger 5+ missiles if enemies are clustered.
Best Builds for Firewerks
Mobbing specialists:
- Builds focused on clearing large enemy groups
- Legendary shotgun builds for close-range mob clearing
- AoE damage dealers who benefit from additional explosions
Kill-based builds:
- Vault Hunters with “on kill” skill tree bonuses
- Builds that stack multiple “on kill” effects (Firewerks + skills + class mods)
- Momentum-based playstyles where kills fuel more kills
Where it excels:
- Ripper Drill Sites with constant enemy spawns
- Order Bunkers with hallways full of soldiers
- Any content with trash mob waves
Where it struggles:
- Boss fights with no adds (missiles have nothing to target)
- Solo target DPS checks
- Situations where you need pure defense over offense
Playstyle: Firewerks rewards aggressive play. Keep killing, keep the missiles flying, and watch enemy groups evaporate in a fireworks display of homing death.
7. Sparky Shield ⭐ BEST PASSIVE SHIELD
Special Ability: Short Circuit – While Energy Shield is not full, periodically Shocks nearby enemies
Where to Farm Sparky Shield
Boss: Shadowpelt
Location: “Whistler’s Maw” Auger Mine, Cuspid Climb, Terminus Range
Availability: After Main Mission “Shadow of the Mountain”
Loot Pool: 3 legendaries (Slippy grenade, Sparky Shield, Vamoose sniper)
Bonus value: You’re probably farming Shadowpelt for Slippy the fish grenade anyway. Sparky Shield is a nice secondary legendary to grab during those runs.
Why Sparky Shield is Reliable
Sparky provides constant passive crowd control:
How it works:
- As long as your shield isn’t at 100%, Sparky periodically shocks nearby enemies
- Shock damage is effective against shields (most Order enemies)
- Requires zero input from you—it just works
Reality check: Your shield is almost never at full capacity during real combat. That means Sparky is essentially always active in fights.
Best Builds for Sparky Shield
Solo players:
- Constant Shock procs help against shielded enemies
- Passive damage while you focus on shooting
- Safer solo content runs
Defensive players:
- If you prefer maintaining distance and avoiding damage, Sparky handles close-range threats
- Works while you’re focused on staying alive, not maximizing offense
Lazy farming:
- Passive damage during legendary boss farms
- “Set it and forget it” defensive option
Who should skip it:
- Aggressive players who want active shield abilities
- Builds that already have superior Shock damage sources
- Players who prefer shields with bigger impact moments (like Onion or Extra Medium)
Verdict: Sparky isn’t flashy, but it’s consistent. It won’t carry your build, but it’ll never let you down either. Solid B-tier shield that gets the job done.
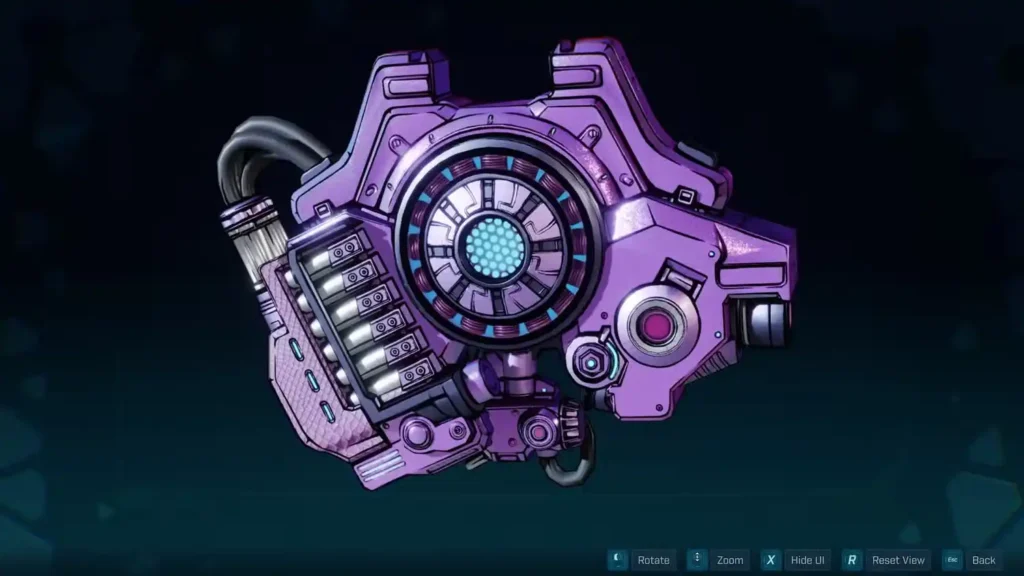
8. Cindershelly Shield

Special Ability: Glass – When damaged, grants Stacks of Resolve (reduces Damage Taken by 2% per stack, up to 25 stacks = 50% reduction). When shield breaks, releases Nova with damage increased by +20% per stack
Where to Farm Cindershelly Shield
Source: Random world loot drop
Confirmed source: Also drops from Backhive boss at “The Claim” Auger Mine, Dissected Plateau, Fadefields
Farming strategy:
- Dedicated Backhive farm (more reliable than pure RNG)
- World boss kills
- Golden Key chests
- Red Chests in high-level content
Why Cindershelly is Complex
Cindershelly has a dual-layer defensive/offensive mechanic:
Defensive layer:
- Taking damage builds Resolve stacks
- Each stack = 2% damage reduction
- Max 25 stacks = 50% damage reduction total
Offensive layer:
- Shield breaking releases Nova explosion
- Each Resolve stack adds +20% to Nova damage
- At max stacks: Nova damage is boosted by 500%
The trade-off: You want to stack Resolve by taking damage, but you also want your shield to break to unleash the mega-Nova. It’s a high-risk, high-reward cycle.
Best Builds for Cindershelly
Tank builds:
- The 50% damage reduction makes you extremely tanky once stacked
- Works well with builds that can handle taking repeated hits
- Pairs with health regeneration and healing skills
Burst damage setups:
- Time your shield break to coincide with enemy vulnerability windows
- The mega-Nova can delete entire enemy groups at max stacks
Who should skip it:
- Players who want simple, straightforward shields
- Glass cannon builds that can’t afford to take 25 hits stacking Resolve
- Builds that already have better defensive options (like Onion)
Honest assessment: Cindershelly is a “win more” shield. When you’re already doing well and can afford to stack it, it’s amazing. When you’re struggling and getting chunked, you’ll never reach max stacks to make use of its power. It’s a skill-based shield that rewards good play but punishes mistakes.
Shield Tier List for Different Playstyles
Best Overall Defensive Shields
S-Tier (Must Farm):
- Onion Shield – Damage immunity is broken, works on every build
- Super Soldier – Sustained performance, never feels bad
A-Tier (Excellent Options): 3. Timekeeper’s New Shield – Best for health-focused builds specifically 4. Cindershelly – High skill ceiling, incredible when mastered
Best Offensive Shields
S-Tier:
- Firewerks – Chain explosions clear entire rooms
- Extra Medium – Constant Nova damage supplements DPS
B-Tier: 3. Sparky – Passive but consistent damage
Best Build-Specific Shields
Melee builds: Heavyweight (mandatory)
Health builds: Timekeeper’s New Shield (made for this)
Aggressive DPS: Extra Medium or Firewerks
Defensive/Solo: Super Soldier or Onion
Lazy farming: Sparky (passive damage)
Shield Farming Priority Guide
Early Game (Levels 1-25)
Priority farm: Firewerks Shield from Splashzone
- Available after Recruitment Drive (early mission)
- Great for learning the game while having passive offense
- Small loot pool (3 items) = easier to farm
Alternative: Sparky Shield from Shadowpelt (if you’ve unlocked Shadow of the Mountain)
Mid-Game (Levels 26-45)
Priority farm: Super Soldier from Vile Lictor
- Also drops class mods for all characters
- Sustained performance throughout campaign
- Works on every build
Alternative: Start farming for build-specific shields (Heavyweight for melee, etc.)
Endgame (Level 50 / Max Level)
Priority farm #1: Onion Shield from Sludgemaw
- Requires completing main story first
- Damage immunity is endgame-defining
- Essential for difficult content
Priority farm #2: Timekeeper’s New Shield
- Final boss farm, easy to access post-story
- Critical for health-stacking endgame builds
Priority farm #3: Extra Medium from Vault Monster
- Vault Key Fragment hunt required
- Worth it for offensive builds
Current max level: Level 50 (check level cap guide)
Shield + Class Mod Synergies
Different Vault Hunters benefit from different shields:
Amon:
- Best shield: Heavyweight (melee builds) or Onion (tank builds)
- Synergy: Amon Onslaught build + Heavyweight = unstoppable melee machine
Rafa:
- Best shield: Super Soldier (sustain) or Firewerks (offense)
- Synergy: Rafa builds with high fire rate benefit from Super Soldier buffs
Vex:
- Best shield: Extra Medium (offensive Siren) or Onion (safety)
- Synergy: Vex Incarnate build + Extra Medium = massive AoE damage
Harlowe:
- Best shield: Super Soldier (all-around) or Timekeeper’s New (if health-stacking)
- Synergy: Tech-focused builds benefit from Super Soldier’s consistent performance
Final Thoughts
Shield selection in Borderlands 4 on Steam, PlayStation, and all platforms dramatically impacts your effectiveness. The difference between farming with Onion Shield versus a generic blue shield is night and day—one makes you nearly invincible during immunity windows, the other… doesn’t.
Key takeaways:
For most players: Farm Onion Shield first. The damage immunity is universally useful regardless of build, character, or playstyle. It’s the closest thing to a “must-have” legendary shield.
For sustained farming: Get Super Soldier from Vile Lictor. The fire rate, movement speed, and ammo regen make every activity smoother. Plus you’re farming class mods at the same time.
For specialists: If you’re running a melee build, Heavyweight isn’t optional—it’s mandatory. If you’re stacking health, Timekeeper’s New Shield enables entire build archetypes.
Don’t sleep on: Firewerks for mobbing content. The chain explosions make trash mob clearing hilarious and efficient.
The beauty of Borderlands 4’s shield system is that there’s no single “best” shield—it depends on your build, your playstyle, and what content you’re tackling. A shield that’s perfect for boss farming might be terrible for Auger Mine clearing, and vice versa.
Experiment with different shields, find what feels good for your character, and don’t be afraid to swap based on the activity. That’s what your Bank storage is for!
Now get out there and farm those legendary shields. Your squishy Vault Hunter body will thank you.
Need more gear guides? Check our complete legendary weapons list, class mod farming guide, or beginners tips for essential gameplay advice.