Discover the best legendary shotguns in Borderlands 4, including farming locations, special abilities, and expert tips for maximizing their destructive potential.
Dominate the Battlefield with These Game-Changing Shotguns
When it comes to close-quarters carnage in Borderlands 4, nothing beats the satisfying ka-chunk of a legendary shotgun clearing a room. After extensive testing and farming sessions, I’ve compiled this definitive guide to the most powerful shotguns that’ll make even the toughest bosses think twice about getting in your face.
Whether you’re a veteran Vault Hunter or just starting your journey on the official Borderlands 4 website, these weapons will transform your playstyle and send enemies running for cover.
Why Legendary Shotguns Rule the Wasteland
Before diving into specific weapons, let’s talk about why shotguns are absolute game-changers in Borderlands 4:
- Massive burst damage perfect for eliminating threats quickly
- Wide spread patterns that forgive less-than-perfect aim
- Devastating critical hit potential when you get up close and personal
- Unique legendary effects that completely change how you approach combat
The Heavy Hitters: Top 8 Legendary Shotguns
1. Linebacker – The Explosive Bouncer
Location: Skyspanner Kratch (The Lambent Mines, Cuspid Climb, Terminus Range) Special Effect: Full Coverage – Bouncing projectiles gain damage and radius with each bounce
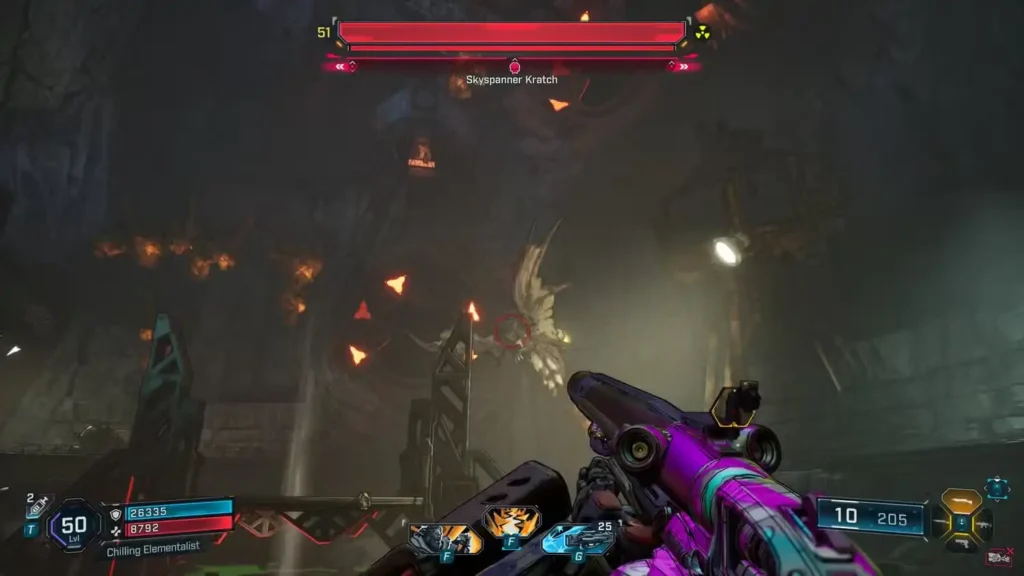
This Torgue masterpiece turns every shot into a tactical decision. The beauty of the Linebacker lies in its risk-reward mechanics – those bouncing explosives become increasingly deadly with each ricochet. Pro tip: Use tight corridors and enclosed spaces to maximize bounce potential, but always keep an eye on your own health bar!
Best for: Area denial and crowd control situations
2. Lead Balloon – The Fireworks Show
Location: Splashzone (Riptide Grotto, Coastal Bonescape, Fadefields) Special Effect: Lightweight – Projectiles float upward and spawn child projectiles on explosion
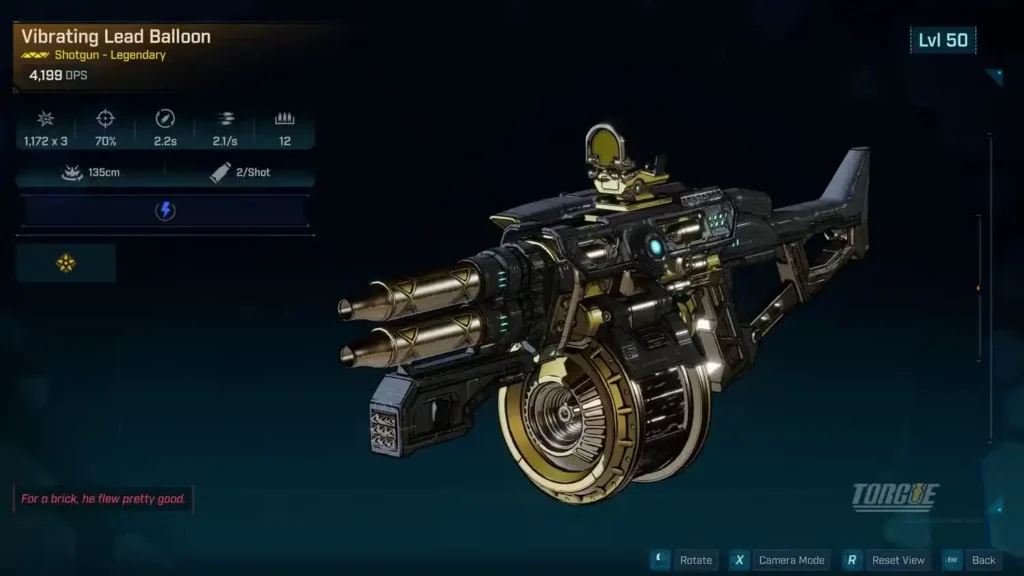
Perfect for newcomers since you can farm this beauty early in your playthrough. The Lead Balloon’s firework-like trajectory makes it incredibly satisfying to use – imagine raining explosive death from above while your enemies scramble for cover. The generous fire rate means you can keep the explosive party going non-stop.
Best for: Early-game farming and crowd control
3. Kickballer – The Bouncing Menace
Location: Sludge Maw (Idolator’s Noose, Fadefields – requires Null and Void side mission) Special Effect: Force Bunt – Fires explosive balls that bounce repeatedly
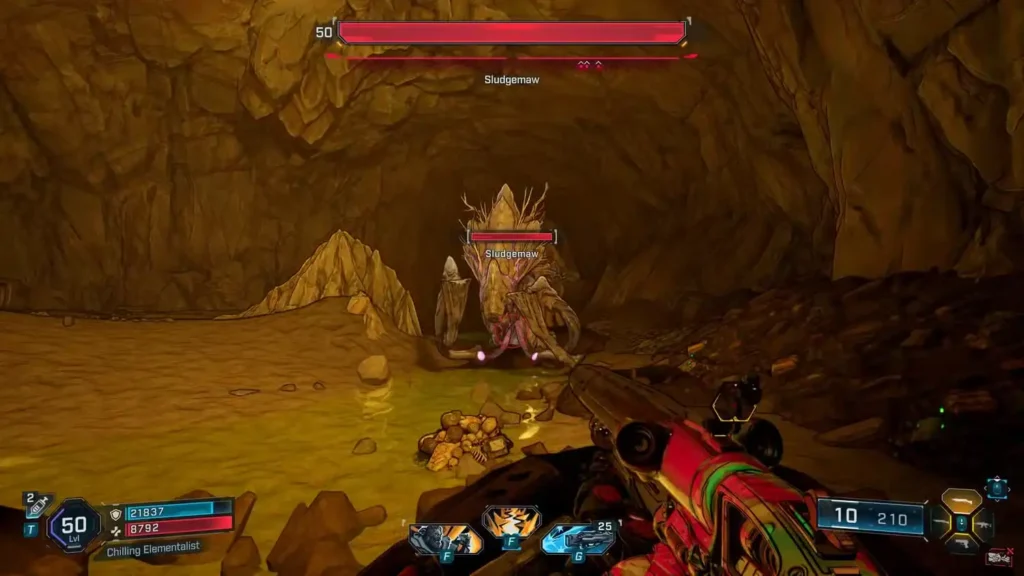
This weapon is pure entertainment value meets devastating efficiency. The charge-up requirement might seem like a downside, but watching that explosive ball ping-pong between enemies never gets old. Hunt for a Jakobs-Licensed Accessory variant to make critical hits ricochet – it turns boss fights into pinball exhibitions.
Best for: Single-target boss encounters and entertainment value
4. Anarchy – The Stack Master
Location: Radix, the Primordial Guardian (Arch of Radix, Grinstone of the Worthy, Carcadia Burn) Special Effect: Mutualism – Gain +15% damage and accuracy per stack (max 20) on auto-reload or kill
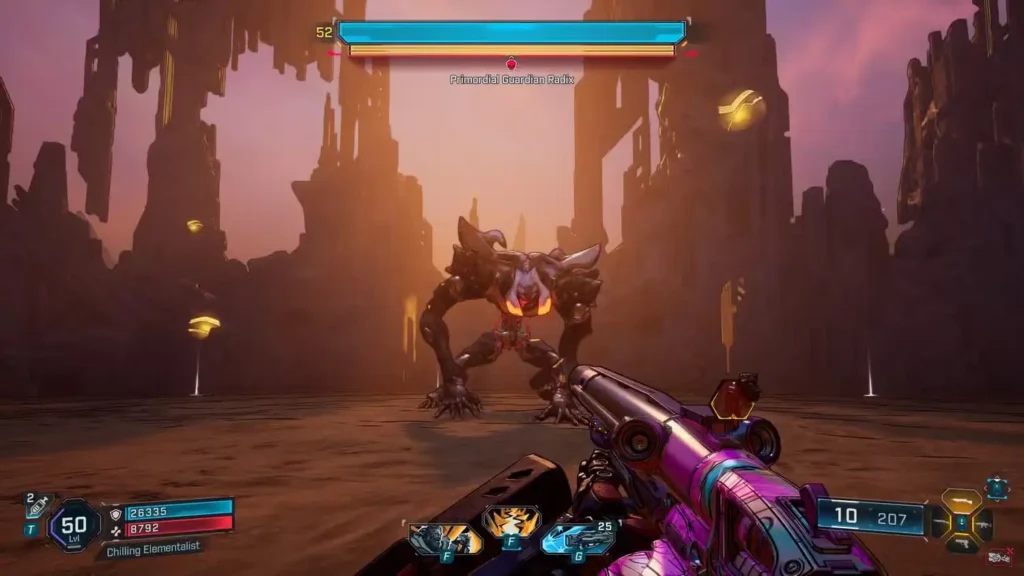
Here’s where Borderlands 4 gets seriously strategic. The Anarchy rewards aggressive, smart play – that potential +300% damage buff at max stacks is absolutely game-breaking. The key is finding Vault Hunters with auto-reload abilities to maintain those precious stacks indefinitely.
Pro Tip: Never manually reload this weapon unless absolutely necessary – those stacks are more valuable than a full magazine.
Best for: Sustained combat encounters and builds focused on auto-reload mechanics
5. Bod – The Swiss Army Shotgun
Location: Axemaul (The Toil of Spoiling Vis, Carcadia District, Dominion) Special Effect: All-Arounder – Functions as every weapon type simultaneously
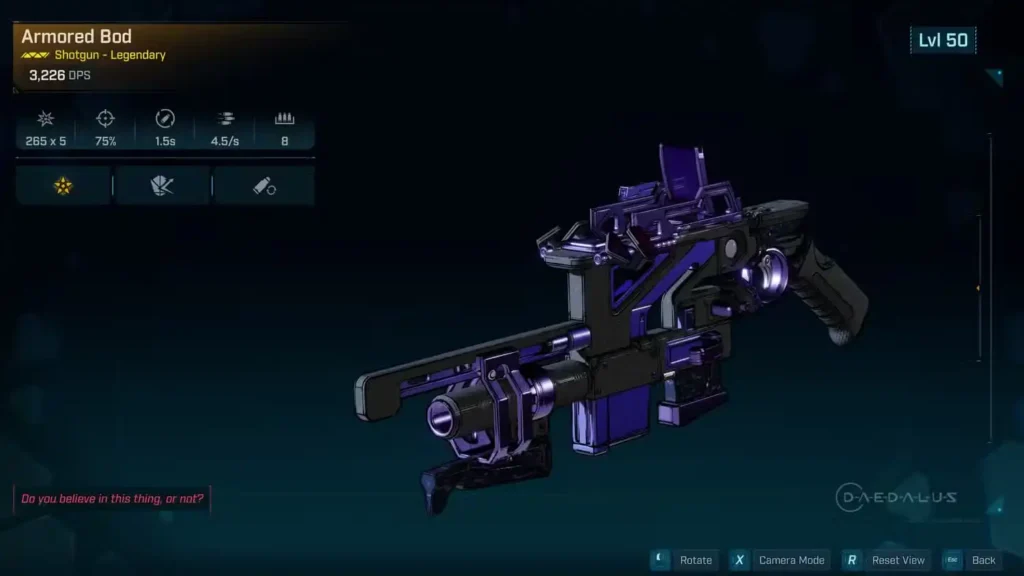
This is Borderlands 4’s most unique weapon concept – a shotgun that thinks it’s everything else too. The genius of Bod lies in how it interacts with skill trees designed for other weapon types. Running an assault rifle build? Bod benefits from those skills while delivering shotgun-level damage.
Best for: Hybrid builds and players who want maximum skill synergy
6. Hellwalker – The DOOM Tribute
Location: Meathead Riders (The Old Scrape, Cuspid Climb, Terminus Range) Special Effect: Soothslayer – Classic double-barrel devastation with rapid reload
Veteran players will immediately recognize this legendary returnee. The Hellwalker embodies the “simple but effective” philosophy – two barrels, devastating damage, lightning-fast reload. That signature guitar riff on pickup never gets old, and the critical hit potential makes it a boss-melting machine in the right hands.
Best for: Players who prefer straightforward, high-damage weapons
7. Rainbow Vomit – The Status Effect Specialist
Location: Leader Willem (The Excrucible, Grindstone of the Worthy, Carcadia Burn – requires Enter the Electi Pt. 2) Special Effect: Color Spray – Fires three random elemental droplets
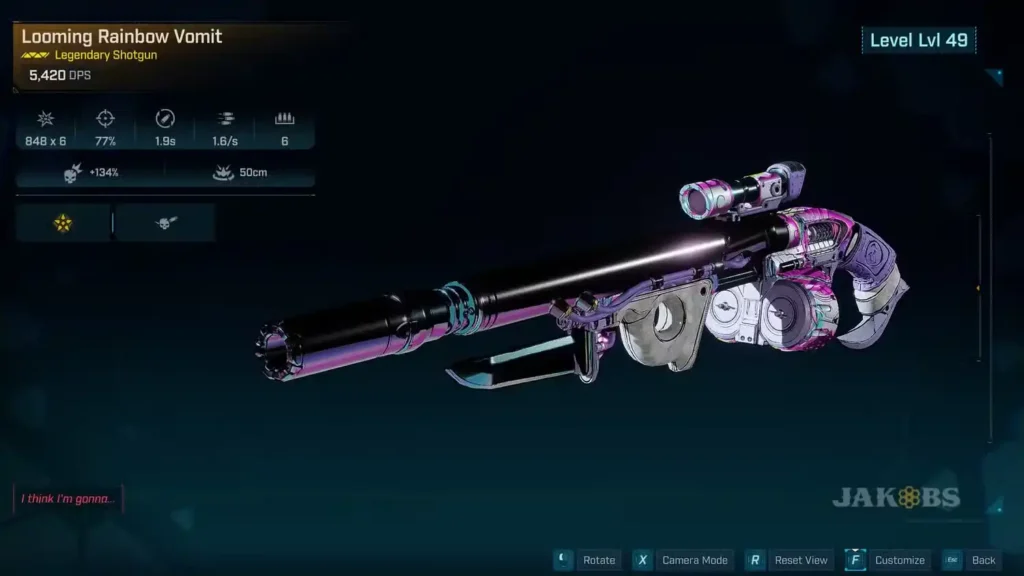
Don’t let the gross name fool you – this weapon is a status effect powerhouse. With random elemental combinations, every Rainbow Vomit drop is unique. I’ve seen versions with Corrosive/Cryo/Shock that absolutely demolish armored enemies, and Incendiary/Radiation/Shock variants that turn flesh enemies into walking DoT timers.
Best for: Status effect builds and elemental damage specialists
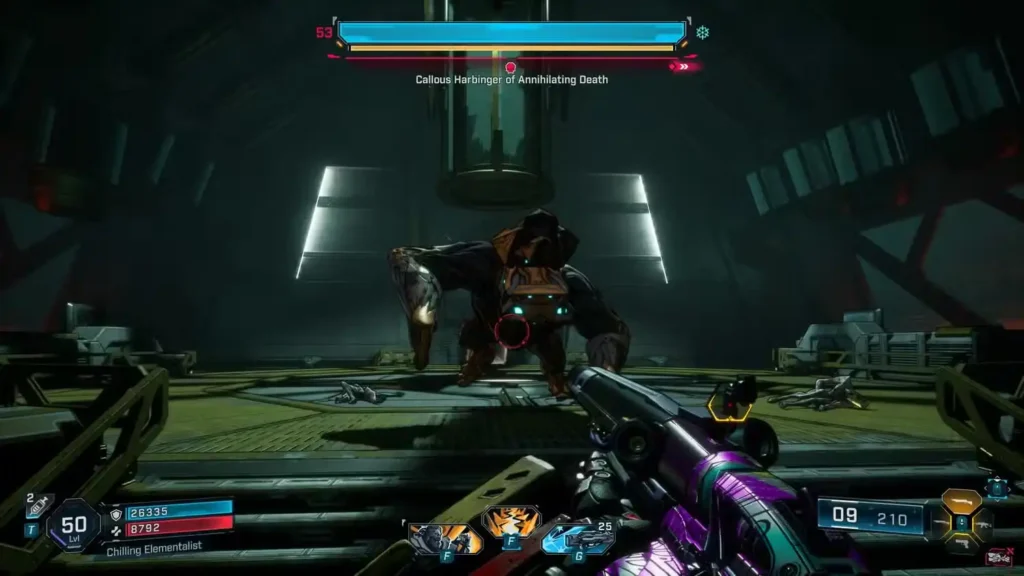
8. Hot Slugger – The One-Shot Wonder
Location: Callous Harbinger of Annihilating Death (Craven’s Nook, Heart of the Mountain, Terminus Range) Special Effect: Blazing Barrel – +30% damage per kill for 10 seconds (max 3 stacks)
This Jakobs single-shot specialist rewards precision and aggression equally. The sub-one-second reload keeps the DPS flowing, while that stacking damage buff can reach an insane +90% with proper kill management. It’s a weapon that gets stronger as the fight progresses.
Best for: Precision players and damage-stacking builds
Farming Tips and Strategy
Efficient Boss Farming
- Save-quit farming remains king – kill the boss, save-quit, reload, repeat
- Coordinate with friends for faster clear times in co-op
- Stock up on ammo before farming sessions
Build Synergy
- Match your weapon choice to your Vault Hunter’s strengths
- Consider skill tree interactions – some shotguns work better with specific builds
- Don’t ignore accessories – they can completely change a weapon’s effectiveness
Getting Started on Different Platforms
Ready to hunt these legendary beasts? You can grab Borderlands 4 on:
Ending Notes
Each of these legendary shotguns brings something unique to the table. The Lead Balloon offers early-game accessibility, while weapons like Anarchy and Hot Slugger reward experienced players with complex mechanics. My personal recommendation? Start with the Lead Balloon for immediate gratification, then work toward the Anarchy for end-game domination.
Remember, the “best” shotgun ultimately depends on your playstyle, build, and the content you’re tackling. Experiment with different options, and don’t be afraid to switch things up based on the situation.
Now get out there and show those bandits what a real Vault Hunter can do with some legendary firepower!