TL;DR: Borderlands 4 features 5 elemental damage types with specific effectiveness against different enemy defenses. Fire dominates flesh (red bars), Shock destroys shields (blue bars), and Corrosive melts armor (yellow bars). Cryo and Radiation offer versatility. Master these matchups to maximize your damage output across Kairos.
Mastering elemental damage is the difference between melting enemies in seconds and chipping away at their health bars for what feels like hours. With billions of guns scattered across Kairos, understanding which elemental weapons to use against specific enemy types isn’t just helpful – it’s essential for survival, especially on higher difficulties.
Borderlands 4’s elemental system revolves around a simple rock-paper-scissors concept, but with enough nuance to reward players who pay attention to enemy health bar colors. Here’s everything you need to know about exploiting elemental weaknesses and avoiding costly resistances.
The Five Elemental Types: Your Arsenal Overview
Before diving into specific matchups, let’s understand what you’re working with:

Incendiary (Fire) – Burns through flesh and organic matter Shock (Electric) – Overloads electronic systems and shields
Corrosive (Acid) – Dissolves armor and mechanical components Cryo (Ice) – Slows and shatters enemies while providing crowd control Radiation – Deals consistent damage and spreads to nearby enemies
Each element has its strengths, but knowing when and where to use them makes all the difference in combat efficiency.
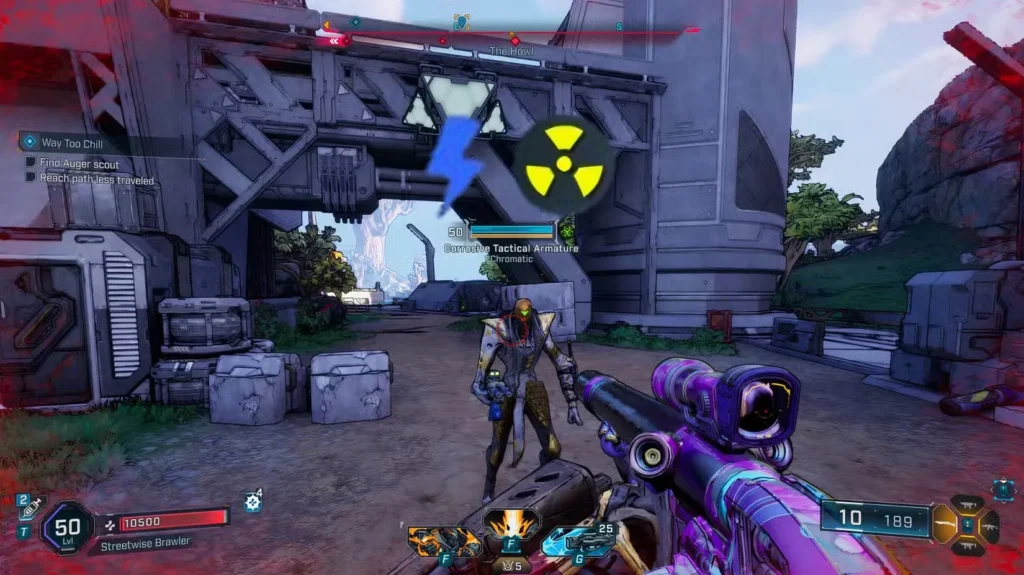
Reading Enemy Health Bars: The Color Code System
Enemy defenses are clearly indicated by colored health bars:
- Red Bars = Flesh/Health (organic enemies, wildlife, some human foes)
- Blue Bars = Shields (energy barriers protecting underlying health)
- Yellow Bars = Armor (mechanical plating, robotic enemies)
Many enemies combine these defense types – you might face a shielded human (blue + red) or an armored robot with shields (yellow + blue). Always prioritize stripping the outer defense layer first.
Flesh Enemies (Red Bar): Fire Reigns Supreme
Primary Target: Wildlife of Kairos, Ripper enemies, unshielded Order troops
Damage Effectiveness Rankings:
| Element | Effectiveness | Damage Modifier |
|---|---|---|
| Incendiary | Very Strong | Massive bonus |
| Radiation | Normal | Standard damage |
| Corrosive | Normal | Standard damage |
| Cryo | Weak | Reduced damage |
| Shock | Weak | Reduced damage |
Strategy Notes: Fire weapons absolutely dominate flesh-based enemies. The damage bonus is so significant that even lower-level incendiary weapons can outperform higher-level non-elemental guns against red bar enemies.
Pro Tip: Don’t stress too much about element matching against red bar enemies on Easy or Normal difficulty – they’re relatively forgiving. However, on Hard mode and in UVHM, having the right fire weapon can be the difference between a quick kill and a frustrating battle.
Shield Enemies (Blue Bar): Shock is King
Primary Target: Most Order faction enemies, some advanced Rippers, elite units
Damage Effectiveness Rankings:
| Element | Effectiveness | Damage Modifier |
|---|---|---|
| Shock | Very Strong | Maximum bonus |
| Cryo | Strong | Good bonus |
| Radiation | Strong | Good bonus |
| Corrosive | Very Weak | Major penalty |
| Incendiary | Very Weak | Major penalty |
Strategy Notes: Shields are where elemental matching becomes absolutely critical. Shock weapons don’t just deal extra damage – they can instantly drain shield capacity on direct hits. Cryo and Radiation offer solid alternatives when you’re out of shock ammo.
Critical Warning: Never use fire or corrosive weapons against shields unless it’s an absolute emergency. The damage penalty is severe enough to make combat painfully slow.
Armored Enemies (Yellow Bar): Corrosive Cuts Through Everything
Primary Target: Order mechanical units, robotic enemies, heavily armored foes
Damage Effectiveness Rankings:
| Element | Effectiveness | Damage Modifier |
|---|---|---|
| Corrosive | Very Strong | Massive bonus |
| Cryo | Normal | Standard damage |
| Incendiary | Normal | Standard damage |
| Radiation | Weak | Reduced damage |
| Shock | Weak | Reduced damage |
Strategy Notes: Armor represents the toughest defensive layer in Borderlands 4, and corrosive weapons are often your only viable option for efficient kills. Unlike flesh enemies where you can get away with suboptimal choices, armored foes will punish you severely for bringing the wrong element.
Tactical Advantage: Corrosive damage often continues to eat away at armor even after your initial shots, making it excellent for hit-and-run tactics.

Multi-Layer Defense Strategy
Many enemies stack multiple defense types, requiring strategic element switching:
Shielded Humans (Blue + Red):
- Use Shock to strip shields quickly
- Switch to Fire for the exposed flesh
- Alternative: Radiation works decently against both
Armored Robots with Shields (Blue + Yellow):
- Shock weapons to eliminate shields first
- Switch to Corrosive for the armor layer
- Be prepared for longer fights – these are tough opponents
Advanced Tip: Cryo weapons can be excellent “compromise” choices when facing mixed enemy groups, as they provide decent damage against most defense types while adding valuable crowd control.
Elemental Weapon Management Tips
Inventory Strategy:
- Always carry one shock weapon for shield-heavy areas
- Pack a corrosive option when expecting mechanical enemies
- Fire weapons are essential for organic-heavy zones
- Keep slots open for situational weapons
Ammo Conservation:
- Match elements efficiently to avoid running dry mid-fight
- Use non-elemental weapons for weak enemies to save special ammo
- Prioritize high-damage elemental weapons over quantity
Difficulty Scaling Considerations:
- Normal mode: Element matching helpful but not critical
- Hard mode: Wrong elements significantly extend fight duration
- UVHM: Elemental matching becomes mandatory for survival
Common Mistakes to Avoid
Elemental Tunnel Vision: Don’t get so focused on perfect matching that you miss better weapon options. A high-damage weapon with neutral effectiveness often beats a low-damage “perfect” elemental match.
Ignoring Weapon Stats: Base damage, fire rate, and accuracy matter just as much as elemental bonuses. Balance is key.
One-Element Builds: While specializing can work, having backup options prevents you from being completely helpless against resistant enemies.
Building Around Elemental Damage
Understanding elemental weaknesses becomes even more important as you develop your character build. Our character guide covers how different Vault Hunters can specialize in specific elemental types.
If you’re struggling with difficult encounters, consider whether your elemental choices match the enemy types you’re facing. Sometimes a quick respec to adjust your skill points toward different elemental bonuses can make all the difference.
For players just starting their journey, our beginner’s guide covers essential combat fundamentals that complement this elemental knowledge perfectly.
The Bottom Line
Elemental damage in Borderlands 4 rewards preparation and adaptability. While you can brute-force your way through most content on lower difficulties, mastering these matchups becomes essential as challenges scale up.
Remember: Fire burns flesh, Shock breaks shields, Corrosive melts armor. Everything else is situational, but these three rules will serve you well throughout your entire Vault Hunter career.
The beauty of Borderlands 4’s weapon variety means you’ll constantly find new ways to exploit these elemental advantages. Keep experimenting, keep looting, and most importantly – keep matching those elements to enemy types!
Related Guides:
- Complete Respec Guide – Master the art of resetting skills and specializations
- Difficulty Settings Guide – Choose the right challenge level
- Character Guide – Choose the perfect Vault Hunter
- New Player Survival Guide – Essential tips for beginners
- Level Cap & Progression Guide – Master character advancement
Official Links: