A Pilot, A Portal, and Terrible Timing
The Outbounders have survived Idolator Sol’s assault, but now they’ve got a new problem: their pilot, Conway, has vanished. Rush has a brilliant plan to hijack the Timekeeper’s crashed attack ship for an escape from Kairos, but without Conway? That ship isn’t going anywhere.
What follows is a wonderfully absurd Borderlands 4 side quest involving detective work, angry food delivery mistakes, crane operators with attitude problems, and a pilot literally dangling over a void portal. Just another Tuesday on Kairos.
Let’s walk through everything you need to save Conway and complete Null and Void without losing anyone to the abyss.
How to Unlock Null and Void

Prerequisites
Main Mission Required: Complete Rush the Gate (Mission 6)
Boss Required: Defeat Idolator Sol
If you need help with that boss fight, check our complete Idolator Sol strategy guide for attack patterns and legendary drops.
Starting the Quest
1. Return to Launchpad After defeating Idolator Sol and surviving the Timekeeper assault, fast travel back to the Launchpad faction town.
2. Find Rush Look for Rush in the town—he’ll have a quest marker above his head.
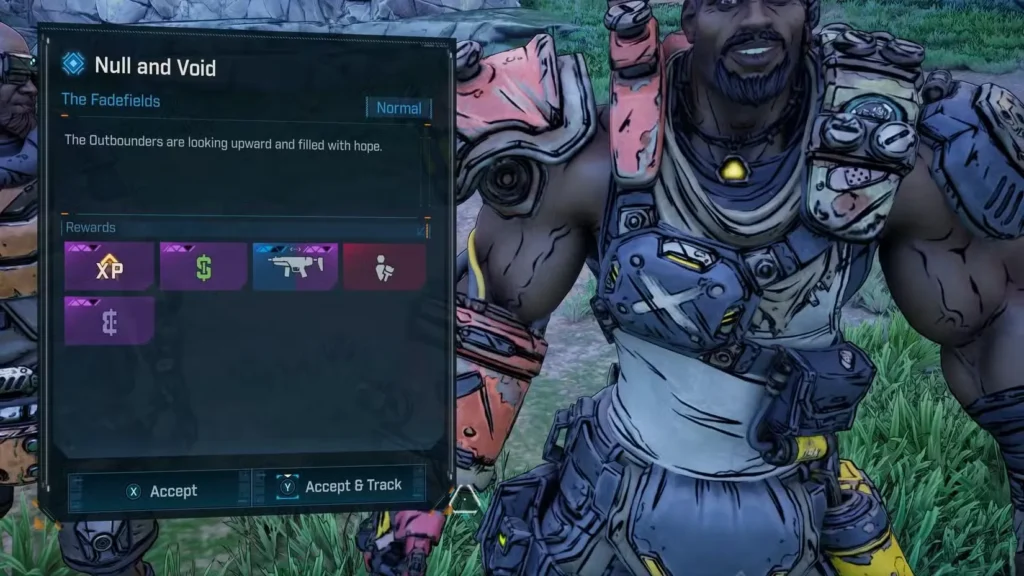
3. Accept the Mission Rush explains his escape plan: steal the crashed Timekeeper ship and use it to leave Kairos. Brilliant idea. One problem: Conway, his trusted pilot, is missing.
Your objective: Track down Conway and bring them back alive.
Phase 1: Following Conway’s Trail
Location 1 – Wreck of the Nostalgia
Where to go: Follow the quest marker to Conway’s last known location
What you’ll find:
- The Wreck of the Nostalgia (Conway’s hideout)
- Ripper infestation (they’ve taken over the area)
- Empty quarters with no Conway in sight
Combat tip: Clear the Rippers systematically. They’re aggressive but not particularly tanky. Use medium-range weapons to keep them at bay while you search.
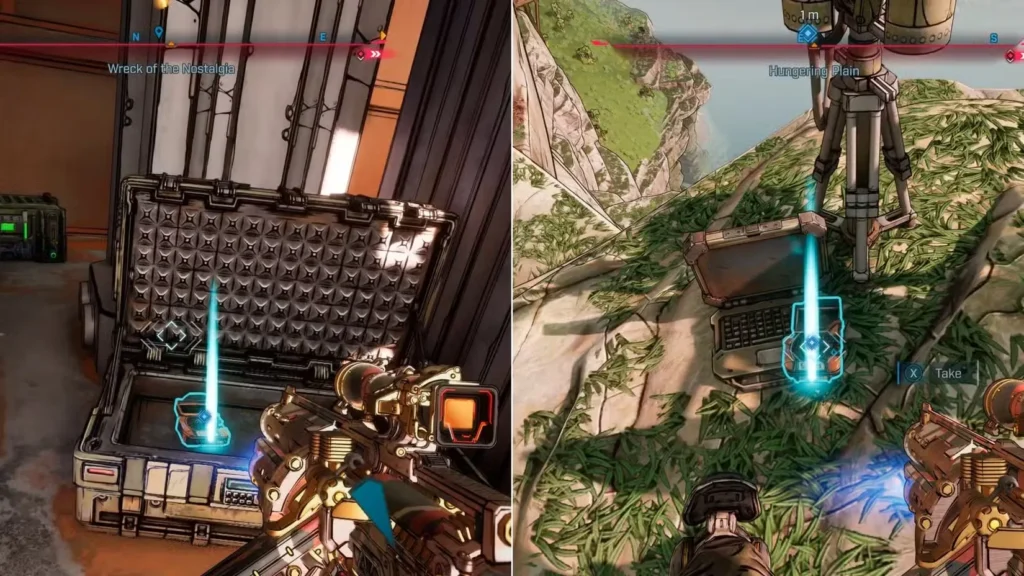
Finding the First Echo Log
Location: Near Conway’s bed in the hideout
What it reveals: Conway’s recent movements and emotional state. The log gives you context about why they left and where they might have gone next. It’s actually pretty well-written voice acting—worth listening to the full log.
Location 2 – Reconnaissance Point
Where to go: Quest marker updates to Conway’s reconnaissance location
What you’ll find:
- Another Echo Log near the observation spot
- More clues about Conway’s investigation
- The Ripper hideout location revealed
Finding the Second Echo Log
This is the crucial one. The second Echo log reveals that Conway tracked the Rippers to their hideout and went to investigate. Spoiler alert: that investigation didn’t go as planned.
Quest update: New objective marker appears at the Ripper hideout entrance
Phase 2: The Takeout Debacle
Arriving at the Ripper Hideout
What happens: You approach a large, heavily fortified door. Before you can even knock, you’re swarmed by Ripper enemies. This isn’t a stealth mission—fight your way to the door.
Combat strategy:
- Clear the ambush first before focusing on the door
- Use cover effectively—Rippers love to flank
- Watch for thrown weapons and explosives
- The best legendary assault rifles work great here for medium-range cleanup
The Intercom Conversation
After clearing the initial ambush, interact with the intercom at the door. You’re greeted by Chugs, the Ripper leader, who has some… interesting news.
The mix-up: Chugs thinks you’re the takeout delivery person. The actual delivery driver? Probably dead somewhere. But Chugs doesn’t care about details—he cares about FOOD.
The deal: Bring the Hangry Rippers their missing food order, or the door stays locked. And Conway stays trapped inside.
You’re basically doing a food delivery quest while trying to rescue someone. Only in Borderlands.
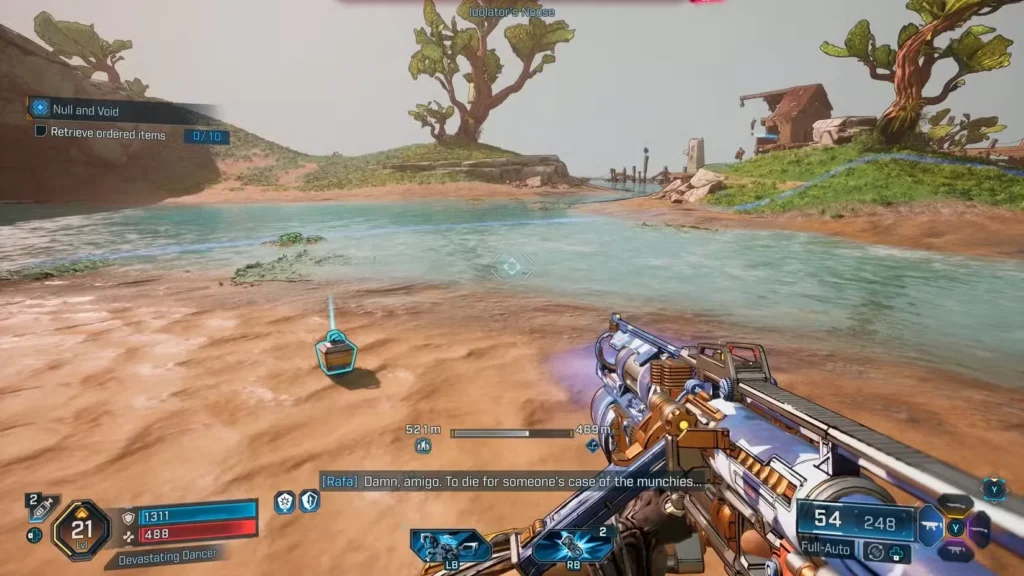
Phase 3: Collecting the Takeout Order
Finding the Crashed Delivery Vehicle
Location: Beach area (marked by quest indicator)
What you’ll find:
- Wrecked delivery vehicle (explains why food never arrived)
- Takeout boxes scattered across the sand
- Probably some wildlife or enemies to clear
Objective: Collect 10 takeout boxes
Collection tips:
- The boxes have a glowing outline—easy to spot
- They’re spread out across the beach area
- Some might be partially buried or hidden behind debris
- You can’t miss them if you follow the markers
Gameplay observation: There’s something hilariously mundane about a Vault Hunter—someone who regularly fights gods and monsters—picking up spilled takeout boxes on a beach. This is peak Borderlands humor.
Delivering the Food
Return to the Ripper hideout door with your collected takeout. The door finally opens, and you’re instructed to place the food on a table just inside.
Congratulations! You successfully completed a food delivery!
Plot twist: The Hangry Rippers are angry you’re late. Like, really angry. Angry enough to attack you despite getting their food.
Phase 4: Fighting the Hangry Rippers
The Food Fight Begins
The moment you place the takeout, the Rippers turn hostile. Turns out late delivery penalties are severe in the wasteland.
Enemy composition:
- Multiple standard Rippers
- Some tougher variants with better gear
- All of them extremely hungry and angry
Combat strategy:
- Don’t get surrounded—back toward the entrance if needed
- Use grenades and AOE abilities to manage groups
- Focus on high-threat targets first
- The confined space works against you, so mobility is key
Finding Conway
Objective: Fight through to the back of the hideout
As you clear the Rippers, push toward the rear of the area. You’ll eventually spot Conway—locked in a cell, very much alive but very much not having a good day.
Relief status: Short-lived.
Just as you’re about to free Conway, a crane arm descends, grabs the entire cell, and lifts it away. Because of course it does.
New objective: Follow that cell!
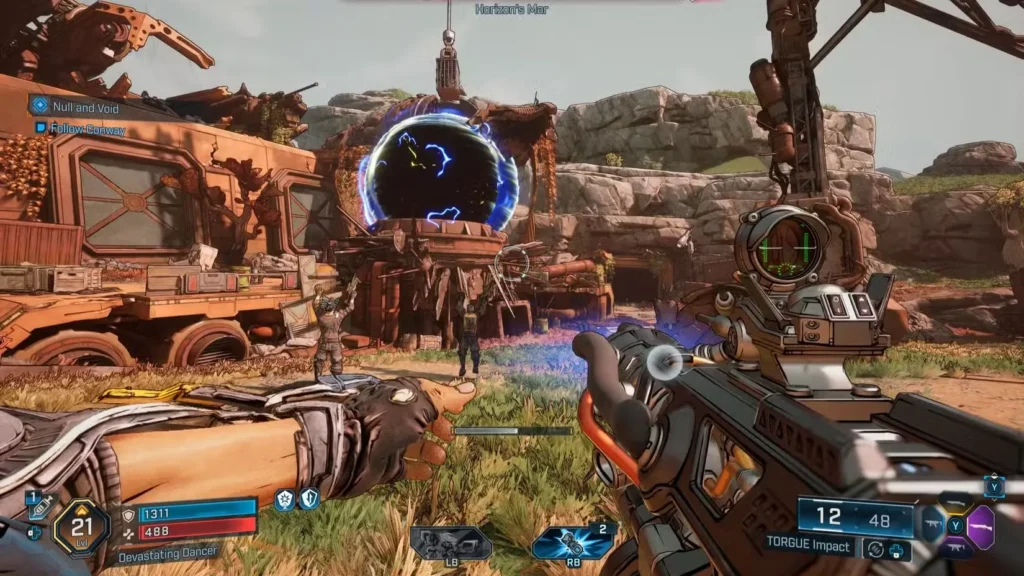
Phase 5: The Void Portal Crisis
Conway’s Precarious Position
Chase after the crane arm as it transports Conway’s cell. It stops at possibly the worst location imaginable: directly above a massive void portal.
Conway is literally hanging over an abyss that leads to nothingness. The cell is suspended by the crane, swaying over the portal. This has gone from rescue mission to disaster prevention.
Immediate threats:
- Enemies around the void portal area
- Time pressure (the crane might not hold forever)
- The void portal itself (don’t fall in)
Combat priority: Clear the enemies first. You can’t operate machinery while being shot at.
Phase 6: Defeating Erector Ed
Meeting the Crane Operator
Across from Conway’s suspended cell, you’ll see another crane. That’s your ticket to saving Conway. One problem: Erector Ed, the crane operator, has other ideas.
Ed drops down to fight you personally, bringing his own brand of construction-themed violence.
Boss Fight: Erector Ed
Attack Patterns:
Metal Pipe Throws
- Ed hurls metal pipes at you from range
- Telegraphed throws—dodge when he winds up
- Projectiles move fast but travel in straight lines
Ground Pound
- When you get close, Ed slams the ground
- Creates AOE shockwave around him
- High damage if it connects
Strategy:
- Maintain distance – This is a ranged fight
- Use SMGs or Assault Rifles – Consistent mid-range DPS
- Dodge the pipe throws – Strafe sideways when he winds up
- Never stand still – Constant movement prevents accurate throws
- Watch the ground pound windup – Back away when he raises his arms
Don’t: Try to melee him or get in close combat range. The ground pound will destroy you.
Difficulty: Moderate. Ed’s not a raid boss, but he hits hard if you’re careless.
Phase 7: Operating the Crane
Accessing the Crane Controls
After defeating Erector Ed:
1. Find the Ladder Go around the side of Ed’s crane structure. You’ll spot a ladder leading up the crane framework.
2. Climb to the Control Platform Ascend to the crane operator’s platform at the top.
3. Flip the Switch Interact with the crane controls to attempt moving Conway’s cell.
Result: The crane doesn’t budge. The cell is locked in place by something else.
Revelation: The void portal is powered by the implosion drive, and it’s preventing you from moving the cell. You need to shut down the portal by re-routing its power source.
Phase 8: Re-routing the Implosion Drive
This is a multi-step puzzle involving valves and switches. Here’s the complete sequence:
Valve 1 – Starboard Engine (First Valve)
Location: Near Conway’s locked cell
What to do:
- Approach the valve mechanism
- Interact to turn it
- Objective updates: “Energize Starboard Engine”
Visual cue: You’ll see energy redirecting through visible conduits after turning the valve.
Accessing the Other Side
Location: Door to the left of Conway’s cage
What to do:
- Enter through the door
- Navigate through the passage
- Emerge on the opposite side of the void portal area
Heads up: There might be some Rippers in this passage. Clear them as you go.
Valve 2 – Starboard Engine (Second Valve)
Location: On the opposite side from the first valve
What to do:
- Locate the second valve mechanism
- Turn it to complete the starboard engine re-routing
- Watch the energy flow change
Objective complete: Starboard engine is now energized
Final Switch – Upper Platform
Location: Platform to the right (requires grapple)
How to reach it:
- Look for the elevated platform to your right
- Use your grapple ability to pull yourself up
- Land on the center console platform
What to do:
- Locate the switch on the center console
- Flip it to finalize the re-routing process
Result: The void portal underneath Conway’s cell shuts down completely. The swirling abyss dissipates, and Conway is no longer in danger of being sucked into nothingness.
Achievement unlocked (emotionally): You saved Conway from literally falling into the void. Good job, Vault Hunter.
Phase 9: Boss Fight – Chugs
The Hangry Leader Emerges
Just when you think the crisis is over, Chugs (the Ripper leader you spoke to through the intercom) emerges for a final confrontation. He’s not happy about the food being late, the void portal being shut down, or really anything that’s happened today.
Boss Fight: Chugs
Key Mechanic: Shield Protection
Chugs has a powered shield surrounding him that blocks all damage. You can’t hurt him while the shield is active.
How to Disable the Shield:
Method 1: Destroy the Orbs (Recommended)
- Look for glowing orbs powering the shield
- Shoot the orbs with any weapon (shotguns work best)
- Each orb destroyed weakens the shield
- Destroy all orbs to completely drop the shield
Method 2: Wait for Gaps
- The shield periodically has small gaps in coverage
- Watch for openings and shoot through them
- Less efficient than destroying orbs
Strategy:
- Prioritize orbs – Focus fire on the glowing power sources
- Use shotguns – Spread damage makes hitting orbs easier
- Stay mobile – Chugs still attacks while shielded
- Manage adds – He might spawn additional Rippers to help
- Burst damage – When shield drops, unload everything
Attack Pattern:
- Melee swings at close range
- Thrown weapons or debris
- Shield bash charges
- Ground slams (AOE)
Difficulty: Easy to Moderate once you understand the shield mechanic
Mission Complete: Conway is Free
The Rescue Finale
After defeating Chugs, Conway is finally released from the cell. The rest of the Outbounders arrive to provide backup (a little late, but appreciated).
Mission completion screen appears
All Null and Void Rewards
Guaranteed Rewards:
SMG (Weapon)
- Scales to your current level
- Random manufacturer and parts
- Decent mid-game weapon option
Cash Reward
- Standard currency for quest completion
- Amount scales with your level
Vault Hunter Style (Out of Bounds) – Cosmetic Skin
- Exclusive character customization
- Unique to this quest
- Can’t be obtained elsewhere
Experience:
- Standard XP appropriate to quest level
- Helps with progression toward level cap
Why This Quest is Worth Doing
Beyond the rewards, Null and Void is genuinely one of the more entertaining side quests in Borderlands 4:
Narrative payoff: Fleshes out the Outbounders and their escape plan
Comedy gold: The takeout delivery mix-up is peak Borderlands humor
Varied gameplay: Detective work, combat, puzzle-solving, and boss fights
Character moments: Conway’s Echo logs add emotional depth
World-building: Shows how desperate things are on Kairos
Plus, you get to be a delivery driver who also happens to be a legendary Vault Hunter. That’s worth it on its own.
Common Issues & Solutions
“Can’t Find the Second Echo Log”
Solution: The log is at the reconnaissance point, usually on a small platform or observation deck. Look for the glowing objective marker.
“Rippers Keep Respawning at the Hideout Door”
Solution: This is intentional until you progress past the intercom conversation. Clear them, talk to Chugs, then proceed with the takeout quest.
“Missing Takeout Boxes”
Solution: Check behind rocks, near the waterline, and around the crashed vehicle. They have objective markers but can blend into the sand texture.
“Crane Won’t Move After First Switch”
Solution: This is expected behavior. You need to complete the full valve sequence (both valves + final switch) to shut down the portal.
“Can’t Damage Chugs”
Solution: Shoot the glowing orbs powering his shield first. Don’t waste ammo on the shield itself.
Quest Timeline Summary
For quick reference, here’s the entire quest flow:
- ✅ Talk to Rush in Launchpad (start quest)
- ✅ Find first Echo log at Wreck of the Nostalgia
- ✅ Find second Echo log at reconnaissance point
- ✅ Fight to Ripper hideout door
- ✅ Talk to Chugs via intercom
- ✅ Collect 10 takeout boxes from beach
- ✅ Deliver food and survive Ripper ambush
- ✅ Chase Conway’s crane-lifted cell
- ✅ Defeat Erector Ed (crane operator)
- ✅ Operate crane controls (doesn’t work)
- ✅ Turn first valve (near Conway’s cell)
- ✅ Go through door to other side
- ✅ Turn second valve (opposite side)
- ✅ Grapple to upper platform
- ✅ Flip final switch (portal shuts down)
- ✅ Defeat Chugs (destroy shield orbs)
- ✅ Mission complete!
Estimated completion time: 30-40 minutes
Tips for Speedrunning
If you want to complete Null and Void efficiently:
- Skip Echo log dialogue – You can move on after picking them up
- Use vehicles between distant objectives
- Equip AOE weapons for clearing Ripper groups quickly
- Memorize takeout box locations for faster collection
- Shotgun Chugs’ orbs immediately for fast kill
Final Thoughts
Null and Void perfectly captures what makes Borderlands side quests memorable: it starts with a simple premise (find the missing pilot), throws in absurd complications (surprise takeout delivery!), ramps up the stakes (dangling over a void portal), and resolves with satisfying action (crane puzzles and boss fights).
Conway gets to live, the Outbounders get their pilot back, and you get rewards plus bragging rights for successfully completing the galaxy’s most chaotic food delivery.
Plus, you literally saved someone from falling into the void. That’s worth more than any legendary drop… though legendary drops are still pretty great.
Ready to save Conway? Head to Launchpad and find Rush. Those Hangry Rippers and their late takeout are waiting.
Get Borderlands 4:
Related Quest & Strategy Guides: