Stuck on the Recruitment Drive elevator in Borderlands 4? Learn exactly how to get clearance, find the hidden corpse interaction, and progress past this common roadblock.
TL;DR
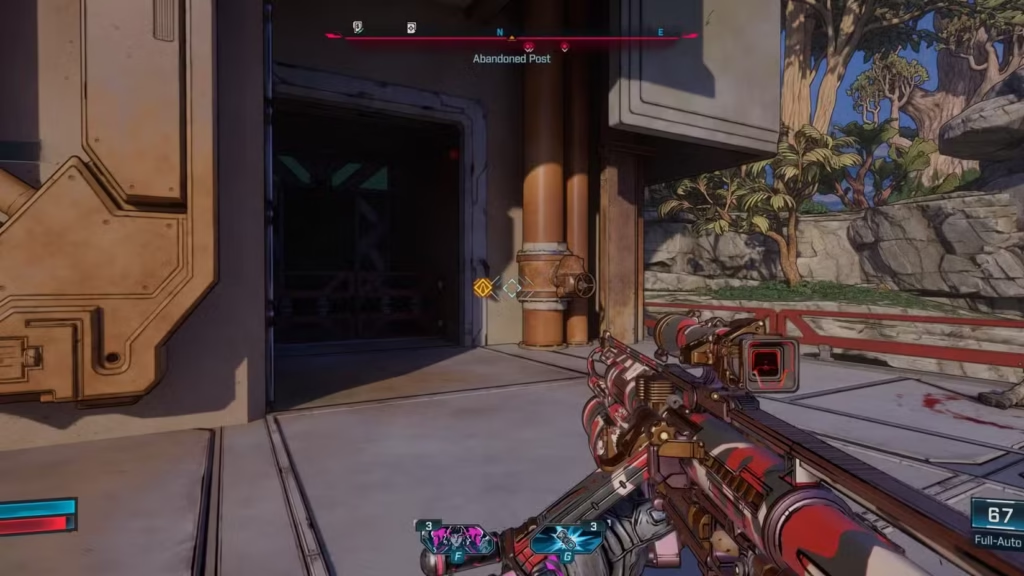
Can’t activate the elevator in Recruitment Drive? Turn around from the elevator panel and look for a dead Timekeeper corpse sitting against a crate near the railing. Interact with it to grab his Bolt (access key), then return to activate the elevator. The interaction prompt is tiny and easy to miss!
Nothing kills the momentum of starting your Borderlands 4 adventure quite like getting stuck on the second quest in the game. The Recruitment Drive mission seems straightforward enough – meet Claptrap, fight some bandits, take an elevator – but that damn elevator has become the bane of many Vault Hunters’ existence.
If you’re standing there mashing every button trying to get that elevator to work, don’t worry. You’re not alone, and more importantly, you’re not missing something obvious. The solution is actually pretty sneaky, and the game’s UI doesn’t do you any favors in finding it.
The Recruitment Drive Elevator Problem
After breezing through the tutorial and having your first proper meetup with everyone’s favorite (or least favorite) robot companion on the beach, Recruitment Drive feels like it should be a cakewalk. You fight your way through some basic Timekeeper goons, reach the elevator at the end, and then… nothing. The elevator won’t budge, Claptrap is stuck below, and your quest marker is just mockingly pointing at an unresponsive panel.
This isn’t a bug – it’s actually intentional game design. The problem is that the solution isn’t immediately obvious, and the visual cues are frustratingly subtle.
How to Actually Get Elevator Clearance
Here’s the step-by-step solution that’ll get you moving again:
Step 1: Don’t Panic at the Elevator Panel When you reach the elevator and it won’t activate, resist the urge to keep mashing the interaction button. The elevator legitimately won’t work without proper clearance.
Step 2: Turn Around and Search for Bodies This is the key part most players miss. Turn completely around so you’re facing away from the elevator panel. You’re looking for dead Timekeeper corpses scattered around the area.
Step 3: Find the Right Corpse Look specifically for a dead Timekeeper who’s sitting against a crate near the railing. He’s positioned a bit away from the elevator itself, which is why so many players walk right past him.
Step 4: Get Close and Watch for the Tiny Prompt Here’s where the game’s UI really lets you down. The interaction prompt for this corpse is incredibly small compared to most other interactions in Borderlands 4. You need to be standing pretty close to see it pop up.
Step 5: Loot the Bolt Once you interact with the corpse, you’ll automatically loot his “Bolt” – which is essentially his access key card. No inventory management needed.
Step 6: Return to the Elevator Head back to the elevator panel and activate it. It should work immediately now that you have the proper clearance.
Why This Quest Design is Actually Clever (But Poorly Executed)
The Recruitment Drive elevator puzzle is meant to teach you an important Borderlands 4 lesson: always loot everything and explore thoroughly. In the broader game, searching corpses and containers often yields valuable items, so this quest is trying to establish that habit early.
The problem is the execution. The interaction prompt is way too small, the corpse isn’t visually distinct enough, and there’s no clear indication that you should be looking for a specific body among all the others scattered around.
What Happens Next: Your First Safehouse
Once you’ve solved the elevator puzzle and Claptrap joins you upstairs, you’ll establish your very first safehouse. This is a bigger deal than it might seem – safehouses are crucial infrastructure in Borderlands 4.
Your new safehouse includes:
- Fast travel point – Essential for getting around Kairos quickly
- Weapon vending machines – Your first reliable source of gear upgrades
- Ammo vendors – Because you’ll be burning through bullets like crazy
- Storage containers – For managing your expanding arsenal
- Side quest NPCs – Additional missions and rewards
Pro Tips for New Vault Hunters
Don’t Rush Past This Area: Now that you have a safehouse, take some time to explore the surrounding area thoroughly. Early game loot can set you up nicely for the challenges ahead.
Check All Vending Machines Regularly: The inventory refreshes, so pop back periodically to see if any legendary gear has appeared.
Start Building Good Habits: This elevator puzzle is teaching you to be thorough. Apply this same mindset to Vault Key fragment hunting and SDU token collection later in the game.
Common Mistakes to Avoid
Don’t Skip the Tutorial Completely: I get it, you want to jump into the action. But the tutorial actually sets up important mechanics you’ll need throughout the game.
Don’t Ignore Side Quests: The side missions available after establishing this safehouse might seem trivial, but they offer decent XP and introduce you to important game systems.
Don’t Sell Everything Immediately: Early game weapons might seem weak, but hold onto anything with interesting effects. You might want to reference our weapon manufacturers guide to understand what makes certain guns special.
The Bigger Picture: Borderlands 4’s Learning Curve
This elevator puzzle represents something interesting about Borderlands 4’s design philosophy. The game expects you to be curious, thorough, and willing to experiment. These traits will serve you well when you’re farming bosses, optimizing builds, or tackling the game’s more complex systems.
If you found this puzzle frustrating, don’t worry – the game gets much more straightforward about its objectives as you progress. But do try to internalize the lesson: when stuck, look around carefully and interact with everything that seems remotely interesting.
Moving Forward on Kairos
Now that you’ve conquered the Recruitment Drive elevator and established your first foothold on Kairos, you’re ready to dive deeper into what Borderlands 4 has to offer. The planet is huge, filled with secrets, and packed with increasingly dangerous enemies that’ll test everything you’ve learned so far.
Ready to continue your adventure? Check out our complete beginners guide for essential tips, or jump into our story mission walkthrough to see what’s coming next.
Start your Vault Hunter journey: Download Borderlands 4 on Steam or PlayStation and begin your adventure on Kairos.
Having trouble with other early game challenges? Our complete trophy guide covers all the tricky achievements you might encounter.