Master all 6 Ripper Drill Sites in Borderlands 4! Complete boss strategies, legendary loot tables, and farming guides for maximum rewards.
Understanding Ripper Drill Sites: Your Gateway to Legendary Farming
Ripper Drill Sites represent some of the most rewarding and challenging content in Borderlands 4, combining arena-style combat with guaranteed boss encounters that drop exclusive legendary gear. Unlike random world bosses, these six locations offer consistent farming opportunities with known loot pools, making them essential stops for serious endgame progression.
Each Drill Site follows a similar formula: clear waves of Ripper enemies to summon powerful bosses, then claim your legendary rewards. However, the specific strategies, elemental weaknesses, and loot tables vary significantly between locations, requiring adaptation and preparation for optimal farming efficiency.
The Fadefields Drill Sites
The Prospects – Sidney Pointylegs
Location: Hungering Plain, The Fadefields (far east of The Launchpad) Boss Difficulty: Moderate Unique Mechanics: Critical hit spot changes mid-fight
Sidney Pointylegs Strategy
This bizarre fusion of Psycho head and spider legs presents a unique challenge with its shifting weak points:
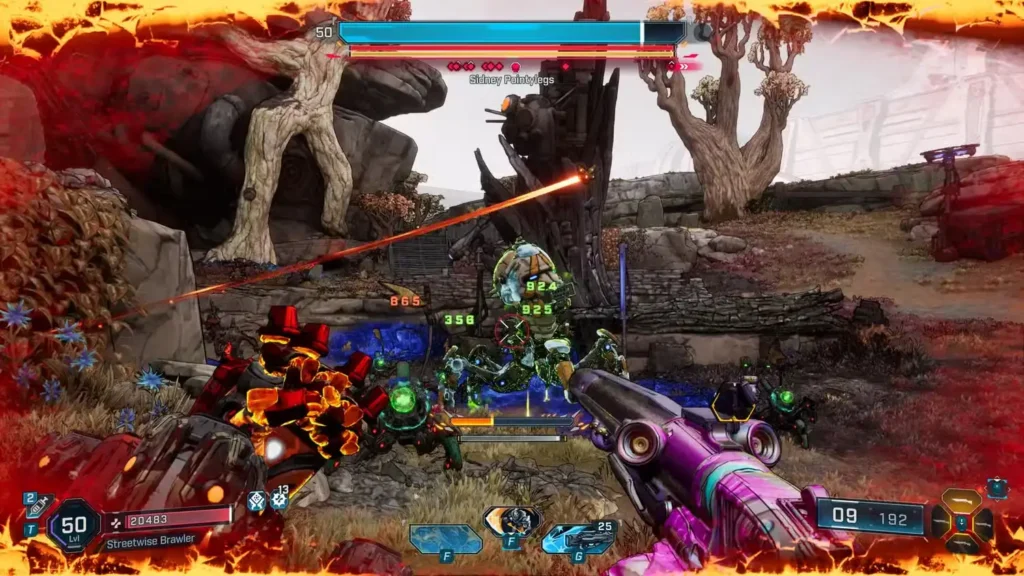
Phase 1-2 (Shield/Flesh): Target the massive Psycho head for critical damage
- Shield Bar: Use Shock weapons for maximum efficiency
- Flesh Bar: Switch to Incendiary for optimal damage
Phase 3 (Armor): Head becomes invulnerable, target the legs
- Armor Bar: Deploy Corrosive or Cryo weapons
- No critical spots available – sustained damage is key
Combat Tips:
- Watch for Sidney’s helicopter spin attack – creates wide damage radius
- Jump attacks can cover significant distance – maintain mobility
- Positioning is crucial when head becomes untargetable
Legendary Loot Table
Swarm (Grenade Ordnance)
- Special Effect: Bullets pierce enemies with 5% explosion chance (2,632 damage)
- Build Synergy: Perfect for crowd control and Ordnance builds
Parley (Gun – details incomplete in source)
- CoV-Licensed Magazine: Unlimited magazine size with heat mechanics
- Daedalus Secondary: Consumes Assault Rifle ammo for alternate fire
Disc Jockey (Heavy Weapon Ordnance)
- Bouncing Biscuits: Energy discs bounce up to 5 times, gaining 20% damage per bounce
- Strategy: Best used in enclosed spaces for maximum bounces
Noisy Cricket (Pistol)
- Details: Legendary drop confirmed, specific effects require further research
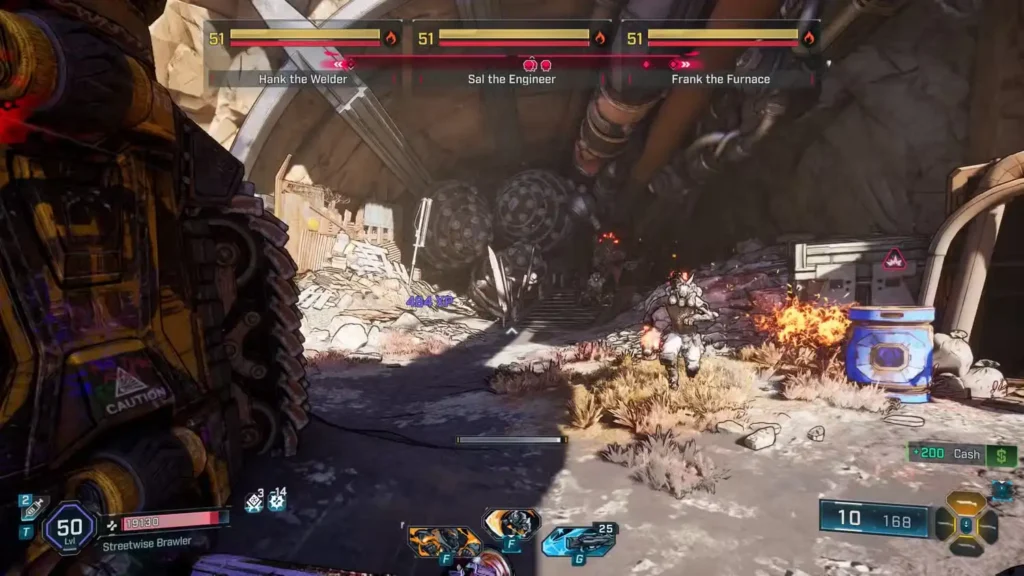
The Pitted Stain – Foundry Freaks Trio
Location: Idolator’s Noose, The Fadefields (far south) Boss Difficulty: Hard Unique Challenge: Three simultaneous bosses with different attack patterns
Foundry Freaks Strategy
Fighting Hank the Welder, Sal the Engineer, and Frank the Furnace simultaneously requires crowd control and target prioritization:
Health Bar Composition: Each boss has Armor → Flesh progression
- Armor Phase: Corrosive or Cryo weapons
- Flesh Phase: Incendiary weapons
Individual Boss Tactics:
- Hank the Welder: Aggressive melee fighter – maintain distance
- Sal the Engineer: Charges players – use mobility to avoid
- Frank the Furnace: Support role using Meathead AMPs to buff enemies
Combat Strategy:
- Prioritize Frank first to eliminate enemy buffs
- Use splash damage weapons for efficient multi-target damage
- Maintain maximum range to avoid melee rush attacks
- Focus fire rather than spreading damage across all three
Legendary Loot Table
Chuck (Assault Rifle)
- Pitcher Effect: Details require clarification from source
Tediore Replicator
- Special Mechanic: Throws additional gun on reload
- Build Integration: Excellent for cash farming through gun sales
Chaumurky (Grenade Ordnance)
- Incessant Homing: Continuously tracks targets
- Tactical Use: Ideal for mobile enemies and guaranteed hits
Bloody Lumberjack (Type unknown)
- Status: Legendary confirmed, effects need verification
Terminus Range Drill Sites
The Old Scrape – Meathead Riders
Location: Cuspid Climb, Terminus Range (eastern region) Boss Difficulty: Hard Unique Mechanics: Immortality buff mechanics
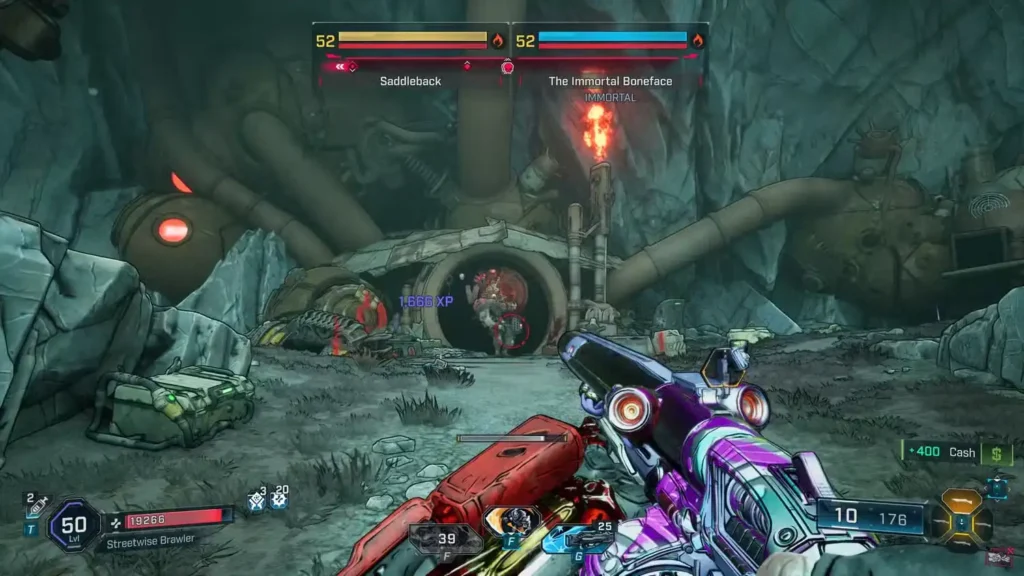
Saddleback & Immortal Boneface Strategy
This encounter introduces complex buff mechanics that require specific target prioritization:
Critical Strategy: Focus exclusively on Saddleback first
- Saddleback Health: Armor → Flesh (Corrosive/Cryo → Incendiary)
- Immortal Boneface: Cannot be damaged while Saddleback lives
Phase Transition: Once Saddleback dies, Boneface loses immortality:
- Shield Bar: Shock weapons required
- Flesh Bar: Incendiary weapons optimal
Combat Notes:
- Never waste ammo on Boneface while he’s immortal
- Saddleback’s mobility makes him challenging to track
- The immortality mechanic teaches buff management for later content
Legendary Loot Table
Lucian’s Flank (Assault Rifle)
- Trample Effect: Critical hits refill up to 2 ammo per magazine
- Synergy: Incredible for precision builds focused on critical damage
Hellwalker (Shotgun)
- Status: Returning favorite from previous games, exact effects need confirmation
Soothslayer (War Paint)
- Equipment Type: Character customization item with potential stat bonuses
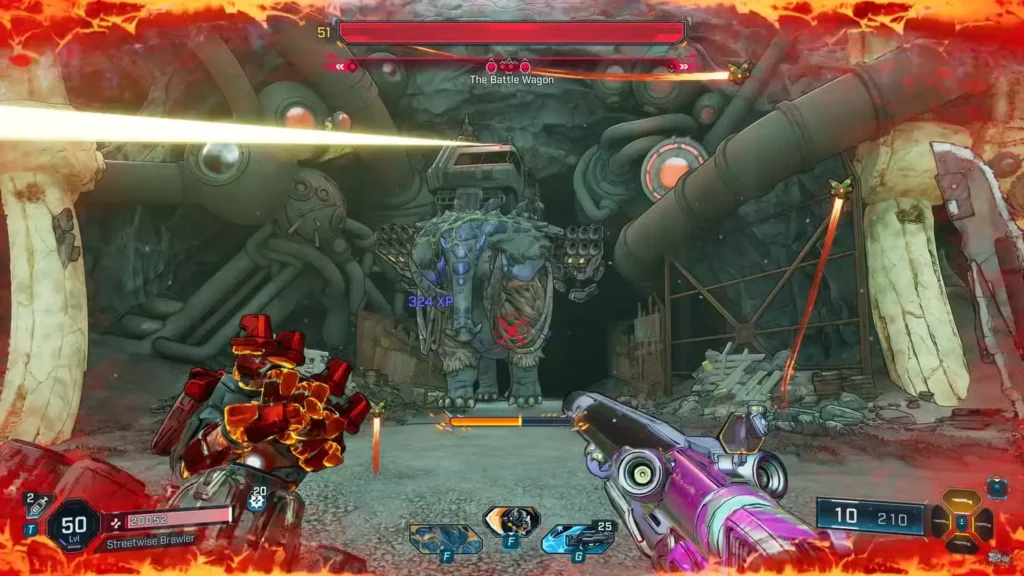
The Lowering March – Battle Wagon
Location: Stoneblood Forest, Terminus Range (western region) Boss Difficulty: Very Hard Unique Challenge: Massive health pool with mounted enemies
Battle Wagon Strategy
This elephant-sized boss presents the most straightforward but demanding encounter:
Health Composition: Single massive Flesh bar
- Primary Weapon: Incendiary damage throughout entire fight
- Target Priority: Eliminate mounted Ripper riders first
Combat Challenges:
- Multiple rocket launchers create constant explosive threats
- Mounted turrets provide sustained fire pressure
- Enormous health pool requires sustained DPS and ammo management
- Post-death cleanup required – kill remaining riders for loot access
Tactical Approach:
- Clear mounted enemies to reduce incoming damage
- Focus fire on weapon systems when possible
- Maintain cover due to explosive weapon threats
- Prepare for extended engagement – bring ammo reserves
Legendary Loot Table
Kaleidosplode (Shotgun)
- Colorful Mess: Maliwan weapon with Cryo/Incendiary element switching
- Versatility: Covers multiple elemental needs in single weapon slot
Finnity XXX-L (Compleation – likely “Completion” item)
- Type: Unknown classification requiring further investigation
Carcadia Burn Drill Sites
Tendercage – Bango and Pango
Location: Lopside, Carcadia Burn (southeastern region) Boss Difficulty: Moderate Arena Feature: Giant animal skull entrance
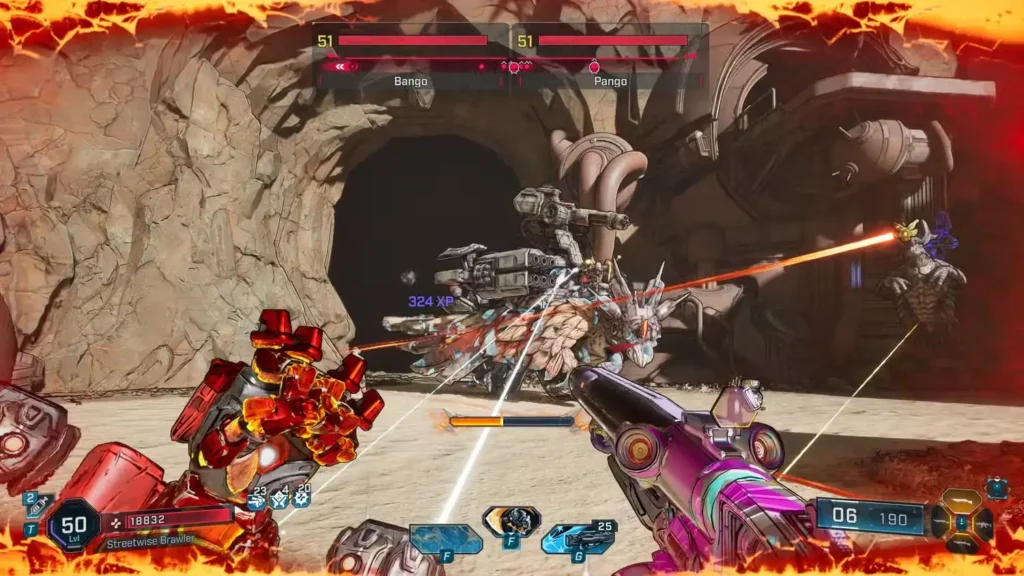
Bango and Pango Strategy
This duo encounter features augmented creatures with heavy weaponry:
Health Composition: Both bosses have pure Flesh bars
- Optimal Damage: Incendiary weapons throughout entire encounter
- Combat Style: Dual-target management required
Boss Characteristics:
- Both creatures feature turret and rocket launcher augmentations
- Flesh-only health bars simplify elemental strategy
- Coordinated attacks require mobility and positioning awareness
Legendary Loot Table
Phantom Flame (Pistol)
- Midday Effect: Zoom-based lock-on system that fires entire magazine
- Unique Mechanic: Time-based target acquisition for burst damage
Stray (Unknown type)
- Status: Legendary confirmed, classification pending
Prince Harming (SMG)
- Pamplemousse Effect: Self-damage on enemy hits builds Cruelty stacks
- Risk/Reward: Overshield restoration on kills based on stack count (max 30)
- Build Synergy: Perfect for risk/reward Firmware builds
Saw’s Clench – Rippa Roadbirds Trio
Location: Ruined Sumplands, Carcadia Burn (southern area) Boss Difficulty: Hard Unique Challenge: Aerial combat with three flying bosses
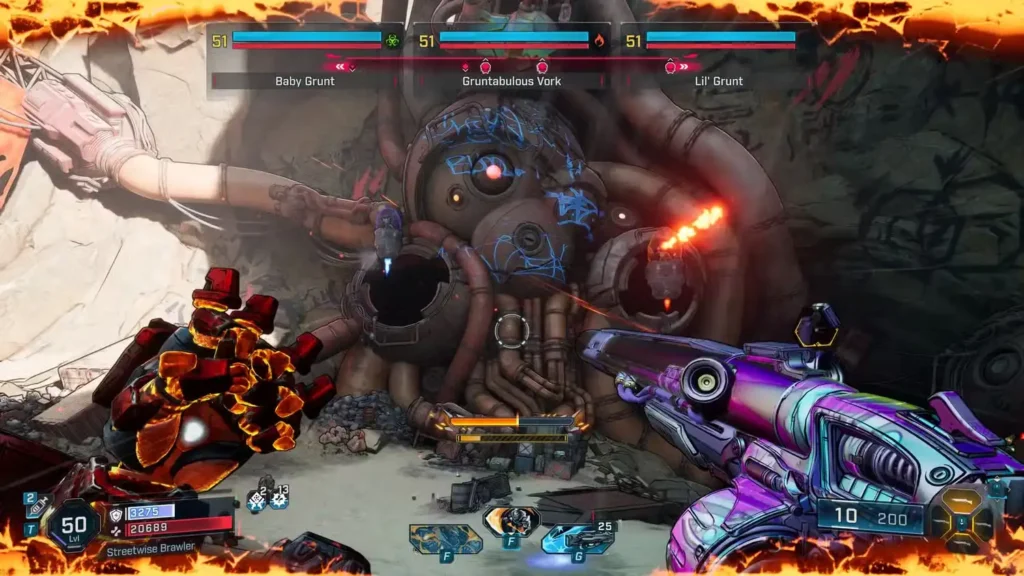
Rippa Roadbirds Strategy
Baby Grunt, Gruntabulous Vork, and Lil’ Grunt create the most mobility-demanding encounter:
Health Composition: All three bosses share Shield → Flesh progression
- Shield Phase: Shock weapons essential for all three
- Flesh Phase: Incendiary weapons for maximum damage
Aerial Combat Tactics:
- Constant flight patterns make targeting challenging
- Maintain shield integrity against aerial fire attacks
- High DPS windows are limited due to mobility
- Positioning becomes crucial for multi-target engagement
Combat Strategy:
- Focus fire on one target at a time rather than spreading damage
- Use hitscan weapons for better aerial target tracking
- Maintain cover between engagements to recover shields
- Consider Ordnance weapons for area denial
Legendary Loot Table
Potato Thrower IV (Assault Rifle)
- Spud Gun: Daedalus-Licensed Multi-Loader consumes Shotgun ammo for secondary fire
- Versatility: Dual ammo type consumption creates unique tactical options
Spinning Blade (Grenade Ordnance)
- Juggler Effect: Catching rebounds refunds grenade charges
- Skill Requirement: Timing-based mechanic rewards player skill with resource conservation
Wombo Combo (Type unknown)
- Status: Legendary drop confirmed, effects require research
Farming Strategies and Optimization
Efficient Route Planning
For maximum legendary farming efficiency:
Difficulty-Based Progression:
- Sidney Pointylegs (easiest) – gear up with basic legendaries
- Bango and Pango (moderate) – straightforward dual boss practice
- Battle Wagon (tank test) – DPS and sustainability check
- Foundry Freaks (crowd control) – multi-target management
- Meathead Riders (mechanics) – buff/debuff understanding
- Rippa Roadbirds (hardest) – aerial combat mastery
Elemental Preparation
Stock your bank storage with:
- Shock weapons: For shield phases (Sidney, Roadbirds)
- Incendiary weapons: For flesh phases (all bosses)
- Corrosive weapons: For armor phases (Sidney, Foundry Freaks, Meathead Riders)
- Cryo alternatives: Backup for armor phases
Build Considerations
Drill Site farming benefits from:
- Sustained DPS builds for health-heavy bosses like Battle Wagon
- Crowd control options for multi-boss encounters
- Mobility enhancements for aerial combat scenarios
- Firmware sets focused on boss damage bonuses
Integration with Endgame Progression
Ultimate Vault Hunter Synergy
Several Drill Site bosses appear as requirements for UVH rank progression, making familiarity with their mechanics essential for advancement.
Weekly Content Connections
Drill Site legendaries may appear in Maurice’s Black Market rotations, making farming these locations valuable for comparison shopping.
Character Development
The diverse challenge types across all six Drill Sites provide excellent training for:
- Multi-target combat management
- Elemental switching proficiency
- Buff/debuff mechanic understanding
- Aerial target engagement
- Resource management during extended fights
Mastering all six Ripper Drill Sites represents a significant milestone in Borderlands 4 progression, providing both immediate legendary rewards and essential combat experience for tackling the game’s most challenging content.
Ready to start your Drill Site conquest? Check out our character build guides for optimal loadouts, or grab Borderlands 4 on Steam, PlayStation, or the official website!