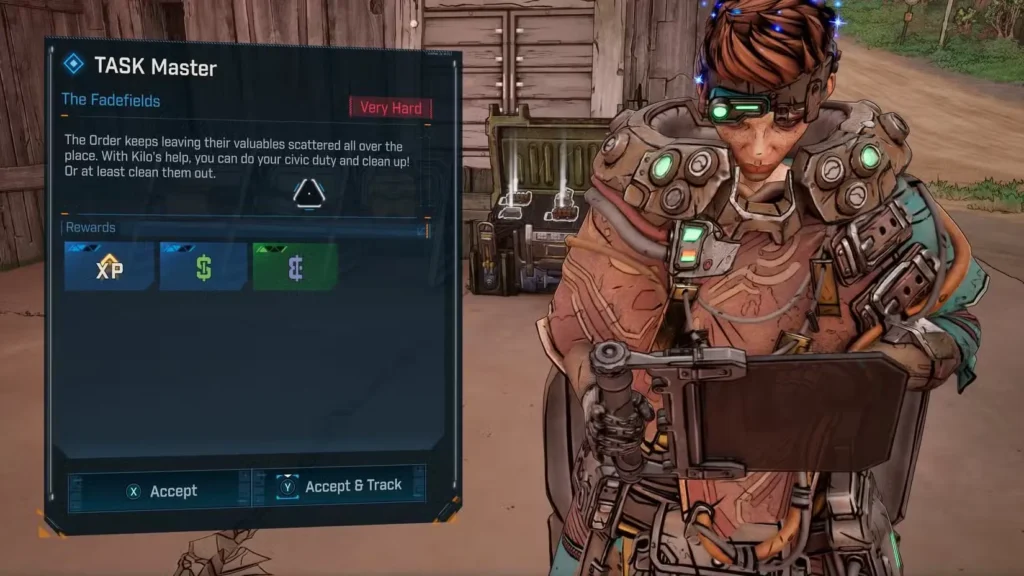
So you’ve been running heists for Kilo throughout your Borderlands 4 adventure, cracking open Order Pods like they’re piñatas full of legendary loot. But now you’ve reached the grand finale: the TASK Master quest. This one’s labeled “Very Hard,” and honestly? It lives up to the name—not because of brutal combat, but because of the brain-melting button sequence you’ll need to memorize.
The twist this time? You’re not just flipping switches and pressing buttons. You’ll be yanking out power cores with your grapple and juggling them around like a caffeinated electrician. One wrong move, and you’re starting from square one. But don’t worry—I’ve got the complete walkthrough to help you nail this puzzle on your first try (or at least your second).
Unlocking the TASK Master Quest
Before you can even attempt this mechanical nightmare, you need to work your way through Kilo’s entire questline. Here’s what you need to complete first:
- Main Mission 5: One Fell Swoop – The main story heist mission
- Kairos Job – Your introduction to Kilo’s side hustles
- Free for the TASKing – The first Order Pod quest
- TASK and Ye Shall Receive – The second heist mission
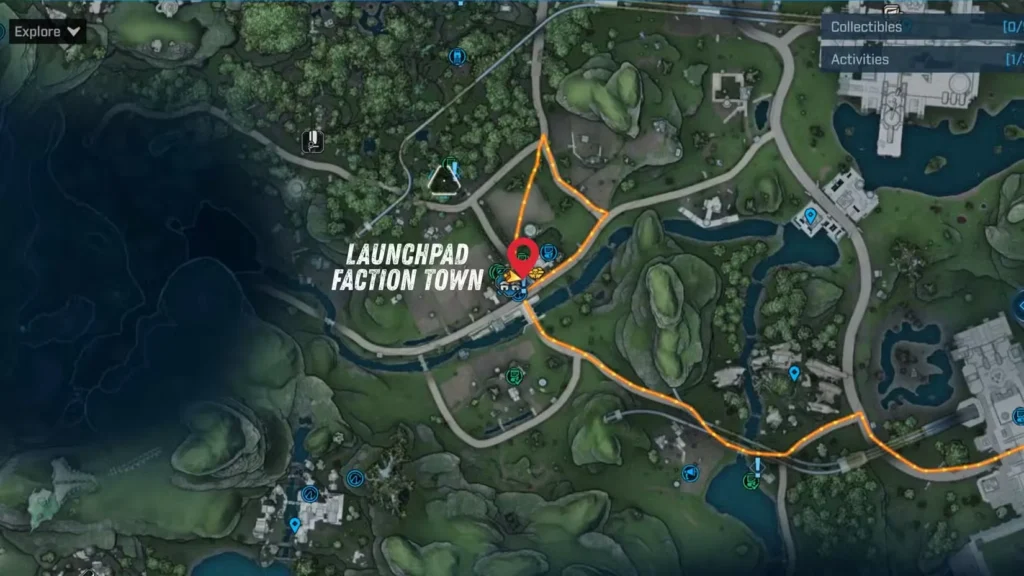
Once you’ve knocked out these prerequisites, head back to the Launchpad Faction Town (your safehouse hub) and chat with Kilo. She’ll be standing in her usual spot, ready to send you on one final salvage run. This time, though, she’s saved the trickiest ship for last.
Quick tip: If you’re still working through the main campaign, check out our complete story mission list to see where you are in the progression.
Finding the Downed Order Ship
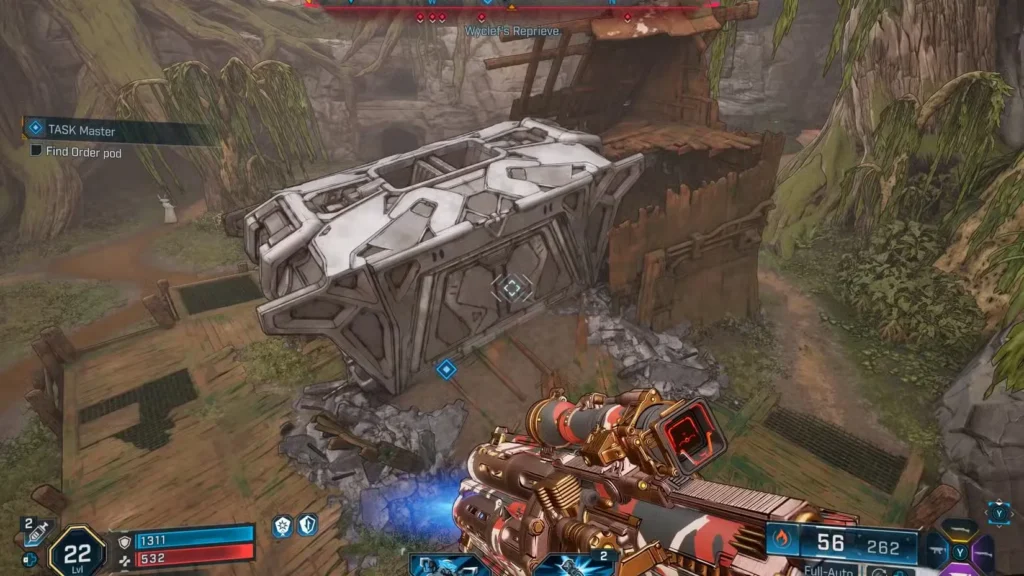
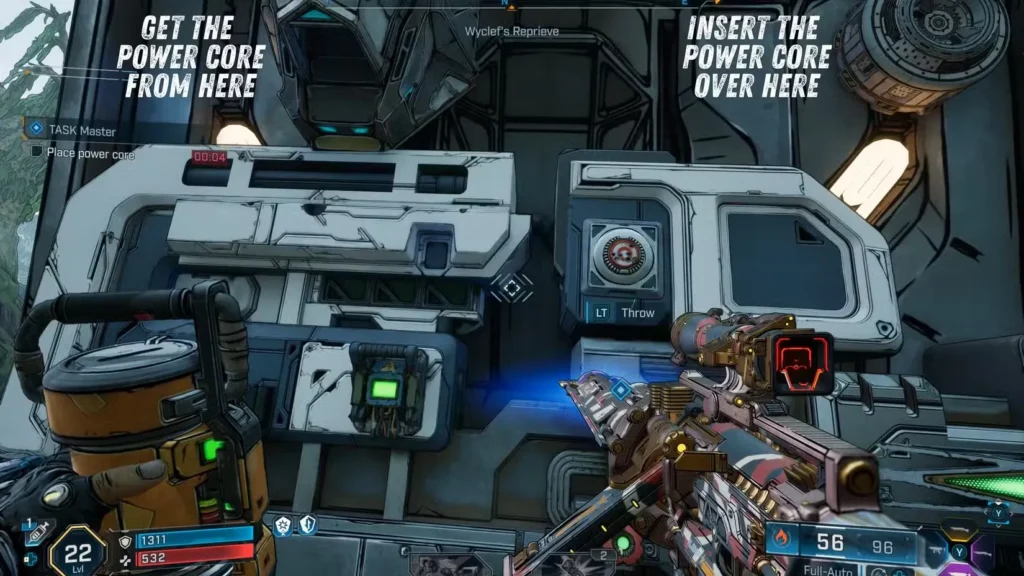
Kilo will mark a location on your map where a crashed Order Ship sits in an open field, just begging to be looted. The ship layout will look familiar if you’ve done the previous TASK quests—buttons, levers, switches, and that signature red panel in the center.
The new element? Power cores on the left side that you can grapple and move around. This mechanic is what makes the puzzle significantly harder than the earlier missions.
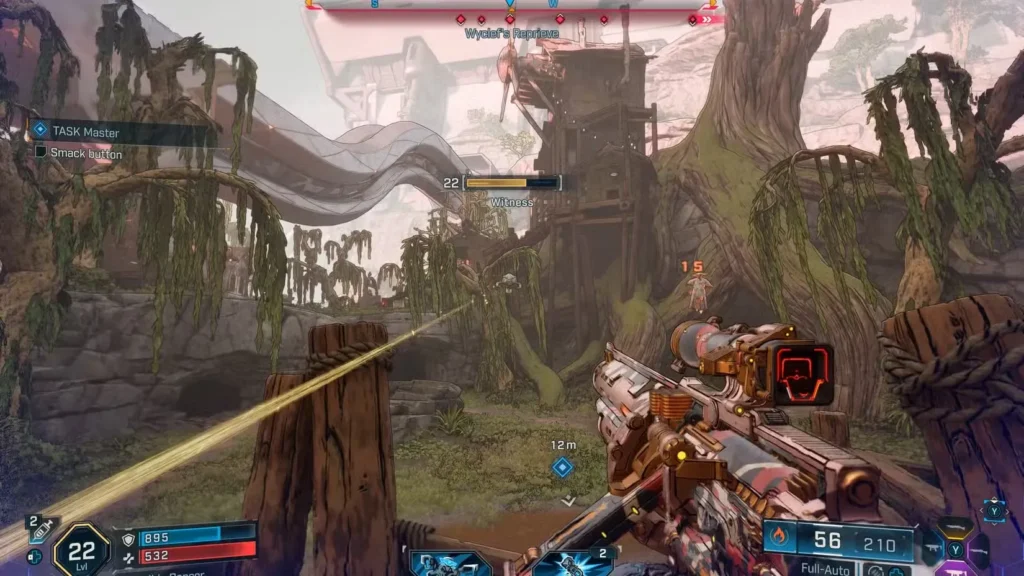
Clear the Area First (Seriously)
Here’s something I learned the hard way: clear out every single enemy before you start the sequence. When you begin pressing buttons, you’ll have literal seconds to react to Kilo’s instructions. If some random bandit decides to shoot you in the back mid-sequence, you’ll fumble the input and have to restart the entire thing.
Trust me, spending an extra minute killing enemies now will save you ten minutes of frustrated retries later.
The Complete Power Core Puzzle Sequence
Alright, here’s the moment of truth. This sequence has 24 steps, and you need to execute each one exactly as Kilo instructs. The good news? There’s no timer between steps and no penalty for failing besides having to start over. Take a deep breath, and let’s do this.
Full Step-by-Step Walkthrough
| Step | Kilo’s Instruction | What You Actually Do |
|---|---|---|
| 1 | Punch the Button | Melee the red button in the center |
| 2 | Flip That Switch | Flip the switch on the left side |
| 3 | Replace the Power Core | Grapple the power core on the left, throw it into the circular slot on the right |
| 4 | Pull the Lever | Pull the lever on the right side |
| 5 | Don’t Flip the Switch | Do nothing (don’t touch anything) |
| 6 | Press the Button | Press (not melee) the red button |
| 7 | Melee the Button | Melee the red button this time |
| 8 | Shoot the Panel | Shoot the circular red area above the center button |
| 9 | Remove the Power Core | Grapple the power core from the right slot and toss it away quickly |
| 10 | Do Not Pull the Lever | Do nothing again |
| 11 | Shoot the Panel | Shoot the red circular area in the middle again |
| 12 | Flip That Switch | Flip the switch on the left |
| 13 | Smack the Button | Melee the red button |
| 14 | Replace the Power Core | Grapple a power core from the left, insert it into the right slot |
| 15 | Press the Button | Press the red button (not melee) |
| 16 | Press the Button | Press the red button again immediately |
| 17 | Melee the Button | Melee the red button now |
| 18 | Press the Button | Press the button again (regular press) |
| 19 | Remove the Power Core | Grapple the power core from the right and throw it away fast |
| 20 | Flip That Switch | Flip the switch on the left |
| 21 | Pull the Lever | Pull the lever on the right |
| 22 | Shoot the Panel | Shoot the red circular area in the center |
| 23 | Pull the Lever | Pull the lever on the right again |
| 24 | Flip That Switch | Flip the switch on the left one final time |
| 25 | Replace the Power Core | Grapple a fresh power core from the left, insert it into the right slot |
Pro Tips for Success
Distinguish between “Press” and “Melee”: This is crucial. When Kilo says “press,” use your regular interact button. When she says “melee,” “punch,” or “smack,” use your melee attack. Mixing these up is the #1 reason people fail.
Power core timing: When you need to remove or replace the power core, act quickly but don’t panic. The grapple has a decent range, and the game gives you a reasonable window to complete the action.
Audio cues matter: Kilo’s voice instructions are your lifeline. If you’re playing with friends and they’re chatting in voice comms, consider muting them temporarily so you don’t miss her callouts.
Keep this guide open: Seriously, pull this up on your phone or second monitor. Nobody’s memorizing 25 steps on their first attempt unless they’re some kind of savant.
What You Get for Completing TASK Master
Once you’ve successfully navigated the entire sequence and that Order Pod finally cracks open, you can claim your well-earned loot. The rewards typically include rare or legendary gear appropriate for your level, plus a hefty chunk of experience and cash.
More importantly, you’ll complete Kilo’s entire questline, which wraps up one of the more memorable side story arcs in Borderlands 4. Plus, you get serious bragging rights for conquering what might be the most tedious puzzle in the game.
Why This Quest Is Both Brilliant and Frustrating
Look, I’ll be honest with you: the TASK Master quest walks a fine line between clever game design and pure sadism. On one hand, it’s a unique challenge that tests your attention and reflexes in a game that’s mostly about shooting everything that moves. On the other hand, having to restart a 25-step sequence because you pressed instead of meleed can feel like punishment.
But here’s the thing—it’s so satisfying when you finally nail it. That moment when the pod opens and you realize you executed every single step perfectly? Chef’s kiss. It’s the kind of accomplishment that makes you want to message your friends immediately.
Similar Puzzle Content in Borderlands 4
If you enjoyed the mental challenge of the TASK Master quest (or you’re a glutton for punishment), here are some other brain-teaser missions worth checking out:
- Fault Hunting Mission Puzzles – More technical challenges await
- Bell Puzzle in Mob Rules – A musical puzzle that’ll test your timing
- No Escape Room Solution – Escape room mechanics in Borderlands? Yes please
And if you need a break from puzzles and want something completely different, check out the Tannis on a Fish easter egg for a lighthearted distraction.
Ending Note
The TASK Master quest is one of those love-it-or-hate-it missions that defines your Borderlands 4 experience. Yes, it’s tedious. Yes, you’ll probably fail at least once. But it’s also a refreshing change of pace from the constant gunfights, and it rewards patience and attention to detail.
My advice? Set aside 15-20 minutes when you’re not rushed, clear those enemies, keep this guide handy, and take it one step at a time. You’ve got this, Vault Hunter.
Now get out there and show that Order Pod who’s boss!
Related Guides: