The Puzzle That Stumps Everyone
You’ve fought through Order troops, defeated the Brute Electi, and finally reached the traitor’s bunker in Camp Spinesquelch. But now? You’re staring at a weird prism puzzle involving red and blue nodes, and the game’s not exactly generous with instructions.
Willem’s Nodes puzzle during the A Traitor Within faction mission trips up a lot of players—not because it’s genuinely difficult, but because the alignment mechanics aren’t immediately obvious. The good news? Once you understand the core concept, it’s actually pretty straightforward. Let’s break down exactly how to solve this puzzle and grab that locked micro drive.
Understanding the Node Puzzle Mechanics
Before we get into the step-by-step solution, here’s what you need to know about how this puzzle actually works:
The Basic Concept
Red Node = Your Target The red prism is what you need to shoot. Think of it as the “receiver.”
Blue Nodes = Alignment Markers The blue prisms need to be lined up behind the red node from your perspective. They’re like alignment guides.
Your Crosshair = Success Indicator When everything is properly aligned, your crosshair will turn red. That’s your green light to shoot.
The Key Rule
You cannot mess this up. If your alignment is wrong, shooting simply does nothing. No failed state, no penalty—just no reaction. This means you can experiment freely until you get the positioning right.
Best Weapons for the Node Puzzle
Not all guns are created equal for precision puzzles. Here’s what works best:
Recommended:
- Assault Rifles – Perfect balance of accuracy and single-shot capability
- SMGs – Good for precise aiming, just use single-fire if available
- Hand Cannons/Pistols – Excellent accuracy for clean shots
Avoid:
- Shotguns – Spread pellets won’t register properly
- Explosive weapons – AOE effects can interfere with precision
- Rocket Launchers – Massive overkill and too imprecise
- Full-auto spray – You only need one clean shot per node
Pro tip: If you have a weapon with a scope or good iron sights, use it. Precision matters more than damage here.
Step-by-Step Node Puzzle Solution
Here’s the complete walkthrough for solving Willem’s Nodes:
Node 1: Getting Started
1. Locate the First Red Node After pulling the lever at the control terminal, you’ll see the first red prism appear.
2. Find Your Position Move around the area until you can see blue prisms appearing behind the red one from your viewpoint.
3. Align Your Shot Keep adjusting your position until the blue nodes line up perfectly behind the red node. You’ll know it’s correct when your crosshair highlights in red.
4. Take the Shot Fire a single shot at the red node. If aligned correctly, it’ll register and progress the puzzle.
Node 2-3: Following the Pattern
Repeat the Process:
- A new red node will appear
- Look for the blue alignment markers
- Position yourself so they line up
- Watch for the red crosshair indicator
- Shoot when ready
Movement tip: You don’t need to stay in one spot. Each node might require you to move to a completely different position in the room. Don’t be afraid to explore different angles.
Final Node: The Platform Shot
This is where most players get stuck because it requires a position change:
1. Look for the Elevated Platform The final red node requires a height advantage. Look to the right side of the console area.
2. Climb to the Higher Platform You’ll find a platform you can jump or climb onto. Get up there.
3. Look Down and Align From this elevated position, you’ll be able to see the final red node with blue alignment markers behind it.
4. Fire the Finishing Shot Once your crosshair turns red, take the shot to complete the puzzle.
Visual Cues to Watch For
The game actually gives you helpful indicators if you know what to look for:
✅ Red crosshair = Perfect alignment, shoot now ❌ Normal crosshair = Not aligned yet, keep moving 🔵 Blue prisms visible = You’re close to the correct angle 🔴 Red prism glowing = This is your active target
Common mistake: Players often try to shoot before the crosshair turns red, assuming they’ve got it right. Wait for that visual confirmation—it saves ammo and frustration.
Troubleshooting Common Issues
“I’m Shooting But Nothing Happens”
Cause: Your alignment is off, even if it looks close. Solution:
- Move a few steps in any direction
- Try crouching or jumping for slight height adjustments
- Make sure you can clearly see blue prisms behind the red one
“I Can’t Find the Blue Nodes”
Cause: You’re standing in the wrong part of the room. Solution:
- Do a full 360° scan of the area
- Try moving closer or further from the red node
- The blue prisms only appear from specific viewing angles
“My Weapon Won’t Hit the Node”
Cause: Using wrong weapon type or shooting full-auto. Solution:
- Switch to a single-shot accurate weapon
- Take one deliberate shot, not a spray
- Make sure you’re actually aiming at the red node center
“Can’t Find the Final Platform”
Cause: Easy to miss if you’re focused on the ground level. Solution:
- Stand near the console area
- Look to your right (north-east wall)
- You should see a climbable platform structure
What Happens After Solving the Puzzle
Once you’ve successfully shot all of Willem’s Nodes:
- The micro drive unlocks from the command console
- Pick up the drive from the terminal
- Deliver it to Levaine who’s waiting nearby
- Mission completion – A Traitor Within faction mission ends
- Head back to Carcadia to continue the quest chain
The traitor’s identity gets revealed through the data on the drive, progressing the Electi storyline further. The reveal is actually pretty satisfying after all the detective work you’ve done.

Why This Puzzle Exists (Design Perspective)
Borderlands 4 mixes up its mission design with puzzles like this to break the “shoot everything” monotony. Willem’s Nodes specifically:
- Tests spatial awareness – You need to understand 3D positioning
- Rewards exploration – Finding the right angles requires moving around
- Adds variety – Not every objective is “kill X enemies”
- Creates memorable moments – You’ll remember this more than generic combat
It’s actually a nice change of pace, even if it initially seems confusing. The Rush the Gate elevator situation taught you about problem-solving, and this puzzle reinforces that Borderlands 4 wants you thinking, not just shooting.
The Full A Traitor Within Mission Context
If you’re jumping into this guide mid-mission, here’s what led to this puzzle:
Mission flow:
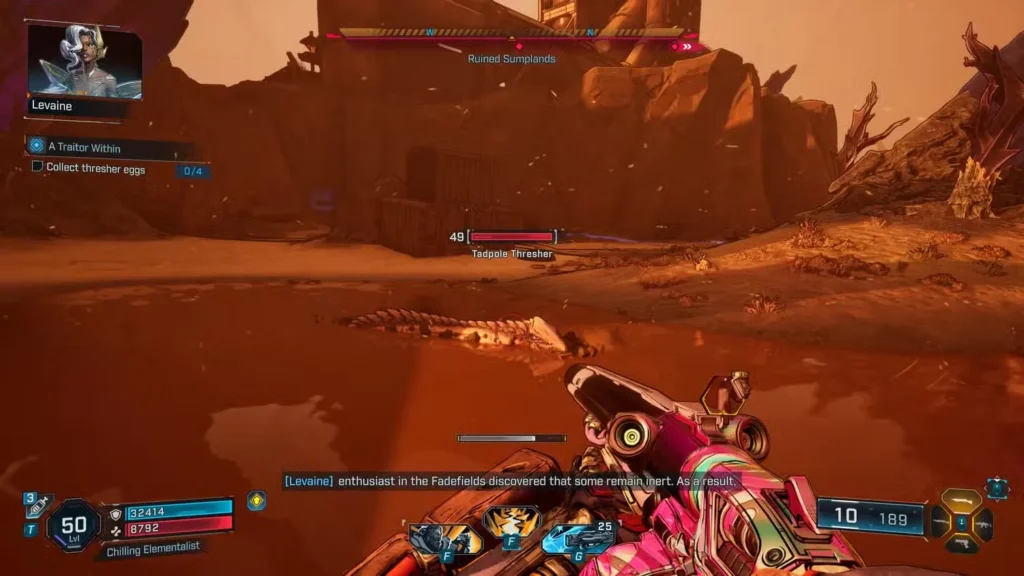
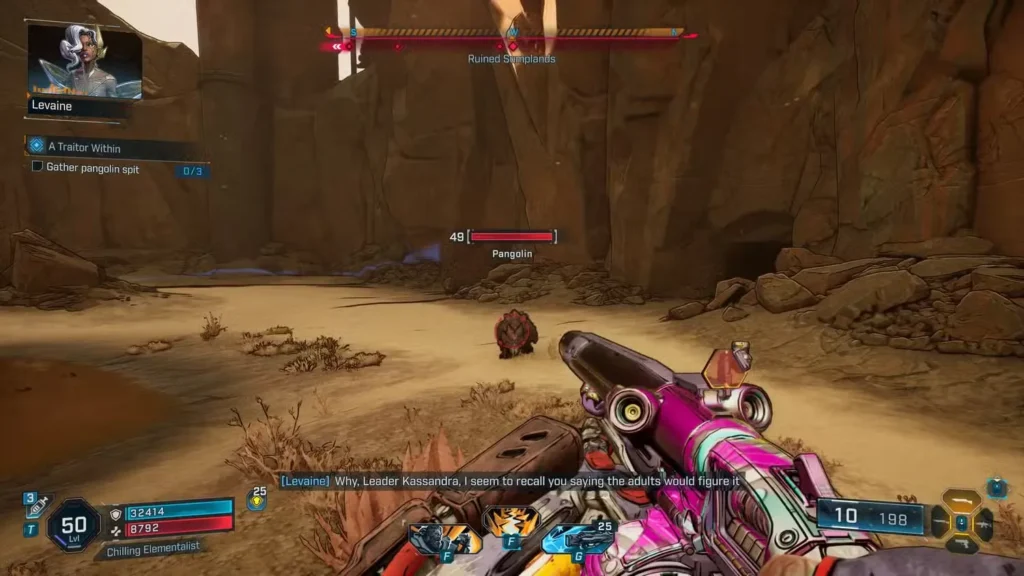
- Collect Thresher Eggs and Pangolin Spit for food
- Deliver supplies to Moxxi’s Bottoms Up bar
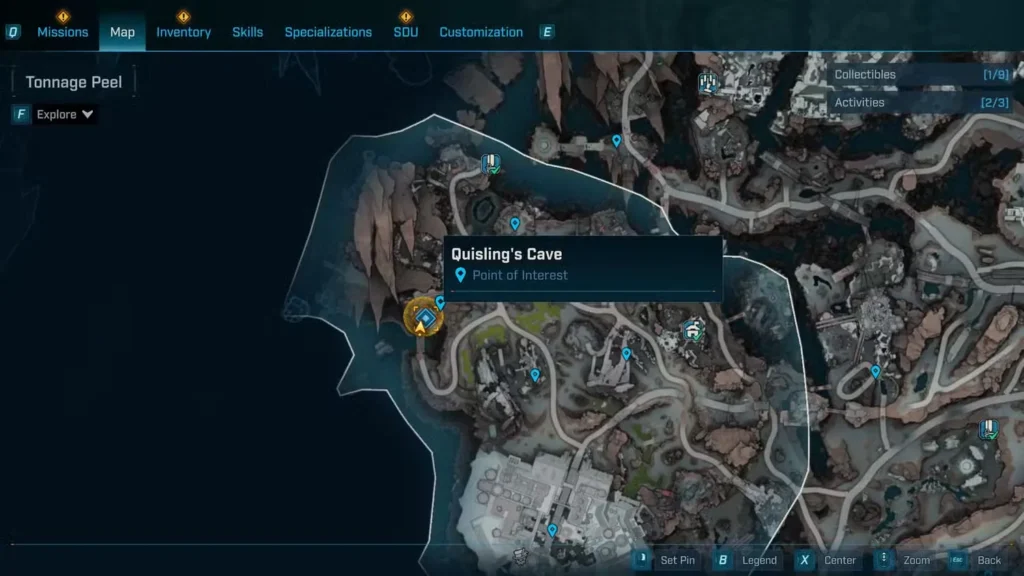
- Hunt down Rippers at Quisling’s Cave
- Navigate cave sections using Levaine’s grapple drones
- Reach Camp Spinesquelch and fight Order forces
- Defeat the Brute Electi mini-boss
- Solve Willem’s Nodes puzzle ← You are here
- Retrieve and deliver the micro drive
The puzzle represents the “brain” portion of a mission that’s been mostly “brawn” up to this point.
Quick Reference Checklist
For players who just need the condensed version:
- Use accurate, single-shot weapons
- Shoot the RED node, not the blue ones
- Line up BLUE nodes behind the red one
- Wait for your crosshair to turn RED
- Move around the room for different angles
- Final node requires the elevated platform (right of console)
- Pick up micro drive after puzzle completion
- Deliver to Levaine to finish mission
Final Thoughts
Willem’s Nodes isn’t the hardest puzzle in Borderlands 4, but it’s definitely one that catches players off-guard. The alignment mechanic is unique enough that first-timers often stand there confused for a few minutes before the “aha!” moment hits.
Now that you know the trick—find the angle where blue aligns behind red, wait for the red crosshair, shoot—you can breeze through this section and get back to what Borderlands does best: looting and shooting.
The traitor’s identity awaits, Vault Hunter. Time to crack that bunker open.
Get Borderlands 4:
Related Mission & Puzzle Guides: