Master Your Bizarre Adventure with our in-depth Stand guide. Complete tier rankings, combo strategies, matchup analysis, and expert tips for every Stand in YBA’s current meta.
Your Bizarre Adventure’s Stand system is the heart of what makes this Roblox JoJo game so addictive. With 40+ unique Stands each offering different playstyles, abilities, and potential, choosing the right one can feel overwhelming—especially when the meta shifts with each balance update.
I’ve spent hundreds of hours analyzing every Stand in the current meta, testing matchups, and gathering community insights to create this comprehensive guide. Whether you’re a complete beginner or a seasoned player looking to optimize your ranked climb, this guide breaks down everything you need to know about each Stand’s current position, potential, and practical applications.
Understanding YBA’s Competitive Landscape
Before diving into individual Stand analysis, it’s crucial to understand how YBA’s meta actually works. Unlike many fighting games where tier lists are purely theoretical, YBA’s rankings are heavily influenced by:
Ease of Execution: Some Stands require frame-perfect inputs while others offer straightforward combos Matchup Spread: How well a Stand performs against the most popular picks Skill Floor vs Ceiling: The minimum skill needed to be effective versus maximum potential Meta Adaptation: How well Stands adapt to common strategies and counters
The Tier System Explained
- S-Tier (Meta Defining): These Stands warp the game around them. They excel in multiple areas with few exploitable weaknesses
- A-Tier (Tournament Viable): Strong, reliable picks that can win against any opponent with proper execution
- B-Tier (Situationally Strong): Viable Stands that excel in specific matchups or require particular skills to shine
- C-Tier (Struggling): Outclassed by higher tiers but can still function with significant player investment
- D-Tier (Avoid in Competitive): Fundamentally flawed or serving as progression stepping stones
S-TIER: THE META KINGPINS
These eleven Stands define YBA’s current competitive landscape. Each brings unique strengths that make them nearly unstoppable in skilled hands.
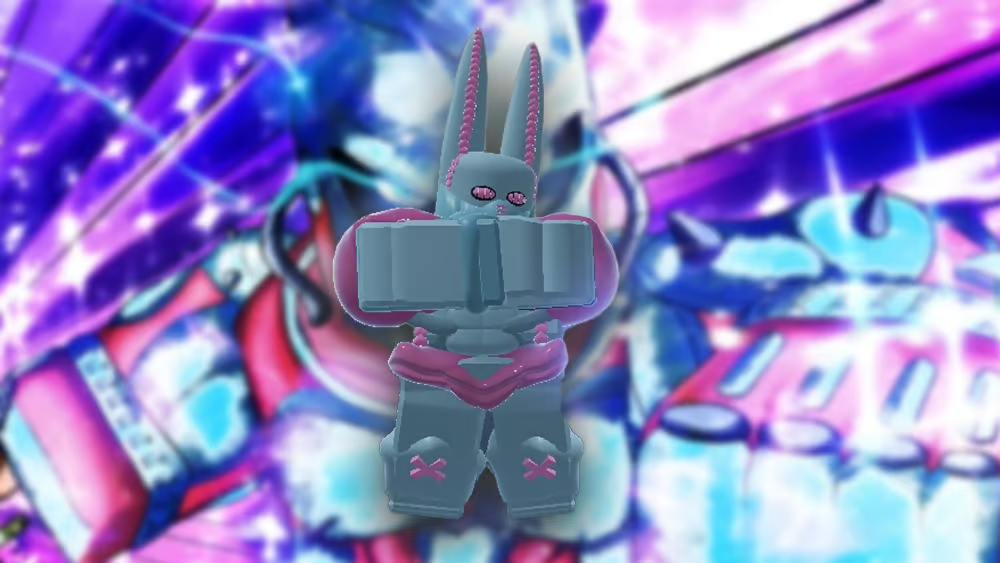
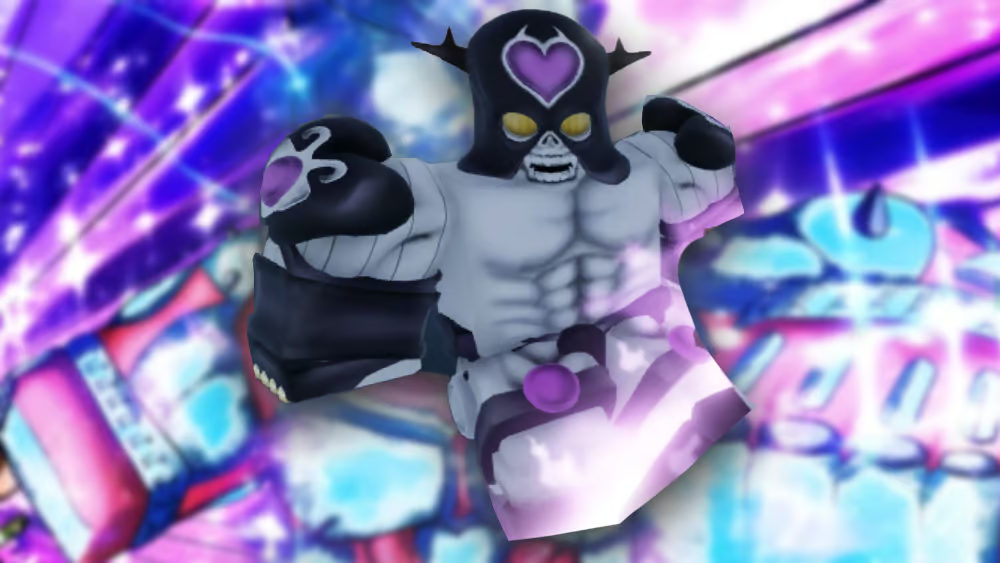
C-Moon: The Gravity Manipulator
Why S-Tier: C-Moon’s gravity-based moveset creates unavoidable pressure situations that most Stands simply cannot deal with effectively.
Core Strengths:
- Surface Inversion Punch: Creates guaranteed combo setups with massive knockback
- Gravitational Shift: Controls opponent positioning, forcing unfavorable trades
- Uppercut to Heaven: Devastating finisher with enormous range and damage
- Gravity Negation: Passive that disrupts enemy movement patterns
Optimal Combos:
- Surface Inversion → Gravitational Shift → Uppercut combo (70%+ damage)
- Counter into Surface Inversion → full punish sequence
- Gravity field control → positional advantage → mixup pressure
Matchup Notes: Struggles slightly against long-range zoners but dominates close-quarters combat. Excels against most A and B-tier Stands through superior pressure tools.
Skill Requirements: Medium-High. Requires understanding of spacing and gravity manipulation timing.
Chariot Requiem: The Map Controller

Why S-Tier: SCR’s passive ability and area denial make it oppressive in ways that bypass traditional counterplay.
Core Strengths:
- Your Own Shadow: Passive that constantly pressures opponents
- Life Manipulation: Massive AoE that controls entire fight areas
- Dimensional Man: Teleportation that enables unprecedented mobility
- Arrow Barrage: High-damage projectile spam with excellent tracking
Strategic Applications:
- Zone control in ranked matches through passive pressure
- Forcing opponents into disadvantageous positions automatically
- Combo extensions through teleportation mixups
- Safe pressure application from multiple ranges
Advanced Techniques:
- Shadow positioning to cut off escape routes
- Life Manipulation → teleport → combo extension
- Arrow spam into melee pressure transitions
Counterplay Awareness: Vulnerable during teleport startup frames. Smart opponents will time attacks during Dimensional Man activation.
Gold Experience Requiem: The Reset Button
Why S-Tier: GER’s Return to Zero mechanic is fundamentally broken in a positive way, providing unmatched defensive utility.
Core Strengths:
- Return to Zero: Cancels any enemy action, including ultimates and time stops
- Healing ability: Self-sustain that extends fight duration in your favor
- Life Shot: Reliable ranged pressure tool
- Scorpion Counter: Defensive option that can reset neutral
Meta Impact: GER single-handedly counters several S-tier Stands by nullifying their key abilities. It’s the ultimate safety net that lets you take risks other Stands cannot afford.
Optimal Usage Patterns:
- Bait opponent ultimates → Return to Zero → counter-pressure
- Healing management to outlast opponents in extended fights
- Life Shot harassment while maintaining Return to Zero for defense
Skill Ceiling: Extremely high. Mastering Return to Zero timing separates good GER players from great ones.
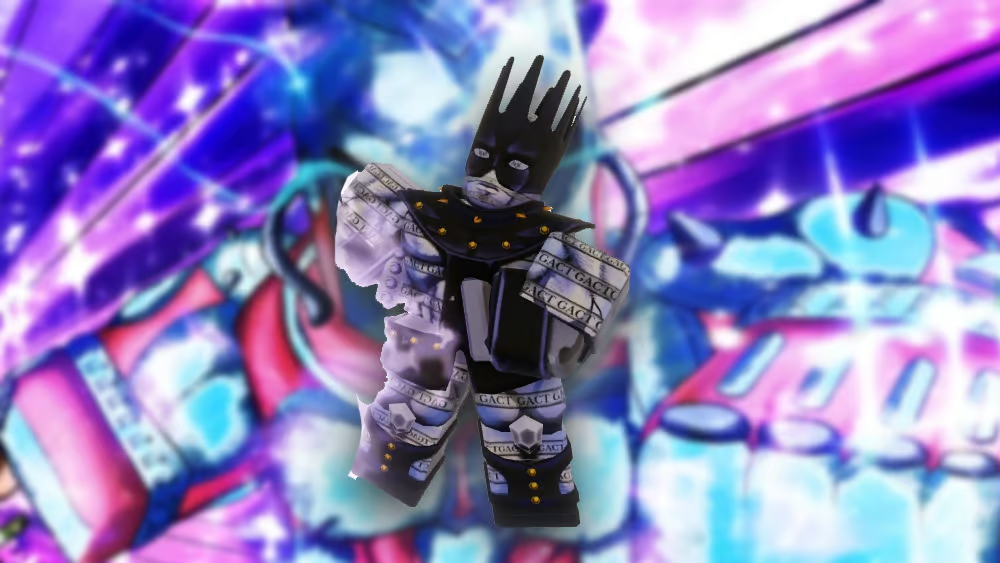
Killer Queen: Bites the Dust: The One-Shot Specialist

Why S-Tier: KQBTD’s instant-kill potential creates a constant threat that fundamentally alters how opponents must play.
Core Strengths:
- Bites the Dust: Unreactable one-shot combo potential
- Bomb Manipulation: Multiple explosion setups with various timings
- Sheer Heart Attack: Tracking projectile that forces movement
- Coin Bomb: Setup tool for Bites the Dust activation
Psychological Factor: The mere presence of Bites the Dust forces opponents into overly defensive play, giving KQBTD users significant mental advantages.
Setup Patterns:
- Coin bomb placement → opponent approach → BTD activation
- SHA pressure → opponent dodge → bomb detonation setup
- Wall combo → bomb plant → guaranteed BTD scenario
Risk Management: KQBTD requires precise execution. Missing BTD setups leaves you extremely vulnerable to punishment.
King Crimson Requiem: The Swiss Army Knife
Why S-Tier: KCR combines the best aspects of multiple Stand archetypes into one incredibly versatile package.
Core Strengths:
- Dimension Slash: High damage, good range, combo starter
- Epitaph: Prediction ability that provides information advantages
- Scythe Strike: Massive damage finisher with deceptive range
- Time Erase: Ultimate positioning and escape tool
Versatility Analysis:
- Offense: Scythe combos deal massive damage
- Defense: Time Erase provides multiple escape options
- Mobility: Dimensional abilities enable superior positioning
- Information: Epitaph gives strategic advantages
Advanced Strategies:
- Epitaph → pre-emptive positioning → guaranteed punish
- Time Erase → positional advantage → Scythe setup
- Dimension Slash → combo extension → Scythe finisher
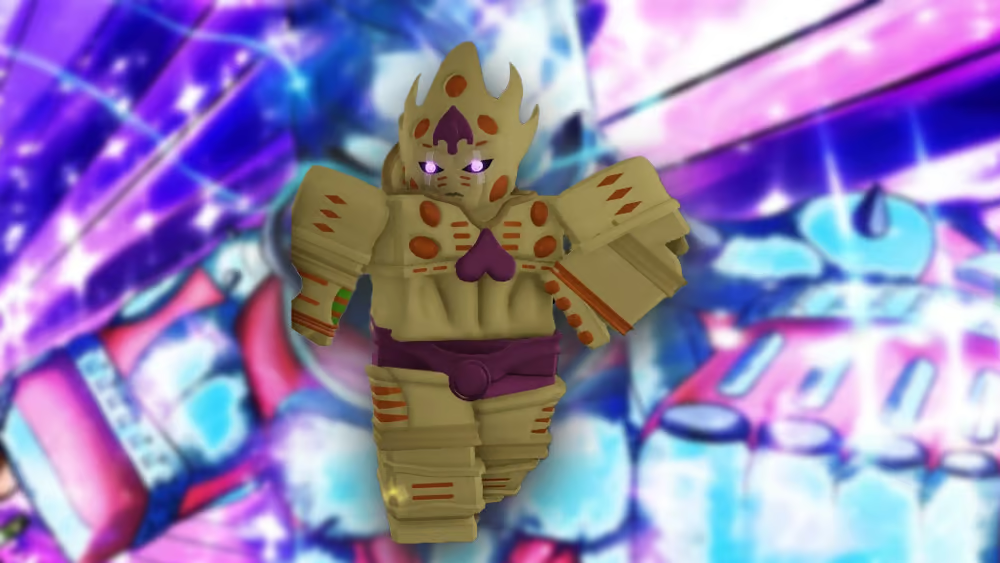
Made in Heaven: The Speed Demon

Why S-Tier: MiH’s speed-based kit creates overwhelming pressure that most opponents simply cannot match.
Core Strengths:
- Time Acceleration: Global speed increase that affects everything
- Knife Throw: Fast projectiles with excellent combo potential
- Universe Reset: Devastating ultimate with massive range
- Enhanced Mobility: Unmatched movement speed and options
Pressure Patterns:
- Constant movement makes you nearly impossible to pin down
- Time acceleration creates unavoidable pressure situations
- Knife spam forces opponents into defensive positions
- Universe Reset threatens massive area denial
Mastery Requirements: Extremely high execution demands. MiH players must manage speed while maintaining precision—a combination that takes significant practice to master.
Silver Chariot Requiem: The Passive Oppressor
Why S-Tier: Despite previous nerfs, SCR remains incredibly strong due to its passive effects and zoning capabilities.
Core Strengths:
- Arrow Storm: Excellent zoning and combo starter
- Self Manipulation: Positioning tool that enables mixups
- Life Creation: Minions that provide additional pressure
- Passive Control: Constant map presence through shadow mechanics
Zoning Mastery:
- Arrow Storm → approach control → Life Creation setup
- Self Manipulation → positioning advantage → pressure mixup
- Passive shadow → opponent movement restriction → punish opportunity
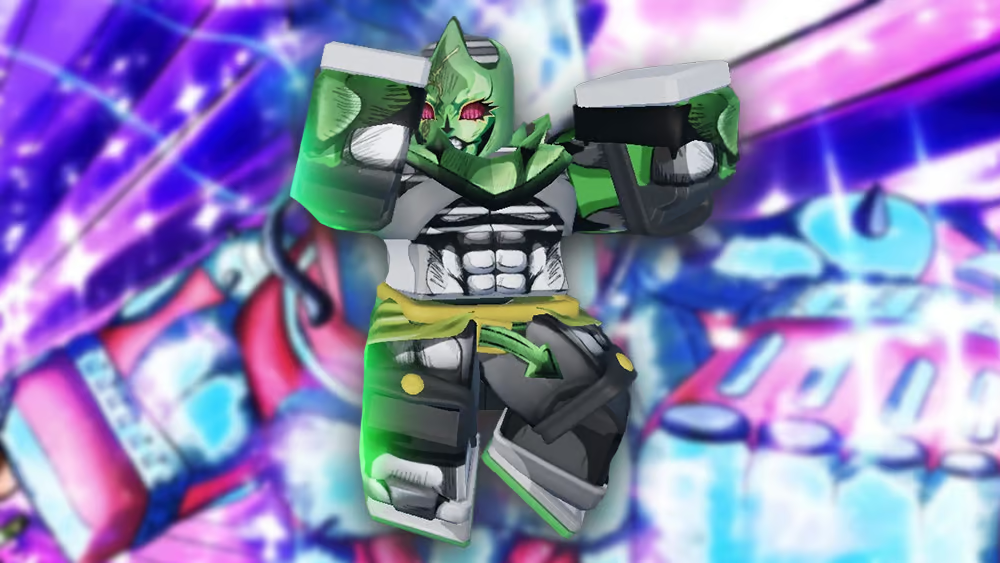
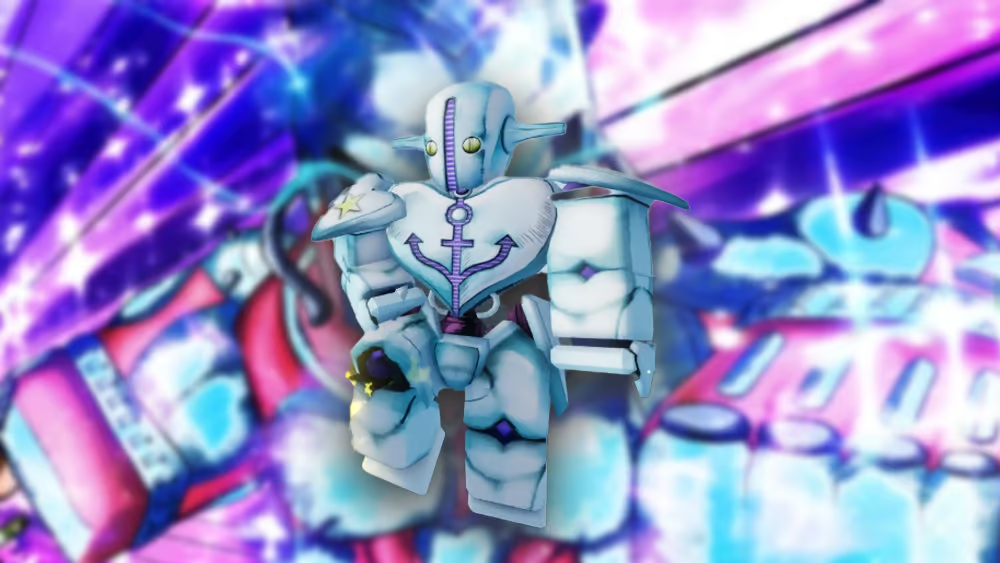
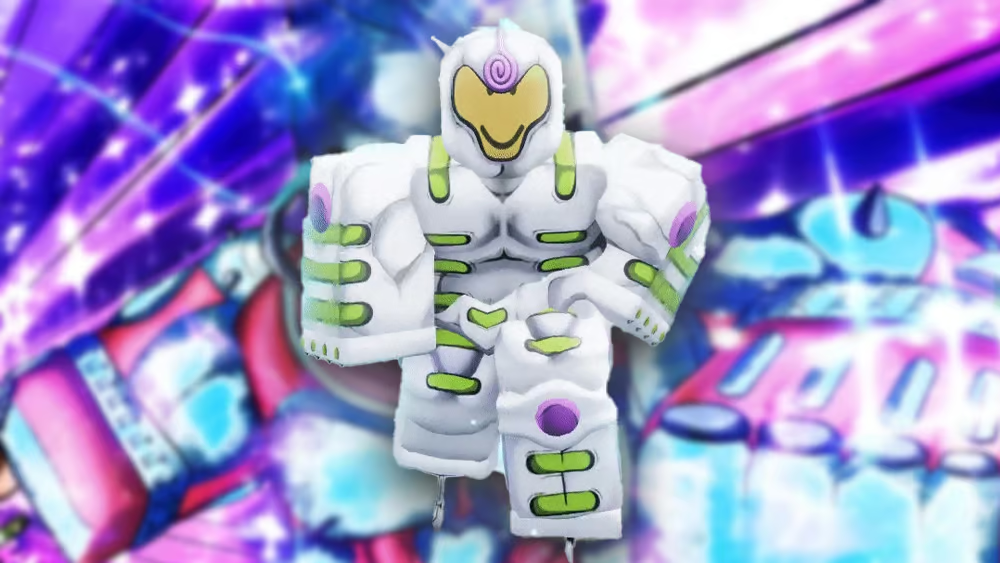
Soft & Wet: Go Beyond: The Defensive Powerhouse
Why S-Tier: Go Beyond fixes regular Soft & Wet’s weaknesses while adding game-breaking mechanics.
Core Strengths:
- Go Beyond Bubbles: True damage that ignores all defensive options
- Bubble Trap: Area control that forces movement
- Plunder: Stat stealing that weakens opponents while strengthening you
- Enhanced Mobility: Improved movement options over base Soft & Wet
True Damage Implications: Go Beyond bubbles cannot be blocked, parried, or countered through traditional defensive means. This creates guaranteed pressure scenarios that few Stands can match.
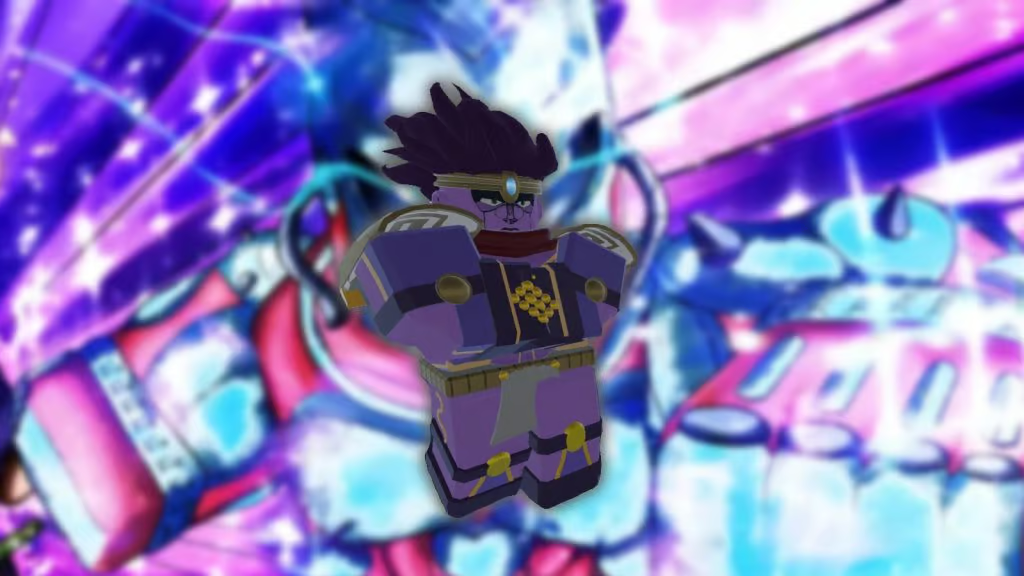
Star Platinum: The World: The Time Stop King
Why S-Tier: SPTW represents the pinnacle of time manipulation combined with raw damage output.
Core Strengths:
- Time Stop: Control over fight pacing and positioning
- Star Finger: Long-range poke with excellent combo potential
- Beatdown: Massive damage combo during time stop
- Enhanced Star Platinum Stats: Superior speed and power
Time Stop Mastery:
- Time stop → positioning → maximum damage beatdown
- Star Finger → combo starter → time stop extension
- Defensive time stop → escape → counter-pressure
Execution Demands: Requires precise timing and positioning to maximize time stop windows.
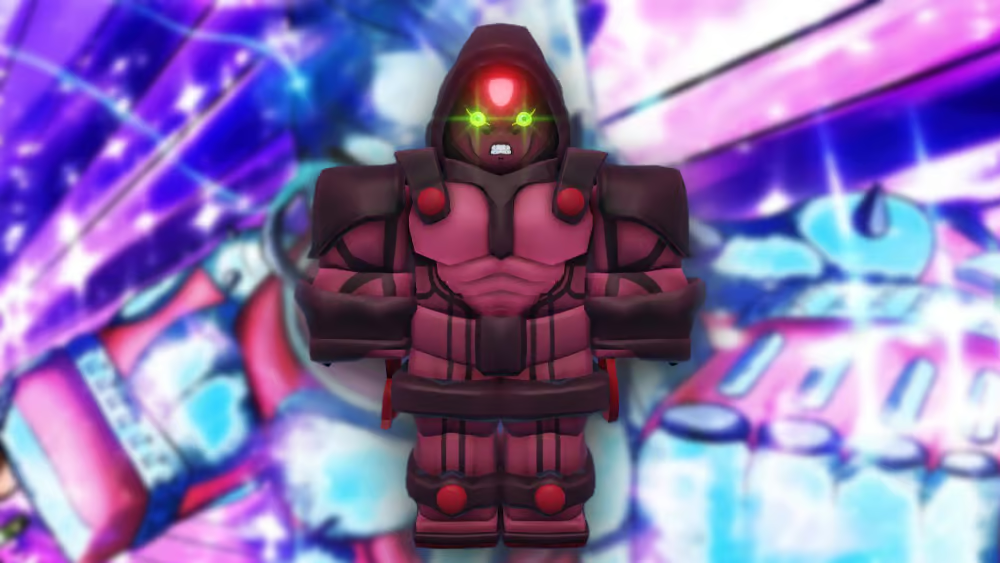
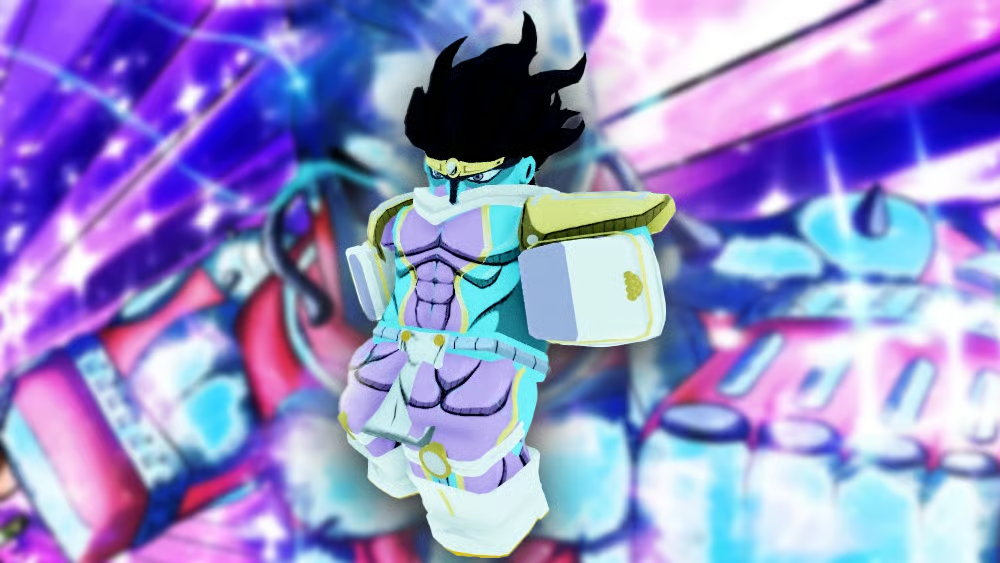
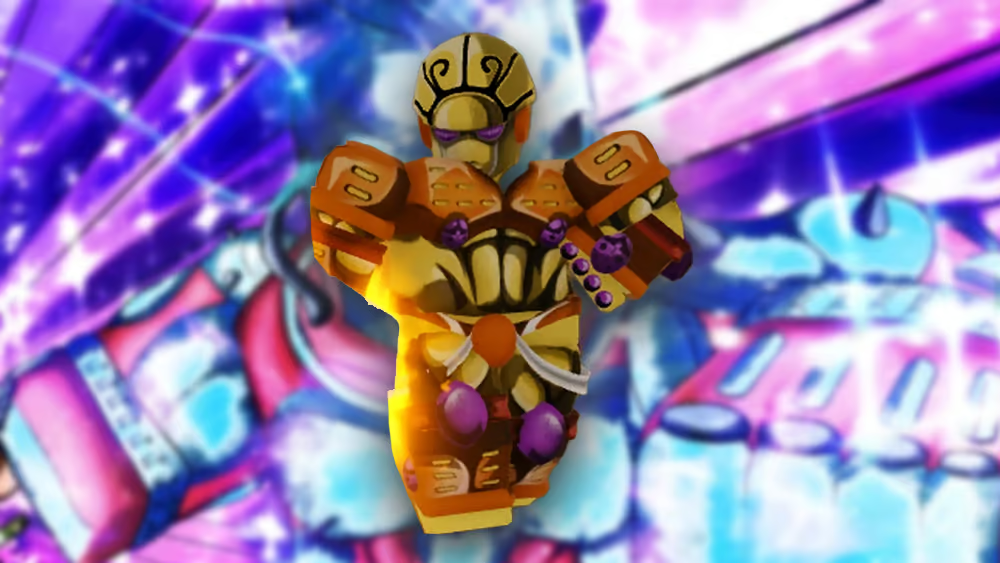
The World Over Heaven: The Reality Warper

Why S-Tier: TWOH’s reality overwrite mechanic is fundamentally unfair when properly utilized.
Core Strengths:
- Reality Overwrite: Massive healing combined with damage
- Time Stop: Classic time manipulation with enhanced duration
- Lightning Strikes: Long-range pressure with excellent damage
- Knife Barrage: Fast projectiles during time stop
Overwrite Strategies:
- Use reality overwrite for both offensive and defensive purposes
- Combine with time stop for guaranteed setups
- Lightning strikes provide safe pressure from range
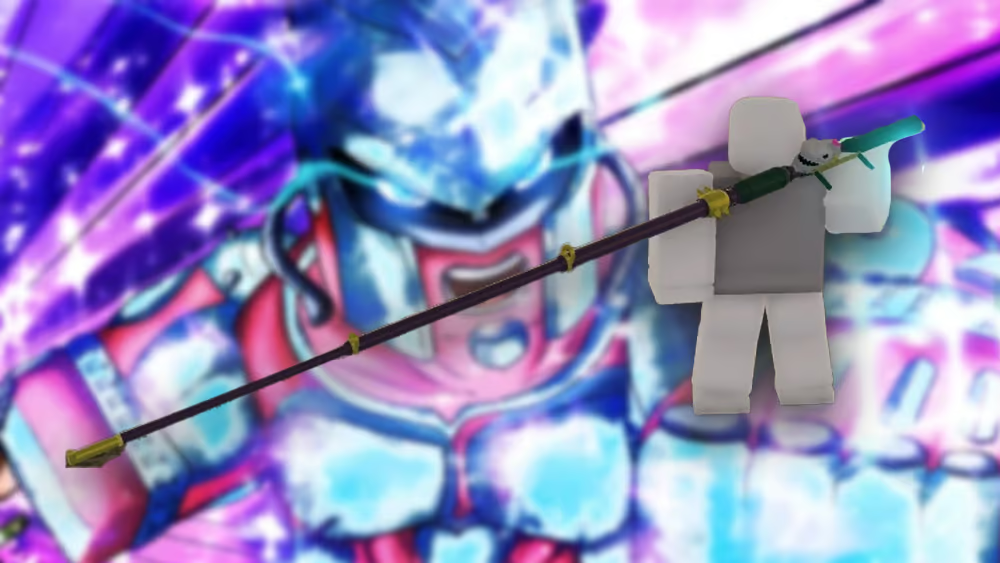
Tusk Act 4: The Range Dominator

Why S-Tier: TA4’s combination of mobility, damage, and range makes it nearly unstoppable when properly piloted.
Core Strengths:
- Infinite Rotation: Massive damage with piercing properties
- Wormhole Nails: Long-range harassment and combo starters
- Golden Spin: Ultimate that covers enormous areas
- Enhanced Mobility: Superior movement options
Range Control:
- Wormhole nails → space control → infinite rotation setup
- Golden spin → area denial → position advantage
- Mobility options → range maintenance → sustained pressure
A-TIER: THE RELIABLE PERFORMERS
A-tier Stands represent the backbone of YBA’s competitive scene. While not as dominant as S-tier, they offer excellent performance with proper execution and game knowledge.
Aerosmith: The Aerial Controller
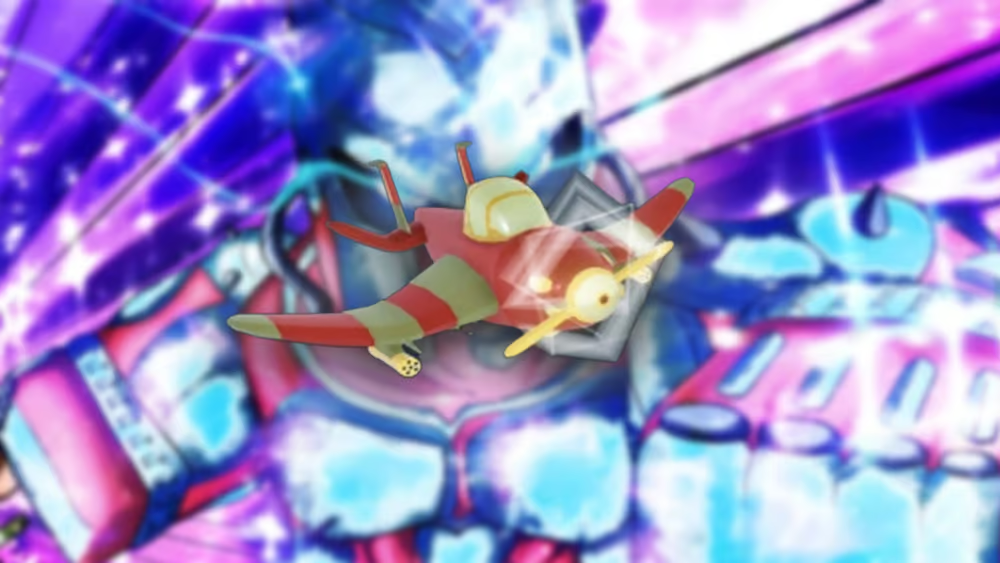
Strengths: Excellent zoning through pilot mode, good damage output, unique aerial mobility Weaknesses: Struggles in close quarters, vulnerable during pilot transitions Best Applications: Mid-range control, safe harassment, beginner-friendly zoning
Pilot Mode Mastery:
- Use aerial superiority to control engagement ranges
- Machine gun pressure forces opponents into disadvantageous positions
- Bomb drops provide area denial and combo opportunities
Anubis: The Counter-Attacker

Strengths: Excellent parry tools, good damage when counters land, deceptive range Weaknesses: Relies heavily on opponent mistakes, limited approach options Best Applications: Defensive play, punishing aggressive opponents, mind games
Counter Strategies:
- Parry → immediate punish combo
- Range manipulation through sword mechanics
- Defensive positioning → counter opportunity creation
Crazy Diamond: The Sustain Master
Strengths: Healing utility, wall creation for positioning, rage mode damage boost Weaknesses: Limited finishing power, predictable healing patterns Best Applications: Extended fights, team support, beginner learning
Wall Techniques:
- Create barriers to control opponent movement
- Use walls as combo extenders and reset tools
- Healing management to outlast opponents
Dirty Deeds Done Dirt Cheap: The Clone Master
Strengths: Clone mixups, revolver pressure, dimensional travel Weaknesses: Complex execution, overshadowed by Love Train version Best Applications: Confusing opponents, creating unpredictable situations
Gold Experience: The Utility Specialist
Strengths: Healing support, life creation abilities, solid damage output Weaknesses: Outclassed by Requiem version, limited defensive options Best Applications: Learning GER mechanics, team support, PvE content
King Crimson: The Risk/Reward King
Strengths: High damage potential, time skip utility, bleed mechanics Weaknesses: High execution requirements, punishable if predictable Best Applications: Aggressive playstyles, punishing defensive opponents
Blood Management:
- Bleed effects create pressure over time
- Time skip provides positioning advantages
- Requires precise execution for maximum effectiveness
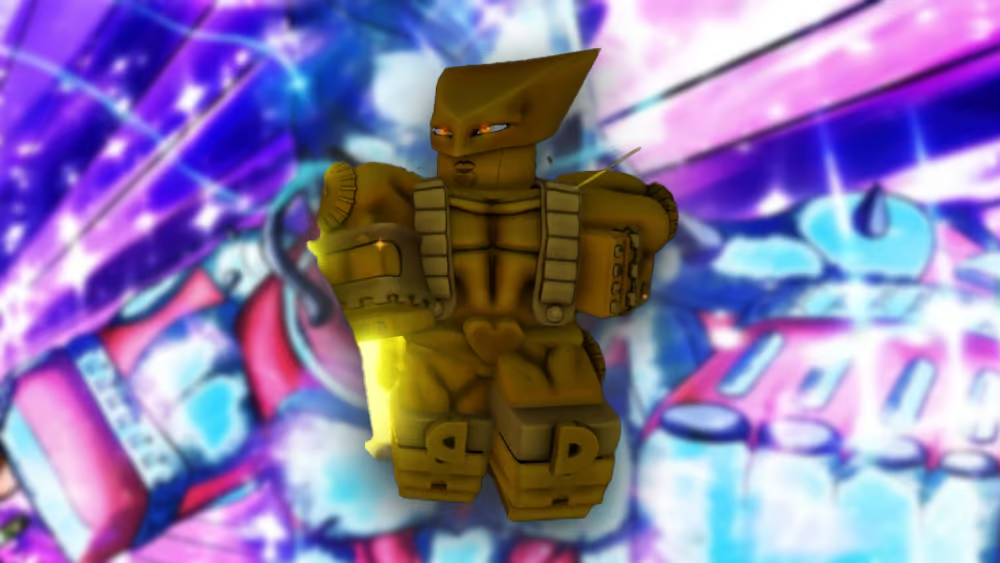
Red Hot Chili Pepper: The Speed Striker

Strengths: Fast attacks, electrical effects, good combo potential Weaknesses: Limited range, vulnerable to patient opponents Best Applications: Rush-down strategies, overwhelming slower opponents
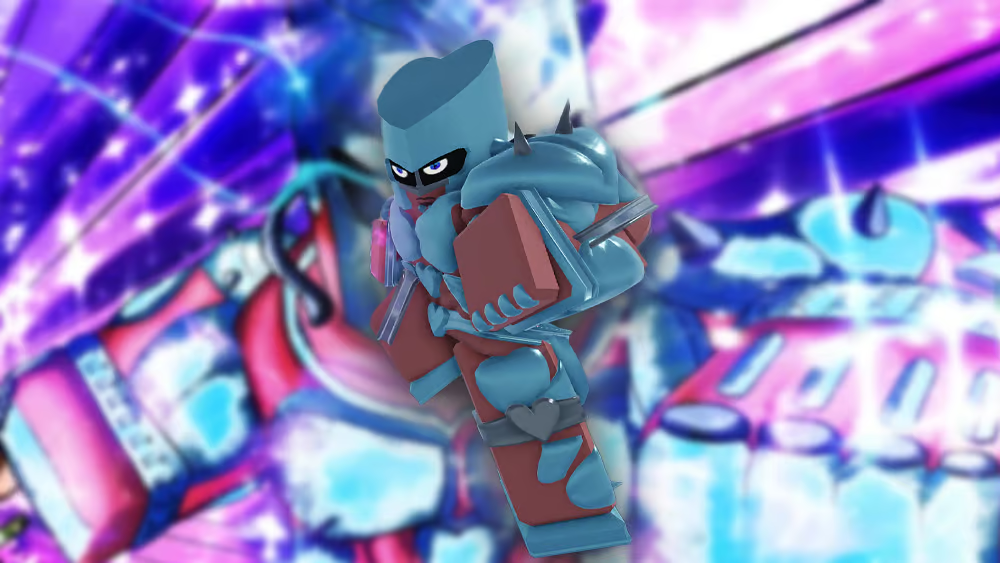
Scary Monsters: The Transformation Terror
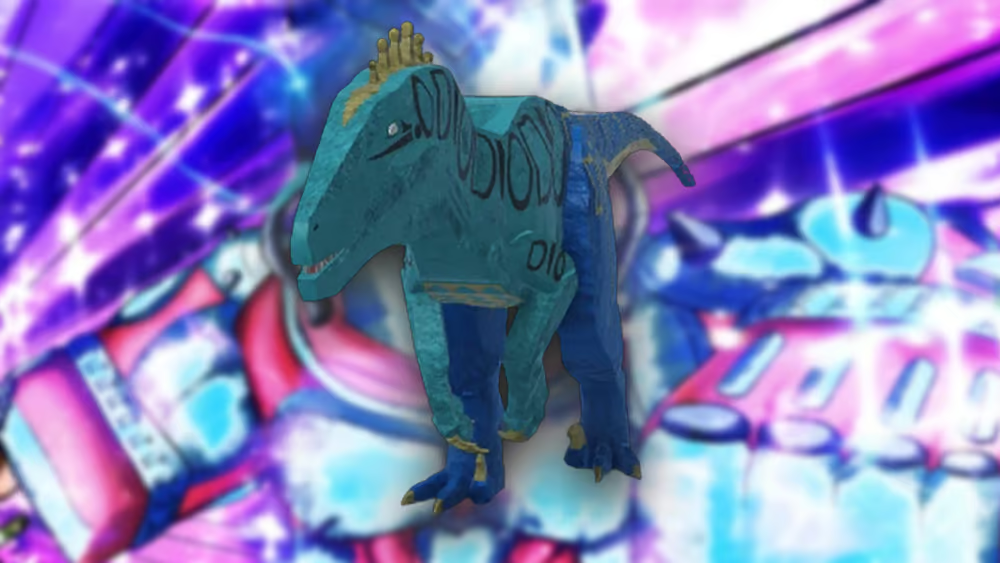
Strengths: Dinosaur transformation provides massive stat boosts, intimidation factor Weaknesses: Transformation timing vulnerabilities, predictable patterns Best Applications: Burst damage windows, psychological pressure
Sex Pistols: The Bullet Master
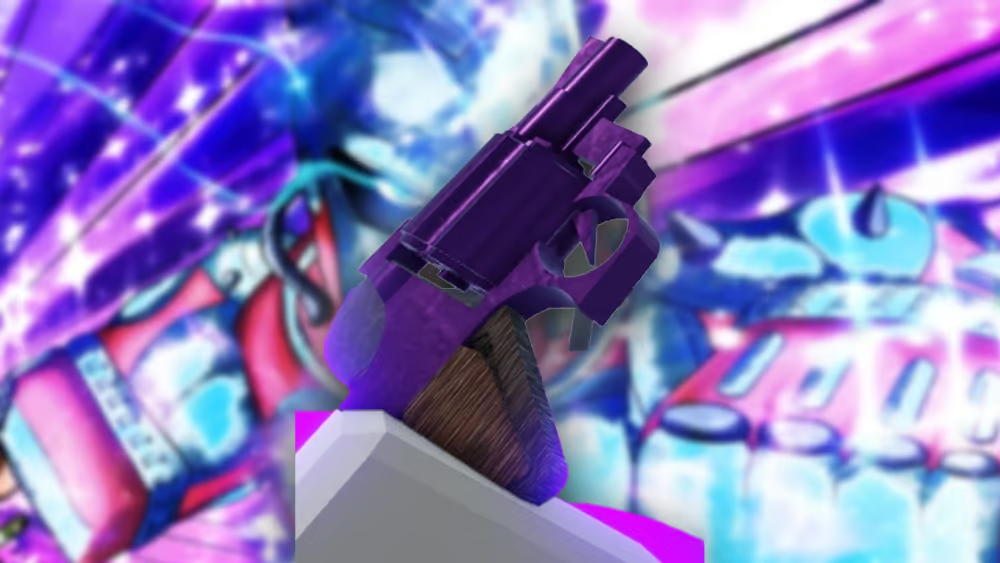
Strengths: Excellent zoning, bullet redirection mechanics, safe harassment Weaknesses: Limited close-range options, requires precise aim Best Applications: Keepaway strategies, controlling fight distance
Soft & Wet: The Versatility King
Strengths: Bubble mechanics offer incredible versatility, good in all ranges Weaknesses: Complex execution, overshadowed by Go Beyond version Best Applications: Learning bubble techniques, creative combo construction
Bubble Applications:
- Zoning through bubble placement and control
- Combo extensions via bubble manipulation
- Utility applications through plunder mechanics
Stone Free: The String Specialist
Strengths: Unique string mechanics, good range control, creative combo potential Weaknesses: Complex execution, requires matchup knowledge Best Applications: Creative players, unique strategy development
The World: The Time Stop Classic
Strengths: Reliable time stop, straightforward execution, good damage Weaknesses: Outclassed by The World Over Heaven, predictable patterns Best Applications: Learning time stop mechanics, consistent performance
The World (Alternate Universe): The Balanced Bruiser
Strengths: Well-rounded stats, reliable performance, good learning Stand Weaknesses: No standout strengths, can feel generic Best Applications: New players, fundamental skill development
Tusk Act 3: The Rotation Apprentice
Strengths: Good damage, nail mechanics, progression toward Act 4 Weaknesses: Outclassed by Act 4, limited unique identity Best Applications: Learning nail mechanics, progression Stand
B-TIER: SITUATIONAL SPECIALISTS
B-tier Stands can absolutely succeed in the right hands and situations, but they require more specific conditions or higher skill levels to compete with higher-tier options.
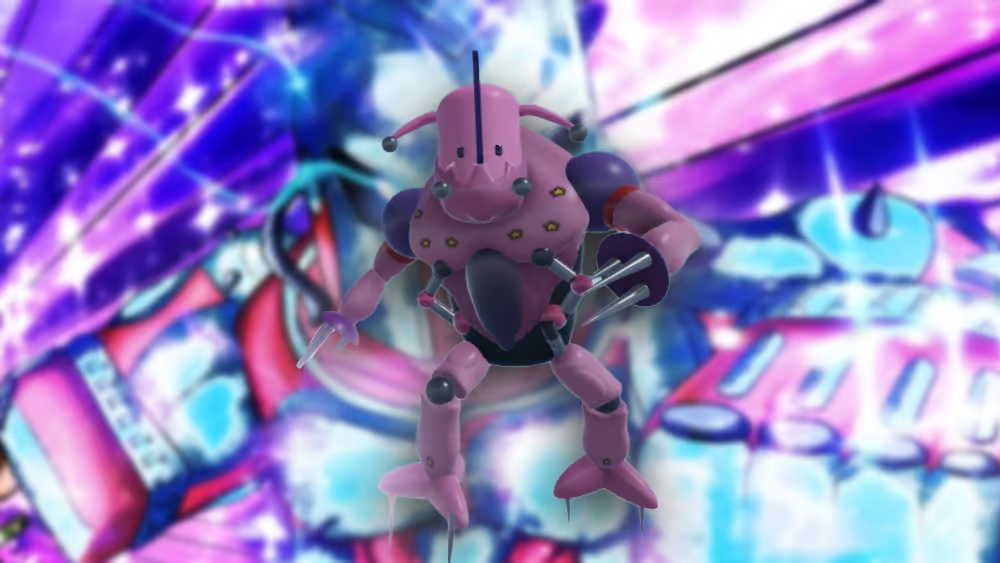
Cream: The RNG Warrior
Strengths: Massive burst damage potential, void mechanics create unique pressure Weaknesses: Highly RNG-dependent, inconsistent performance Best Applications: Cheese strategies, catching opponents off-guard
Void Mechanics:
- Cream’s void attacks can deal massive damage but are unpredictable
- Requires understanding of RNG patterns for optimal use
- Best used as surprise factor rather than consistent strategy
Purple Haze: The Jekyll and Hyde

Strengths: Rage mode transformation creates dangerous pressure, good intimidation Weaknesses: Normal mode feels underwhelming, transformation telegraphed Best Applications: Players who can manage transformation timing
Rage Optimization:
- Build rage through damage taken and dealt
- Time transformation for maximum impact
- Use rage mode to secure wins in close matches
Star Platinum: The Fundamental Teacher
Strengths: Teaches core YBA mechanics, reliable performance, straightforward execution Weaknesses: Outclassed by SPTW, limited unique identity Best Applications: New player education, skill development
The Hand: The Space Eraser
Strengths: Unique erase mechanic, good combo potential, intimidating presence Weaknesses: One-dimensional gameplay, predictable patterns Best Applications: Players who enjoy unique mechanics, surprise factor
Erase Strategies:
- Use space erasure for positioning advantages
- Erase can interrupt enemy combos and approaches
- Requires precise timing for maximum effectiveness
Tusk Act 2: The Nail Shooter

Strengths: Decent damage, nail mechanics, mobility options Weaknesses: Outclassed by later Acts, limited unique identity Best Applications: Progression Stand, learning nail fundamentals
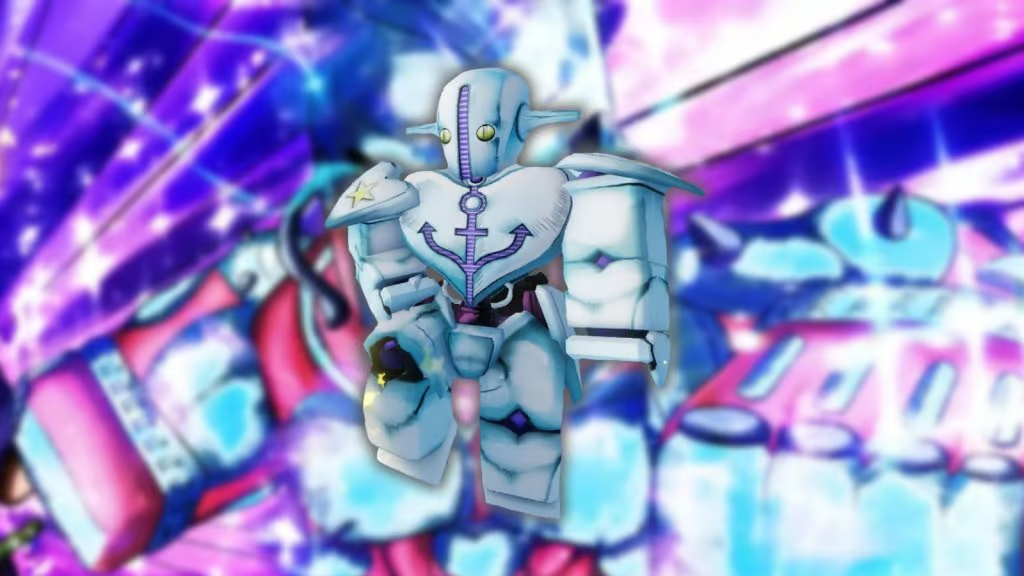
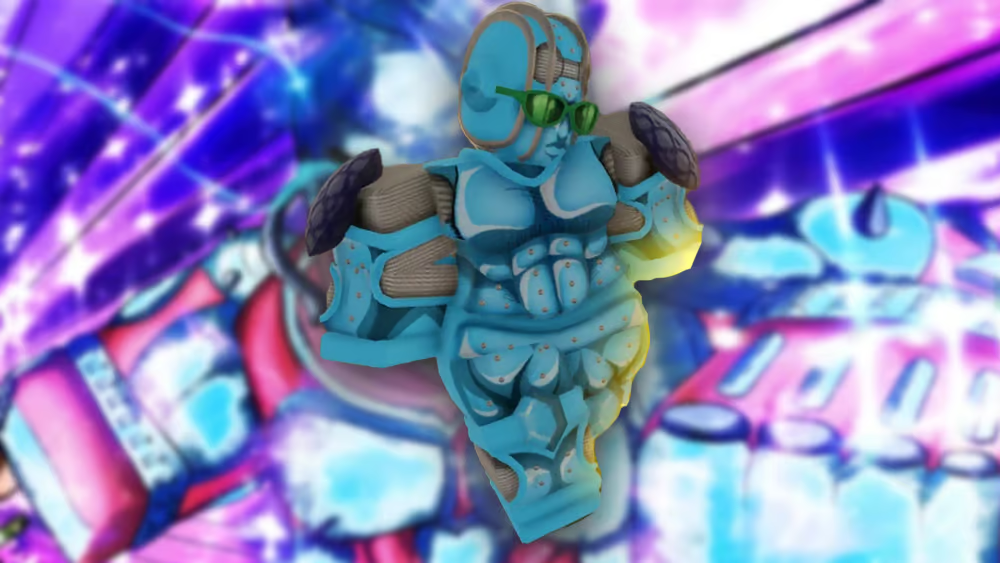
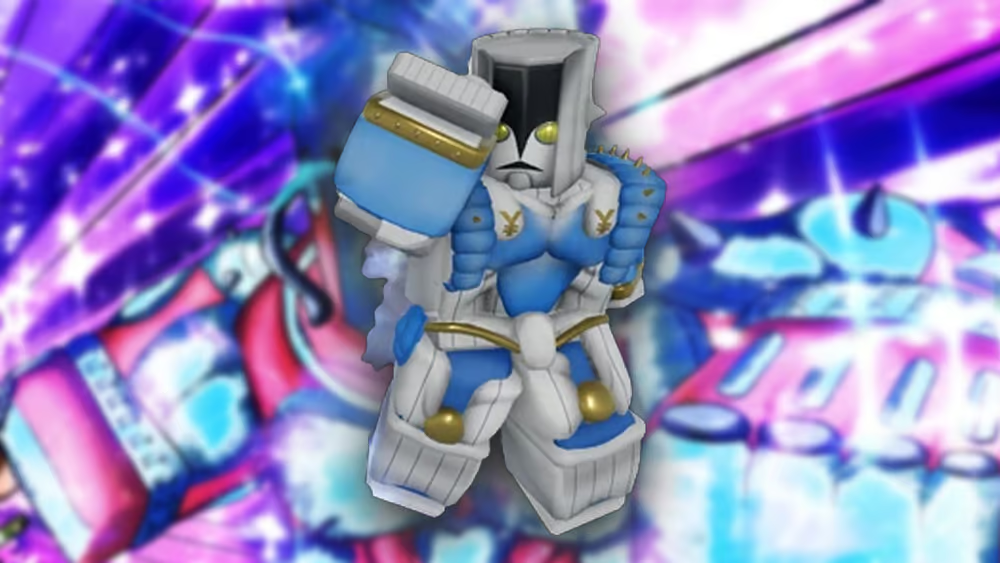
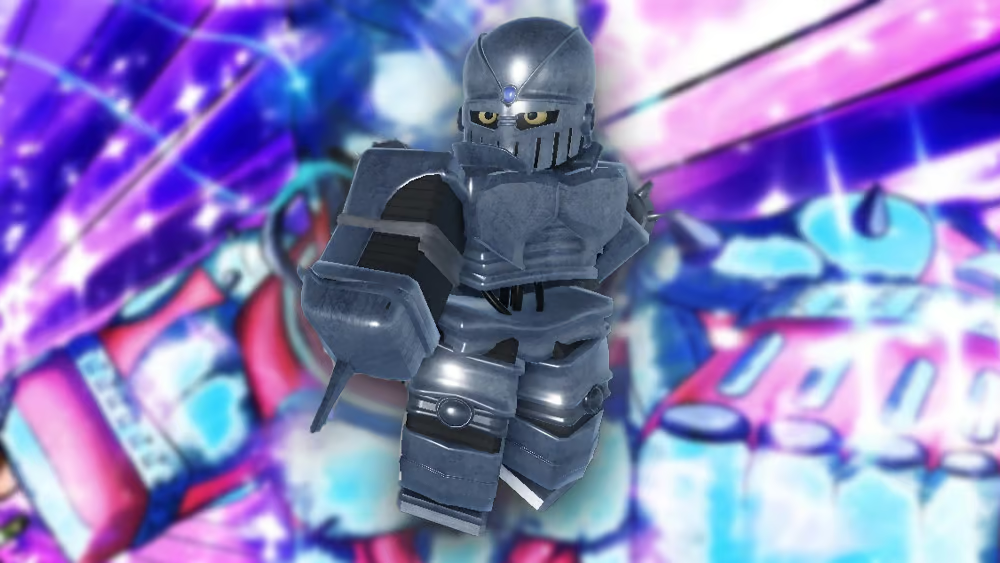
White Album: The Ice Tank
Strengths: Excellent survivability, ice mechanics provide unique control Weaknesses: Limited offensive options, slow movement Best Applications: Defensive players, surviving against aggressive opponents
Ice Control:
- Use ice to control opponent movement
- Ice armor provides damage reduction
- Requires patience and defensive mindset
Whitesnake: The Stand Stealer
Strengths: Unique Stand disc mechanics, can disable opponent abilities Weaknesses: Complex execution, situational effectiveness Best Applications: Players who enjoy unique mechanics, specific matchups
Disc Strategies:
- Steal opponent Stand discs to disable abilities
- Use stolen abilities against opponents
- Requires deep matchup knowledge for effectiveness
C-TIER: THE STRUGGLING SURVIVORS
C-tier Stands face significant challenges in the current meta but can still function with substantial player investment and favorable matchups.
Beach Boy: The Jank Master
Strengths: Unpredictable hitboxes can catch opponents off-guard Weaknesses: Inconsistent performance, easily countered by experienced players Best Applications: Surprise factor, players who enjoy unconventional strategies
Hermit Purple: The Utility Support

Strengths: Good utility with Hamon synergy, supportive abilities Weaknesses: Low damage output, outclassed in most scenarios Best Applications: Hamon builds, support roles in team fights
Hierophant Green: The Range Poker
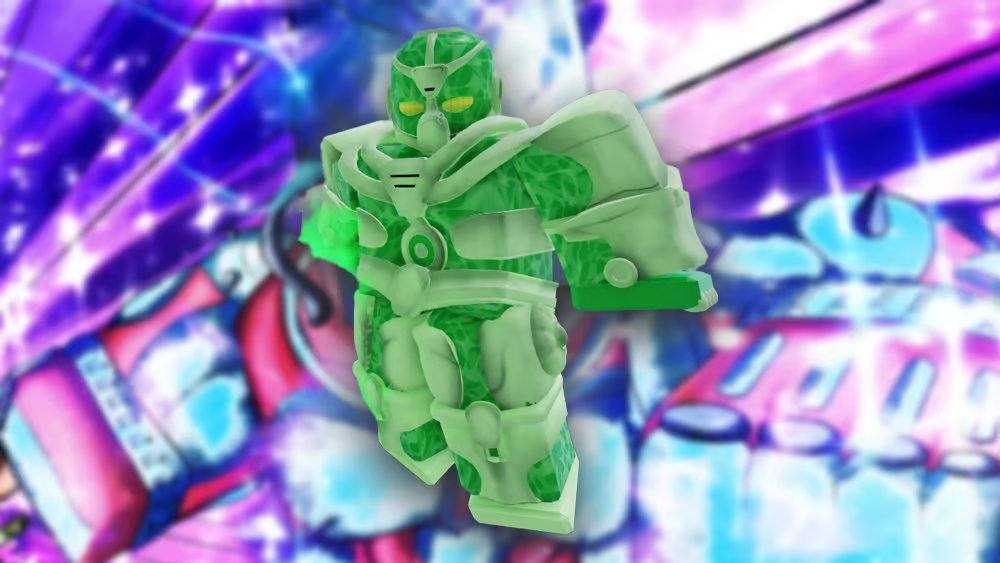
Strengths: Good range, emerald splash provides decent harassment Weaknesses: Low damage, predictable patterns, easily approached Best Applications: Learning range control, beginner zoning practice
Magician’s Red: The Fire Controller

Strengths: Fire-based attacks, Red Bind provides control options Weaknesses: Recent nerfs reduced effectiveness, limited finishing power Best Applications: Players who enjoy fire aesthetics, specific matchups
Mr. President: The Kidnap Specialist

Strengths: Unique kidnap mechanics can instantly delete opponents Weaknesses: Extremely situational, requires specific setups Best Applications: Meme strategies, catching overconfident opponents
Kidnap Setups:
- Room creation for kidnap opportunities
- Requires precise timing and positioning
- High risk, high reward gameplay style
Silver Chariot: The Speed Fighter
Strengths: Fast attacks, good mobility, flashy combos Weaknesses: Low damage output, lacks pressure tools Best Applications: Style points, learning fundamental mechanics
Sticky Fingers: The Zipper Master

Strengths: Unique mobility through zipper mechanics, creative potential Weaknesses: Low damage, complex execution for limited reward Best Applications: Creative players, unique strategy development
Zipper Applications:
- Use zippers for positioning and mobility
- Create unexpected approach angles
- Requires creativity and practice to optimize
D-TIER: AVOID IN COMPETITIVE
D-tier Stands are either fundamentally flawed or serve primarily as stepping stones to better options.
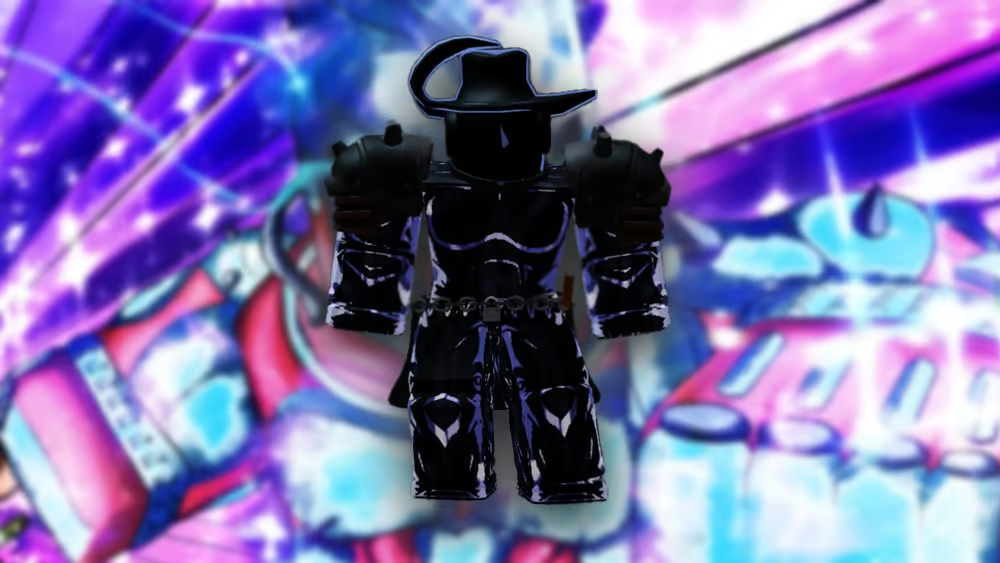
Dirty Deeds Done Dirt Cheap: Love Train
Why D-Tier: Despite the intimidating name, Love Train’s implementation is clunky and ineffective compared to base D4C.
Issues:
- Love Train barrier is easily bypassed
- Long activation time leaves you vulnerable
- Base D4C performs better in most situations
Killer Queen (Base)

Why D-Tier: Completely outclassed by Bites the Dust variant, with limited tools and poor damage scaling.
Problems:
- Sheer Heart Attack is easily avoided
- Bomb mechanics are predictable
- No reliable finishing options
Tusk Act 1

Why D-Tier: Purely a progression Stand with minimal competitive viability.
Understanding: TA1 exists solely to progress to higher Acts. It’s not meant for serious competitive play.
CHOOSING YOUR PERFECT STAND: STRATEGIC GUIDE
For Complete Beginners
Recommended: The World, Crazy Diamond, Star Platinum
These Stands teach fundamental YBA mechanics without overwhelming complexity:
- The World: Learn time stop timing and basic combos
- Crazy Diamond: Understand healing management and defensive play
- Star Platinum: Master basic attack patterns and movement
For PvP Climbers
Recommended: Star Platinum: The World, King Crimson Requiem, Gold Experience Requiem
S-tier options that offer different approaches:
- SPTW: High damage, time stop control
- KCR: Versatility and escape options
- GER: Ultimate safety and defensive play
For Creative Players
Recommended: Soft & Wet, Made in Heaven, Chariot Requiem
Stands that reward innovation and unique strategies:
- Soft & Wet: Bubble mechanics offer endless creativity
- Made in Heaven: Speed-based gameplay unlike anything else
- SCR: Map control and positioning mastery
For Defensive Players
Recommended: Gold Experience Requiem, White Album, The World Over Heaven
Focus on survival and counter-play:
- GER: Return to Zero for ultimate safety
- White Album: Tank through enemy pressure
- TWOH: Reality overwrite for sustain
For Aggressive Players
Recommended: Made in Heaven, Killer Queen: Bites the Dust, Tusk Act 4
High-pressure, constant aggression:
- MiH: Relentless speed-based pressure
- KQBTD: One-shot potential creates fear
- TA4: Range domination and mobility
ADVANCED STRATEGIES & META INSIGHTS
Understanding Matchups
The key to YBA success isn’t just knowing your Stand—it’s understanding how it performs against popular picks:
S-Tier vs S-Tier: Usually comes down to player skill and specific matchup knowledge S-Tier vs Lower Tiers: S-tier should win with proper execution Counter-Pick Scenarios: Some lower-tier Stands can surprise higher-tier opponents in specific matchups
Combo Theory
YBA combos follow general principles:
- Starter: Move that begins the combo (usually fast or has good range)
- Extender: Moves that continue the combo and build damage
- Finisher: High-damage move that ends the combo
Positioning Fundamentals
- Center Stage: Control the middle of the map for maximum options
- Wall Play: Use walls for extended combos and resets
- Range Management: Maintain optimal distance for your Stand’s tools
Mental Game
YBA is as much mental as mechanical:
- Adaptation: Change your strategy based on opponent patterns
- Patience: Wait for optimal opportunities rather than forcing interactions
- Confidence: Believe in your Stand’s capabilities and your own skill
META PREDICTIONS & FUTURE OUTLOOK
Expected Nerfs
Based on community feedback and developer patterns:
- Time Stop Mechanics: Likely to see duration or damage reductions
- One-Shot Combos: KQBTD and similar instant-kill setups may be toned down
- Passive Abilities: SCR and similar passive effects might see adjustments
Buff Candidates
Underperforming Stands likely to receive improvements:
- Silver Chariot: Damage buffs to make it more competitive
- Hermit Purple: Utility improvements or damage increases
- Beach Boy: Consistency improvements to reduce RNG frustration
New Stand Integration
Future JoJo Stand additions will likely:
- Fill gaps in current meta
- Introduce new mechanics and counters
- Potentially shift tier rankings significantly
CONCLUSION: MASTERING YBA’S STAND SYSTEM
The key to YBA success isn’t just picking the highest-tier Stand—it’s finding one that matches your playstyle and mastering its intricacies. S-tier Stands offer the best competitive potential, but skilled players can find success with almost any Stand through dedication and understanding.
Remember these core principles:
- Master fundamentals first before attempting complex Stands
- Understand your Stand’s role in different matchups
- Practice consistently to build muscle memory and game sense
- Adapt your strategy based on opponent behavior and meta shifts
- Stay positive and learn from both wins and losses
Whether you’re grinding through Story Mode, climbing ranked ladders, or just having fun with friends, understanding each Stand’s strengths and weaknesses gives you the knowledge needed to succeed. The meta will continue evolving, but solid fundamentals and deep Stand knowledge will always be valuable.
What matters most is finding a Stand you enjoy playing and putting in the time to master it. Every Stand in YBA has potential in the right hands—even if some require more effort than others to reach that potential.
Good luck on your bizarre adventure, and may your Stand carry you to victory!