Want to snap epic pics in Donkey Kong Bananza? Here’s how to activate Photo Mode, use its filters and controls, and capture dynamic DK moments with style.
Say Banana! A Look at DK Bananza’s Photo Mode
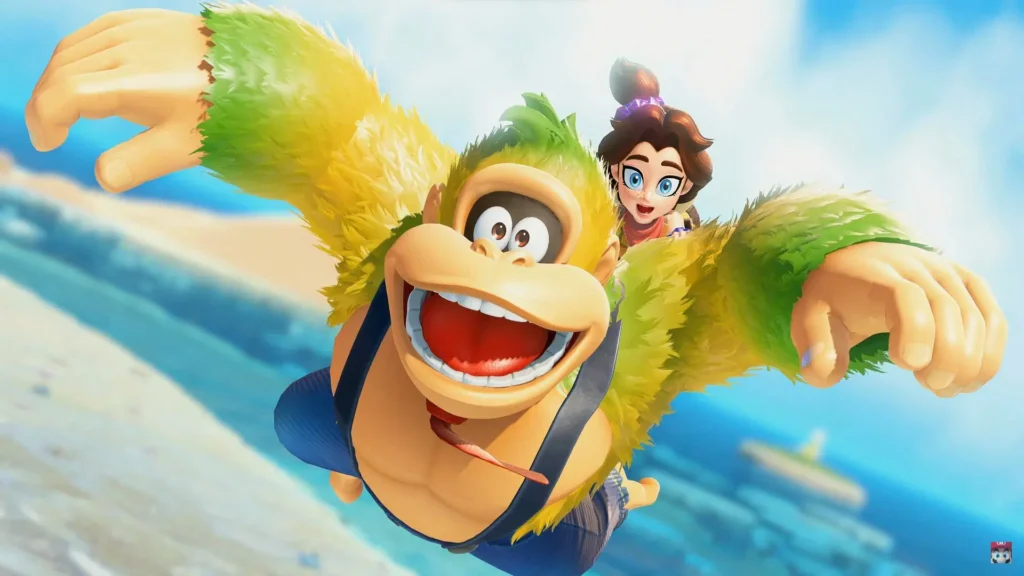
Let’s be real — Donkey Kong Bananza is full of chaotic charm and screenshot-worthy moments. Whether it’s DK pulling goofy faces mid-air, Pauline dropping vocals mid-battle, or just the breathtaking underground layers glowing like a banana rave… sometimes you just gotta pause the action and hit that shutter.
Good news: the game ships with a built-in Photo Mode that’s simple to use, decently customizable, and great for making your underground adventures look like they belong in a DK coffee table book.
Here’s how to use it, what you can (and can’t) do, and some tips for snapping the perfect jungle shot.
How to Activate Photo Mode in DK Bananza
Getting into Photo Mode is super easy:
Press the Down button on the D-Pad during exploration and voilà — you’re in full camera mode.
No menus, no fuss. Whether you’re running around a layer or mid-banana haul, just tap down and freeze the moment.
Heads-up: Photo Mode won’t work during certain cutscenes. So no, you can’t clean-screenshot every dramatic DK moment just yet.
What You Can Do in Photo Mode
While it’s not the most advanced camera system in gaming history, Donkey Kong Bananza‘s Photo Mode still gives you some solid tools:
- Adjust the camera angle & focus
Frame up DK, Pauline, enemies, or those glorious particle effects however you want. - Apply built-in filters
Scroll through visual presets with Left/Right on the D-Pad to vibe-check your screenshots. - Toggle HUD on/off
Press A to clean up the screen for that professional touch. - Hide characters
Press Y to remove DK and Pauline entirely — perfect for snapping those scenic underground vistas. - Tilt, zoom, and logo control
- ZL/ZR = Zoom in/out
- L/R = Rotate the camera (angle those shots!)
- X = Add/remove the DK Bananza logo (for that Nintendo Direct energy)
- ZL/ZR = Zoom in/out
What You Can’t Do (Yet, Sadly)
- ❌ No pose control – You can’t manually change DK or Pauline’s expressions or animations.
- ❌ No cutscene mode – Most major story scenes are off-limits for HUD-free photography.
- ❌ Limited camera movement in tight spaces – If you’re in a cave or tight tunnel, the camera might hit some walls.
But hey — that just means more creative challenge, right?
Pro Tip: Perform Before You Pose
Wanna level up your shots? Here’s a trick:
Make DK do something BEFORE you activate Photo Mode.
Try:
- Jumping mid-air
- Punching or charging up
- Tossing a Boom Bomb
- Doing a transformation drumbeat
The game will freeze DK’s exact expression and pose when you hit Photo Mode, making for more dynamic and expressive screenshots. Forget static idle poses — you’re making art here.
Full Photo Mode Controls Cheat Sheet
| Button | What It Does |
| A | Toggle HUD |
| ZL / ZR | Zoom in / out |
| L / R | Tilt camera |
| X | Add/remove DK Bananza logo |
| Y | Hide DK & Pauline |
| D-Pad Left/Right | Cycle filters |
| B | Exit Photo Mode |
| Capture Button | Snap the pic! |
Final Thoughts: Go Bananas With Your Shots
Photo Mode in Donkey Kong Bananza might not have a million bells and whistles, but it’s still a super fun way to capture the wild beauty (and ridiculousness) of DK’s underground journey. Whether you’re chasing aesthetic screenshots or just want to immortalize that one time you yeeted a Fractone off a cliff — the tools are there.
So hit that D-Pad, flex those filters, and remember:
Every great adventure deserves a photo album. Even one full of exploding barrels and talking rocks.
Also check:
The Salvager’s Stash: How to Grab the Hidden Banana Below the Shop in DK Bananza
How to Find the Hidden Banana in Nostalgia Country – Donkey Kong Bananza Guide
Donkey Kong Bananza: How to Respec Skills (And Where to Find Every Elder)