Complete the Hydro-Puzzle quest in Dying Light: The Beast with our detailed walkthrough. Find safe combinations, navigate sewers, and rescue the Chief Engineer’s family.
The Hydro-Puzzle quest is one of those side missions that starts simple but quickly becomes a complex investigation that’ll have you crawling through zombie-infested sewers and solving environmental puzzles. What begins as a routine water supply check turns into a desperate rescue mission that tests both your problem-solving skills and combat prowess.
This isn’t just another fetch quest – it’s a multi-layered adventure that combines detective work, safe-cracking, and some genuinely tense moments in the underground tunnels of Castor Woods. Let me guide you through every twist and turn of this water crisis mystery.
Why the Hydro-Puzzle Quest Is Worth Your Time
Before we dive into the walkthrough, here’s why you should prioritize this secondary quest:
- Substantial XP reward (10,000 XP upon completion)
- Unique equipment including the Bruiser Bracer
- Manual Pages for weapon upgrades
- Environmental storytelling that adds depth to the world
- Multiple safe combinations with valuable loot
- Satisfying rescue narrative with real emotional stakes
Personal insight: This quest perfectly captures what makes Dying Light: The Beast special – it takes a mundane problem (water supply issues) and transforms it into a gripping story about survival and human connection during the apocalypse.
Prerequisites and Quest Activation
When Hydro-Puzzle Becomes Available
You can’t just stumble into this quest – it requires specific story progression:
Required: Complete the Power Gambit main story quest Trigger: Activate the first Relay Station (located east of Town Hall) Contact: Pietro calls through comms requesting help
Story context: Pietro has been monitoring various infrastructure systems around Castor Woods, and the water supply has been acting erratically. What starts as routine maintenance quickly evolves into something much more significant.
If you need help with the Power Gambit quest or other main story missions, make sure to complete those first before expecting Pietro’s call.
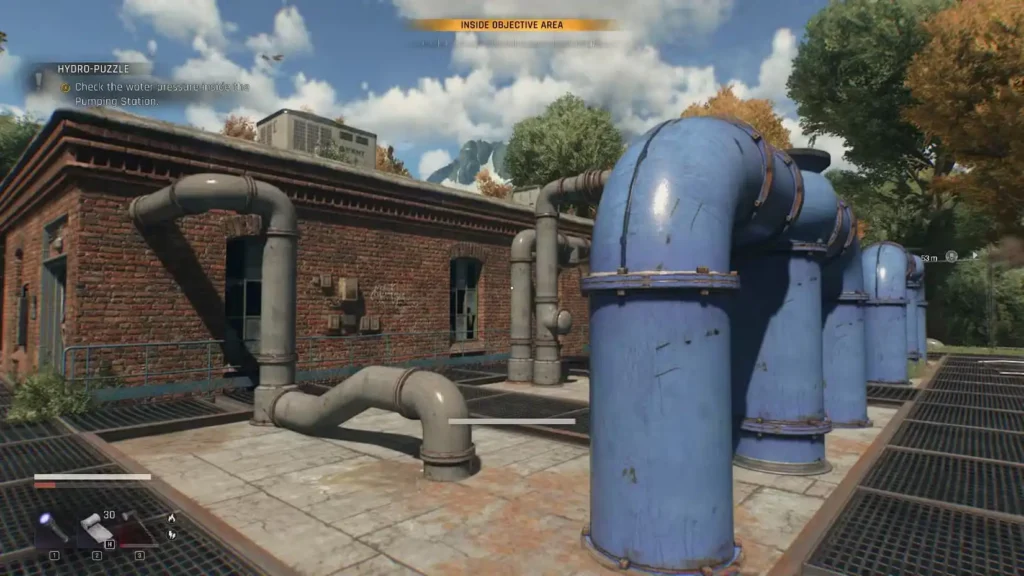
Phase 1: Water Pumping Station Investigation
Finding and Entering the Facility
Your first stop is the Water Pumping Station in the Old Villa area. The building isn’t immediately accessible – you’ll need to find an alternative entrance since the main doors are likely blocked or locked.
Navigation tip: Look for signs of structural damage or alternative entry points. Zombie-infested buildings often have breaches that weren’t there before the outbreak.
Dealing with the Infested
Once inside, you’ll encounter Infested blocking access to the water pump controls. Here’s how to handle this efficiently:
- Clear systematically rather than rushing toward the objective
- Use the environment – pumping stations have plenty of objects to use as weapons
- Watch for ambush spots – infected love hiding around industrial equipment
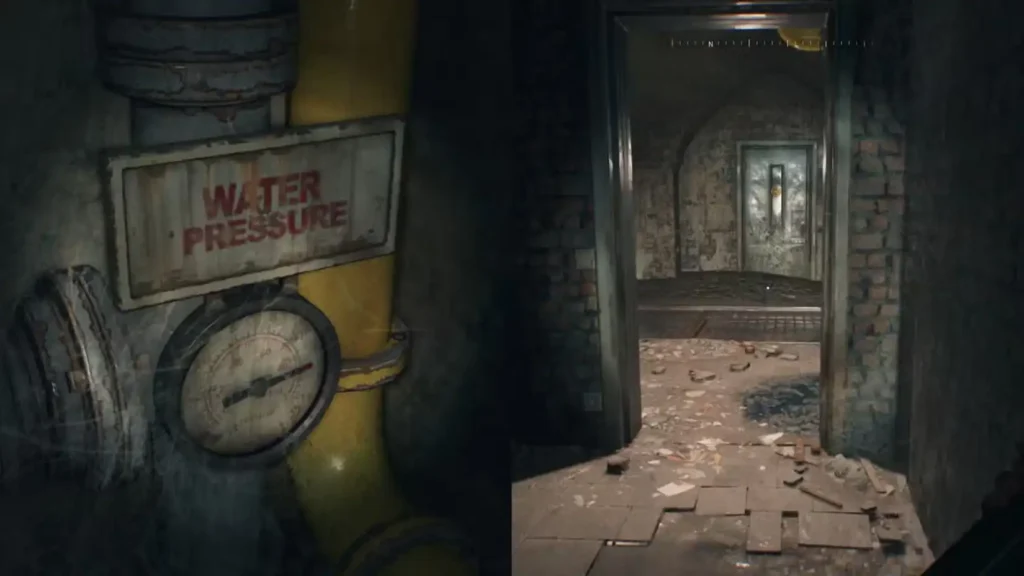
Operating the Water Controls
After clearing the area, interact with the valves and check the pressure gauge. This is where many players expect to find the solution, but Pietro and Kyle’s radio conversation reveals the problem lies elsewhere.
Puzzle insight: The water pressure readings are normal at this station, which means the issue is upstream in the distribution system. This is your first clue that this investigation is going to be more complex than initially expected.
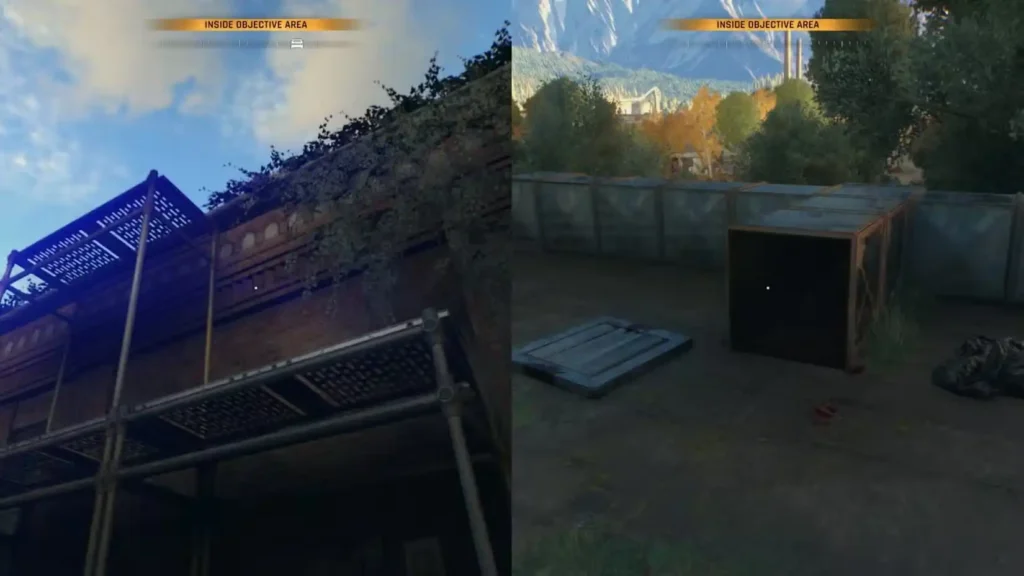
Phase 2: Water Repairs Facility Infiltration
Alternative Entry Strategy
The Water Repairs Facility requires some creative problem-solving to access. Instead of looking for a front door, focus on vertical exploration:
Entry method:
- Climb the scaffolding adjacent to the building
- Access the terrace from the elevated position
- Enter through the open air duct – this bypasses the blocked main entrances
Parkour tip: This is a good opportunity to practice your climbing skills if you’re still getting comfortable with Dying Light’s movement system. Take your time and plan your route up the scaffolding.
First Safe Combination: Office Safe
Once inside and after dealing with the infected, you’ll find a small office containing a safe. This is your first major loot opportunity:
Safe Combination: 27 – 1 – 15 Contents:
- Valuable items for trading
- Key to Chief Engineer’s Office (essential for progression)
Loot strategy: Don’t just grab and go – explore the entire office area for additional supplies and crafting materials.
Chief Engineer’s Office Investigation
Use the key to access the Chief Engineer’s Office and witness an important cutscene. The conversation between Pietro and Kyle reveals that the Water Network Map points to the next location: the Sewer Maintenance Point.
Story development: This is where the quest shifts from routine maintenance to detective work. The map suggests the problem is centralized in the underground distribution system.

Phase 3: Underground Sewer Exploration
Getting to the Sewer Entrance
Pro tip: Pick up the Castor Woods Ranger truck near the facility – it’ll save you time getting to the sewer entrance near Town Hall.
The sewer entrance is clearly marked once you’re in the right area. Look for the distinctive maintenance access point that leads down into the underground tunnel system.
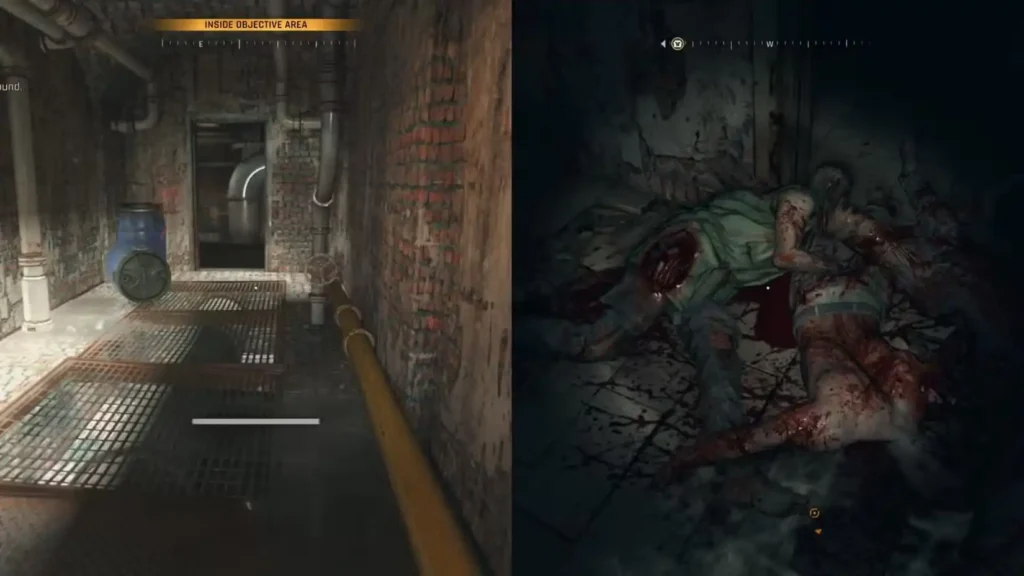
Following the Yellow Pipe System
Once underground, your primary navigation tool becomes the yellow pipe system. These pipes are your lifeline through the maze-like sewer network:
Navigation strategy:
- Stay close to yellow pipes – they lead to critical areas
- Use the pipes as landmarks when the tunnel system gets confusing
- Listen for audio cues – you’ll hear rhythmic sounds that indicate human presence
Combat consideration: The sewers are crawling with infected, but don’t feel obligated to clear every single zombie. Focus on the path forward unless enemies are directly blocking your progress.
Second Safe: UV Light Puzzle
In a small office deep in the sewers, you’ll find a note mentioning that the safe combination can be revealed with a “special lantern.” This refers to your UV Light.
Puzzle solution:
- Point your UV Light at the wall where the note is located
- The hidden code appears: 21 – 69 – 35
- Safe contents: Valuables and a Medkit
UV Light tip: This mechanic appears in other parts of Dying Light: The Beast, so remember that your UV light can reveal hidden messages and clues beyond its primary function of weakening certain infected.
Phase 4: The Rescue Mission Discovery
Finding the Source of the SOS
Continue following the yellow pipes until you reach a large area heavily populated with zombies. This is where the quest takes an emotional turn – you’ll discover that the rhythmic sounds weren’t random noise but an actual SOS signal.
Combat strategy for the large area:
- Clear systematically from one side to the other
- Use elevated positions when available
- Watch for environmental hazards like electrical cables and water
The Chief Engineer’s Family
On the upper level, you’ll find the Chief Engineer and his family who have been surviving in the sewer maintenance room. The revelation that he deliberately cut the water supply to attract rescue attempts is both ingenious and heartbreaking.
Story payoff: This moment transforms the entire quest from a technical problem into a human rescue story. The Engineer’s desperate gambit to save his family adds emotional weight to your efforts.
Phase 5: Clearing the Escape Route
Final Combat Section
Your last objective is to clear a safe path for the family to escape. This section has some unique hazards:
Environmental dangers:
- Electric cables in water puddles – instant death if you step wrong
- Dense infected populations requiring strategic combat
- Narrow passages that can trap you if you’re not careful
Safety strategy:
- Identify electrical hazards before engaging enemies
- Use ranged attacks when possible to avoid water hazards
- Clear completely – you can’t risk the family encountering enemies on their escape route
Mission Completion and Rewards
Once you successfully clear the escape path, the Town Hall survivors arrive to escort the Engineer’s family to safety. Your efforts are rewarded with:
- 10,000 XP – substantial progression boost
- Bruiser Bracer – unique equipment piece
- 2x Beginner Manual Pages – weapon upgrade materials
Reward analysis: The XP alone makes this quest worthwhile, but the Bruiser Bracer is particularly valuable for players focusing on melee combat builds.
Advanced Tips for Quest Efficiency
Resource Management
- Bring extra healing items before entering the sewers
- Stock up on UV light batteries for the puzzle sections
- Carry lockpicking tools for additional containers you might find
Combat Optimization
- Practice environmental awareness for the electrical hazards
- Master UV light usage beyond just the puzzle – it’s useful in sewer combat
- Prioritize mobility over heavy equipment in tight sewer spaces
Exploration Benefits
- Check every office and side room for bonus loot
- Look for additional safe combinations you might have missed
- Collect crafting materials while following the main quest path
How This Quest Fits Your Overall Progression
The Hydro-Puzzle quest works perfectly as a mid-game challenge that bridges the gap between early survival and late-game content. The XP reward can help you unlock crucial skills for progression, while the equipment rewards complement your growing arsenal.
Strategic timing: Complete this quest after you’re comfortable with basic combat but before you need high-level equipment for end-game content. It’s an excellent difficulty bridge.
Essential Resources for Your Adventure
Official Game Information:
- Official Dying Light: The Beast Website
- Steam Store Page
- PlayStation Store
- Xbox Store
Related Quest and Progression Guides:
- XP Farming Guide for Fast Leveling
- Money Farming Methods for Equipment
- Cable Guy Quest Power Restoration
- Complete Beginner Survival Tips
The Hydro-Puzzle quest represents everything great about Dying Light: The Beast’s side content – it starts with a simple premise but evolves into a complex, emotionally satisfying adventure that tests multiple skills. From puzzle-solving to combat to environmental navigation, you’ll use every tool in your survival kit to save a family that refused to give up hope.
Remember, in the zombie apocalypse, sometimes the most heroic thing you can do is fix the plumbing – even when it leads you into the darkest corners of the world.