Master the tricky Library Tower climb in Dying Light: The Beast. Learn the exact route, clock puzzle solution, and power restoration steps to unlock this crucial safe zone.
Your Next Haven Awaits – But It Won’t Be Easy
Safe zones in Dying Light: The Beast are absolute lifesavers when night falls and the infected become exponentially more dangerous. The Library Tower represents one of the more challenging safe zones to unlock, not because of overwhelming enemy numbers, but due to its puzzle-like climbing sequence that has left many players scratching their heads.
Unlike straightforward safe zones where you simply clear enemies and flip a switch, the Library Tower demands parkour precision, spatial awareness, and a bit of mechanical know-how. But once you crack the code, you’ll have a strategic safe house positioned perfectly for exploring the surrounding areas.
Why the Library Tower Matters
Before diving into the how-to, let’s talk about why this particular safe zone is worth the effort:
- Strategic location – Positioned to cover multiple quest areas efficiently
- High vantage point – Perfect for scouting surrounding areas and planning routes
- Emergency refuge – Critical for survival if you’re caught out during nighttime
- Loot accessibility – Several valuable resource spots nearby once you’ve secured the area
The climbing challenge here also serves as excellent practice for later game areas that demand similar parkour problem-solving skills.
Getting Started: Finding Your Entry Point
The Library Tower compound can seem intimidating at first glance, but there are multiple ways to reach the rooftop level where your real journey begins.
Entry Route Options:
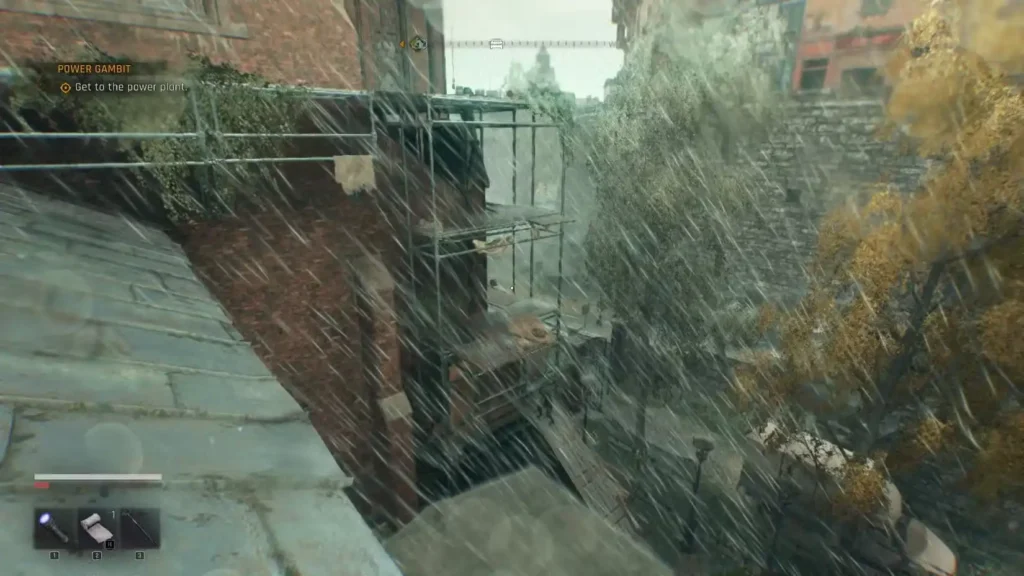
Method 1 – Scaffolding Approach:
- Look for construction scaffolding within the library compound
- Use the scaffolding as stepping stones to reach roof level
- This is typically the most obvious and beginner-friendly route
Method 2 – Ledge Climbing:
- Scan the building exterior for climbable ledges and pipes
- Chain together multiple climbing points to reach an open window
- Requires more parkour confidence but often faster
Pro tip: Before starting your climb, clear any ground-level enemies first. You don’t want surprises dropping down on you mid-parkour sequence. Check our beginner survival guide for combat basics if you’re still learning the ropes.
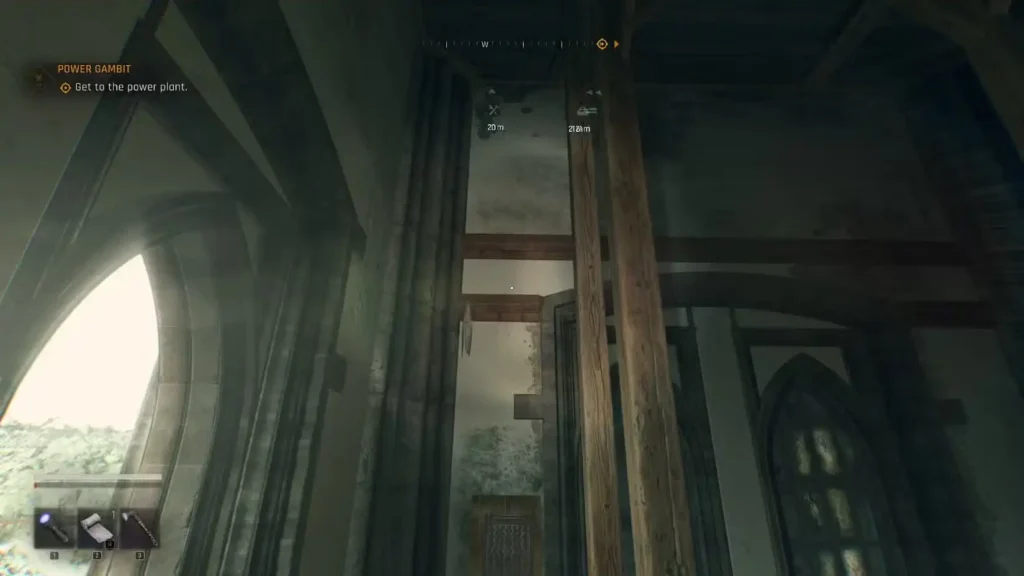
The Interior Climb – Where Things Get Tricky
Once inside through a rooftop window, you’ll immediately notice the challenge: a locked door blocking obvious progression and no apparent way up to the safe room. This is where the game tests your observation skills and parkour creativity.
Phase 1: The Initial Ascent
Starting the Vertical Journey:
- Locate the metal grate leaning against some plywood near the entrance
- Position yourself for a jump toward the wooden beams above the grate
- Critical timing: You may need to hold or press jump again as you contact the plywood to initiate a wall run
- This mechanic appears frequently throughout the game, so mastering it here pays dividends later
Once you reach the upper floor, take the stairs down and unlock the gate – this creates a shortcut for future visits and gives you an escape route if things go wrong.
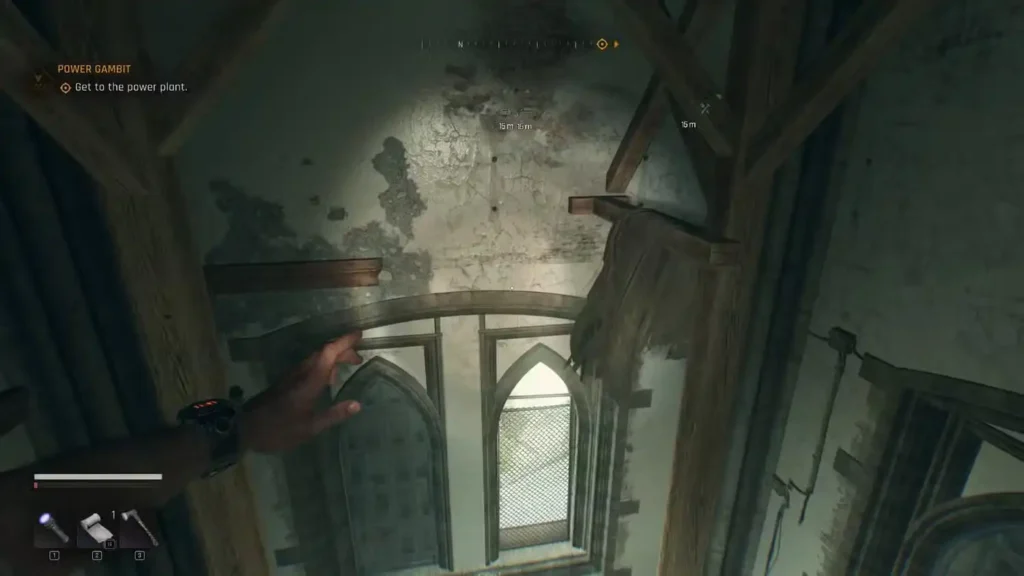
Phase 2: The Red Brick Navigation
This section separates beginners from experienced players. You’ll need to follow wooden beams to a window, but resist the temptation to go outside.
The Correct Path:
- Look for red brick ledges along the interior walls
- These bricks provide shimmy points for horizontal traversal
Route Choice – Pick Your Comfort Level:
Conservative Route:
- Follow the red brick ledge completely until you spot a wooden beam with grey cloth
- Jump to the grey cloth beam first
- Then jump to the adjacent beam with red cloth
Direct Route (Advanced):
- From the red brick ledge, jump directly to the wooden beam with red cloth
- Aim specifically for the edge closest to your position
- Requires more precise timing but saves movement
The Clock Chamber Puzzle – The Real Challenge
Here’s where most players get stuck. The clock chamber features the game’s most complex safe zone puzzle, combining electrical work with precise timing and parkour execution.
Understanding the Mechanism
The clock chamber contains multiple clock gears, but you need to focus on the clock gear with the long arm. Your goal is to position this arm at the 12 o’clock position to create a climbable path to the safe house above.
Step-by-Step Solution:
Power Connection Phase:
- Grab a power cord from the available supplies
- Attach it to a nearby junction box
- Connect the other end to the junction box next to the target clock gear
- Important: This is specifically the gear with the long arm, not just any clock mechanism
Timing Phase:
- Watch the long arm rotate (the power makes it move)
- Wait patiently for the arm to reach the 12 o’clock position
- Immediately detach the power cable when it hits 12 o’clock
- The arm will stop in this position, creating your climbing route
The Final Ascent:
- While still holding the power cord, climb onto the maintenance cabinet in the chamber center
- Jump toward the now-stationary clock gear arm
- Use the arm as a swing point – build momentum by swaying your body
- Launch toward the wooden beams near the ceiling
- Follow the beams up to reach the safe house
Critical insight: The maintenance cabinet positioning is key. Many players try to jump directly from the floor and miss the angle needed to grab the clock arm effectively.
Securing Your New Safe Zone
Once you reach the safe house level, you’re almost done, but don’t let your guard down yet.
Final Steps:
- Clear out the 2-3 zombies typically found in the safe house
- Plug your power cable into the junction box within the safe house
- The safe zone will officially activate, giving you a new rest point
Loot opportunity: Before leaving, thoroughly search the safe house and surrounding areas. Library towers often contain valuable manual pages and crafting materials that are worth the extra exploration time.
Common Mistakes and How to Avoid Them
Mistake #1: Wrong Clock Gear Many players connect power to the first clock they see rather than specifically targeting the one with the long arm. Always double-check you’re powering the correct mechanism.
Mistake #2: Poor Timing on Power Disconnection
Disconnecting too early or too late leaves the arm in the wrong position. Wait for the exact 12 o’clock alignment before unplugging.
Mistake #3: Attempting Direct Jumps Trying to jump directly from the floor to the clock arm rarely works. Use the maintenance cabinet as your launch platform.
Mistake #4: Rushing the Swing Phase Building momentum on the clock arm is essential. Don’t immediately jump toward the ceiling beams – swing a bit first to ensure you have enough distance.
Strategic Benefits of This Safe Zone
Now that you’ve unlocked the Library Tower, you’ve gained access to:
- Central location for multiple quest lines
- High ground advantage for planning routes and spotting resources
- Emergency shelter during dangerous nighttime sequences
- Base for farming runs to nearby resource locations
The skills you developed solving this puzzle – observation, timing, and complex parkour sequences – will serve you well in later areas. Consider this your graduation from basic safe zone clearing to advanced environmental puzzle solving.
What’s Next?
With the Library Tower secured, you’re ready to tackle more challenging areas. Consider exploring:
- Other safe zone locations for expanded coverage
- Equipment upgrades to handle tougher enemies
- Resource farming strategies to build your supply stockpile
- XP farming methods to unlock advanced abilities
The Library Tower represents a perfect example of how Dying Light: The Beast rewards patient observation and creative problem-solving. Master these principles here, and you’ll find the rest of the game’s challenges much more manageable.
Need more survival strategies? Check out our complete mission guide or explore our difficulty settings breakdown to optimize your gameplay experience.
Official Game Resources:
Official Dying Light: The Beast Website
PlayStation Store