New to Hollow Knight: Silksong? Our beginner’s guide covers the 8 essential things to do first, from beating Moss Mother to unlocking fast travel and getting your first tools.
Welcome to Pharloom – How to Begin Your Silksong Journey Strong
After nearly a decade of waiting, you’re finally controlling Hornet in her own adventure. But Silksong doesn’t hold your hand like modern games – within an hour, you’ll have multiple paths available and might feel overwhelmed about where to focus first.
I’ve mapped out the perfect progression route for your opening hours that will set you up for success throughout the entire game. Follow this roadmap and you’ll unlock essential systems, avoid common beginner traps, and understand Silksong’s unique mechanics before the difficulty really ramps up.
Step 1: Master the Basics in Moss Grotto (Tutorial Guide)
Get Comfortable with Hornet’s Movement
Your journey begins with Hornet crashing into Moss Grotto after her transport is attacked. Unlike the Knight from the original game, Hornet feels completely different to control:
- Binding system: This replaces Focus healing – use your Silk Spool to restore health
- Faster combat: Hornet moves quicker but has different attack patterns
- New abilities: You’ll learn skills that weren’t in the original
Pro tip: Don’t rush through this section. Spend time getting comfortable with the timing of jumps, attacks, and especially the Binding mechanic. Many new players struggle later because they didn’t master these fundamentals.
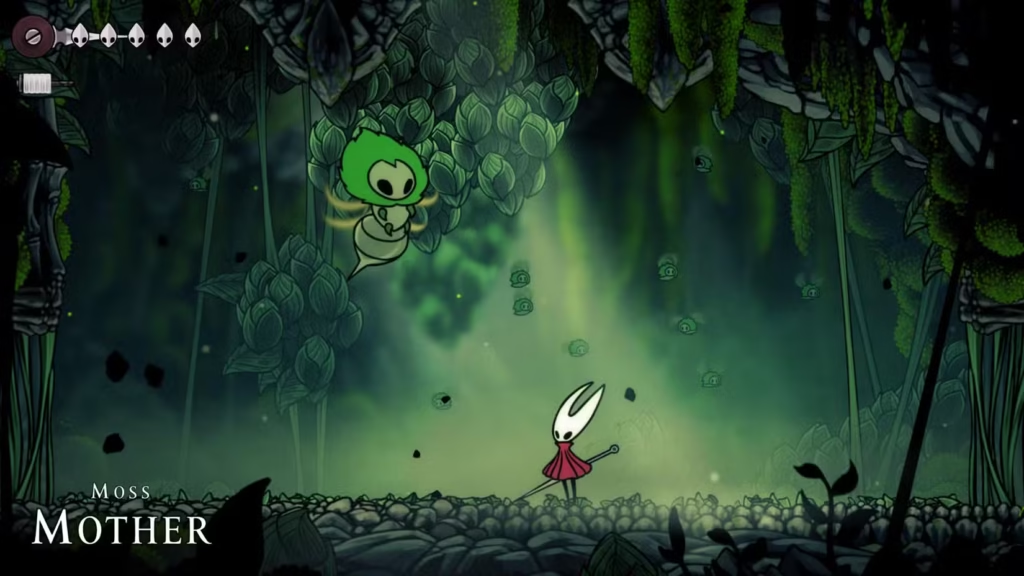
Defeat Your First Boss: Moss Mother
The Moss Mother serves as your skill check before the game truly opens up. This plant-like boss teaches you:
- How to read attack patterns
- When to heal vs. when to attack
- Basic positioning strategies
Strategy highlight: Stay mobile and look for openings after her slam attacks. The fight is more about patience than aggression.
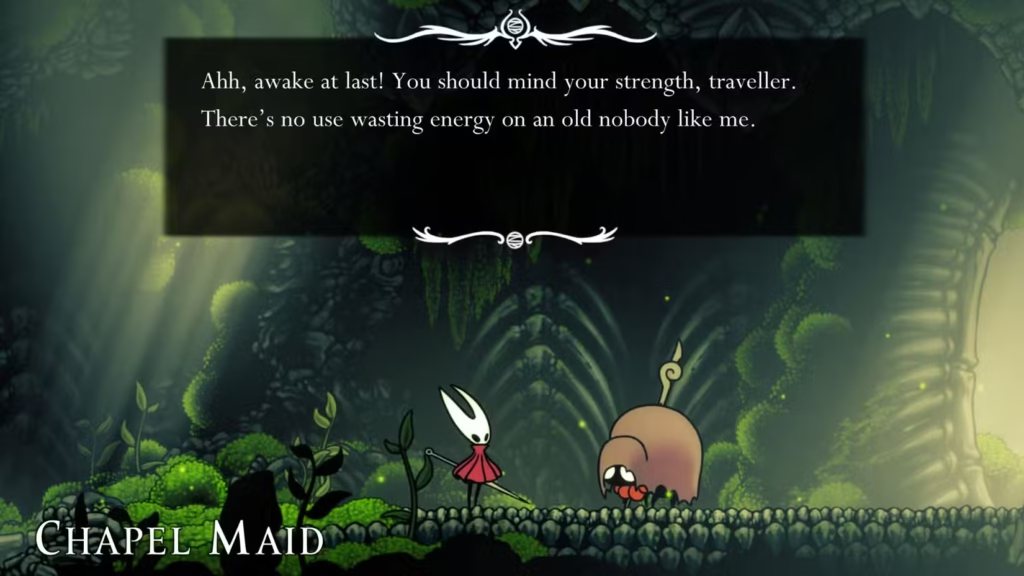
Beating Moss Mother unlocks the Chapel Maid encounter and your path to Bone Bottom – the game’s first major hub.
Step 2: Establish Your Base in Bone Bottom – Early Game Essentials
Save First, Explore Second
The moment you enter Bone Bottom, sit at the bench immediately. This saves your progress and serves as your respawn point. It sounds obvious, but I’ve seen too many players lose 30+ minutes by forgetting this simple step.
After saving, chat with the Little Pilgrim near the bench. He provides crucial context about why these bugs have gathered here and hints at the larger story.
Meet Your Key NPCs
Head into the building marked with three rightward chevrons (remember this symbol – it’s important for fast travel later). Inside you’ll find two essential characters:
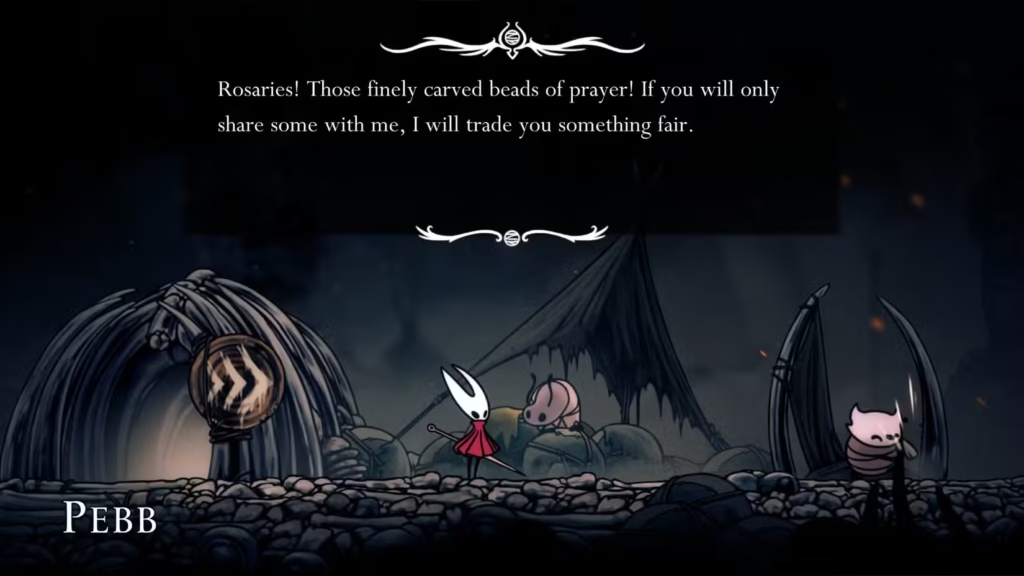
Pebb the Merchant
- Your primary shop for basic supplies
- Sells Simple Keys, Mask Shards, and Rosary upgrades
- Don’t worry if you can’t afford much yet – you’ll be back often
Flick the Fixer
- Working on the local Wishwall (quest board)
- Return here once it’s complete for side missions
- These quests often lead to valuable rewards and lore
Step 3: Solve the Sherma Puzzle and Aid a Fellow Traveler
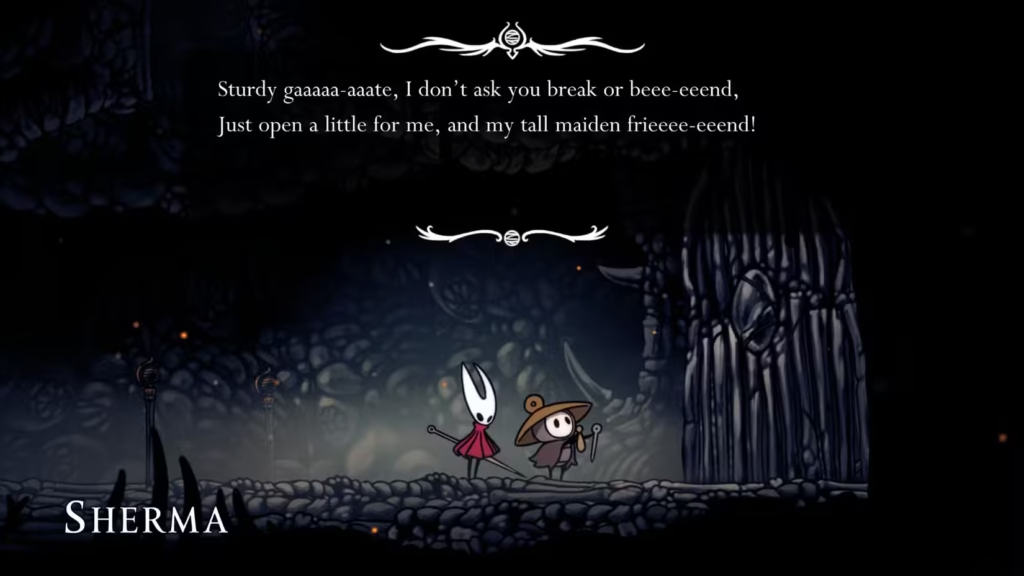
Your First Environmental Challenge
You’ll encounter Sherma, a musical pilgrim trying to open a massive Bone Gate through song (spoiler: it doesn’t work). This introduces Silksong’s approach to obstacles – there’s usually a clever way around.
The solution: Head back left, climb up and around to approach the gate from behind. You’ll face a challenging enemy encounter including a dangerous crawler that hits for two masks of damage.
Combat tip: That crawler can end your run quickly if you’re careless. Keep your distance and learn its attack pattern before committing to close combat.
Opening this gate for Sherma demonstrates the game’s interconnected design and rewards exploration over brute force.
Step 4: Begin Your Collection Quest with Fleamaster Mooshka
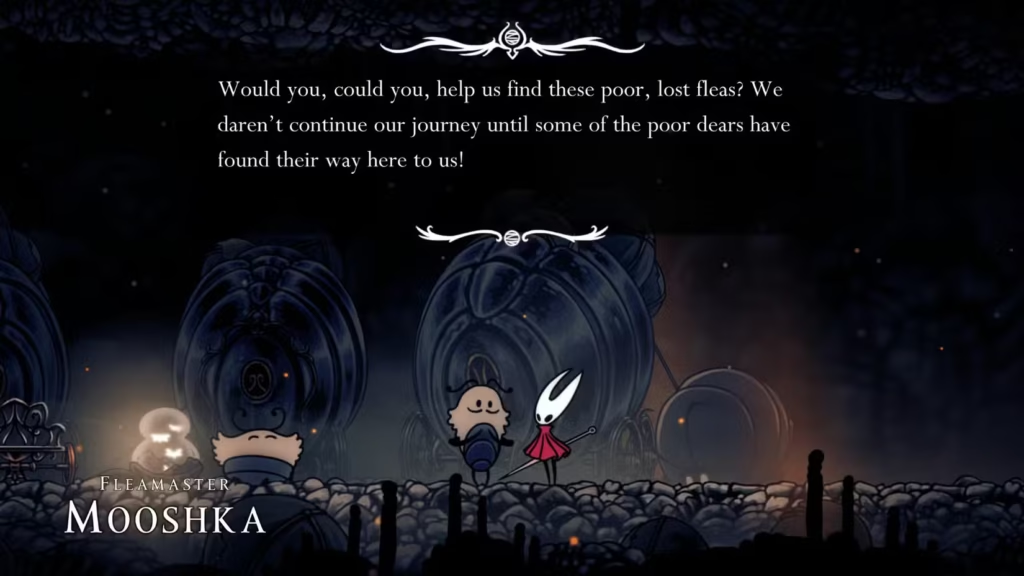
Silksong’s Version of Grub Collecting
In The Marrow area, look for signs featuring a fluffy bug icon. These lead to Fleamaster Mooshka and his broken-down Flea Caravan. This begins one of Silksong’s longest-running collection quests.
Why this matters: Like Grubs in the original, finding Fleas provides:
- Steady progression rewards
- Reasons to thoroughly explore areas
- A satisfying long-term goal that spans the entire game
Secret bonus: Check the wall above the Flea Caravan – it’s breakable and contains 24 Rosaries, a significant early-game windfall.
Step 5: Gear Up with Your First Tool – The Shard Pendant
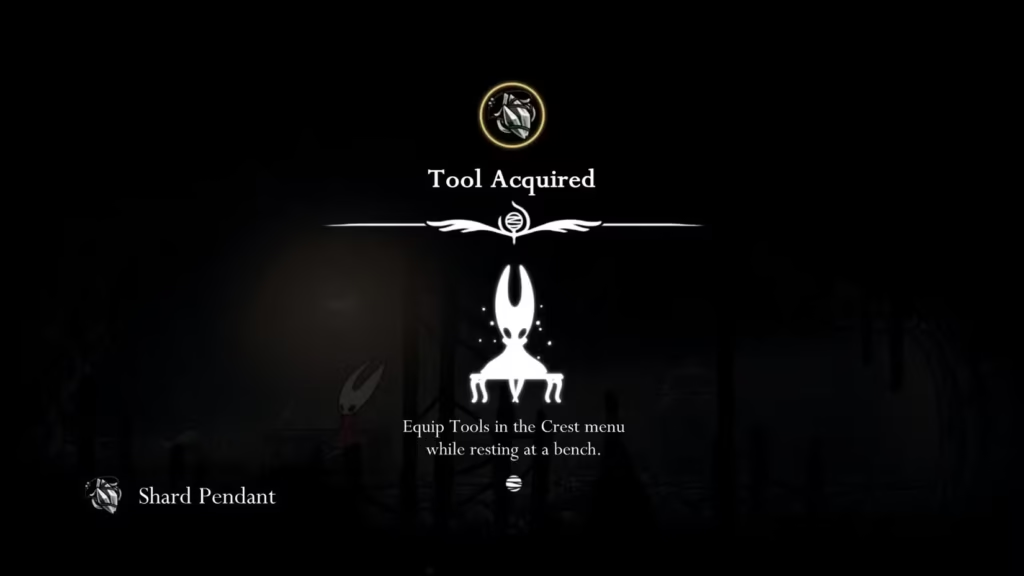
Understanding Silksong’s Equipment System
Tools in Silksong work differently than Charms in Hollow Knight. Instead of universal equip slots, Tools have specific functions and often passive benefits.
Finding the Shard Pendant: In the chasm area of The Marrow, resist the urge to immediately climb up. Take a detour downward and left to find this yellow Tool.
What it does: Increases Shard drops from enemies. While seemingly minor, this compounds over time and helps fund future upgrades.
Equipment tip: Tools can only be equipped at benches, so plan your loadout changes around rest stops.
Step 6: Navigate Pharloom with Essential Cartography from Shakra
Why Maps Matter More in Silksong
Unlike its predecessor, Silksong starts you completely mapless. This design choice emphasizes exploration but can leave new players feeling lost.
Finding Shakra: From the Shard Pendant chasm, head up and far left until you encounter this ring-wielding cartographer.
Must-buy items:
- Both area maps (Moss Grotto + The Marrow) – 90 Rosaries total
- The Quill – Updates your map as you explore (50 Rosaries)
- The Compass – Shows your position on maps (70 Rosaries)
Budget consideration: This costs 210 Rosaries total. If you’re short, explore nearby rooms for hidden stashes rather than skipping items.
Step 7: Unlock the Bone Bottom Elevator for a Quick Shortcut
Setting Up Fast Travel Points
From Shakra’s location, navigate left into the Mosshome sub-area. Your goal is finding and activating an elevator that creates a permanent shortcut to Bone Bottom.
Why this matters: Backtracking is a major part of Metroidvania games. This elevator saves significant time and makes resource management easier by providing quick access to shops and benches.
Navigation tip: Use the platforms above to avoid ground-level enemies, then look for the lever that activates the elevator system.
Once activated, ride it down to Bone Bottom, save at the bench to update your map, then return to continue your journey.
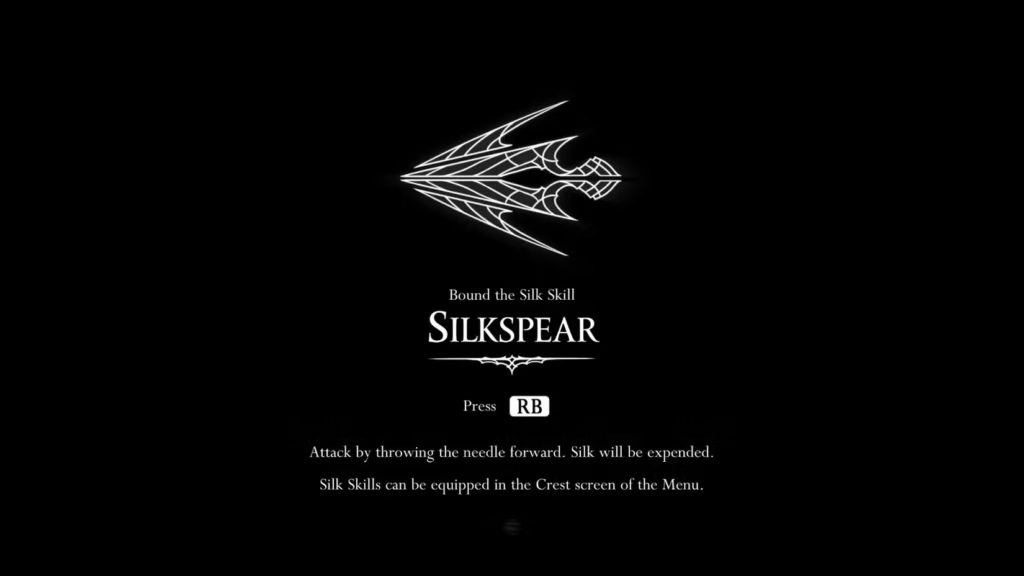
Step 8: Unlock Fast Travel (Free the Bell Beast)
Your Gateway to True Exploration
This final step requires your first Silk Skill: Silkspear.
Getting Silkspear: Return to the lever room in Mosshome, but this time jump upward into the room above. Navigate the traps until you reach a Weaver symbol and interact with it.
Silkspear basics: This long-range piercing attack consumes Silk but can hit multiple enemies and break certain barriers.
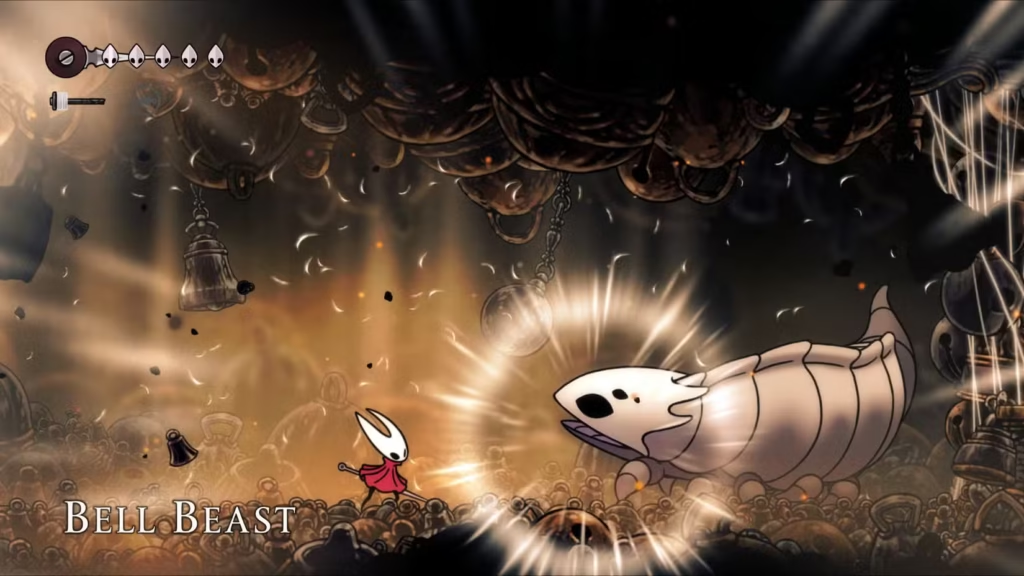
The Bell Beast Encounter
Location: Look for the Bell Beast travel point sign, then use your new Silkspear to break all the silk strands simultaneously.
Boss strategy: This isn’t just about freeing the Beast – you must defeat it in combat to earn its cooperation. The fight tests everything you’ve learned about Hornet’s movement and combat.
Reward: Completing this encounter unlocks the fast travel system and grants you a Silk Heart, significantly expanding your exploration options.
What Comes Next?
With these eight steps completed, you’ve established the foundation for your Silksong adventure:
- ✅ Combat fundamentals mastered
- ✅ Base hub established with key NPCs
- ✅ First Tool acquired and equipped
- ✅ Map system fully functional
- ✅ Fast travel unlocked
- ✅ Major collection quest initiated
You’re now ready to tackle Silksong’s broader world with confidence. The game will continue opening up new areas, but you have the essential systems and knowledge to explore effectively.
Final Beginner Tips
Resource management: Rosaries are more abundant than Geo was in Hollow Knight, but Tools and upgrades are expensive. Explore thoroughly.
Combat philosophy: Hornet rewards aggressive play more than the Knight did, but don’t abandon caution entirely.
Exploration mindset: If you’re stuck, you probably missed a breakable wall or alternate route. Silksong loves hidden passages.
Save often: Always rest at benches after significant progress or before challenging areas.
The silk and song of Pharloom await – you’re ready to answer their call.
Related Article:
Can’t Download Hollow Knight: Silksong? Here’s How to Actually Get the Game