Master the Cogwork Dancers boss fight in Hollow Knight Silksong with our complete strategy guide. Learn essential equipment, attack patterns, and wall-clinging tactics for victory.
Understanding the Cogwork Dancers Challenge
The Cogwork Dancers represent one of Hollow Knight: Silksong’s most mechanically complex mandatory boss encounters, serving as a crucial skill check that determines whether you’ve mastered the game’s advanced combat and positioning systems. Unlike some bosses that test raw damage output or reaction speed, this fight demands strategic thinking, precise positioning, and mastery of environmental mechanics.
What makes the Cogwork Dancers particularly challenging is their dual-boss nature combined with highly telegraphed but devastating area-denial attacks. The fight teaches you about reading boss tells, managing multiple threats simultaneously, and using environmental advantages – skills that become essential for later encounters throughout Silksong.
For many players, this boss serves as a wake-up call that brute force approaches won’t work for Silksong’s more sophisticated encounters. Success requires preparation, strategy, and patience rather than just aggressive offense.
Essential Equipment: Building Your Pre-Fight Loadout
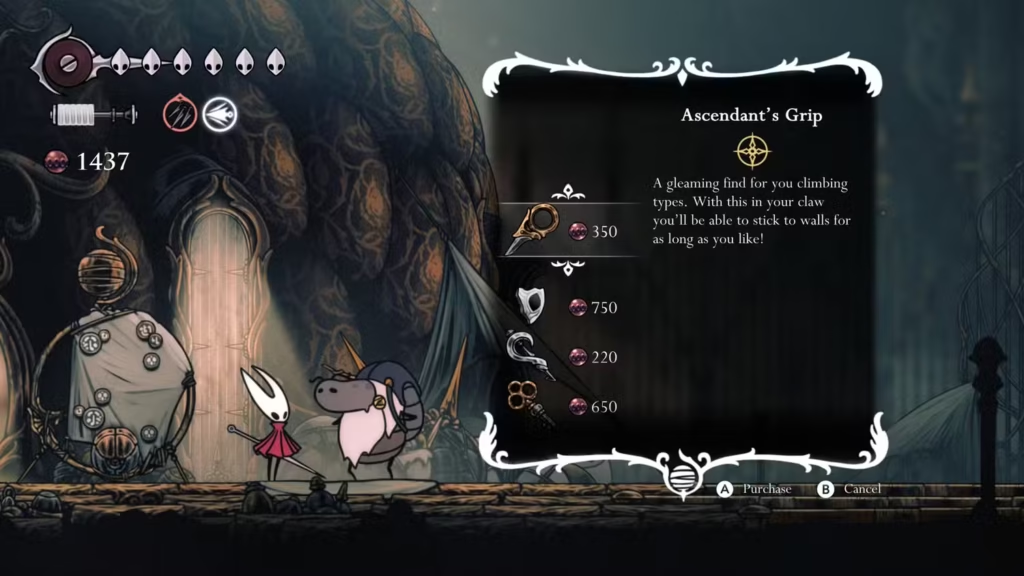
Ascendant’s Grip: Your Survival Tool Obtaining this trinket from Jubilana’s shop in Songclave isn’t just recommended – it’s practically essential for this fight. The Ascendant’s Grip allows unlimited wall-clinging duration, transforming the arena’s walls from temporary rest points into permanent safe zones.
The positioning advantages this trinket provides become obvious once you enter the arena and see how the Cogwork Dancers’ attacks cover most of the floor space. Without Ascendant’s Grip, you’re forced into risky positioning that makes the fight significantly more challenging.
Spool Extender: Resource Management This trinket increases your Silk capacity, providing crucial additional resources for healing during the extended encounter. The extra Silk proves particularly valuable during the fight’s later phases when positioning opportunities become more limited and healing windows scarcer.
Advanced strategy: If you die during the fight, your cocoon remains as a Silk resource you can reclaim when absolutely necessary. This technique works for any boss in Silksong and provides an emergency resource reserve for desperate situations.
Threefold Pins: Optimal Damage Tool The Threefold Pins excel in this fight because properly positioned throws can hit both dancers simultaneously, maximizing damage efficiency during the brief windows when both bosses are vulnerable.
Pollip Pouch synergy: If available, equipping the Pollip Pouch trinket allows you to coat your Threefold Pins with poison, creating damage-over-time effects that continue hurting the bosses even when you’re focused on positioning and survival.
Navigating to the Boss Arena: The Grand Reeds Challenge
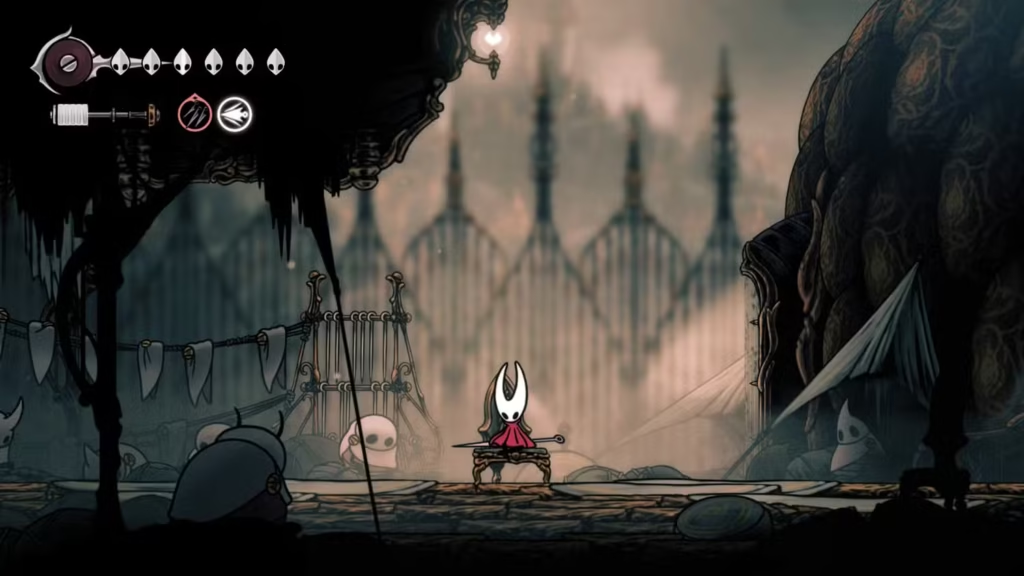
Route overview: The path from Songclave to the Cogwork Dancers leads west, requiring you to climb the left wall and exit through the upper-left area. This journey introduces you to some of the Citadel’s most challenging regular enemies.
Grand Reeds strategy: These three enemies represent one of the trickiest encounters in the Citadel, but engaging them isn’t necessary for reaching the boss. The optimal approach involves patience – wait for them to jump up, then quickly run underneath while they’re airborne.
Engagement alternatives: If you prefer to fight the Grand Reeds, poisoned Threefold Pins provide a safe long-range option that avoids close-quarters combat risks. However, this consumes ammunition you might prefer to save for the boss fight.
Patience philosophy: The Grand Reeds encounter teaches an important lesson about patience that applies throughout Silksong. Sometimes the smartest strategy involves waiting for optimal opportunities rather than forcing risky engagements.
Phase One and Two: Mastering the Wall-Cling Strategy
Pattern recognition fundamentals: The Cogwork Dancers excel at telegraphing their attacks through nearly invisible outlines that show their intended movement paths. Learning to read these tells quickly becomes crucial for survival, as their attacks cover massive areas and deal significant damage.
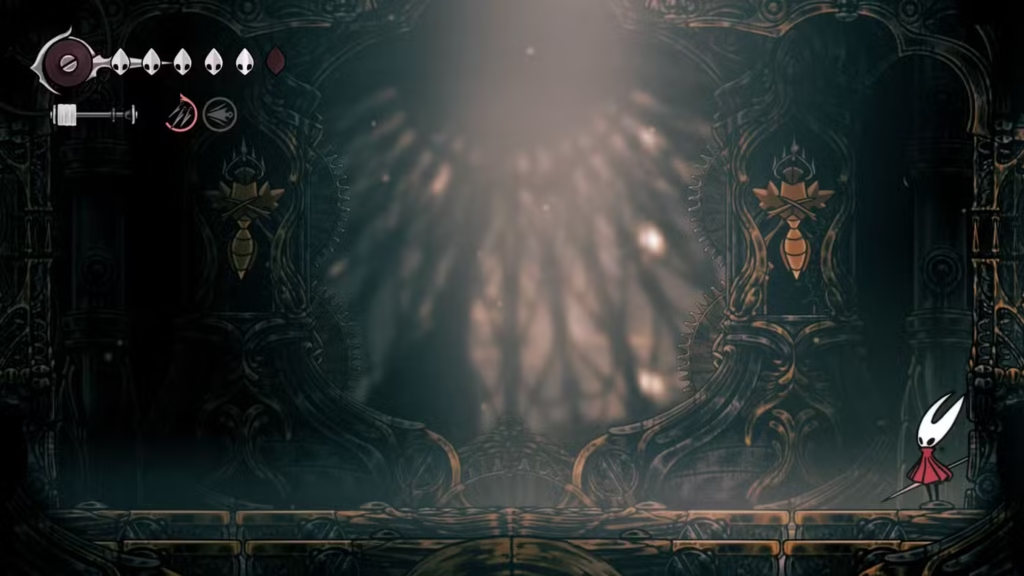
Positioning strategy: The key to phases one and two involves attacking the dancers from below while they’re airborne, then immediately retreating to wall-cling positions when they prepare their wire attacks.
Wire attack survival: The dancers’ signature ability covers the arena with wire-like lines similar to attacks from Silksong’s Widow boss. The Ascendant’s Grip becomes invaluable here, allowing you to cling to mid-to-upper wall sections where most wire patterns can’t reach you.
Adaptive positioning: If wires do intersect with your clinging position, simply release the wall control briefly to slide down to a safer zone. The unlimited clinging duration means you can immediately re-establish your position without time pressure.
Cheese potential: Patient players can potentially complete most of the fight using pure wall-clinging tactics, attacking only when dancers venture close to your chosen corner. While slower, this approach virtually guarantees survival for players struggling with the more active strategies.
Phase Three: Adapting to Coordinated Movement
Behavioral shift: The third phase introduces significant changes to the dancers’ coordination patterns. Instead of purely simultaneous attacks, they begin moving as a coordinated unit, with one sometimes hiding behind the other.
Prediction challenges: The sequential attack patterns make movement prediction more complex, requiring closer attention to individual dancer positioning rather than treating them as a single entity.
Maintained strategies: The wall-clinging approach remains viable in phase three, but requires more attention to line-of-sight considerations. You’ll need to track which dancer is preparing to attack and position accordingly.
Damage optimization: Look for opportunities when the dancers align in ways that allow single attacks to hit both targets. These moments become rarer in phase three but provide excellent damage efficiency when they occur.
Final Phase: Single Dancer Survival
Behavioral acceleration: After one dancer falls, the survivor enters an enraged state with increased speed and more erratic movement patterns. This phase tests your ability to maintain composure while adapting to unpredictable enemy behavior.
Health advantage: The surviving dancer typically has reduced health, meaning the phase should end quickly if you can maintain consistent damage output without taking hits.
Positioning adjustments: The single dancer’s increased speed may require adjustments to your wall-clinging positioning strategy. Stay alert for changes in attack patterns that might compromise previously safe positions.
Endgame focus: Resist the temptation to become overly aggressive when victory seems close. The final phase’s increased speed can catch overconfident players off-guard, potentially turning near-victories into defeats.
Advanced Tactics and Alternative Strategies
Corner camping: Choosing a specific corner and defending it throughout the fight allows you to master that position’s timing and spacing requirements. This specialization can be more effective than constantly repositioning.
Aerial combat: Experienced players can attempt more aggressive aerial combat approaches, using advanced movement techniques to stay mobile while maintaining offensive pressure.
Tool rotation: Experimenting with different tool combinations during the fight helps you understand which approaches work best for your playstyle and skill level.
Learning from Failure: Common Mistakes and Solutions
Impatience problems: Many players fail by trying to force damage opportunities instead of waiting for safe windows. The fight rewards patience over aggression.
Telegraph misreading: Failing to properly read the dancers’ movement tells leads to positioning in attack paths. Practice recognizing the outline patterns during early attempts.
Resource mismanagement: Poor Silk usage for healing or abilities can leave you vulnerable during crucial moments. Plan your resource expenditure around the fight’s phases.
Why This Fight Matters for Your Silksong Journey
Skill validation: Successfully beating the Cogwork Dancers confirms that you’ve developed the strategic thinking and positioning skills necessary for Silksong’s more complex encounters.
Mechanical mastery: The fight teaches advanced concepts about environmental advantage usage, multi-target combat, and pattern recognition that apply throughout the rest of the game.
Confidence building: Overcoming this challenging mandatory encounter builds confidence for tackling optional bosses and late-game content that demands similar skills.
Preparation Beyond Equipment
Practice opportunities: Use earlier encounters to practice wall-clinging techniques and positioning strategies that will prove essential for this fight.
Mental preparation: Accept that this fight may require multiple attempts to master. Each failure provides learning opportunities about timing, positioning, and pattern recognition.
Resource planning: Ensure you have adequate healing items and Silk resources before attempting the fight, as extended encounters can be resource-intensive.
Ready to face the Cogwork Dancers? You can test your strategic skills and positioning mastery in Hollow Knight: Silksong on Steam, Nintendo Switch, PlayStation, or Xbox. With this comprehensive strategy guide, you’ll have the knowledge and tactics needed to overcome one of Silksong’s most challenging mandatory encounters!Retry