Master the Groal the Great boss fight in Hollow Knight Silksong with our complete guide. Learn attack patterns, cheese strategies, and navigate the challenging Bilewater runback.
TL;DR
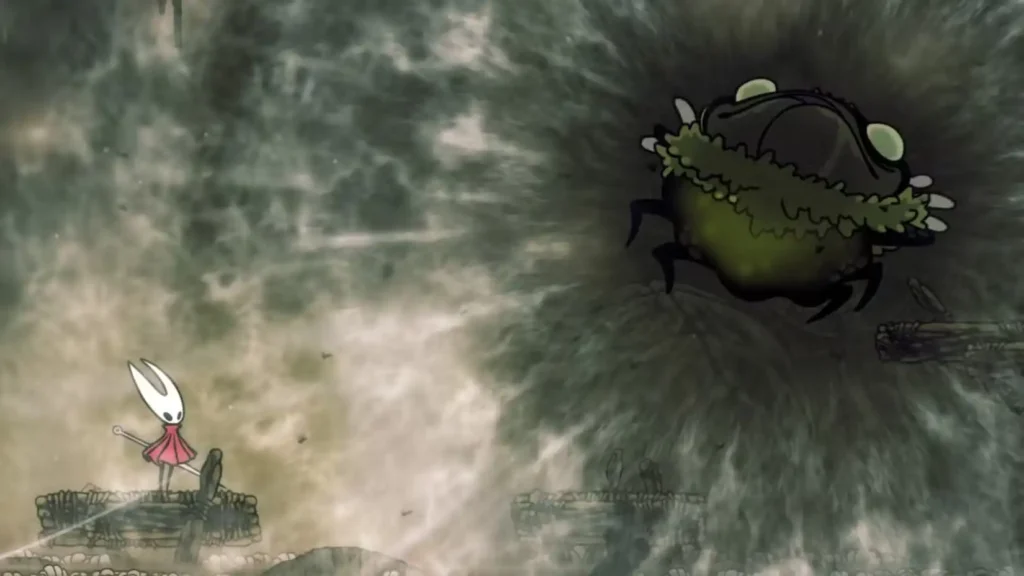
Groal the Great is an optional giant frog boss at the top of Bilewater with one of Silksong’s most punishing runbacks. Fight 6 enemy waves first, then face attacks including dives, poison spit, soul projectiles, and suction. Use Sting Shard tool, position in corner poison pools to cheese, and pogo during safe windows. Rewards include Seeker’s Soul (required for Act 3) and access to Putrefied Ducts.
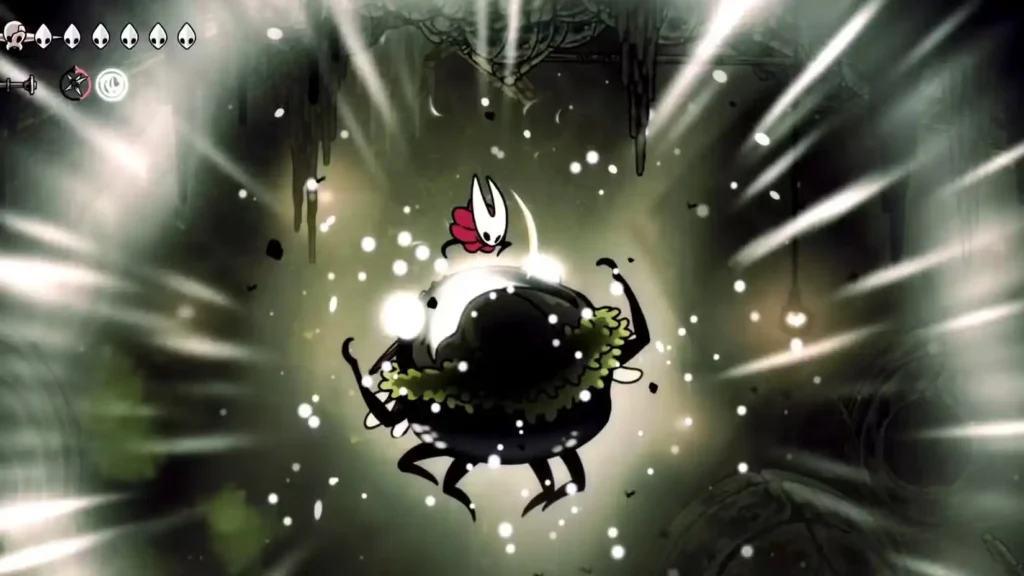
Groal the Great stands as one of Hollow Knight: Silksong’s most punishing encounters – not just because of the boss fight itself, but due to the absolutely brutal journey required to reach it. This giant frog-like monstrosity tests both your patience and skill in ways that few other Silksong bosses can match.
Having conquered Groal multiple times, I can confidently say this fight represents a perfect storm of challenging design: a nightmarish runback through poisonous terrain, mandatory enemy gauntlets before the actual boss, and attack patterns that demand both precision and endurance. Yet the rewards – including a crucial Act 3 progression item – make this ordeal absolutely worthwhile.
The Infamous Groal Runback: Survival Guide
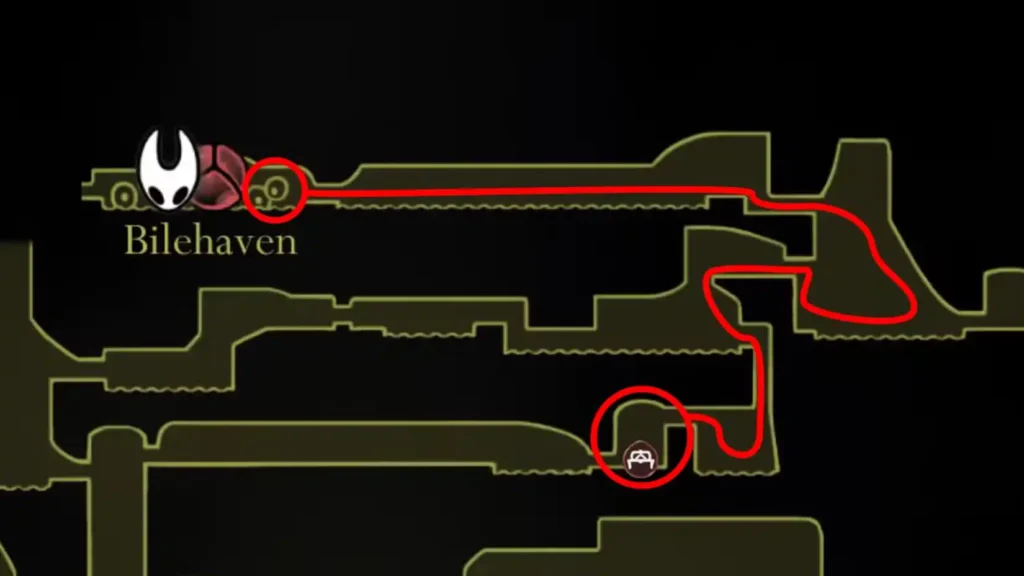
Location and Access Routes
Boss Location: Bilehaven (top of Bilewater)
Area Type: Hidden zone within the Citadel
Difficulty: Extremely High
Essential Preparation
- Faydown Cloak (Double Jump): Absolutely mandatory – get this from Mount Fay first
- Maximum health and silk: The runback and enemy waves will test your resources
- Poison management knowledge: Critical for Bilewater navigation
Two Access Routes to Bilewater
Route 1: Sinner’s Road (Earlier Access)
- Location: Hidden entrance above Halfway Home
- Pros: Available earlier in progression
- Cons: Longer, more treacherous journey
Route 2: Putrefied Ducts (Later Access)
- Location: Accessible from Memorium zone
- Pros: Shorter route
- Cons: Only available much later in Act 2
Critical survival tip: The journey through Bilewater involves constant poison pool navigation and enemy ambushes. If you get poisoned, expend a Bind charge to cleanse without healing – this preserves your health for the upcoming challenges.
Pre-Fight Gauntlet: 6 Enemy Waves
Before Groal even appears, you must survive six waves of enemies and spike traps. This gauntlet serves as both a skill check and resource drain, making preparation absolutely crucial.
Gauntlet Strategy:
- Conserve health and silk throughout all waves
- Learn enemy spawn patterns to optimize positioning
- Use the terrain to your advantage during spike trap phases
- Consider this part of the boss fight, not just a warmup
Pro tip: The bench before the ascent is real (unlike some trap benches in Bilewater). Use it as your final preparation point, but remember – once you start climbing, avoid taking damage to preserve resources for the gauntlet and boss fight.
Groal the Great: Complete Attack Analysis
Dive Attack
Visual Cue: Groal hunkers down, hops slightly, then plunges
Damage: High contact damage
Counter Strategy:

When Groal prepares to dive, dodge left or right based on his trajectory. If you’re positioned above him, use your double jump or grappling abilities to escape laterally. The dive creates significant ground impact, making vertical dodging less effective than horizontal movement.
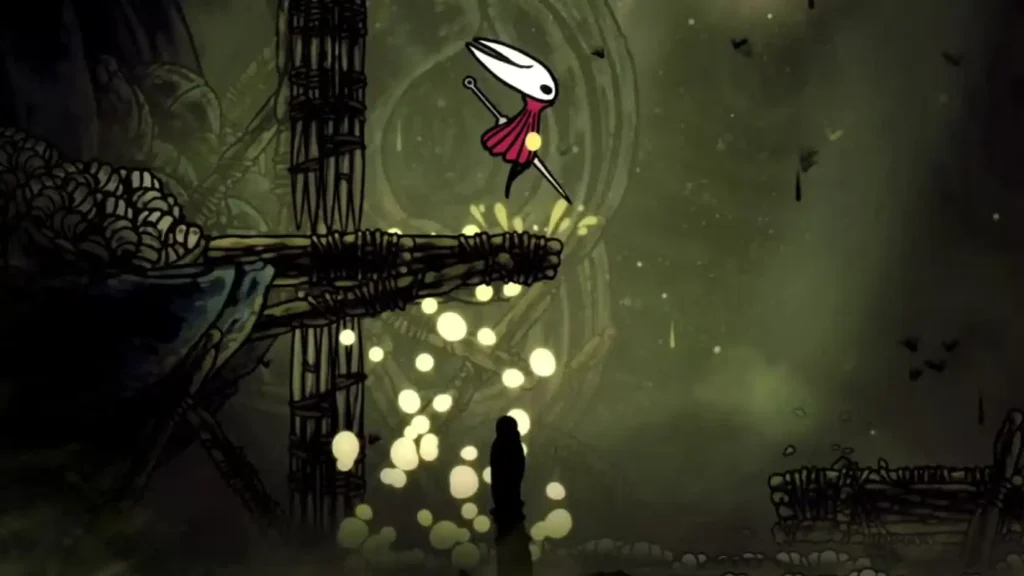
Resurface Attack
Visual Cue: Green particles appear above the muck
Damage: Contact + positional pressure
Counter Strategy:
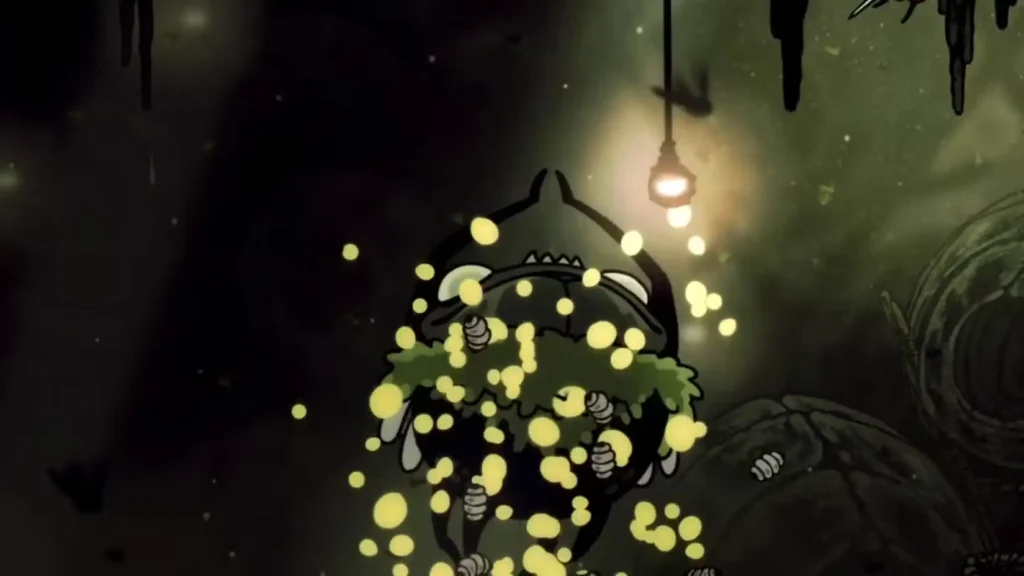
Green particle indicators show exactly where Groal will emerge. Avoid these spawn points, but if you can position yourself correctly, this creates an excellent pogo opportunity as he surfaces. The timing window allows for substantial damage if executed properly.
Suck In (Gullet Attack)
Visual Cue: Groal opens massive mouth, creates visible suction cone
Damage: 2 Masks if consumed
Counter Strategy:
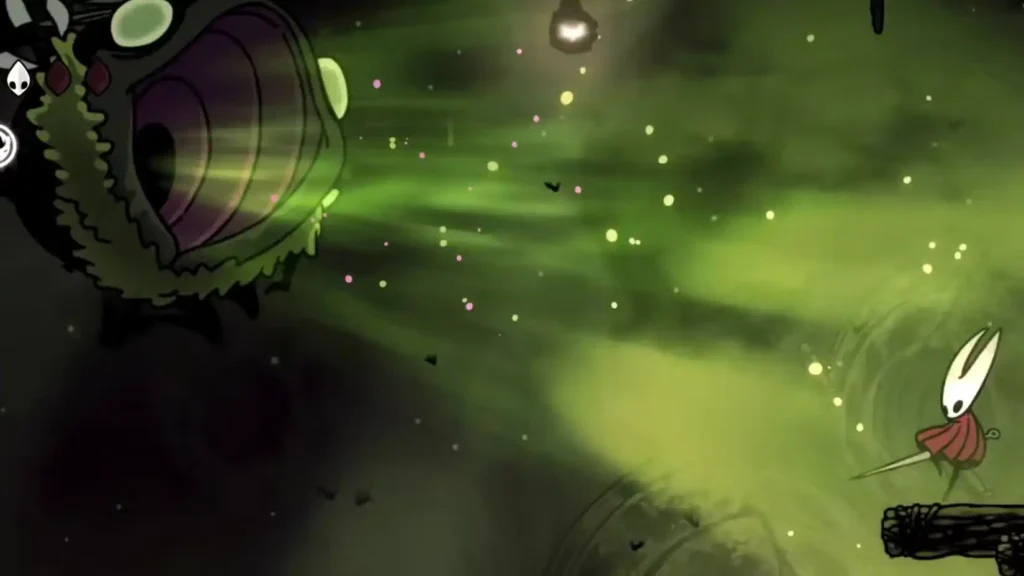
Run in the opposite direction immediately when you see the mouth open. Do NOT attempt to attack during this move – the suction effect slows movement significantly, making escape more difficult the longer you wait. If caught, attack rapidly to break free, but you’ll still take damage.
Spike Ball Trap (Environmental Hazard)
Timing: Every 30 seconds approximately
Visual Cue: Chain snapping sound
Counter Strategy:
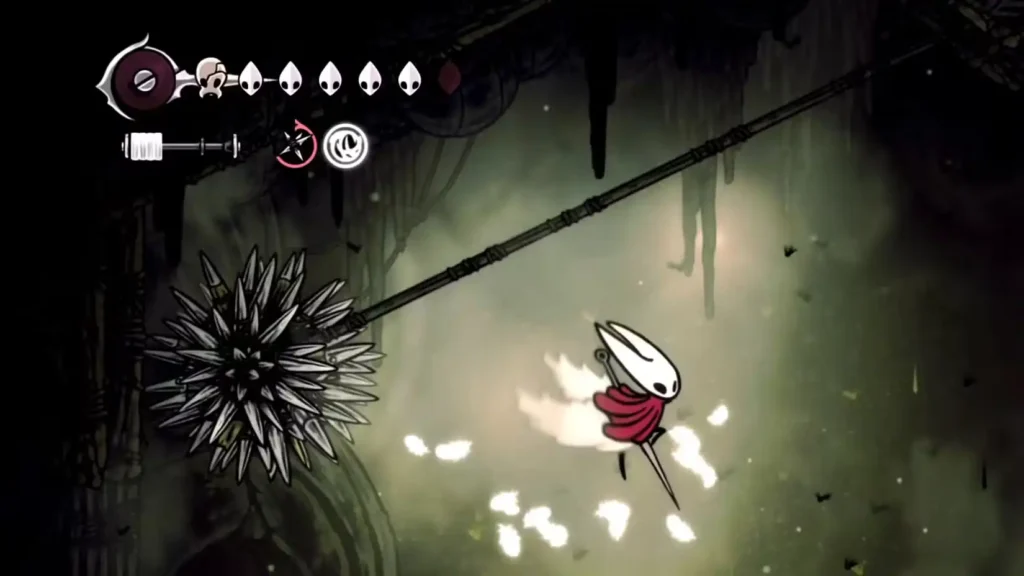
Listen for the distinctive chain snapping sound, wait half a second, then jump over the swinging spike ball. This environmental hazard continues throughout the entire fight, adding constant pressure to your positioning decisions.
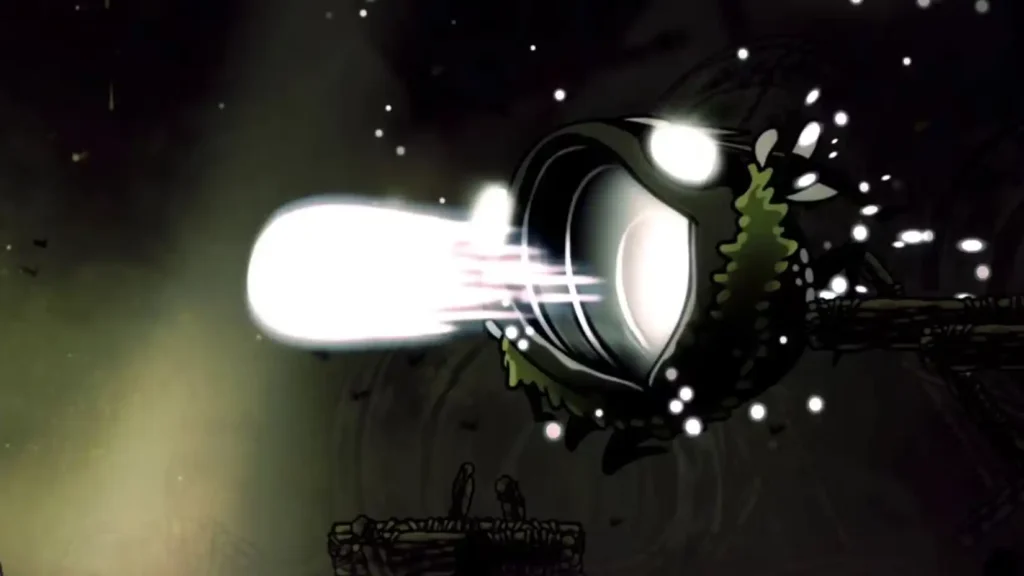
Poison Spit Attack
Visual Cue: Groal aims directly at Hornet
Projectiles: Two large green explosive balls
Counter Strategy:

If positioned above Groal, this becomes an excellent pogo opportunity – attack him while he’s focused on spitting. If positioned below, dodge to get directly underneath him to avoid projectiles while maintaining attack opportunities.
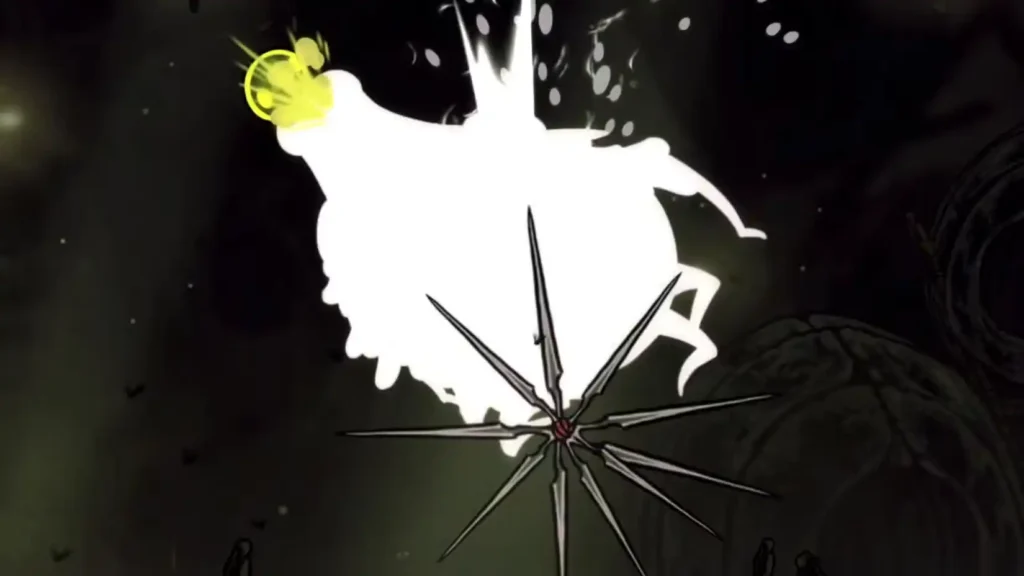
Phase Transition
Visual Cue: Groal rears back, roars, eyes burn with soul energy
Duration: Several seconds
Counter Strategy:
This extended animation provides a massive damage window. Position yourself above or below Groal during the roar for sustained attacks. The transition unlocks his Vengeful Spirit attack, changing the fight’s dynamic significantly.
Vengeful Spirit Projectiles
Visual Cue: White soul energy charging
Pattern: Up to three consecutive shots
Counter Strategy:
Jump upward as Groal prepares to fire, luring the projectile above you. If unsuccessful, use wall bounces or your Faydown Cloak to jump over the horizontal soul blast. The slight vertical tracking makes vertical movement more effective than horizontal dodging.
Summon Ally Attack
Visual Cue: Groal dives under, green fountains appear
Enemies: Previous gauntlet enemies
Counter Strategy:
Avoid the spawn fountain locations, then dodge the summoned enemies’ attacks. If you need silk restoration, position above spawn points for pogo attacks before the enemies submerge again.
Advanced Combat Strategies
The Corner Cheese Strategy
High-Risk, High-Reward Technique:
- Top off your health completely
- Dive into the corner poison pools (extreme right or left)
- Use the positioning to limit Groal’s attack options
- Leap in and out for attack opportunities while maintaining corner safety
Critical warnings:
- Watch for Vengeful Spirit attacks – they can still hit you in corners
- Monitor dive attacks when Groal is above you
- Watch for particle indicators showing where enemies/boss will surface
Optimal Tool Usage
Sting Shard (Highly Recommended):
- Function: Explodes into damaging shards when enemies approach
- Effectiveness: Groal’s large hitbox makes him likely to trigger full damage
- Positioning: Place in Groal’s movement paths for consistent damage
Additional Tool Considerations:
- Tools that enhance mobility during the poison pool cheese strategy
- Healing-enhancing items for the brutal runback recovery
Pogo Combat Mastery
Key Technique: Keep your thumb on jump input for instant double-jump reactions
Optimal Pogo Windows:
- During resurface attacks: Position above emergence points
- During spit animations: Attack from above while he aims horizontally
- During phase transitions: Extended damage windows during roars
Safety Considerations: Always be ready to double-jump if Groal begins rising or diving – the slight upward movement before dives creates brief reaction windows.
Healing and Recovery Timing
Best Healing Opportunities
- Immediately after Groal dives into poison pools (several seconds before resurfacing)
- During spit animations when positioned above or below him
- Between spike ball trap cycles when you have positional safety
Resource Management
- The runback and gauntlet drain significant resources
- Plan healing windows carefully – they’re limited during the actual fight
- Consider the corner cheese strategy if resource management becomes critical

Victory Rewards and Progression
Immediate Area Access
Defeating Groal unlocks access to the rest of Bilehaven area to the left, providing crucial progression opportunities and shortcuts.
Seeker’s Soul (Critical Reward)
Location: Boggy hut to the left of boss arena
Function: Required for Act 3 access
Importance: Essential progression item for optional but significant content
Additional Discoveries
- Shortcut access to bottom of Bilewater zone
- Putrefied Ducts pathway unlocked
- Key of Apostate location (for use in The Slab)
- The Huntress encounter and Broodfeast quest initiation
Strategic Preparation Guide
Pre-Fight Checklist
- Master poison management techniques
- Upgrade health and silk capacity maximally
- Practice pogo techniques for damage optimization
- Study Bilewater navigation for runback efficiency
Mental Preparation
Groal the Great tests patience as much as skill. The combination of brutal runback, mandatory gauntlet, and demanding boss mechanics creates one of Silksong’s most psychologically challenging encounters. Expect multiple attempts and treat each failure as valuable learning experience.
Progression Integration
Consider Groal as part of your broader Act 2 progression strategy. The Seeker’s Soul reward directly impacts your ability to access Act 3 content, making this optional boss effectively mandatory for completionist players.
Download Silksong:
Groal the Great represents Silksong at its most unforgiving – demanding mastery of movement, combat, resource management, and mental fortitude. Successfully defeating this giant frog proves you’re ready for the game’s ultimate challenges while unlocking crucial progression toward Act 3’s mysteries.