Find the High Halls map in Hollow Knight Silksong’s Citadel. Complete guide with navigation route, Clawline requirements, and Ventrica station access.
TL;DR
The High Halls map costs 70 Rosaries and is located next to a Ventrica station in The Citadel. After defeating Cogwork Dancers, go down and left to Coral Chambers’ top-left section. Use Clawline to navigate upward through grapple wheels and spike sections, avoiding most enemies. The map machine is to the right of the Ventrica station sign.
High Halls represents one of The Citadel’s most vertically demanding areas in Hollow Knight Silksong, combining complex grappling hook sequences with precision platforming that punishes mistimed jumps severely. Located within the imposing fortress structure, this area tests your mastery of advanced movement abilities while housing essential progression elements behind challenging navigation sequences.
The map’s location requires systematic progression through multiple grappling sections and spike-filled chambers, making preparation and route knowledge crucial for efficient access. Here’s your complete guide to reaching High Halls and securing the map without unnecessary resource loss or repeated failures.
Prerequisites: Essential Abilities and Preparation
High Halls access demands specific abilities and preparation that make the difference between smooth progression and repeated failures in punishing spike traps.
Mandatory requirements:
- Clawline ability – Grappling hook functionality is absolutely essential
- Cogwork Dancers defeat – Story progression gate for area access
- 70 Rosary Beads – Map purchase cost plus Ventrica station unlock
- Advanced platforming skills – Timing precision for spike avoidance
Recommended preparation:
- Full Silk reserves for sustained ability usage during long sequences
- Combat readiness – though enemy avoidance is often preferable
- Mental preparation for challenging grappling sequences
- Route familiarity to minimize trial-and-error navigation
Budget planning: Beyond the 70 Rosaries for the map, consider additional costs for Ventrica station unlocking if you haven’t established fast travel access to this region yet.
Starting Point: Post-Cogwork Dancers Progression
The route to High Halls begins after one of Act 2’s most significant boss encounters, using the victory as a launching point for deeper Citadel exploration.
Accessing the Launch Point
From the Cogwork Dancers arena, systematic movement leads to the High Halls entry point while establishing crucial infrastructure for the challenging sequence ahead.
Navigation sequence:
- Defeat the Cogwork Dancers boss – this unlocks additional Citadel areas
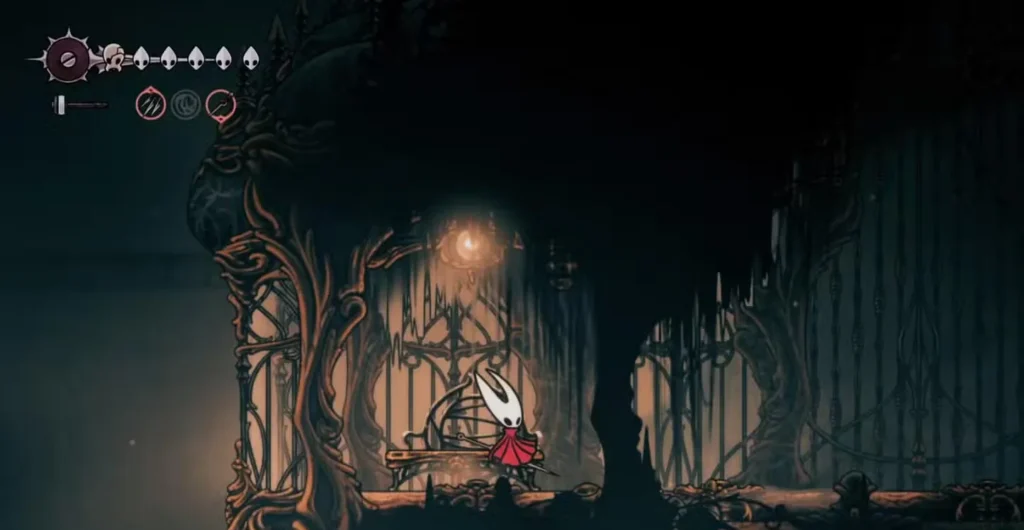
- Go down and left from the boss arena location
- Reach the top-left section of Coral Chambers – this serves as your staging area
- Locate the Bench directly below grapple points – essential save point
- Interact with the bench to establish respawn location
Bench importance: This bench serves as your safety net for the upcoming challenging sequence. The High Halls navigation involves multiple failure points where precise timing determines success, making convenient respawn access crucial.
Initial Clawline Ascent
The first phase tests basic grappling hook competency while introducing the area’s signature movement challenges.
Ascent sequence:
- Begin climbing upward using Clawline from the established bench position
- Focus on grapple point identification – they’re not always obvious
- Maintain momentum where possible to avoid extended vulnerability periods
- Prepare for enemy encounters but prioritize movement over combat
This opening section serves as both warm-up and competency check – if you struggle here, the more complex sequences ahead will prove significantly more challenging.
Phase 1: Rightward Progression and Enemy Avoidance
The initial High Halls navigation emphasizes horizontal movement with strategic enemy management that prioritizes efficiency over combat engagement.
Enemy Management Strategy
High Halls enemies can significantly slow progression if engaged unnecessarily, making avoidance techniques crucial for efficient navigation.
Avoidance approach:
- Go right while ignoring enemies in your path – engagement usually wastes time and resources
- Use movement abilities for evasion rather than combat
- Maintain forward momentum to minimize exposure to enemy attacks
- Save combat resources for situations where avoidance isn’t practical
When to engage: Only fight enemies that directly block essential grapple points or whose positions make avoidance impossible. Most High Halls enemies can be bypassed with proper movement timing.
Grapple Wheel Mechanics
The first major mechanical challenge involves understanding and utilizing rotating grapple wheels that control access to elevated areas.
Grapple wheel sequence:
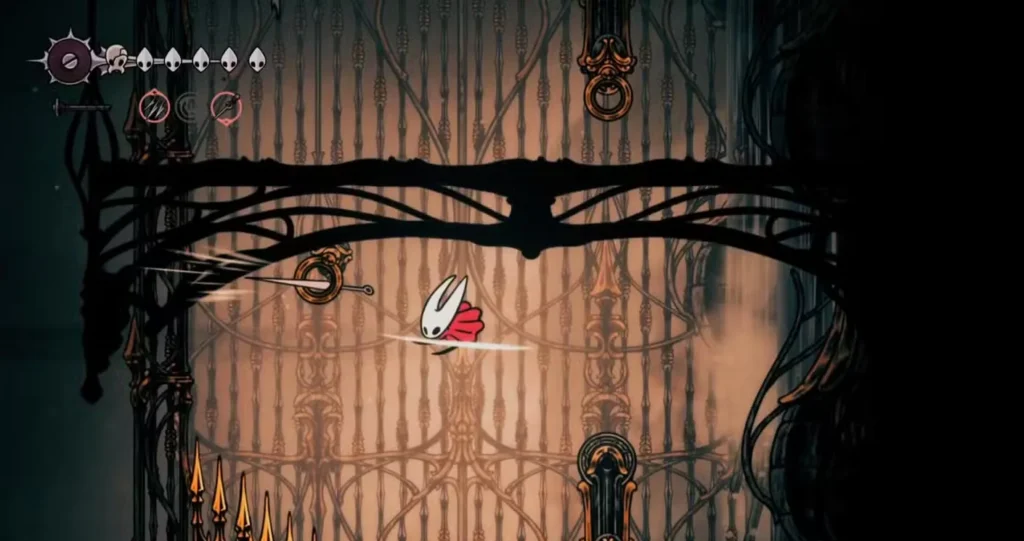
- Approach the grapple wheel and assess its rotation pattern
- Harpoon onto a hook when positioning allows optimal ascent
- Wait for the wheel to rotate upward – patience prevents mistimed attempts
- Use the momentum to access the top-right passage
- Combine with other abilities for smooth transition between grapple points
Timing principle: Grapple wheels operate on fixed rotation cycles. Observe the pattern before committing to avoid being carried away from your intended destination.
Phase 2: Complex Spike Navigation and Selective Grappling
The second major section introduces spike hazards that transform simple grappling sequences into precision challenges requiring careful timing and route selection.
Spike Room Strategy: When NOT to Use Grapples
Counterintuitively, the spike room with another grapple wheel requires ignoring the obvious grappling option in favor of more complex but safer navigation.
Critical navigation choice:
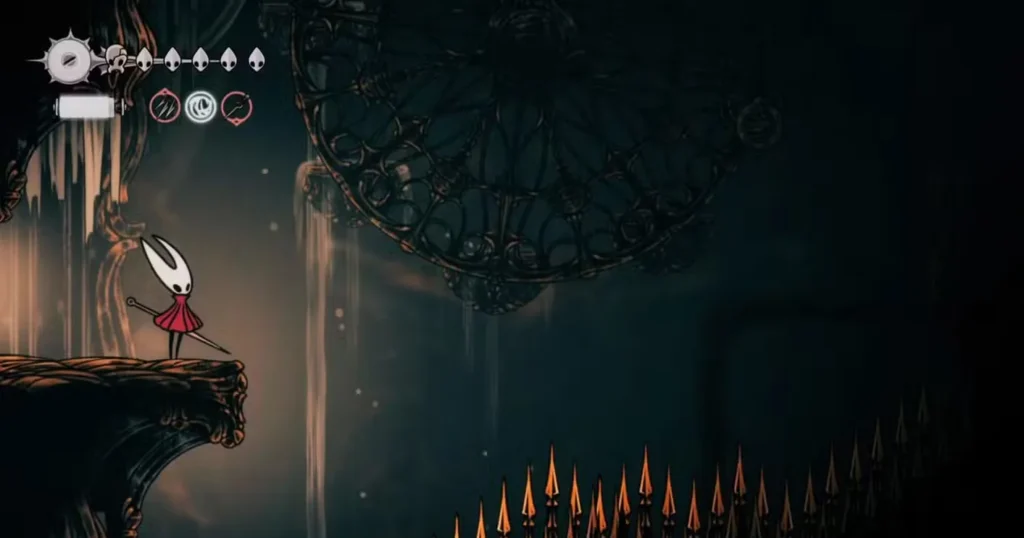
- Encounter the room with spikes on bottom and grapple wheel
- Ignore the wheel entirely – this is crucial for safe passage
- Float downwards while avoiding spikes – requires precise movement control
- Spot the grapple point on your right – this is your actual target
- Use Clawline immediately to avoid spike contact
Common mistake: Many players instinctively use the visible grapple wheel, which often leads to spike trap positioning or other navigational dead ends.
Spike Clearing Mechanics
High Halls features environmental elements that respond to player positioning, creating temporary safe passages through otherwise lethal areas.
Spike clearing sequence:
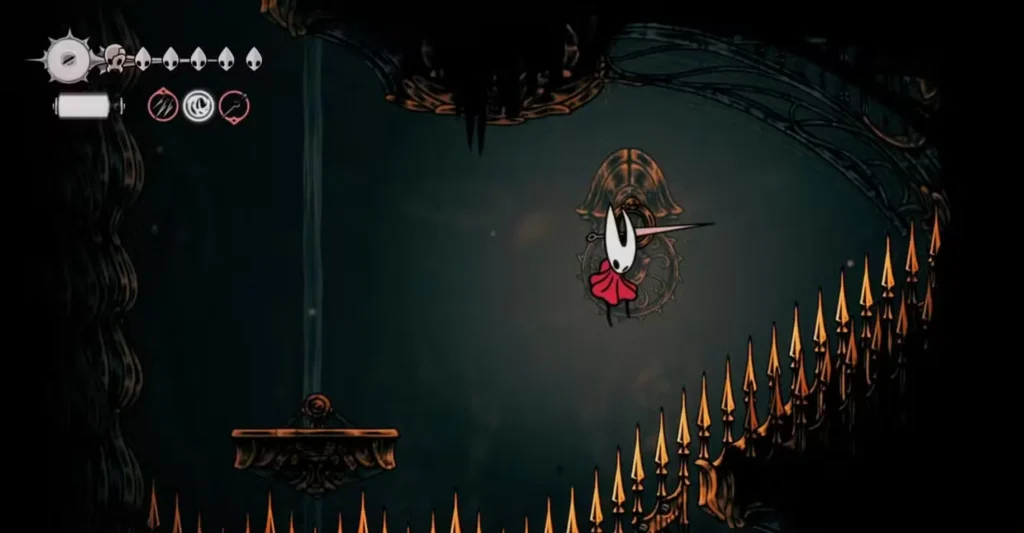
- Grapple to the right-side hook as identified above
- Wait several seconds on the grapple point – this triggers spike retraction
- Observe spike removal below your position
- Float down once spikes clear – timing window exists but isn’t permanent
- Repeat the process for subsequent spike sections
Environmental interaction: This mechanic demonstrates Silksong’s environmental responsiveness – your positioning actively changes the level geometry to create safe passage routes.
Phase 3: Advanced Floating and Final Grappling Sequence
The concluding navigation phase combines floating mechanics with final grappling challenges while introducing additional enemy and environmental hazards.
Multi-Hazard Navigation
The final approach requires simultaneous management of spikes, enemies, and precise grappling timing for successful completion.
Complex navigation sequence:
- Repeat the spike-clearing process from the previous section
- Encounter an enemy that can be avoided by continuing downward movement
- Enter the most challenging section requiring active movement during floating
- Move Hornet while floating to avoid spike positioning
- Execute final grappling sequence with precision timing
- Continue downward progression toward the destination markers
Skill integration: This section tests your ability to combine multiple movement techniques simultaneously rather than using them in isolation.
Ventrica Station Recognition
Visual landmarks indicate approaching success and provide crucial infrastructure for the final map acquisition.
Landmark identification:
- Look for Ventrica Station signage on your right side
- Recognize the distinctive station markers – consistent with other Citadel locations
- Head through the passage indicated by the station sign
- Locate the bench for rest and preparation
- Assess your Rosary reserves before proceeding to map purchase
The Ventrica station serves multiple functions – fast travel access, resource management opportunity, and confirmation that you’ve successfully navigated the challenging route.
Map Acquisition: Final Steps and Cost Management
The High Halls map machine follows the standard Citadel pattern while requiring specific resource allocation for optimal efficiency.
Map Purchase Process
Standard Citadel map acquisition applies with High Halls-specific cost and location details.
Purchase sequence:
- Interact with Ventrica Station if you have adequate Rosaries
- Ensure 70 Rosaries remain for map purchase after any station costs
- Locate the machine to the right of the Ventrica station
- Purchase High Halls map for 70 Rosaries
- Gain immediate area navigation capabilities
Resource optimization: If you’re short on Rosaries, the nearby Ventrica station provides access to areas with more viable enemy farming opportunities, allowing resource accumulation before map purchase.
Post-Acquisition Benefits
High Halls map ownership transforms the area from navigation challenge to manageable exploration zone.
Immediate benefits:
- Clear area layout understanding for efficient exploration
- Hidden passage identification for accessing optional content
- Safe route marking for future navigation attempts
- Progression planning for related quest and story elements
The map investment pays immediate dividends given High Halls’ complex layout and numerous interconnected chambers.
Strategic Considerations: Resource and Route Management
High Halls navigation demands strategic thinking about resource allocation, route efficiency, and risk management throughout the challenging sequence.
When to Attempt High Halls
Timing your High Halls expedition affects both success probability and resource efficiency based on your overall progression state.
Optimal timing factors:
- Clawline mastery – ensure comfortable proficiency with grappling mechanics
- Resource abundance – adequate Rosaries for map and potential failures
- Exploration goals – coordinate with other Citadel objectives for efficiency
- Skill confidence – complex navigation demands consistent execution
Risk assessment: The challenging route means failures can be costly in terms of time and resource expenditure. Ensure you’re prepared for multiple attempts if necessary.

Integration with Broader Citadel Progression
High Halls connects to multiple other Citadel areas and progression elements, making its exploration valuable beyond simple map completion.
The area serves important functions within the larger Threefold Melody quest and provides access to unique content that enhances overall progression through The Citadel’s complex structure.
Connection planning: Consider how High Halls exploration fits with your broader Citadel objectives to maximize efficiency and minimize redundant navigation through challenging areas.
Alternative Strategies and Backup Plans
High Halls’ demanding nature makes backup planning and alternative approaches valuable for players who struggle with the primary route.
Route Modification Options
While the core route remains consistent, minor modifications can improve success rates for players with different skill emphases or comfort levels.
Adaptation strategies:
- Take breaks at safe points to avoid rushing through complex sequences
- Practice grappling timing in safer areas before attempting High Halls
- Consider partial retreats if resource depletion becomes concerning
- Use the Ventrica station for strategic fast travel to resource farming areas
Resource Recovery Planning
The nearby Ventrica station provides excellent access to resource recovery opportunities if your High Halls attempt depletes your reserves.
This infrastructure makes High Halls more accessible than areas without convenient fast travel connections, enabling strategic resource management throughout the challenging navigation sequence.
Available across Steam, Nintendo Switch, PlayStation, and Xbox, Silksong’s challenging areas like High Halls reward persistent skill development and strategic preparation.
Final Thoughts: Mastery Through Challenge
High Halls exemplifies The Citadel’s design philosophy – areas that demand technical proficiency while rewarding successful navigation with essential progression tools and unique content access.
The challenging route to the map serves multiple purposes: skill development, area familiarization, and establishing the navigation competency needed for High Halls’ deeper secrets. Master this route once, and you’ll have developed grappling skills that serve you well throughout The Citadel’s most demanding content.
Remember that the journey to High Halls’ map is preparation for the area’s greater challenges rather than its ultimate test. The navigation skills, timing precision, and strategic thinking required for map access become essential tools for conquering High Halls’ complete content and progressing through The Citadel’s interconnected mysteries.