Learn how to reach the challenging Sands of Karak area in Hollow Knight Silksong, find the map location, and master the platforming challenges with our detailed walkthrough.
Getting Started: What You Need to Know About Sands of Karak
The Sands of Karak is one of those areas in Hollow Knight: Silksong that’ll either make you feel like a platforming master or have you questioning your gaming skills entirely. Located in Act 2, this desert-like region is notorious for its tricky platforming sequences and unique mechanics that can catch even experienced players off guard.
Here’s the thing about Sands of Karak – it’s not just about getting there, it’s about being prepared for what awaits you. The area introduces some challenging enemy types and platforming mechanics that build on everything you’ve learned so far in Pharloom.
Essential Prerequisites Before Your Journey
Before you even think about venturing into the sandy depths, you’ll need:
- The Clawline ability – This grappling hook tool is absolutely mandatory
- Decent platforming skills – The area will test your movement abilities
- At least 90 Rosaries – For purchasing the area map (though there are workarounds)
- Patience – Trust me, you’ll need it for some of the trickier sections
Pro Tip: If you’re short on Rosaries, don’t stress too much. The area has several shortcuts and a Bellway Station that makes it easy to backtrack to better farming spots and return with a fuller wallet.
Step-by-Step: How to Reach Sands of Karak
Getting the Clawline Ability First
Your journey actually begins in the Underworks, specifically in its eastern section. You can access Underworks through Whiteward, so make sure you’ve progressed far enough to reach these areas. The Clawline is essentially your ticket to Sands of Karak – without it, you’re not going anywhere.
The Route from Blasted Steps
Once you’ve got your Clawline ready, here’s your path:
- Head to the Bellway Station in Blasted Steps
- Move right, then down – This is where things get interesting
- Float during your fall and hug the left wall – This positioning is crucial
- Look for the first left passage – Don’t miss this or you’ll have to backtrack
Facing the Great Conchflies
The first left passage leads you into a boss arena where you’ll encounter the Great Conchflies. This is a duo boss fight that can be pretty overwhelming if you’re not prepared:
- Watch for attack patterns – Both bosses have distinct movement patterns
- Stay mobile – Don’t get caught in one spot too long
- Attack when they surface – Timing is everything here
- Keep track of both enemies – It’s easy to focus on one and get blindsided
Combat Strategy: The key to this fight is patience. Wait for openings when the Conchflies pop up, get your hits in, then immediately prepare to dodge the next attack sequence.
Navigating to the Pinstress
After defeating the Great Conchflies:
- Head left from the boss arena
- Glide all the way to the right – This section is actually pretty satisfying once you get the flow
- Find the Pinstress’s hut – She’s an important NPC you won’t want to miss
The Pinstress will give you the Needle Strike ability, which is a fantastic upgrade that adds a charged attack to your arsenal. This ability becomes incredibly useful not just in Sands of Karak, but throughout the rest of your Silksong journey.
The Final Ascent
From the Pinstress:
- Head left to find a grapple point
- Use your Clawline to ascend – This is where having that ability pays off
- Take the top left passage
- Watch out for wall-dwelling bugs – These nasties deal two mask damage, so don’t get careless
- Continue upward until you reach Sands of Karak
Finding the Map in Sands of Karak
The Yellow Ball Mechanic
Once you’re in Sands of Karak, you’ll immediately notice the area’s signature mechanic – yellow balls that create platforms when struck. This isn’t just a gimmick; it’s central to navigating the entire area.
How it works:
- Hit the yellow ball with your needle
- Platforms and corals appear in predetermined patterns
- Some corals can be down-slashed to create additional paths
- The platform layouts change based on which ball you’ve activated
Getting the Memory Locket
After the second yellow ball, pay attention to the platform formations:
- Right side platforms – Continue the main path
- Top left platforms – Lead to a valuable Memory Locket
Don’t skip the Memory Locket! This upgrade increases your Crest slots, giving you more flexibility with your build customization. It’s one of those upgrades that might not seem flashy but becomes incredibly valuable as you progress.
Locating Shakra and the Map
The path to the map vendor involves some precise platforming:
- Head right after collecting the Memory Locket
- Execute a jump-float-harpoon sequence to reach the wall
- Find the yellow ball on top and activate it
- Go down as platforms form to the left
- Harpoon across the spike section – Be precise here
- Head up and through the right passage
You’ll encounter a new enemy type in this section – take your time to learn their attack patterns since you’ll be seeing more of them.
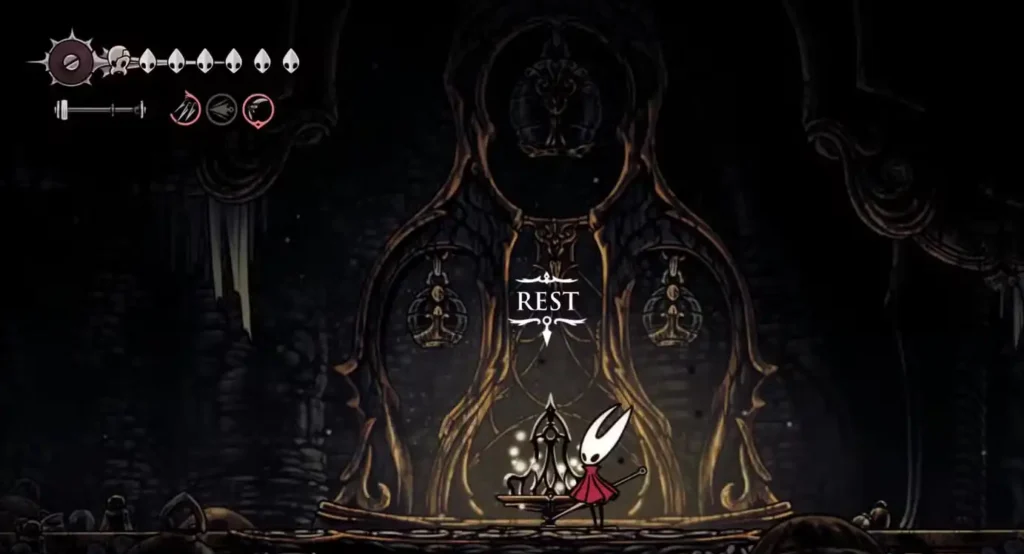
Finding Shakra: Look for a room above and to your left. Shakra sits at the end of this room and will sell you the area map for 90 Rosaries.
Smart Navigation Tips and Shortcuts
The Stalactite Shortcut
Before you buy the map, check out the stalactite in Shakra’s room. Attack it several times to break it – this creates a direct path back to the Bellway Station in Blasted Steps. This shortcut becomes invaluable when you’re preparing for the area’s boss encounters.
Why this matters: Sands of Karak has some challenging bosses ahead, and having a quick route back to a safe area for healing and preparation can save you a lot of frustration.
Bellway Station Strategy
The presence of a Bellway Station in this area is a game-changer for resource management:
- Use it for quick escapes if you’re low on health
- Fast travel to better farming areas when you need Rosaries
- Return with supplies before tackling difficult sections
What Makes Sands of Karak Special
This area stands out in Silksong for several reasons:
Unique Mechanics: The yellow ball platform system is unlike anything else in the game. It requires you to think spatially about how activating different balls creates different path options.
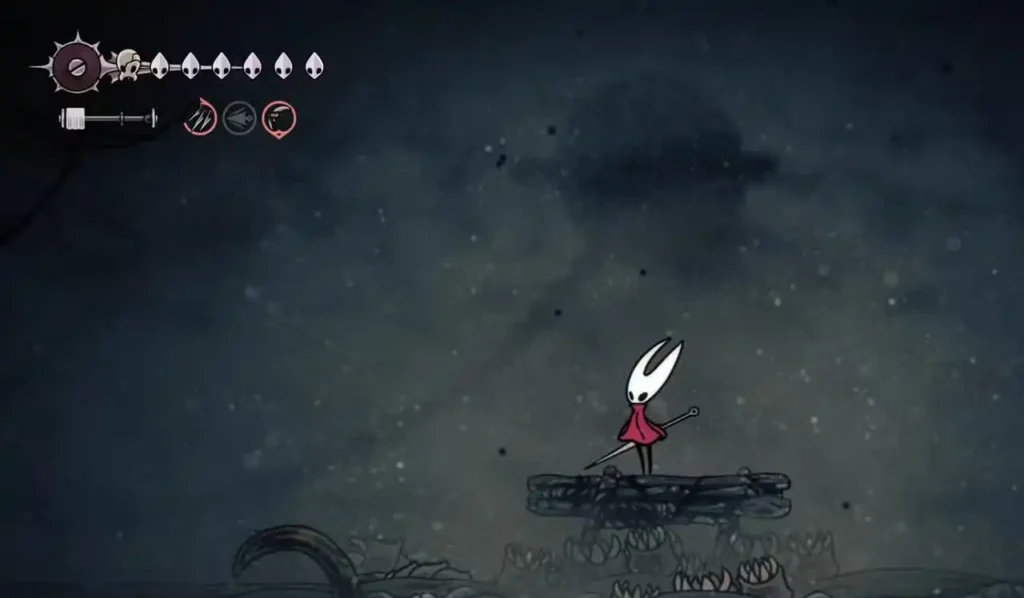
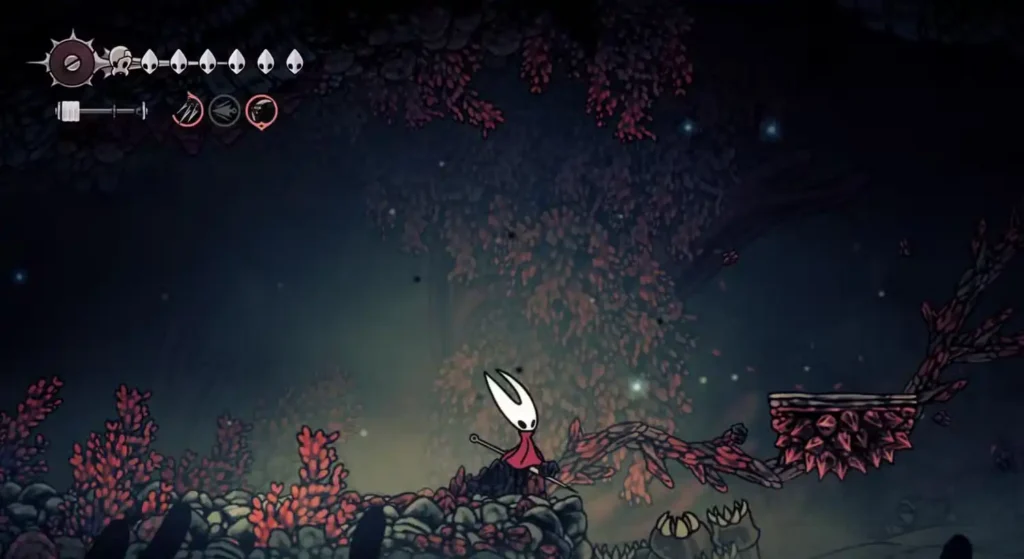
Visual Design: The desert aesthetic is a refreshing change from the more industrial areas you’ve been exploring. The art direction really shines here.
Skill Gateway: This area serves as a test of the movement abilities you’ve acquired. If you can navigate Sands of Karak comfortably, you’re ready for the challenges ahead.
Common Mistakes to Avoid
- Rushing through the yellow ball sections – Take time to understand the platform patterns
- Ignoring the Memory Locket – It’s easy to miss but incredibly valuable
- Not breaking the stalactite – You’ll regret skipping this shortcut later
- Fighting enemies on unstable platforms – Wait for solid ground when possible
Preparing for What’s Next
Once you’ve conquered Sands of Karak and obtained the map, you’re well-positioned to tackle the area’s remaining challenges. The movement skills and spatial reasoning you’ve developed here will serve you well in the areas to come.
The Needle Strike ability from the Pinstress becomes particularly valuable in upcoming boss fights, so make sure you’re comfortable with its timing and range.
Final Thoughts
Sands of Karak might seem intimidating at first, but it’s actually one of the more rewarding areas to master in Silksong. The combination of unique mechanics, valuable upgrades, and satisfying platforming makes it a standout location that showcases why Hollow Knight: Silksong is such an anticipated sequel.
Whether you’re playing on Nintendo Switch, PlayStation, Xbox, or PC, these strategies will help you navigate this challenging but rewarding area with confidence.
Remember, every master of Hallownest started as a struggling Knight – take your time, learn the patterns, and enjoy the journey through Pharloom’s sandy depths.