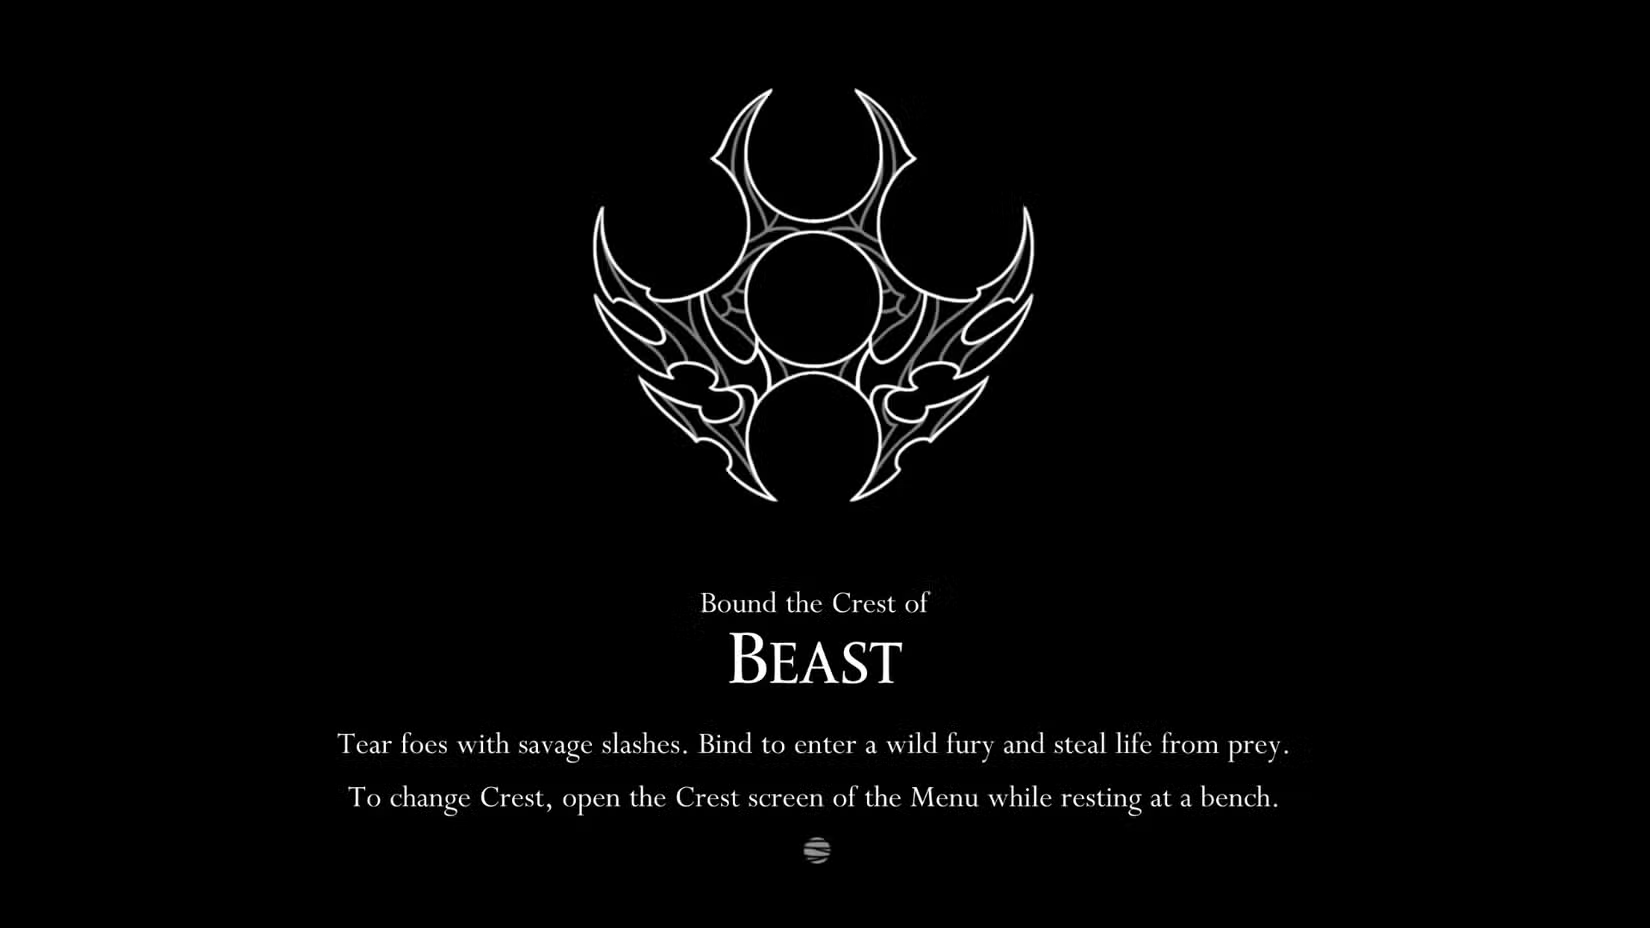
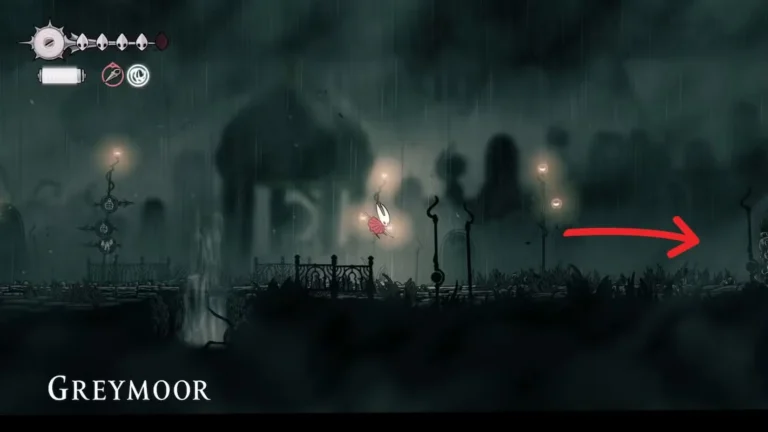
The Savage Beastfly represents one of Silksong’s most notorious early-game skill checks – a brutal optional boss that can either teach you advanced combat mechanics or send you back to the drawing board to gather more upgrades. With over 40 bosses scattered throughout Silksong, this particular encounter stands out for its combination of aggressive AI, tight arena space, and incredibly valuable reward.
What makes the Savage Beastfly especially challenging isn’t just its individual attacks, but how it transforms the fight dynamics halfway through by summoning allies. Suddenly, you’re not just fighting one tough enemy – you’re managing crowd control while dodging complex attack patterns in a cramped space.
Why Fight the Savage Beastfly?
Before diving into the location and strategy details, let’s talk about why this boss is worth your time and frustration. The reward – the Beast Crest – fundamentally changes how Hornet operates in combat, offering a completely different playstyle that many players find more engaging than the default setup.
The Beast Crest isn’t just another upgrade; it’s a paradigm shift that transforms healing into aggression and rewards offensive play over defensive tactics. For players who prefer high-risk, high-reward combat styles, this boss fight represents a crucial early-game milestone.
Getting to the Savage Beastfly
Prerequisite: Unlocking Hunter’s March
Your journey to the Savage Beastfly begins with defeating the Skarrguard in The Marrow. This boss guards access to Hunter’s March and can be found above Grindle’s prison building on the far right side of The Marrow zone. If you’re unsure about whether to free Grindle, that decision is separate from accessing this area.
Once you’ve defeated the Skarrguard, Hunter’s March opens up, revealing a challenging area filled with environmental hazards and aggressive enemies.
Navigating to Chapel of the Beast
Hunter’s March isn’t a casual stroll – it’s packed with Skarr Ant enemies, precision jumping puzzles, and deadly spike traps that can quickly drain your health if you’re not careful. The Chapel of the Beast sits at the far right of the Hunter’s March zone, requiring you to traverse several dangerous rooms to reach it.
Navigation tip: Take your time through Hunter’s March on your first visit. The area contains valuable resources and upgrade opportunities that make the boss fight more manageable.
The Crucial Bench Location
Before attempting the Savage Beastfly, you’ll want to establish a safe respawn point. In the room with the upward air vent in Hunter’s March, you’ll notice a broken sign pointing left. This leads to a bench, but be careful – it’s trapped.
To safely use this bench:
- Enter the secret room to the left of the bench
- Hit the lever to disable the trap mechanism
- Now you can safely rest without taking damage
This bench location is crucial because it provides the shortest route back to the boss if you need multiple attempts. For more information about bench traps in Hunter’s March, check our detailed guide.
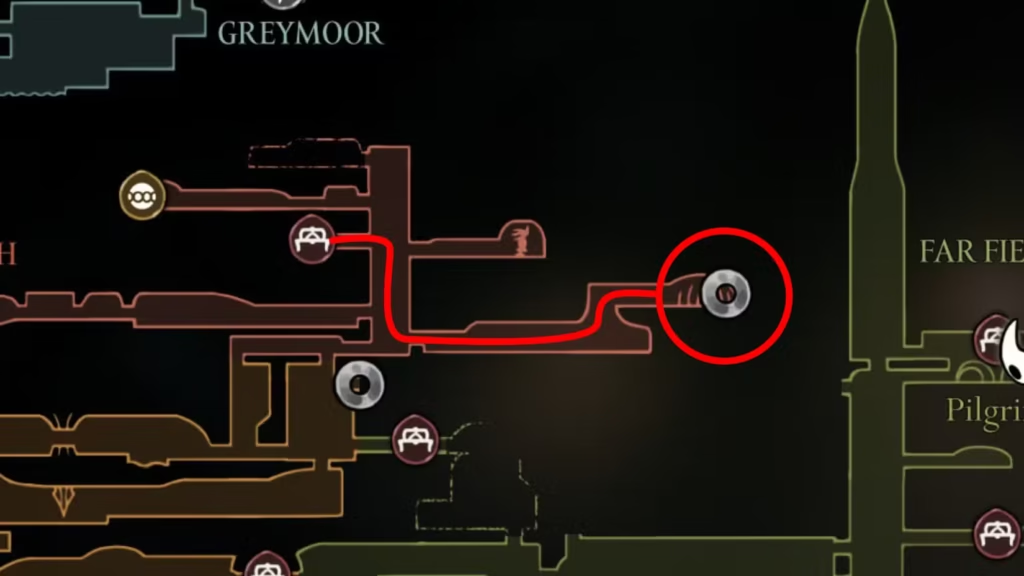
Optimal Route to the Boss
From the safe bench, here’s the most efficient path to the Chapel of the Beast:
- Head right from the bench toward the main vertical chamber
- Drop down through the air vent room to reach the lower section
- Use Drifter’s Cloak to float into the bottom-right entrance
- Activate Swift Step to dash quickly across the long horizontal room
- Jump over the trap and Skarr enemy positioned midway through
- Float up the final air vent to reach the Chapel entrance
Speed tip: Once you unlock the shortcut lever deeper in the Chapel, subsequent attempts become much faster.
Phase-by-Phase Strategy
Phase 1: Learning the Patterns
The first phase focuses on learning the Savage Beastfly’s core movement patterns. The boss primarily uses two attack types:
Targeted Charges: The beast tracks Hornet’s position and charges directly at her current location. These attacks require precise timing to avoid and punish.
Floor Charges: Horizontal attacks that sweep across the ground level, forcing you to stay airborne or time your jumps perfectly.
Key strategy: Use this phase to practice your timing and positioning. Don’t get greedy with attacks – focus on consistency and learning the visual cues for each attack type.
Phase 2: Crowd Control Chaos
After dealing sufficient damage, the Savage Beastfly roars and summons allies, fundamentally changing the fight dynamics. This roar serves as your transition marker – prepare for a much more complex encounter.
New attack: Triple Slam – The boss gains a devastating three-hit combo that can quickly end your run if not properly managed.
Ally management: The summoned enemies aren’t just distractions – they actively attack and can overwhelm you if ignored.
Detailed Attack Breakdown
Low Charge
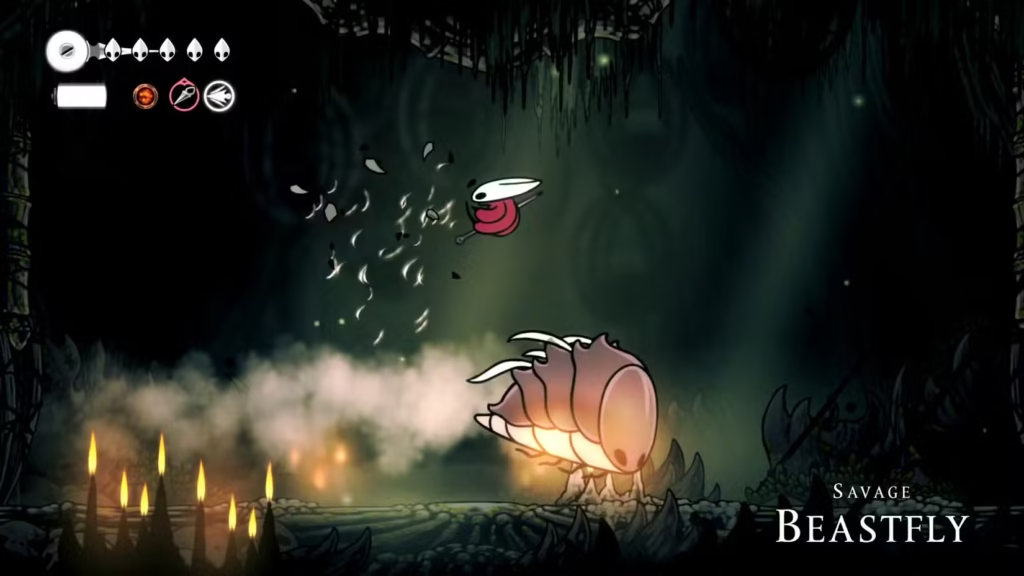
Visual cue: The boss lowers itself to ground level on either the far left or right side of the arena.
Counter strategy: Jump over the attack and try to land hits as it passes underneath you. This is one of the safer opportunities to deal damage, but be ready for the follow-up attack.
Timing tip: Don’t land immediately after jumping – the boss often chains this into a Targeted Charge.
Targeted Charge
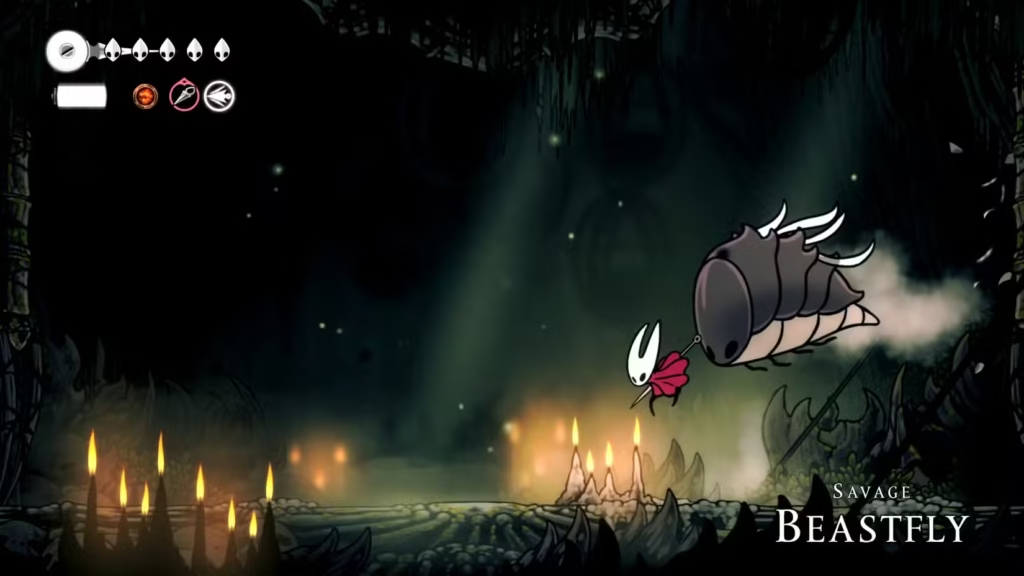
Visual cue: The beast floats up and down on one side of the arena, clearly tracking Hornet’s vertical position.
Counter strategy: Lead the attack above your current position, then slash downward as it passes overhead. This requires predicting the boss’s path rather than reacting to it.
Advanced technique: With good timing, you can hit the boss twice during this attack – once as it approaches and once as it passes by.
Triple Slam
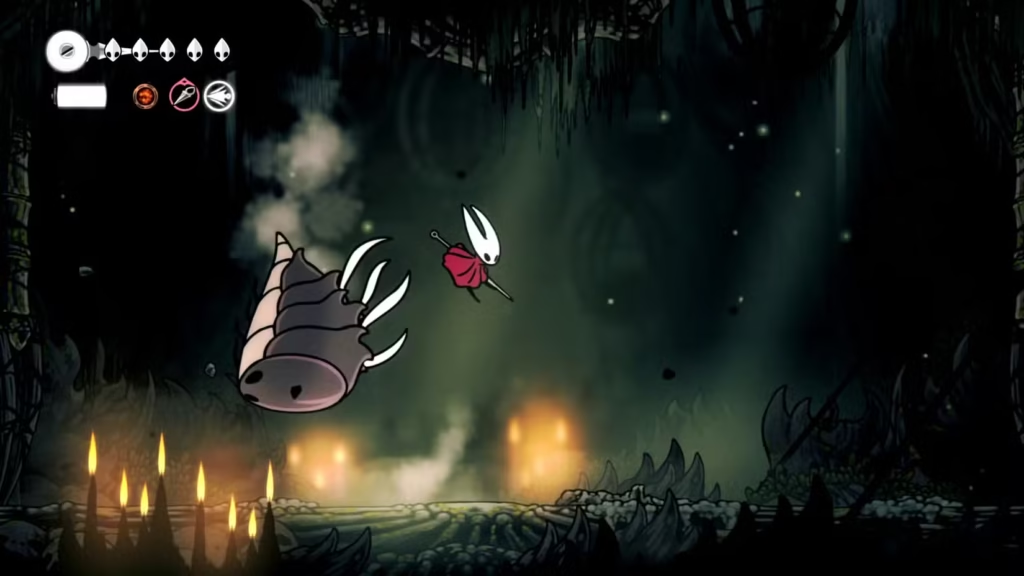
Visual cue: The boss hovers directly above Hornet, then telegraphs three rapid downward strikes.
Counter strategy: Use Swift Step to dash sideways before each slam impact. With precise timing, you can land two hits after each slam.
Critical insight: This attack can actually help you in phase 2 – position the boss above its own summons to make it destroy them with friendly fire.
Summon Ally (Roar)
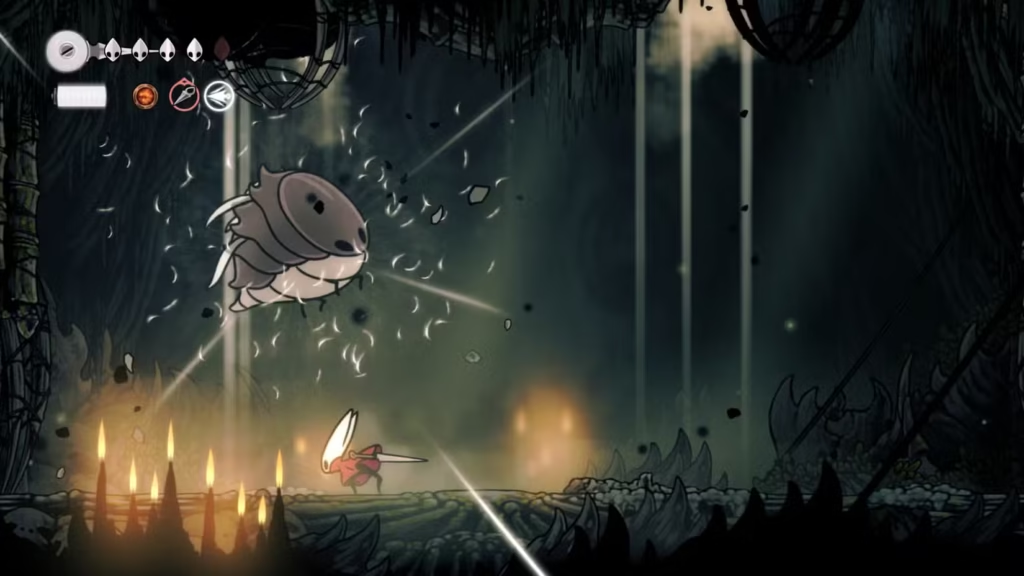
Visual cue: The boss stops mid-air and releases a distinctive roar sound.
What to expect: Cages fall from the ceiling, releasing various enemy types:
- Mawlings: Ground-based enemies with defensive spikes
- Beastflies: Flying enemies that charge periodically
- Vicious Caranid: Large flying enemy with dangerous close-range attacks
Strategy: Use this roar duration to either heal with Bind or position yourself for the upcoming crowd control phase.
Advanced Combat Tips
Aggressive Staggering
One of the most effective strategies involves maintaining pressure to stagger the boss right before it can summon allies. When successfully executed, you prevent the most dangerous phase of the fight entirely.
Execution: Focus on landing consecutive hits during the boss’s recovery periods. A well-timed stagger during the roar animation cancels the summoning entirely.
Risk/reward: This approach requires staying close to the boss, increasing your damage intake but potentially shortening the fight significantly.
Healing Opportunities
Safe healing windows are limited but predictable:
- After Low Charge: Brief window for Bind, but watch for follow-up attacks
- During Stagger: 3-4 seconds of safety for healing or aggressive damage
- During Roar: If you can avoid the falling cages, this provides healing time
Equipment Recommendations
Essential Tool: Warding Bell – Prevents damage during Bind animations, making healing much safer in this aggressive fight.
Damage Tools: Straight Pin or Sting Shard help clear summoned enemies quickly, preventing the fight from becoming overwhelming.
Movement: Ensure you have Swift Step unlocked – it’s nearly mandatory for avoiding the Triple Slam attack consistently.
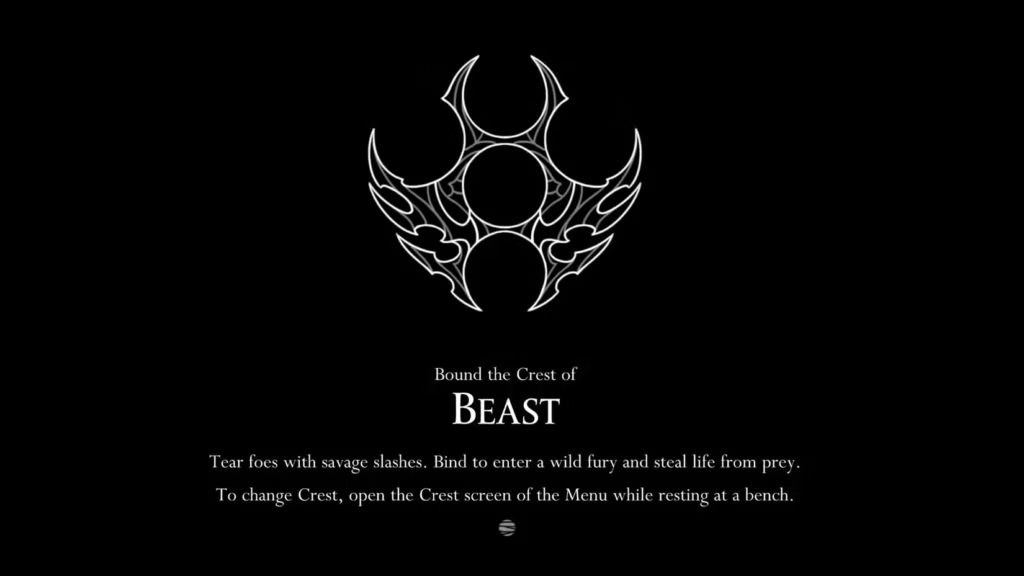
Understanding the Beast Crest Reward
Fundamental Gameplay Changes
The Beast Crest doesn’t just provide stat bonuses – it completely alters Hornet’s combat philosophy. Instead of the traditional healing system, Binding with the Beast Crest activates a “Rage mode” that encourages aggressive play.
Rage Mode Mechanics:
- Attacks deal increased damage during the rage state
- Hits restore HP instead of consuming it
- Risk/reward dynamic encourages staying in combat rather than retreating
Combat Moveset Changes
Melee Range: Hornet’s needle attacks are replaced with short-range claw swipes, changing your optimal positioning and combo opportunities.
Aerial Combat: The downward aerial attack becomes a spinning move with more horizontal reach, affecting how you approach aerial enemies.
Tool Slot Configuration
The Beast Crest provides two red Tool slots by default, which is fewer total slots than other Crests but focuses on offensive capabilities. This limitation forces more strategic Tool selection – you can’t carry everything, so prioritize damage and utility over defensive options.
Strategic Implications
The Beast Crest fundamentally suits players who prefer:
- Aggressive positioning over defensive play
- High-risk, high-reward combat scenarios
- Continuous pressure rather than hit-and-run tactics
- Resource management through combat rather than consumables
When to Attempt This Boss
Recommended Preparation
Minimum requirements:
- Swift Step ability unlocked (essential for Triple Slam)
- At least 4-5 HP masks for survivability
- Warding Bell obtained for safe healing
- Comfortable with basic combat mechanics
Optimal timing: After exploring Hunter’s March thoroughly but before tackling major story bosses. The Beast Crest can make subsequent encounters significantly easier if you adapt to its playstyle.
Alternative Approach
If the fight proves too challenging, mark the location with a Shell Marker and return later with:
- Additional HP upgrades from Silk enhancement
- More advanced Tools and abilities
- Better understanding of Silksong’s combat systems
Why This Fight Matters
The Savage Beastfly serves as more than just an optional boss – it’s a skill check that teaches advanced combat concepts essential for later Silksong encounters. The fight demands mastery of:
- Multi-enemy management in confined spaces
- Timing-based positioning for complex attack patterns
- Resource management under pressure
- Adaptive strategy as fight conditions change
Successfully beating this boss demonstrates readiness for Silksong’s more challenging late-game content while providing tools that make the journey more engaging.
The Beast Crest isn’t just a reward – it’s an invitation to experience Silksong’s combat system from a completely different perspective, one that many players find more dynamic and engaging than the default approach.
Essential Preparation Guides:
- Warding Bell Location – Essential Tool for safe healing during this fight
- Hunter’s March Bench Trap Guide – Avoid the trapped bench near the boss
- Dash and Swift Step Guide – Required ability for Triple Slam attacks
- HP and Silk Upgrades – Increase survivability for this tough fight
Related Boss and Combat Guides:
- Should You Free Grindle? – Decision in The Marrow area
- Essential Beginner Tips – Master fundamental combat before attempting this boss
- Tool and Equipment Strategies – Optimize your loadout for boss encounters
Navigation and Exploration:
- Maps and Navigation Guide – Essential for finding your way through Hunter’s March
- Shell Shard Management – Maintain Tool ammo for extended fights
For New Players:
- Complete Beginner’s Guide – Build foundational skills before attempting optional bosses
- Merchant Buying Priority – Invest in the right upgrades for boss preparation
External Resources:
