Face the Savage Beastfly again in Far Fields! Complete guide to the rematch location, lava arena strategy, and how to get the Mask Shard reward in Hollow Knight Silksong.
The Return of a Familiar Foe
Just when you thought you’d seen the last of the Savage Beastfly from the Chapel of the Beast, Hollow Knight: Silksong throws you a curveball. This isn’t just a simple boss rematch—it’s an escalated encounter that tests everything you’ve learned since your first victory. The stakes are higher, the arena is more dangerous, and the rewards make it all worthwhile.
Why Fight the Same Boss Twice?
Team Cherry’s Rematch Philosophy
The Savage Beastfly rematch exemplifies Silksong’s approach to boss encounters. Rather than simply recycling content, these repeat fights serve multiple purposes:
- Skill validation – Proves you’ve mastered techniques since the first encounter
- Environmental challenge – New arena mechanics test adaptability
- Narrative progression – Shows how threats evolve throughout Pharloom
- Meaningful rewards – Provides essential progression items (Mask Shards!)
This design philosophy transforms what could feel like padding into genuine content that enhances your journey through Act 2.
Quest Prerequisites: Proving Your Worth
Required Progressions
Before the Savage Beastfly rematch becomes available, you’ll need to demonstrate significant story advancement:
1. Chapel of the Beast Victory Your initial triumph over the Savage Beastfly establishes the foundation for this questline. That first fight taught you the boss’s movement patterns and attack telegraphs—knowledge that becomes crucial for the rematch.
2. Act 2 Progression This ensures you have access to the enhanced tools and abilities needed for the more challenging encounter ahead.
3. Cogwork Dancers Defeat This mechanical boss fight serves as a skill gate, proving you can handle complex multi-phase encounters before facing an environmental hazard boss.
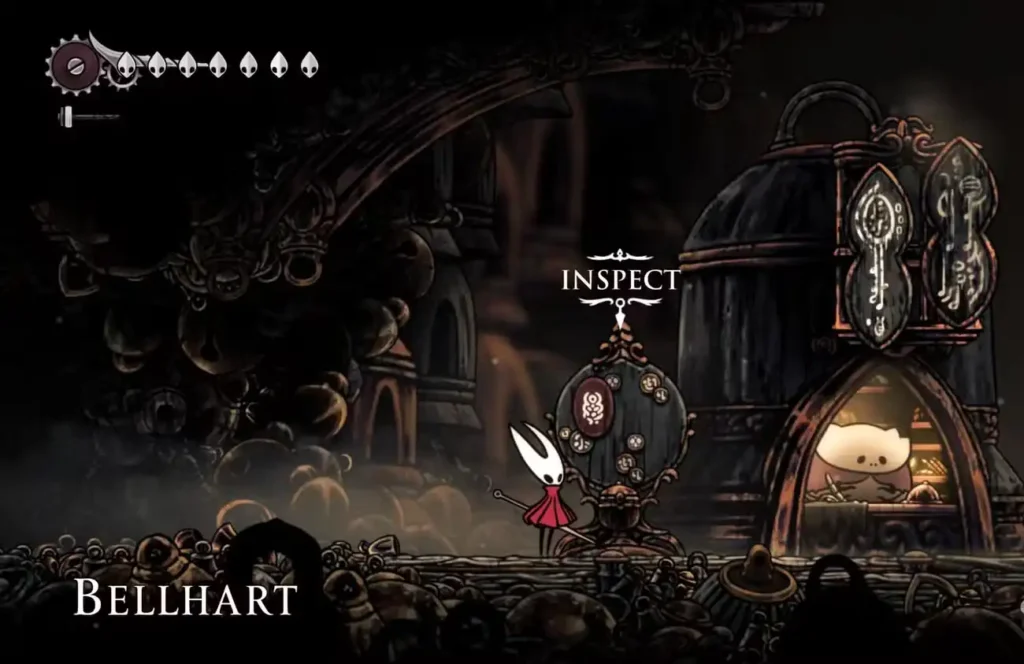
Finding the Quest at Bellhart
Location Details: Bellhart serves as Act 2’s primary quest hub, offering various wishes that advance both story and character progression. The Savage Beastfly rematch wish appears once you’ve met all prerequisites, clearly marked with urgency that suggests significant rewards await.
Quest Context: The wish description hints at the beast’s continued rampage through Far Fields, suggesting this isn’t just about personal glory—you’re protecting the region’s stability.
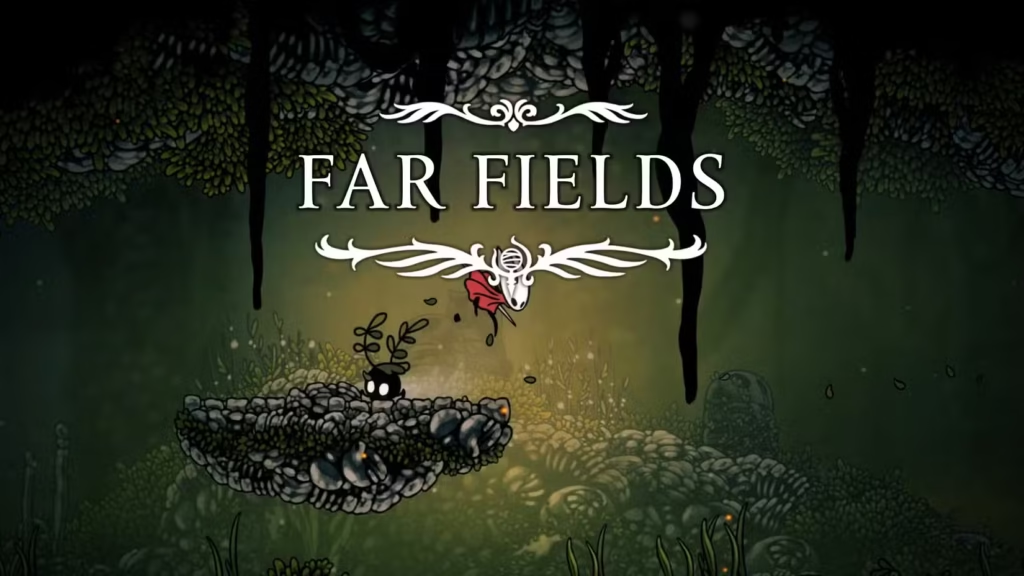
Journey to Far Fields: Navigation Strategy
Bellway Station Approach
Starting from the Far Fields Bellway Station provides the most efficient route to the rematch arena. This fast travel location becomes essential for quick access, especially if you need multiple attempts.
The Tracking Option (Skip This!)
The game offers a tracking mechanic to hunt the Savage Beastfly through Far Fields, but this is essentially a time sink with no meaningful rewards. Experienced players should skip this entirely and head directly to the known location.
Efficient Route:
- From Bellway Station, take the left passage
- Head down when the path splits
- Move right toward the Four Chorus area
- The boss arena is clearly marked and unmistakable
Pro tip: If you’re unfamiliar with Far Fields navigation, take a moment to study the map layout before rushing into combat.
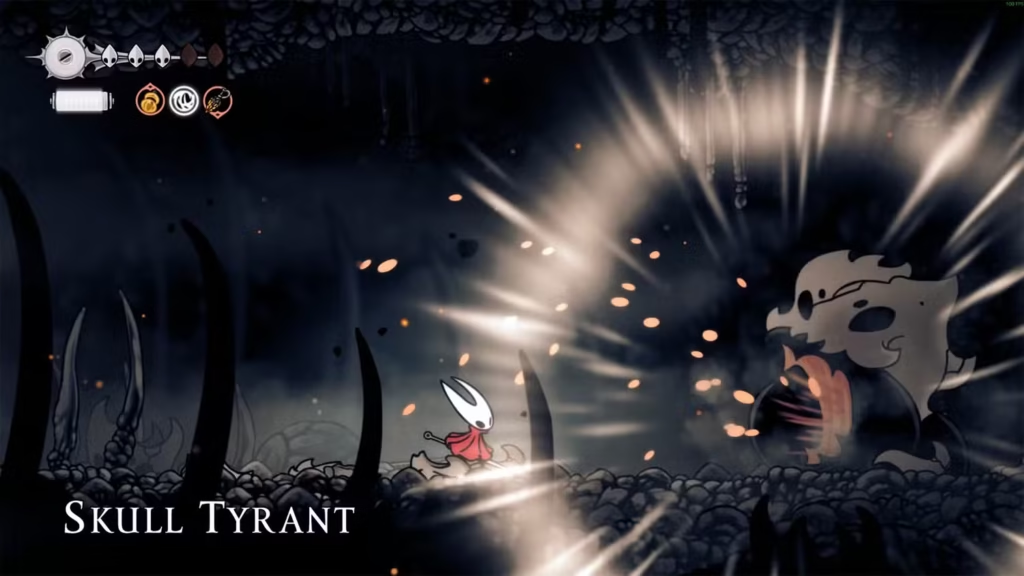
The Lava Arena: Environmental Hazards
What Makes This Fight Harder
The rematch arena represents a significant escalation from the Chapel of the Beast encounter. Instead of a straightforward platform setup, you’re now dealing with:
Active Lava Hazards:
- Lava pools on arena sides deal 2 mask damage per contact
- Platform destruction from boss slam attacks
- Reduced safe movement space compared to original fight
Strategic Implications: The environmental hazards aren’t just decoration—they fundamentally change how you approach the fight. Positioning becomes critical, and aggressive play styles need careful risk assessment.
Magma Bell Protection
The Magma Bell blue tool provides crucial lava immunity, transforming this encounter from a positioning nightmare into a more manageable battle. If you have access to this tool, it should be your first equipment choice.
Why Magma Bell Matters:
- Eliminates lava damage completely
- Allows aggressive positioning near arena edges
- Reduces stress and allows focus on boss mechanics
- Essential for players who struggle with precise platforming
Optimal Strategy: The Venom Setup
Pre-Fight Preparation
The most effective approach involves setting up a venom trap before the encounter begins:
Required Tools:
- Sting Shard – Your primary damage dealer
- Curveclaw – For enhanced tool effectiveness
- Pollip Pouch – Adds crucial venom properties to tools
The Setup Process
1. Arena Preparation Before triggering the boss encounter, strategically place Sting Shards around the arena. Focus on areas where the Savage Beastfly typically hovers or lands.
2. Venom Application With Pollip Pouch equipped, your Sting Shards gain venom properties that dramatically increase damage over time. This transforms the fight from a lengthy endurance test into a rapid takedown.
3. Execution Once the boss activates and contacts your pre-placed traps, the venom damage should end the encounter in under a minute—assuming proper setup.
Why This Strategy Works
Damage Efficiency: Venom bypasses the need for extended combat engagement, reducing exposure to environmental hazards and boss attacks.
Time Management: Quick victories mean less opportunity for platform destruction and lava positioning mistakes.
Resource Conservation: Minimal silk and health expenditure leaves you prepared for subsequent challenges.
Advanced Combat Tips
For Players Without Optimal Tools
If you lack the complete venom setup, alternative strategies include:
Mobility Focus:
- Prioritize wall jump techniques for platform recovery
- Use dash mechanics to avoid lava contact
- Master the boss’s attack timing to predict platform destruction
Defensive Approach:
- Focus on healing optimization between boss phases
- Use ranged attacks to minimize positional risk
- Employ parrying techniques to counter aerial attacks
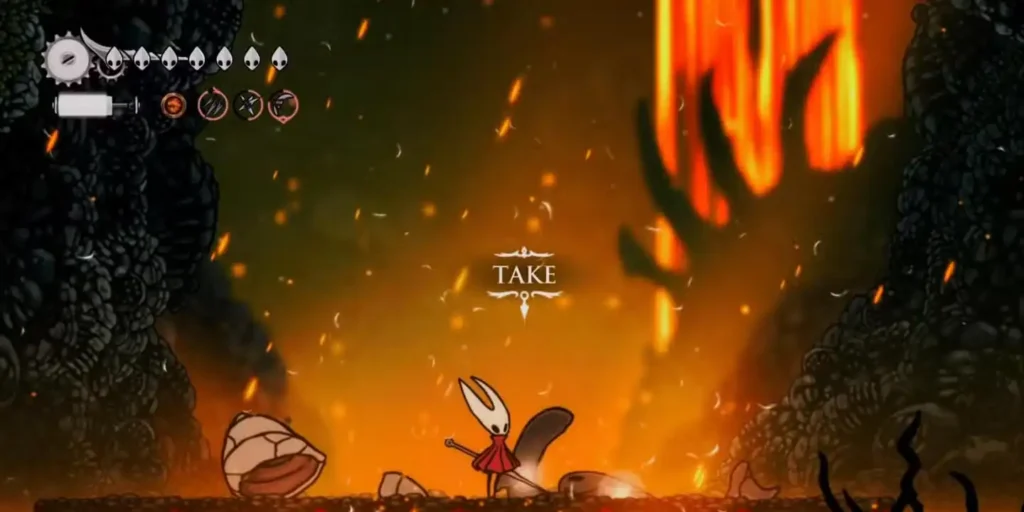
The Reward: Essential Progression
Horn Fragment Collection
After defeating the Savage Beastfly, you’ll collect a Horn Fragment—a quest item that serves as proof of your victory. This isn’t just a trophy; it’s evidence of your growing mastery over Pharloom’s most dangerous creatures.
Mask Shard Achievement
Why This Matters: The quest completion rewards you with a Mask Shard, one of the most valuable progression items in Silksong. Health increases are crucial for surviving Act 2’s escalating challenges and preparing for endgame content.
Strategic Value: This Mask Shard might be the difference between success and failure in upcoming boss encounters. The investment in time and effort pays dividends throughout the rest of your journey.
Boss Encounter Evolution
Comparing Both Fights
Chapel of the Beast (Original):
- Controlled environment with stable platforms
- Focus on learning boss mechanics
- Introduction to enemy summoning patterns
Far Fields (Rematch):
- Environmental hazards add complexity
- Tests mastery of learned mechanics
- Rewards prepared players with quick victories
This progression showcases how Silksong uses familiar encounters to validate player growth while introducing new challenges.
Platform Availability
Ready to face the Savage Beastfly again? Hollow Knight: Silksong awaits across platforms:
Mastery Through Repetition
The Savage Beastfly rematch represents more than just a second boss fight—it’s a masterclass in how to evolve familiar content into fresh challenges. The environmental hazards, enhanced rewards, and strategic preparation requirements create an encounter that feels both familiar and entirely new.
Whether you choose the efficient venom strategy or prefer a more traditional approach, this fight serves as an excellent benchmark for your combat progression. The Mask Shard reward ensures that every player who completes this challenge gains meaningful advancement toward conquering Pharloom’s greatest threats.
Looking for more boss strategies? Check out our complete boss fight guides or explore essential tool combinations to optimize your combat effectiveness.