Let’s be honest – navigating Pharloom as Hornet can be pretty brutal sometimes. You’re constantly dodging enemies, solving puzzles, and trying not to fall into bottomless pits. That’s exactly why the Thread Storm skill is such a game-changer when you finally get your hands on it.
Thread Storm basically turns Hornet into a silk-slinging tornado of destruction. Instead of carefully picking off enemies one by one, you can unleash this flurry of rapid slashes that tears through groups of enemies like they’re made of paper. It’s honestly one of the most satisfying abilities in the entire game.
Why Thread Storm is Worth the Effort
Before we dive into the step-by-step process, let me tell you why this skill is worth all the platforming headaches you’re about to endure. Most of Hornet’s combat revolves around precise, calculated strikes – which is great for one-on-one fights, but what happens when you’re surrounded by three or four enemies?
That’s where Thread Storm shines. It’s your get-out-of-jail-free card for overwhelming situations. Plus, the visual effect is absolutely gorgeous – watching Hornet spin and slash in a whirlwind of silk never gets old.
Getting to Greymoor: Your Starting Point
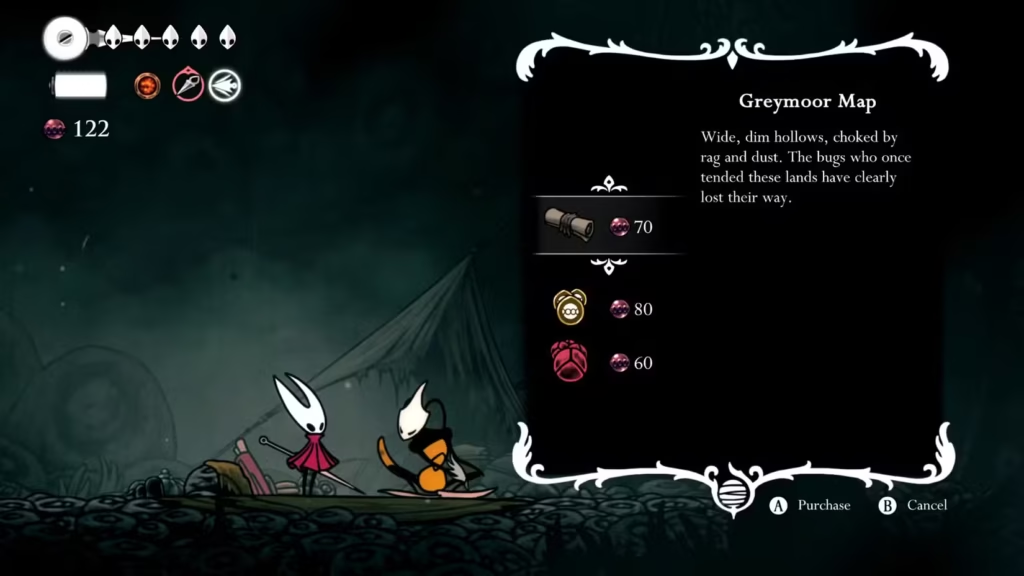
Your journey begins in Greymoor, which you’ll reach after progressing through Far Fields. If you’re having trouble getting there in the first place, our Greymoor progression guide has all the details you need.
Once you’re in Greymoor, head right until you see the docks area. You’ll know you’re in the right spot when you see water surrounding some wooden platforms. This is where things get interesting – and by interesting, I mean potentially frustrating if you don’t know what you’re doing.
The Balloon Platforming Challenge
Here’s where Silksong really tests your platforming skills. The balloon mechanics in Craw Lake are unlike anything else in the game, and they can be pretty unforgiving if you rush through them.
Here’s what you need to know about the balloons:
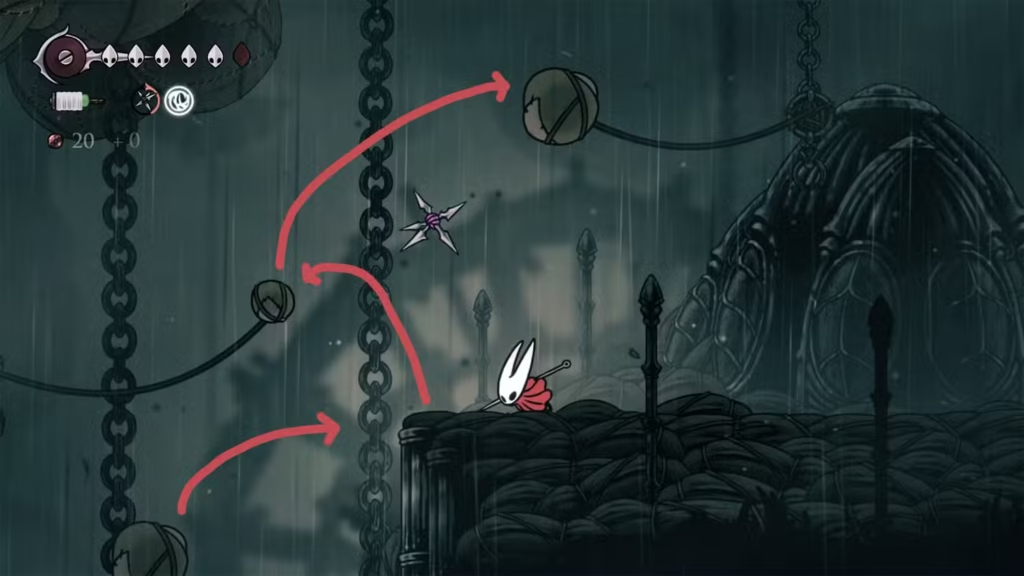
Start by using the balloons to jump higher until you land on the platform above the crow’s nest entrance. Turn left and use a plunge attack on the balloons to reach an even higher platform. Stay on the left side and keep using the balloons to jump higher until you reach a small platform.
Quick tip: there’s actually a shortcut to a bench on one of the left platforms, which is perfect if you want to set up a checkpoint before continuing.
From that small platform, you’ll see you can go to either upper or lower areas. The lower platform is locked, so aim for the upper one where you’ll find a lever. Jump straight up using the balloons to reach this upper platform and pull the lever.
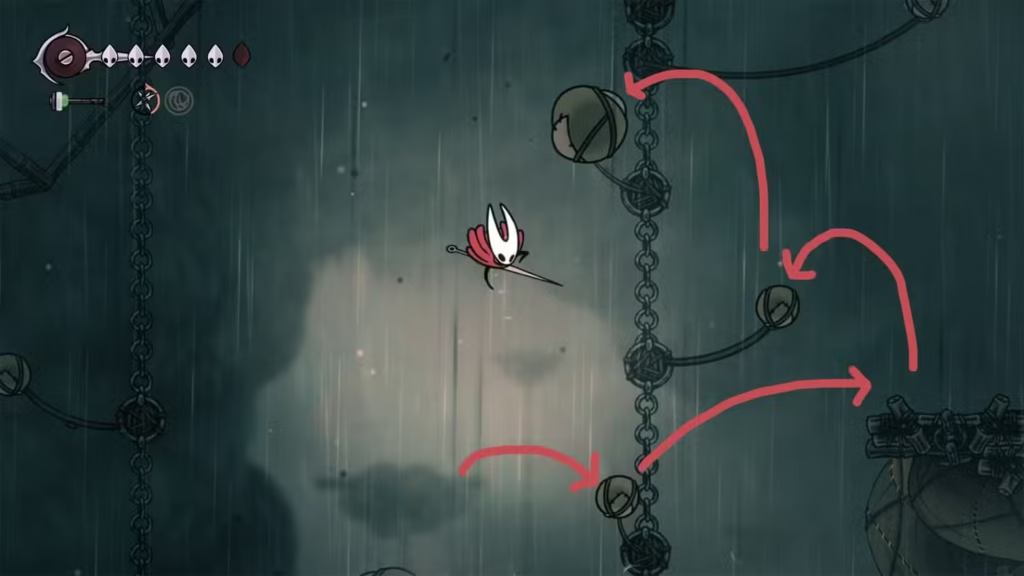
After pulling the lever, float down slowly until a small balloon appears. Use a plunge attack to get closer to the lower platform, and from there the path becomes much more straightforward.
The Crow’s Nest Detour (Don’t Skip This!)
Here’s something that trips up a lot of players: if you get to Craw Lake and there are no balloons anywhere, you’ve missed a crucial step. You need to go into the Crow’s Nest first and activate a lever to spawn all the balloons.
To get into the Crow’s Nest, swim in the water at the docks and climb to the entrance. Head inside and go down, then climb the platforms until you reach a large room.
Fair warning – you’re about to face a boss fight against a whole bunch of different types of crows. It’s not your typical single-boss encounter, so be ready for chaos. Once you defeat them all, hit the lever in the upper room. This spawns balloons throughout the entire area, making it possible to reach the highest point.
If you’re struggling with boss fights in general, check out our boss battle strategies for some helpful tips.
The Final Push to Thread Storm
After you’ve got the balloons spawning, carefully jump on them to go up. There’s an enemy waiting for you on one of the higher platforms, so don’t get caught off guard. Keep jumping on the balloons until you reach the highest platform in Craw Lake.
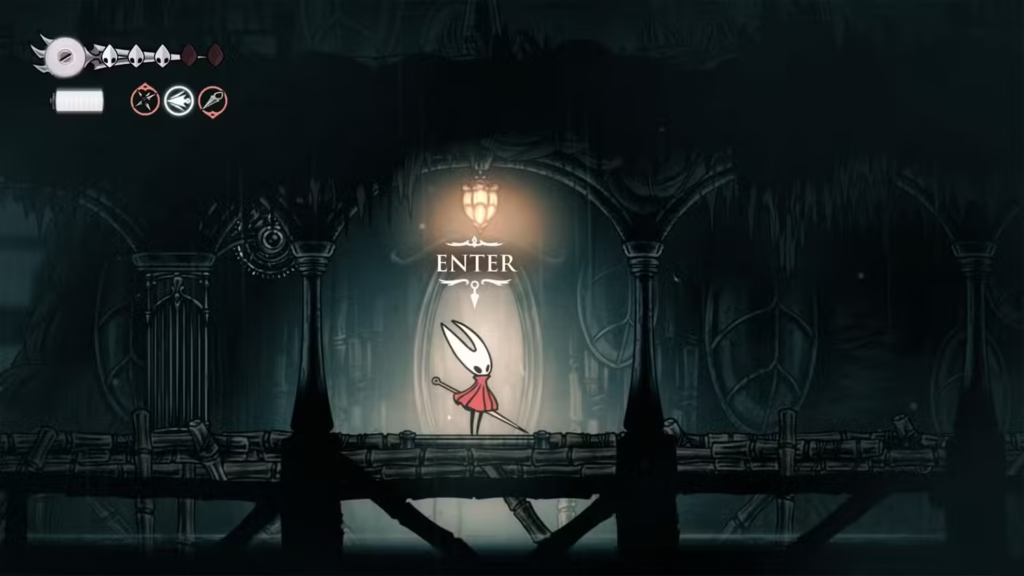
From there, continue going up until you reach a completely new area. Navigate through more balloons and keep jumping higher until you can inspect a relic. That’s it – you’ve got Thread Storm!
Making the Most of Your New Skill
Now that you’ve got Thread Storm, let’s talk about how to actually use it effectively. This isn’t just a “mash the button and win” kind of ability – there’s some strategy involved.
Thread Storm works best when you’re dealing with multiple enemies at once. It’s also great as a combo finisher or when you need to create some breathing room in a tight spot. However, don’t waste it on single enemies or when you’re low on silk – you’ll want to manage your resources carefully.
Speaking of resources, if you haven’t already, you might want to look into silk upgrades to make sure you can use Thread Storm when you really need it.
Common Mistakes to Avoid
The biggest mistake I see players make is trying to rush through the balloon sequences. These platforms require patience and timing – if you try to speed through them, you’ll just end up falling and having to start over.
Another common issue is not having the right movement abilities unlocked first. Make sure you’ve got your basic dash and movement skills down before attempting this area.
And please, don’t skip the Crow’s Nest like I did on my first playthrough. I spent way too long wondering why there were no balloons before realizing I needed to activate them first.
Final Thoughts
Getting Thread Storm is definitely one of the more involved skill unlocks in Silksong, but it’s absolutely worth the effort. The platforming challenge teaches you a lot about the game’s mechanics, and having Thread Storm in your arsenal opens up so many new combat possibilities.
Once you’ve mastered this skill, you’ll be well-prepared for whatever else Pharloom throws at you. For more essential tips and strategies, our beginner’s guide covers everything you need to know to succeed in Silksong.
Ready to download and start your journey? You can get Hollow Knight: Silksong on Steam, Nintendo Switch, PlayStation, or Xbox.