So you’ve just crashed onto Arcadia-7 in StarRupture, and surprise—corporate overlords immediately put you to work. Your mission? Extract resources, refine materials, and ship everything back to satisfy their endless demands. Sounds simple enough, right?
Well, here’s the catch: nothing works without power. And if you’re like most new players, you’ve probably placed down your first ore extractor only to watch it sit there like a useless metal box. The game doesn’t exactly hold your hand through the power system, so let me break it down for you.
Understanding the Power System Basics in StarRupture
Power in StarRupture works through direct connection. Think of it like old-school electrical circuits—everything needs to be physically linked somehow. No wireless power here, unfortunately. Your structures need to either touch each other directly or be connected through intermediary objects that transfer power.
The most basic power source you’ll encounter early on is the Solar Generator, which outputs a modest 10 power units. That might not sound like much, but it’s enough to get your first operations running.
Three Ways to Connect Power
Method 1: Direct Contact (The Simple Approach)
The easiest way? Just place your Solar Generator right next to whatever needs power. Slap that generator beside your ore extractor, and boom—you’re in business. No fuss, no complicated wiring.
This works great for compact setups, but as your base expands across Arcadia-7’s surface, you’ll need smarter solutions.

Method 2: Rail Connections (The Flexible Option)
Here’s where things get interesting. Rails don’t just transport cargo—they also conduct electricity. This means you can place a power source in one location and use rails to deliver that power across distances.
Practical example: Let’s say you’ve got an Orbital Cargo Launcher positioned next to two Solar Generators (that’s 20 power total). You can run a rail from that launcher to a distant ore extractor, and the power will flow right through the rail system to keep that extractor humming. Pretty clever, right?
This method is especially useful when you’re dealing with scattered resource deposits. You don’t need to clutter every mining spot with its own generator—just run rails from your central power hub. For more on building an efficient base layout, check out our beginner’s guide.
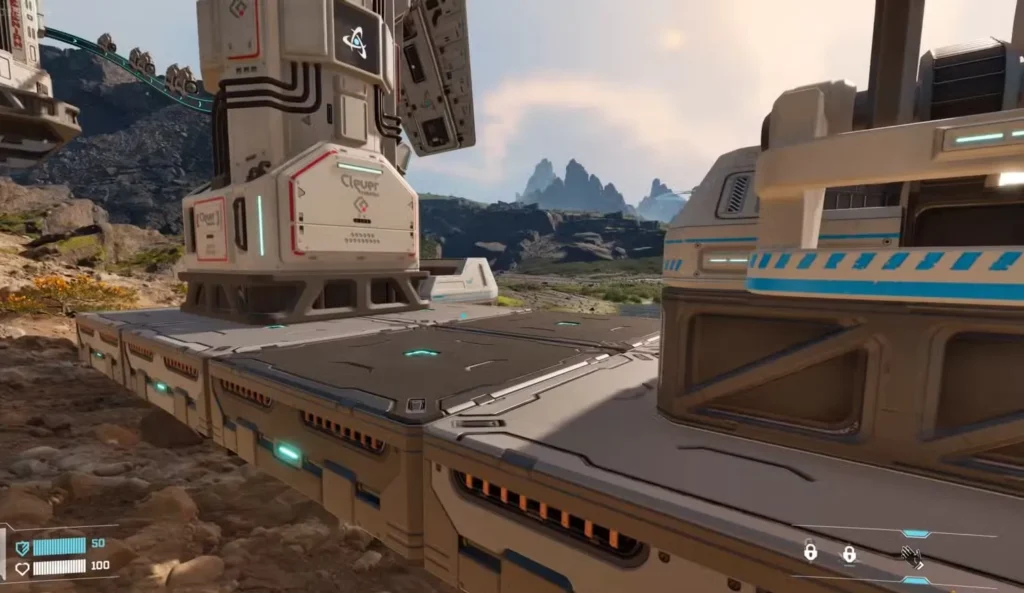
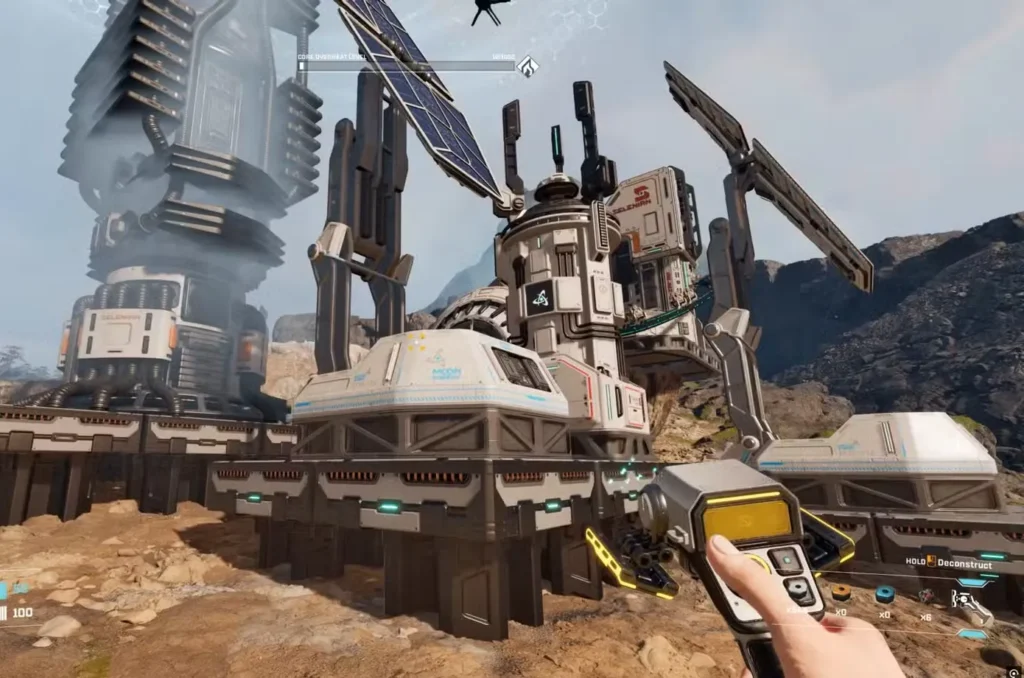
Method 3: Platform Bridges (The Space-Saver)
Found in the Module Components tab of your build menu, platforms are basically power conduits. They transfer electricity just like rails but in a more compact form.
Drop a platform between your power source and a structure, and you’ve created a bridge for electricity to flow. This is perfect for tight spaces where rails would look messy or when you’re trying to maintain a cleaner aesthetic for your base.
Managing Your Power Budget
Here’s something critical that trips up new players: power has limits. Each Solar Generator only outputs 10 power, and every structure has its own power requirements:
- Ore Extractor: Varies by type, but generally around 5 power
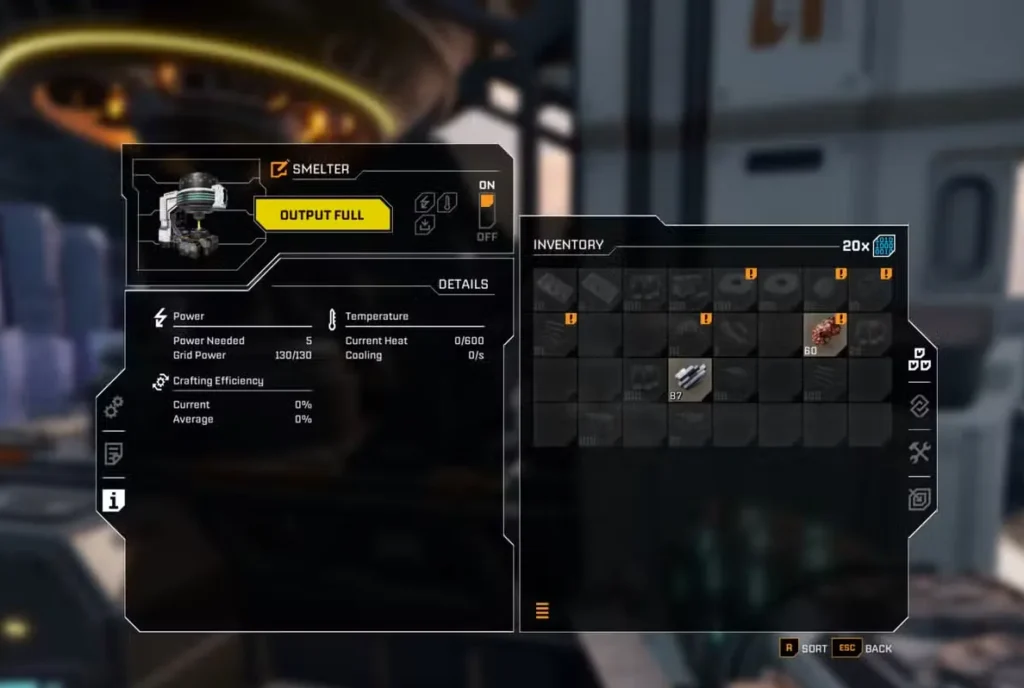
- Smelter: 5 power
- Orbital Cargo Launcher: 5 power
Do the math—one Solar Generator can handle two medium-draw structures, but add a third and you’re out of juice. You’ll need another generator.
This becomes especially important when dealing with calcium deposits or other hard-to-reach resources where building space is limited. Sometimes it’s smarter to run power via rails from a distant generator farm rather than cramming generators around every extractor.
Pro tip: Checking power requirements is simple. Walk up to any structure, press E to interact, then click the ‘i’ icon on the left side of the menu. This shows you exactly how much juice that building needs.
Planning Your Power Grid
As you work through corporate requests and start refining materials—which requires getting basic building materials and water—your power needs will skyrocket. Early game, one or two Solar Generators might cut it. Late game? You’ll need a proper power infrastructure.
Consider creating dedicated “power zones” where multiple generators cluster together, then use rails to distribute power across your base. This centralized approach makes it easier to expand and troubleshoot when something isn’t getting power.
And hey, if you mess up your layout (we all do), you can always destroy buildings and rails to redesign. Don’t be afraid to experiment.
Advanced Power Tips
Once you’ve mastered the basics and maybe unlocked the map to better plan your base, here are some veteran strategies:
- Daisy-chain structures: Place powered structures between generators and unpowered ones to extend your grid without extra generators
- Use platforms strategically: They take up less visual space than rails and can create cleaner-looking bases
- Plan for expansion: Leave room around power hubs for additional generators as your operations scale up
- Check all connections: Sometimes a structure won’t power up because there’s a tiny gap in your rail or platform connection
The power system ties into everything else you’ll do—from collecting Data Points to increasing your inventory capacity. Get comfortable with these basics now, and you’ll save yourself major headaches later.
FAQ’s
Can I connect multiple power sources together?
Absolutely! You can link multiple Solar Generators through rails, platforms, or direct contact to create a larger power grid with combined output. If you have three generators touching or connected, that’s 30 total power to distribute across your structures.
Why isn’t my structure working even though it’s connected to power?
Double-check two things—first, make sure your power source is actually producing enough energy for all connected structures. Second, verify there are no gaps in your rail or platform connections. Even a tiny break will cut off power flow. Press E and check the info panel to see if the structure is receiving power.
Do Solar Generators work at night on Arcadia-7?
The article doesn’t specify day/night mechanics, but based on the name, it’s safe to assume they require sunlight. You’ll likely need to plan for energy storage or alternative power sources as you progress (though the game will introduce those systems when relevant).
What’s the most efficient power layout for beginners?
Start simple—place 2-3 Solar Generators in a cluster near your starting area, then use rails to connect to nearby extractors and refineries. As you expand to distant deposits (especially for things like Meteorite Hearts), run rails back to this central power hub rather than building isolated generators everywhere.
Mastering power management is essential for surviving on Arcadia-7. The corporations won’t wait for you to figure it out, so get your generators running and start building an empire—one powered structure at a time. For more survival strategies, including how to heal with Medtools and unlocking grenades, check out our complete character guide.
Now get out there and light up that base. You can grab StarRupture on Steam and start your corporate servitude—I mean, exciting planetary adventure—today.