Discover the secret mini-bosses in Tainted Grail: The Fall of Avalon’s prologue asylum and snag some powerful early-game gear. Don’t miss these easy-to-miss encounters!
Don’t Miss These Two Hidden Bosses in Tainted Grail: The Fall of Avalon’s Prologue
Tainted Grail: The Fall of Avalon is packed with hidden goodies and secret encounters, especially if you’re the type to poke around every corner.
One spot that’s easy to overlook is the asylum in the prologue — turns out, there are two mini-bosses lurking in there, and they drop some solid gear to kick off your adventure. If you rush through, chances are you’ll miss them entirely.
So, if you want to get the best start possible, take the time to explore every inch of the asylum.
Here’s how to track down both of these optional bosses and what kind of loot you’ll get for your trouble. Also check, How to Use Weapon and Armor Relics.
Get the Guard’s Key
Before you can even think about taking on these bosses, you’ll need the Guard’s Key. After Caradoc frees you from your cell, turn right and head down the hallway.
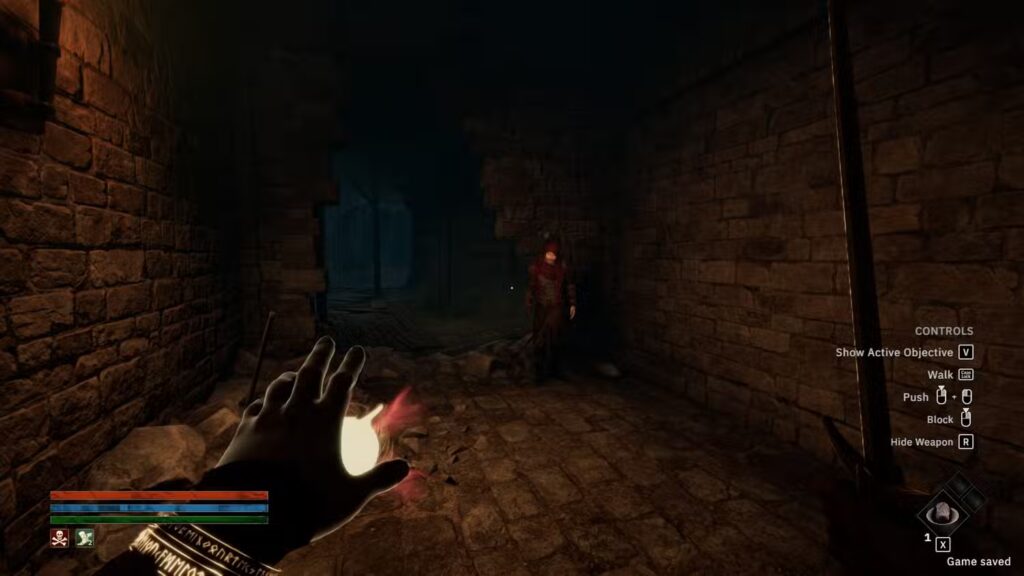
You’ll find a dead guard — loot the key from his body. While you’re at it, grab the Lockpicks, some ingredients, and a meal recipe from the nearby containers and tables.
Explore until you meet back up with Caradoc by the hole in the wall. Just before moving forward with him, snag the bow and arrows from the corpse by the fire. You’ll need them soon.
Boss #1 – The Wailing Effigy
To find this freaky dude, go in the opposite direction of Caradoc and follow the path down. You’ll run into the Wailing Effigy — a mutated sword-wielding monster that also throws fireballs.
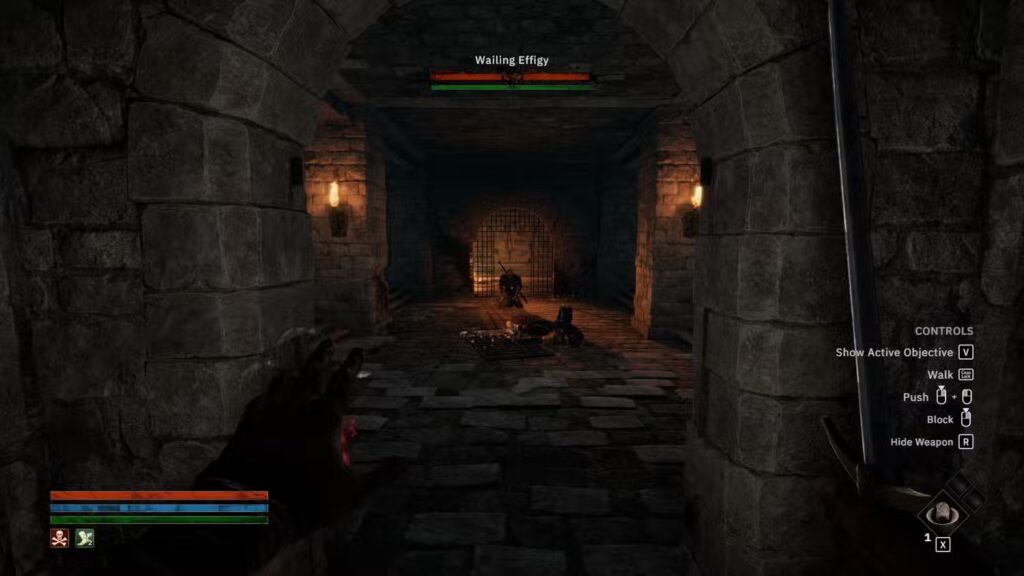
He’s not super tough, but he does hit hard, so be ready to dodge or parry.
Hot tip: Get used to using Dash and Dash Attacks here — they’ll help a ton throughout the game.
Loot:
- Grief-Torn Armor: +5 Max Health, +2.0 Armor, super lightweight (2.5 Encumbrance)
- Dull Broadsword: Nothing special, but hey, it’s a free sword.
Boss #2 – The Frantic Berserker
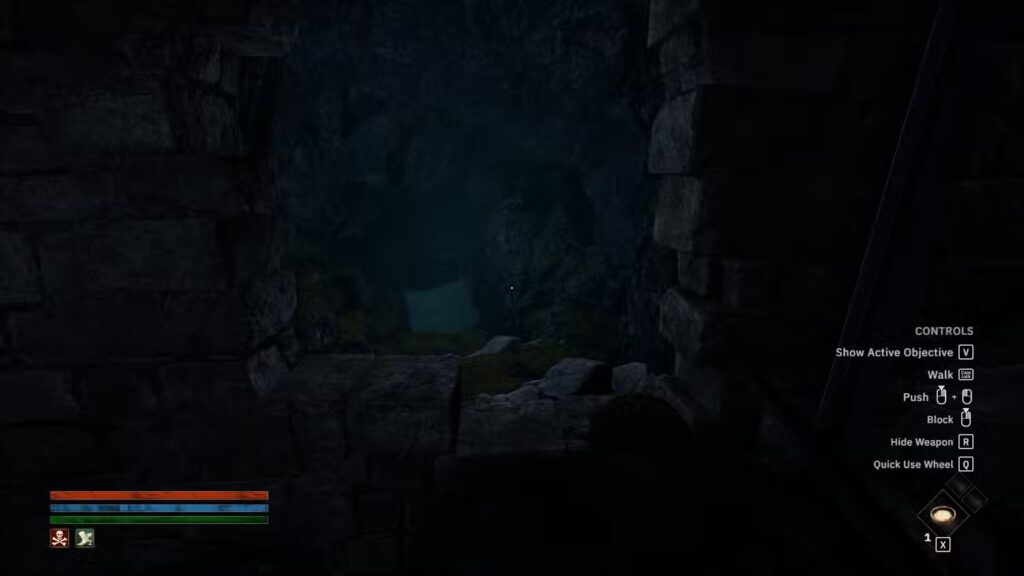
After you’re done with the Effigy, backtrack and go through the small hole in the wall on your left. You’ll find an underground intersection.
Go right to meet Sirja — trade her a healing potion for a ring that boosts Max Mana (nice bonus). Then head left toward the pile of corpses.
There’s a door on the far side that you’ll need to lockpick open. Go through and follow the path until you hit the Frantic Berserker’s cell.
This boss doesn’t have a weapon, but he’s still dangerous. His melee attacks reflect some of your own damage back at you, so a straight-up sword fight isn’t ideal unless you’re swimming in healing potions.
Best strategy? Climb the ledge to the right and rain down arrows or magic. He doesn’t have a ton of health, and the 15 arrows you picked up earlier should do the trick.
Loot:
- Thorn Helmet: Reflects 5 Physical Damage when hit by melee
- Athlete’s Pride (Ring): +5 Max Stamina
Wrap-Up
That’s it — two sneaky mini-bosses in the starting area that are super easy to overlook but totally worth the detour.
Whether you’re building a tanky bruiser or a nimble archer, the gear from these bosses will give you a strong start in Tainted Grail: The Fall of Avalon. Happy hunting!
Related articles:
- Tainted Grail: Should You Let Abhartach Bite You in “I See Darkness”?
- Galahad or One-Eye? The Brutal Choice That Splits
- How to Score the All-Mother’s Mercy Amulet
For more Games Guide follow us