Keeping Your Squad Alive in Battlefield RedSec
Battlefield RedSec brings something special to the Battle Royale table—that chaotic, large-scale Battlefield DNA mixed with the last-man-standing tension we all know from the genre. Tanks rolling through streets, helicopters circling overhead, and buildings crumbling around you? Yeah, it’s as intense as it sounds.
But here’s the reality: in a mode this competitive and destructive, your squad is going to take casualties. Maybe your teammate pushed a bit too aggressively. Maybe a sniper caught them rotating across open ground. Maybe a tank just… existed in their general vicinity. Whatever the reason, knowing how to bring them back is the difference between a squad that dominates and one that gets picked apart one by one.
The respawn system in RedSec has some interesting twists that set it apart from other Battle Royales. Let me break down exactly how redeployment works and how to maximize your squad’s staying power.
Understanding the Free Redeploy System
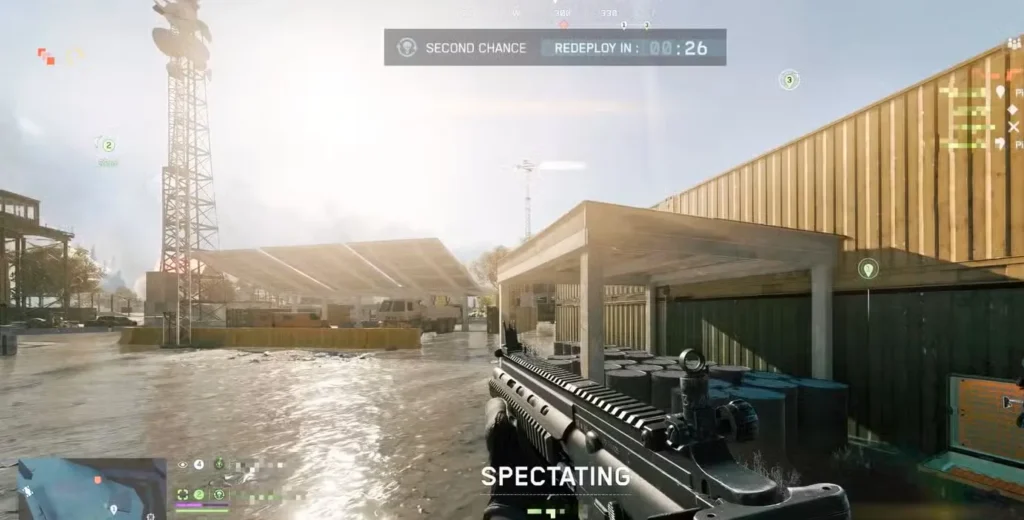
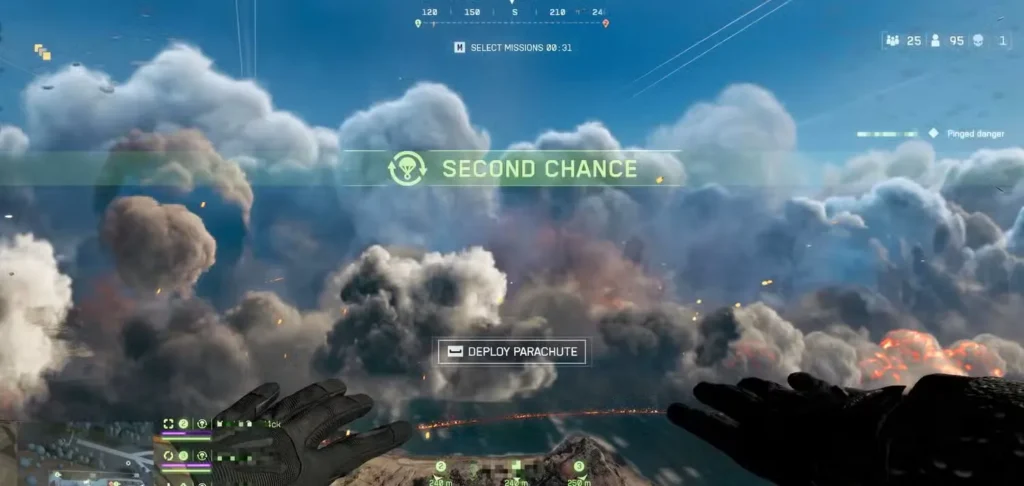
Here’s where Battlefield RedSec does something clever that I really appreciate: every player starts each match with one free redeploy. No begging teammates to grab your banner. No frantic runs to respawn stations while under fire. Just a built-in second chance.
How the Free Redeploy Works:
When you get eliminated for the first time in a match, a short timer starts counting down. Once it expires, you automatically respawn somewhere near where you died—no teammate action required. It’s basically the game saying “okay, everyone gets one mulligan.”
This system is brilliant for a few reasons:
It forgives early-game mistakes. Hot-dropped into a chaotic POI and got melted before finding a weapon? You’re back in it. This reduces the frustration of those matches that end 30 seconds after landing.
It keeps squads together longer. Nobody has to choose between reviving a teammate and continuing to loot or rotate. The game handles it automatically.
It maintains early-game population. More players staying in the match longer means more action and a more dynamic mid-game.
The Critical Limitation:
Here’s the catch—the free redeploy system becomes unavailable as the match progresses. The game doesn’t explicitly tell you “free redeploys are now disabled,” but once you reach a certain point in the match (typically as circles get smaller and player counts drop), that automatic respawn is gone.
After that point, or once you’ve already used your one free redeploy, you’re dependent on your squad using Redeploy Towers. This shift changes the dynamics significantly, making squad coordination and positioning way more important in the later phases.
Finding and Using Redeploy Towers
Once the free respawns are off the table, Redeploy Towers become your lifeline for getting eliminated squadmates back into the action. Think of them as the RedSec equivalent of respawn beacons from other Battle Royales—but with some Battlefield-flavored twists.
Where to Find Redeploy Towers:
Redeploy Towers are strategically placed in every major named Point of Interest (POI) across Fort Lyndon. The game helps you locate them through several methods:
- Map markers show tower locations when you open your map
- HUD indicators appear once a squad member has been eliminated
- Ping system lets you and teammates mark specific towers for coordination
This widespread placement is smart design—it means you’re rarely more than one zone rotation away from a tower, but you’ll have to make tactical decisions about whether to go for the closest one or a safer option.
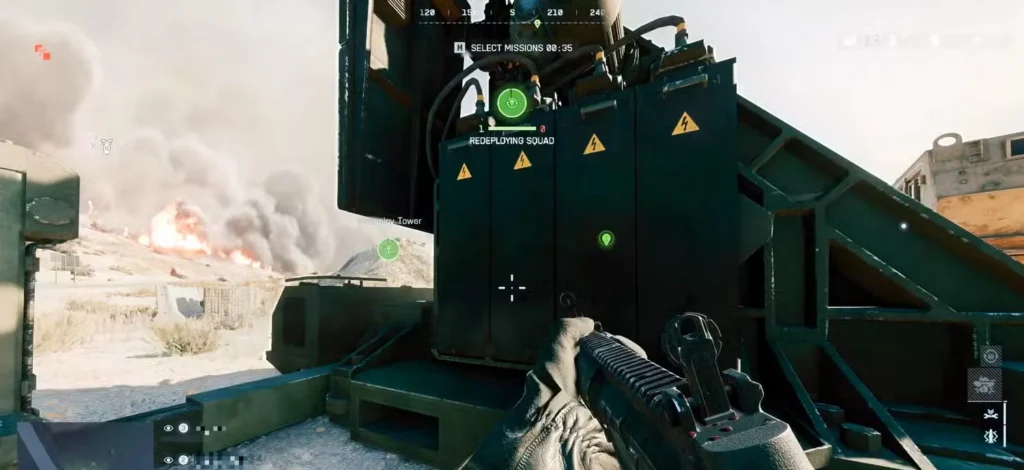
The Activation Process:
When you reach a Redeploy Tower, here’s what happens:
- Interact with the tower to begin activation
- Stay within the designated area while it powers up (leaving the zone cancels the process)
- Wait for the activation to complete (the progress is shown on-screen)
- All eliminated squadmates respawn in the area once it’s done
- The tower becomes inactive and can’t be used again
Simple enough, right? Well, there’s a tactical wrinkle you need to be aware of.
The Risk Factor: You’re Ringing the Dinner Bell
Here’s the thing nobody tells you until you’ve learned it the hard way: Redeploy Towers are loud. Like, really loud. They emit a siren-like sound that basically broadcasts “HEY, THERE’S A VULNERABLE SQUAD HERE” to everyone within a couple hundred meters.
I’ve had matches where activating a tower felt like painting a target on my back. Smart enemy squads will hear that sound and either push aggressively or set up ambushes knowing you’re stuck in that area for the activation duration.
Tips for Safer Redeployments:
Clear the area first. Before you even think about hitting that activation button, do a full 360 sweep. Check windows, rooftops, and common approach angles. Those extra 30 seconds of recon can save your entire squad.
Have someone on overwatch. If you’ve got two remaining squad members, one should activate while the other watches for pushes. The person on security should position somewhere with good sightlines to incoming threats.
Choose your tower wisely. Just because a tower is closest doesn’t mean it’s best. Consider:
- Is it in an open area or do you have cover?
- What’s the tactical situation around it?
- Are you near the edge of the safe zone or pushing deeper in?
Time it strategically. If the circle is about to close and force rotations, that chaos can work in your favor. Enemies will be more focused on moving than hunting for redeploy sounds.
Have an escape plan. Know where you’re going the second that tower finishes. Standing around waiting for your respawned teammates to get oriented is asking for a squad wipe.
Communication is everything. Tell your dead teammates where they’re respawning, what the threat situation is, and where to meet up. Those first few seconds after they come back are when they’re most vulnerable.
Squad Dynamics and Strategic Thinking
The redeploy system in RedSec creates interesting tactical decisions that separate good squads from great ones.
Early game aggression has less consequence. Knowing everyone has that free respawn means you can take riskier plays early on. Push that contested loot spot. Take that engagement. The penalty for failure is much lower.
Mid-to-late game becomes more calculated. Once free respawns are gone, every fight has higher stakes. Squad preservation becomes paramount, and you need to really consider whether an engagement is worth the risk.
Tower control becomes a power position. If you’re holding a POI with a Redeploy Tower, you essentially have home-field advantage. Your squad can respawn there, but enemies have to expose themselves to use it.
Revival priority matters. If multiple teammates are down, the tower brings back all of them simultaneously. This is huge—you go from a 1v4 situation to full squad strength in seconds, completely flipping the dynamic.
Common Mistakes to Avoid
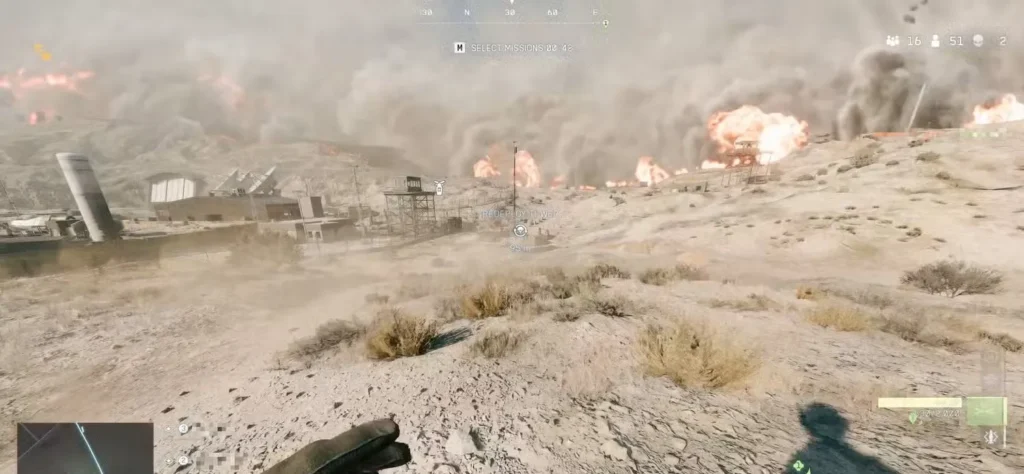
Activating towers in the open. I see this constantly. Players find a tower in the middle of a field and just hit it without thinking. You’re a sitting duck. Find towers with nearby cover.
Ignoring audio cues. If you hear another squad activating a tower nearby, that’s free information. You know exactly where they are and that they’re occupied for the next several seconds. Use it.
Leaving respawned teammates behind. When your squadmate comes back, they typically spawn with minimal gear. Don’t just run off—give them a second to loot or drop them something basic so they’re not completely defenseless.
Forgetting about the late-game cutoff. Players get comfortable with the free respawn and then get caught off-guard when it’s no longer available. Pay attention to the match progression and adjust your risk tolerance accordingly.
Making Respawns Work for Your Squad
The respawn system in Battlefield RedSec rewards teams that communicate, plan ahead, and don’t panic when someone goes down. That free redeploy early on is forgiving, but it’s also a test—are you going to make the same mistake twice, or learn from it?
Once you’re into tower territory, every respawn becomes a tactical operation. Treat it with the seriousness it deserves, and your squad will stay in fights that would end other teams.
Want to maximize your squad’s effectiveness even further? Check out our guides on unlocking custom loadouts so your respawned teammates can grab their preferred weapons, and completing exploration challenges to learn the map inside and out—knowledge that’s crucial for finding safe respawn locations.
Get Back in the Fight
Jump into Battlefield RedSec on Steam, Xbox, or EA’s platform and put these respawn strategies to work. The mode is completely free-to-play, and with solid squad coordination, you’ll be turning potential wipes into comeback victories. See you on the battlefield!