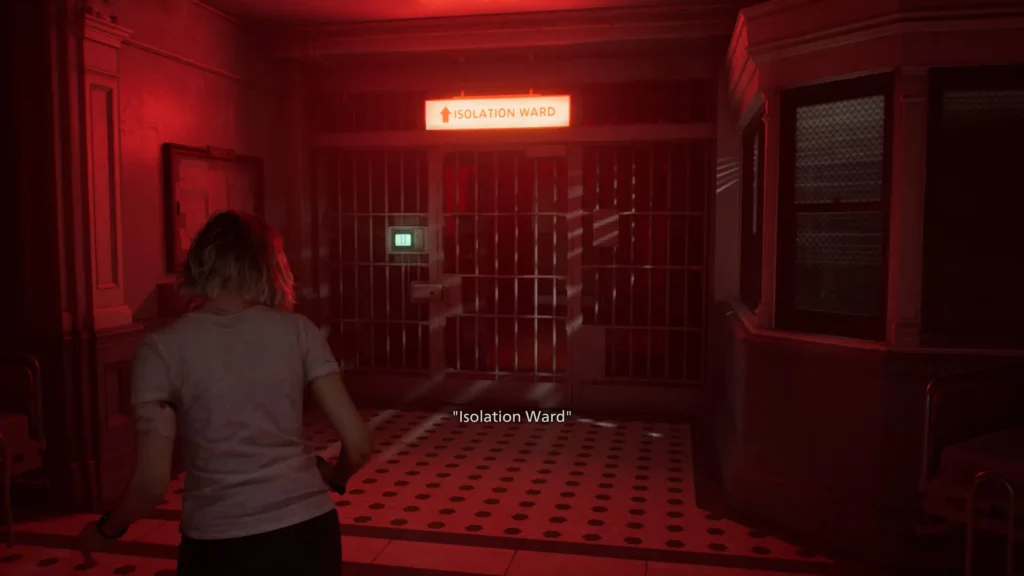
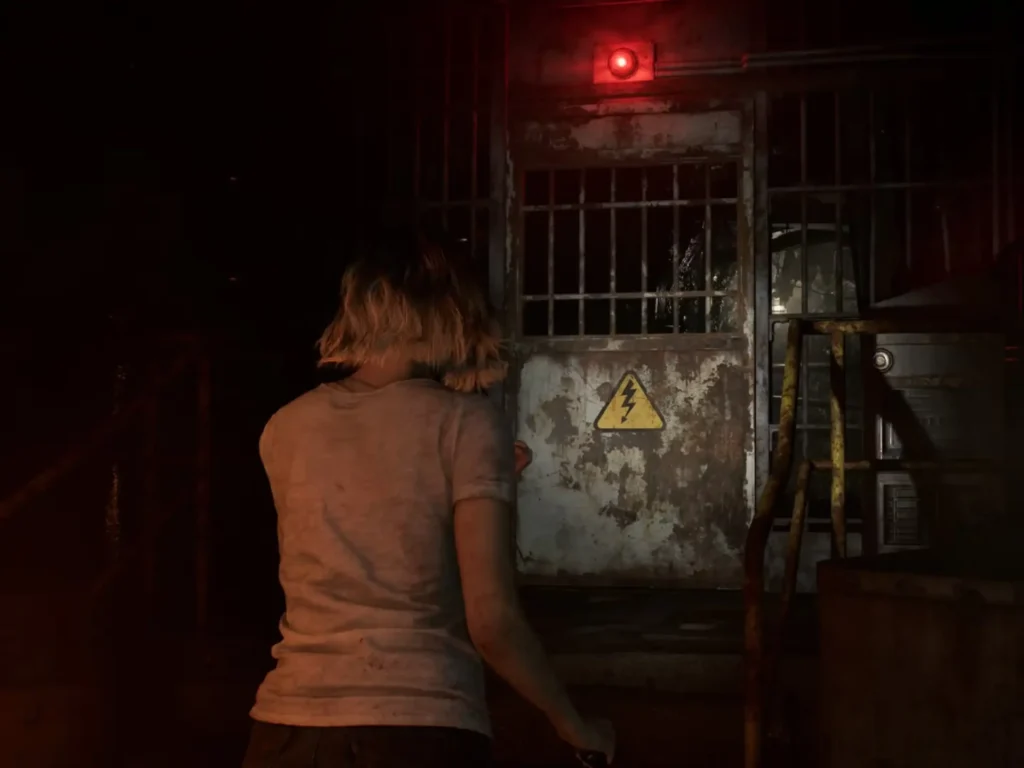
The Care Center Basement is the most complex and intimidating section of Resident Evil Requiem’s opening act. Grace descends into near-total darkness, the Shadow Ghost known as The Girl hunts her through the corridors, and her only way forward is a trio of Joint Plugs — large cylindrical fuses that power locked doors and generators throughout the area. To free Emily and escape, you need all three. The problem is that getting them is far from straightforward: each plug has to be carried, swapped between sockets, and retrieved after use. You’ll use the same plugs to open multiple doors, and taking one out to use elsewhere turns the lights off and invites The Girl back in.
This guide walks through every step of the Joint Plug hunt in order, from the moment Grace enters the Basement all the way to escaping with Emily.
Before You Start: What to Know About Joint Plugs
Joint Plugs are key items that double as power sources. Inserting one into a Power Distributor panel turns on the lights and unlocks doors in that section. Removing it powers the area back down — and when areas go dark, The Girl emerges. You’ll never have more than two plugs at once for most of the puzzle, so resource management is critical.
A few important rules to keep in mind throughout:
- The Girl cannot enter lit areas. Powered sections are your safe zones. Use lights to scare her off when she’s blocking your path.
- The Security Room save point is always safe, regardless of power state. When in danger, retreat there.
- Don’t pull the third plug from its socket in Processing — doing so prevents you from exiting the room. Leave it in until you come back with the Forklift Key.
- Save before inserting all three plugs at the Holding Cells. Once you pull the lever to free Emily, you cannot return to the Basement.
Phase 1: Joint Plug #1 — The Holding Cells
When Grace first enters the Basement and reaches the Holding Cells corridor, she’ll find a large power distribution node at the far end with three empty sockets and one plug already installed. A diagram beside it — the “Unlocking the Cells” file — explains that all three slots must be filled to open the cells and free Emily.
Pull Joint Plug #1 out of the node. The moment you do, the lights cut out and The Girl appears in the hallway. Press yourself into a corner and wait for her to walk toward the central room before moving. She stays in dark areas, so as long as you have a plug in a socket nearby, any lit corridor is safe.
With Joint Plug #1 in hand, your first stop is the Boiler Room entrance in the corridor just past the Security Room save point. Insert the plug into the Power Distributor there. This powers up the Boiler Room and Bunkroom area. Before entering the electrified Boiler Room itself, move the wooden crate blocking a gap in the wall and squeeze through to enter from the back. This approach lets you explore the Boiler Room without triggering the electrified puddles — if the power is on and you walk through the water, you’ll be shocked.
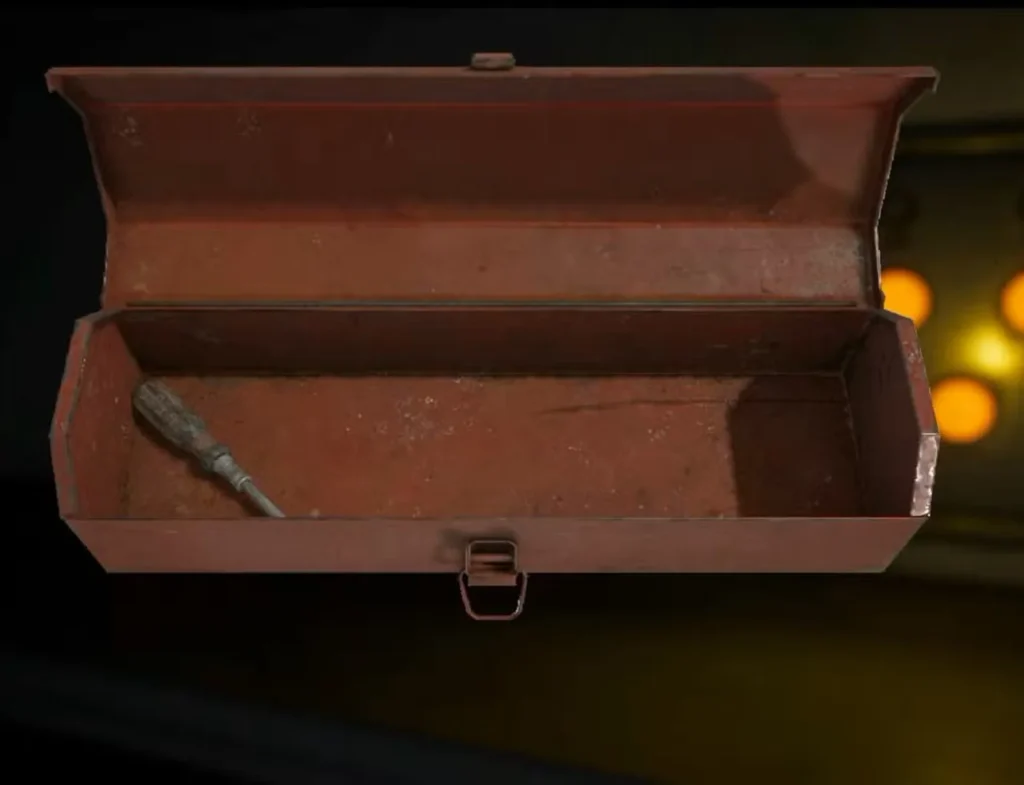
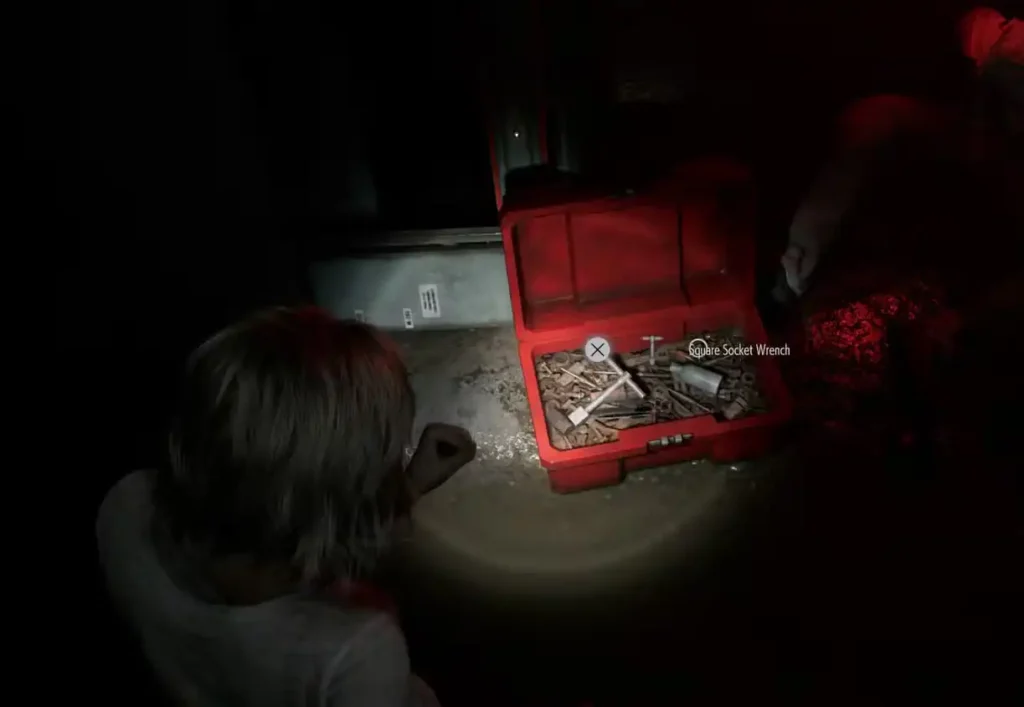
Inside the Boiler Room, pick up the Square Socket Wrench from the red toolbox at the far end. The Girl will emerge from the ceiling and begin feeding on a nearby corpse. Toss an Empty Bottle to distract her, then squeeze back out through the gap. Retrieve Joint Plug #1 on your way out.
While the Boiler Room power is on, pop into the Bunkroom (the room to the right of where you inserted the plug). Inside you’ll find a Molotov Cocktail crafting recipe, a locker that can be opened with a Lockpick containing Rare Metals, and a Mr. Raccoon Memoriam statue sitting on the TV. Grab everything before you go.
Phase 2: Joint Plug #2 — The Furnace Room
Now take Joint Plug #1 back to the Furnace room — the large central room of the Basement. Insert it into the Power Distributor on the west wall, up the short stairs. This opens the door into the Inspection area, which contains the forklift and the side office with the Basement safe.
While you’re here, open the Basement safe in the small office to the right of the forklift. The combination is Right 60, Left 40, Right 80. Inside is 10x Handgun Ammo and the Raccoon Roundup Map (Rhodes Hill) — an invaluable item that automatically marks every Mr. Raccoon Memoriam statue in the Care Center on your map. Full safe details are in our Basement Safe Code guide.
After the safe, examine the forklift and take Joint Plug #2 from the Power Distributor socket next to it. You now have two plugs in your inventory.
Look for the ventilation shaft on the wall directly opposite the forklift and crouch through it. This takes you into the Workshop. Inside the vent tunnel on the ground, pick up a Lockpick. In the Workshop itself, collect the “Technician’s Note” file and another Mr. Raccoon statue on the workbench. To exit the Workshop, climb the stacked boxes in the northeast corner to vault back out through the opening into the Holding Cells corridor.
Note: On your first time through this vent, The Girl will drag a body through it — this is scripted. After that, the vent becomes a usable shortcut between the Workshop and the Inspection room.
Phase 3: Getting the Square Socket Wrench to Work — The Collection Pool
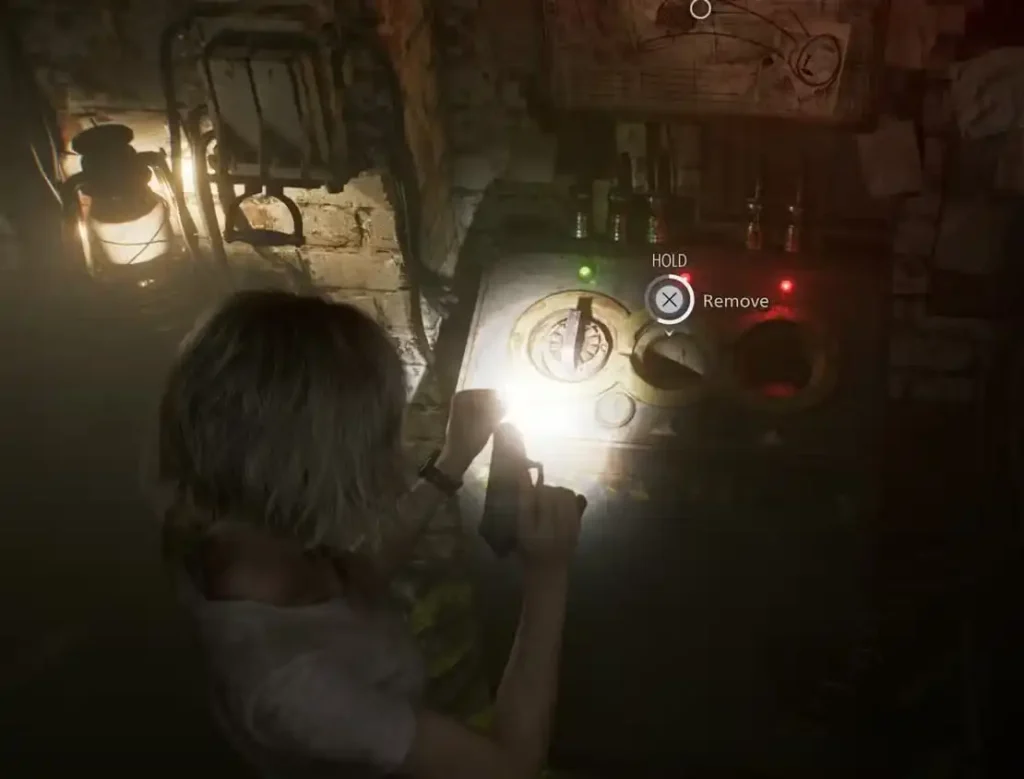
With two Joint Plugs in hand, head south from the Holding Cells to the Collection Pool. Use the Square Socket Wrench on the locked panel in this room. This opens a two-socket Power Distributor. Insert both Joint Plugs to power up the room, which activates the lights and opens the sealed door at the far end.
Crawl through the ventilation shaft at the powered door. This leads you into Processing — a two-part room separated by a pool filled with blood and gore.
In the first area of Processing, you’ll spot Joint Plug #3 mounted in a socket. Do not take it yet. Removing it here cuts the power and locks the exit door behind you — you’ll be trapped. Instead, look for the Forklift Key on the floor near the corpse next to the plug socket. Pick it up, then use it on the forklift at the end of the room to raise it and open the door to a small back room. Inside you’ll find the Care Center Basement Floor Plan map and a Hip Pouch inventory upgrade — two items well worth the detour. For more on how the Hip Pouch fits into Grace’s overall upgrade path, see our Antique Coins and Parlor Prizes guide.
With the Forklift Key and the Hip Pouch secured, leave Processing the way you came — back through the vent to the Collection Pool. Retrieve both Joint Plugs from the Collection Pool sockets on your way out.
Phase 4: The Inspection Room and The Body Bag Conveyor
Now take both Joint Plugs and the Forklift Key back to the Inspection area via the Furnace room. The Girl will be patrolling in the main Inspection chamber — wait for her back to turn, then insert a Joint Plug into the Inspection generator to flood the room with light and drive her away.
With the lights on, use the Forklift Key on the forklift in the Inspection area to raise it and clear the path forward. You’ll also find a locked locker here containing Rare Metals — use a Lockpick if you have one.
Beyond the forklift is the body bag conveyor room, one of the Basement’s most memorable setpieces. Here’s how to navigate it:
- Do not pull the lever when you first enter. The hanging body bags move from left to right by default. Wait for a gap between bags and move with them along the wall.
- Find the pushable cart near the middle of the room and shove it to create a shortcut gap.
- Return to the lever using that shortcut and pull it — this reverses the conveyor direction to right to left.
- Go back through the shortcut gap and move with the bags in the new direction. Follow them all the way to the far end of the room.
- At the far end, turn the wheel to drain the blood pool in Processing. This lowers the blood level and lets you drop into the chamber below.
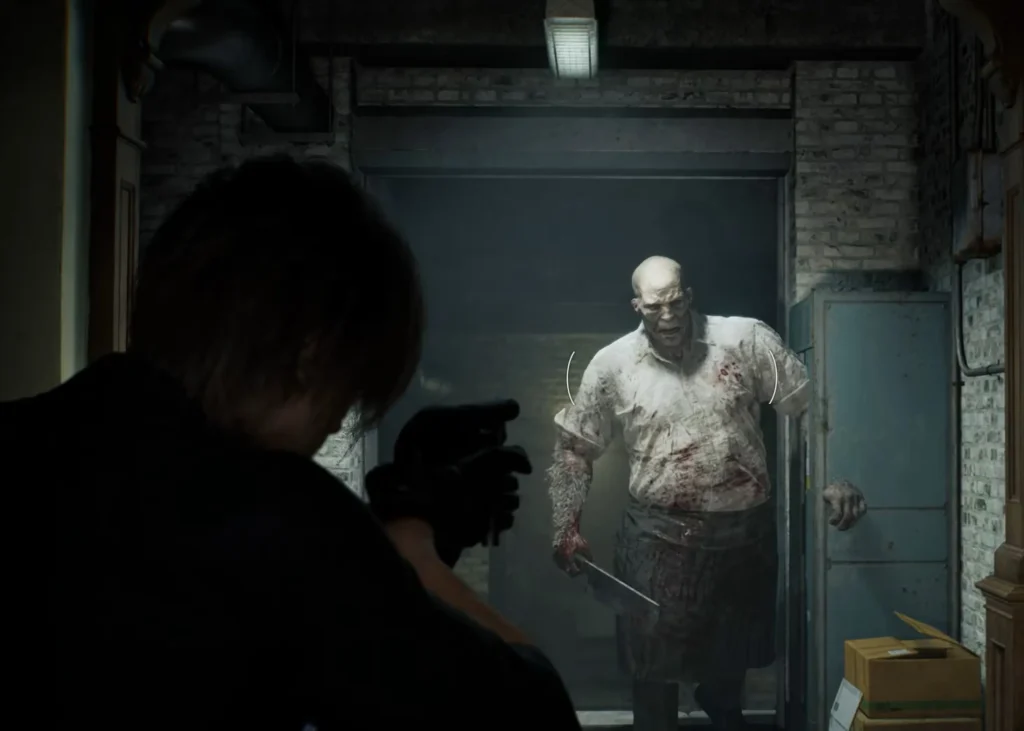
Drop down into the drained pool area. Warning: The conveyor activates and begins pulling zombies toward the processor blades. Stay close to the wall away from the blades, aim for zombie heads to stagger them, and push them into the blades when you have room. Once the conveyor stops, climb the ladder on the far side.
Take Joint Plug #3 from its socket. You now have the third and final plug.
Phase 5: Collect All Three Plugs and Free Emily
With Joint Plug #3 in hand, you cannot exit through the body bag conveyor room. Instead, find the ventilation shaft near the typewriter save point in Processing. Crawl through to slide down to the bottom of the Collection Pool. There’s a large amount of Infected Blood here to harvest for crafting — collect it before moving on. This also contributes to the Bloodlust challenge, worth 10,000 Challenge Points.
Take the elevator at the northwest end of the Collection Pool back up to the main basement level.
Now collect the other two plugs you left behind:
- Retrieve the Joint Plug from the Inspection generator (Furnace area)
- Retrieve the Joint Plug from the Furnace room door (the one you used to access the Inspection area in Phase 2)
You should now have all three Joint Plugs in your inventory. Before going to the Holding Cells, make a quick stop — a cell near the Holding Cells entrance has now opened, releasing a zombie. Defeat it and grab the Empty Injector inside the cell. This is a missable item. If you insert all three plugs before grabbing it, the cells lock again and you lose your window.
Save your game. This is a hard point of no return — once you pull the lever, you cannot come back to the Basement.
Head to the end of the Holding Cells corridor and insert all three Joint Plugs into the power distribution node. Pull the left lever. A cutscene plays, the cells open, and Emily is free. Now carry Emily to the elevator near the Bunkroom as quickly as possible — The Girl will pursue you. Get into the elevator, shoot The Girl as the doors close, and immediately interact with the elevator controls to escape.
After the elevator ride, you’ll automatically receive the Star Quartz key item, and you can pick up the Severed Hand from in front of the elevator door. Both become important shortly after.
Loot Checklist for the Basement
Before pulling that final lever, make sure you haven’t missed anything:
| Item | Location | Notes |
|---|---|---|
| Joint Plug #1 | Holding Cells node | Pull at the start |
| Square Socket Wrench | Boiler Room | Enter from the back via crate gap |
| Molotov Recipe | Bunkroom | On the table |
| Mr. Raccoon #7 | Workshop workbench | Via Furnace vent |
| Lockpick | Inside Furnace vent | On the floor in the shaft |
| Joint Plug #2 | Furnace / Inspection forklift area | Next to the safe |
| Basement Safe | Furnace side office | Code: R60, L40, R80 |
| Raccoon Roundup Map | Inside Basement safe | Marks all Care Center Mr. Raccoons |
| Forklift Key | Processing (first area) | Near the corpse by the plug |
| Hip Pouch | Processing (back room) | Use Forklift Key to access |
| Basement Floor Plan Map | Processing (back room) | With Hip Pouch |
| Joint Plug #3 | Processing (after draining pool) | Claim after conveyor sequence |
| Lockpick Locker | Inspection Room | Rare Metals inside |
| Empty Injector | Holding Cells (open cell) | Grab BEFORE inserting all 3 plugs |
Don’t Leave the Basement Without Doing This
The Basement is a one-time-only section. Once you escape with Emily, Grace can briefly return to the main Care Center — but only to insert the three Quartz stones into the Central Hall door and leave for good. She cannot re-enter the Basement.
Before pulling that lever, make sure you’ve opened the Basement safe, collected both Mr. Raccoon statues in this area, grabbed the Empty Injector from the open cell, and harvested Infected Blood from the Collection Pool. If you still need to spend your Antique Coins at the Parlor, do that when you briefly return upstairs. And if you’re still working through the Isolation Ward section before this point, make sure you’ve cleared it — once you leave for the Courtyard, everything in Rhodes Hill is locked behind you permanently.
If you want a broader sense of how the Basement fits into the full game’s pacing and length, our Resident Evil Requiem: How Long Does It Take to Beat guide has a full breakdown by playstyle and difficulty.