Find all 15 Red Star Rings in Sonic Racing CrossWorlds’ Wisp Grand Prix. Complete locations for Metal Harbor, Sand Road, and Colorful Mall with tips and strategies!
The Red Star Ring Collection Challenge
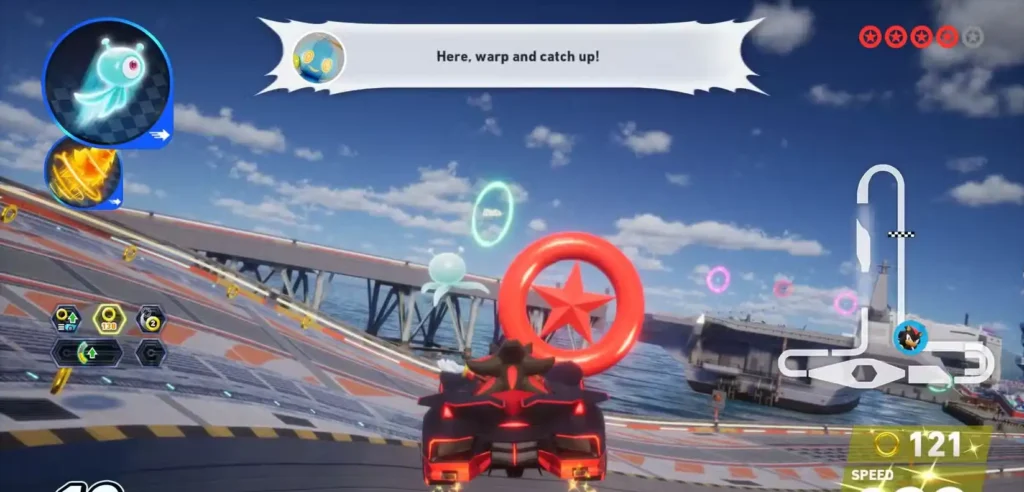
Red Star Rings in Sonic Racing CrossWorlds add an exciting collectible layer to Grand Prix racing that rewards exploration and track mastery. While these crimson collectibles don’t affect race outcomes like gold rings do for speed boosts, they provide substantial Donpa Ticket rewards and encourage you to discover hidden shortcuts and alternative routes you might otherwise miss.
The Wisp Grand Prix presents a particularly diverse collection challenge across three distinct environments: the industrial Metal Harbor, the mystical Sand Road temple complex, and the multi-level Colorful Mall. Each track requires different strategies and offers unique challenges that will test your route knowledge and precision driving skills.
Collection Rules: Red Star Rings can only be collected during Grand Prix races – they don’t appear in Time Trials, online matches, or the final multi-track championship race. This makes your Grand Prix runs the exclusive opportunity for completion.
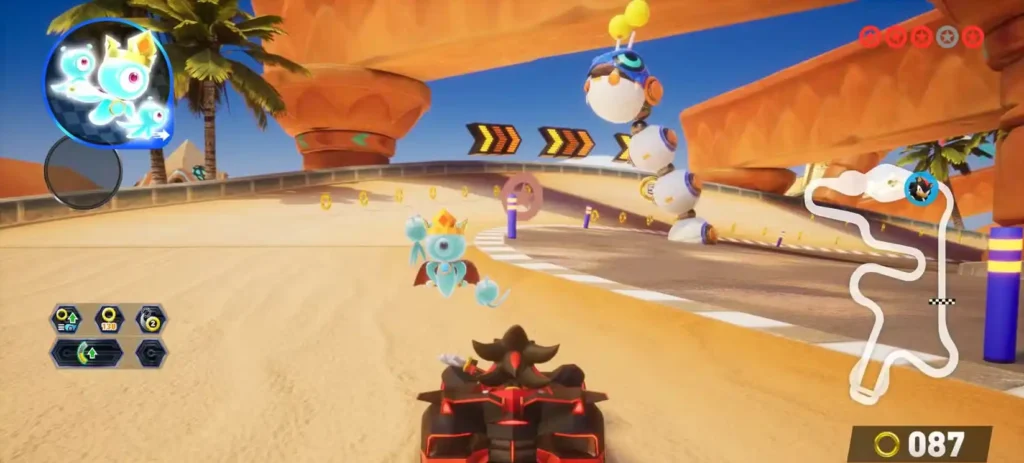
Metal Harbor: Industrial Precision Collection
Metal Harbor features 5 Red Star Rings spread across its industrial landscape, with multiple paths requiring at least two laps for complete collection. The track’s dual-route design means strategic planning is essential for efficient collection.
Ring 1: Right Ramp After First Hairpin
Location: Immediately after the opening hairpin corner Strategy: Take the right-side ramp option when the path splits Difficulty: Easy – directly on the racing line Timing: Collect on any lap except when going for Ring 2
Pro Tip: This is the most straightforward collection in Metal Harbor. The ring sits directly in your path, making it impossible to miss if you choose the correct route.
Ring 2: Left Ramp After First Hairpin
Location: Same corner sequence as Ring 1, opposite path Strategy: Choose the left ramp option and fly through the ring Difficulty: Easy – requires aerial precision Timing: Collect on lap 3 or during repeat runs
Collection Strategy: Since you can only choose one path per lap, plan to alternate between left and right routes across multiple Grand Prix attempts or different laps.
Ring 3: Third Hairpin Upper Track
Location: Bottom-right section of the track, upper path through third hairpin Strategy: Stay on the elevated track option, ring appears on the left side Difficulty: Medium – requires correct path selection Timing: First time approaching this corner sequence
Track Knowledge: The third hairpin offers a choice between upper and lower paths. The upper route provides better racing lines in addition to this collectible.
Ring 4: Third Hairpin Lower Track
Location: Same corner complex as Ring 3, lower path option
Strategy: Drop down to the lower track, ring appears at the edge of a drop-off Difficulty: Medium – requires precise positioning Timing: Third lap or repeat attempts
Positioning Tip: Complete the 180-degree turn fully before looking for the ring – it appears after the apex of the corner on the drop edge.
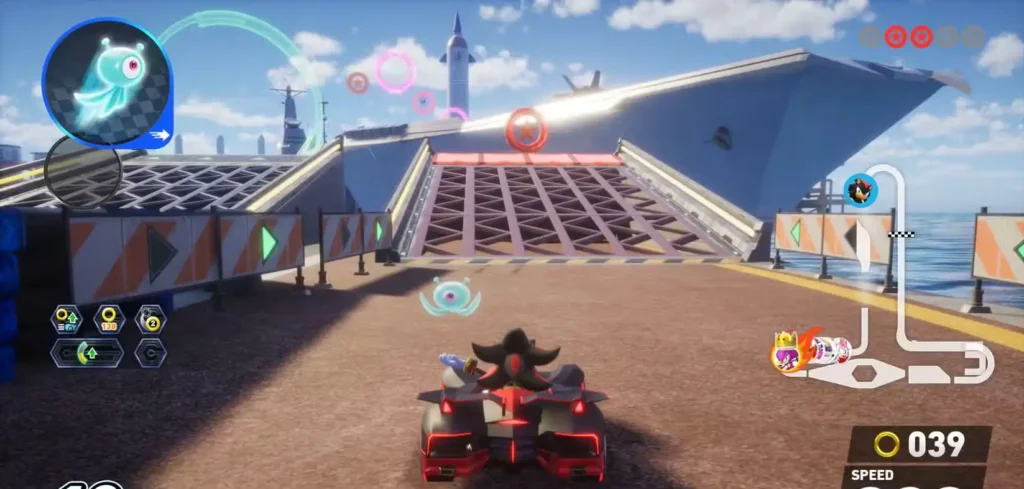
Ring 5: Final Corner Aerial Challenge
Location: Last corner before the main straight, suspended in mid-air Strategy: Use the corner ramp at proper angle and speed for aerial collection Difficulty: Hard – requires speed management and jump precision Timing: Any lap with sufficient approach speed
Execution Notes: Build momentum through the preceding sections and hit the ramp at an optimal angle. Too slow and you won’t reach the ring; too fast and you might overshoot the collection zone.
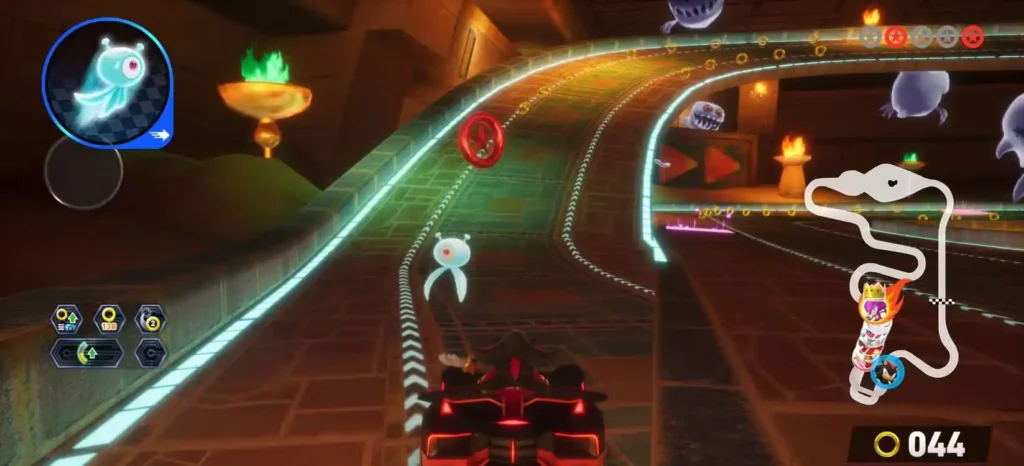
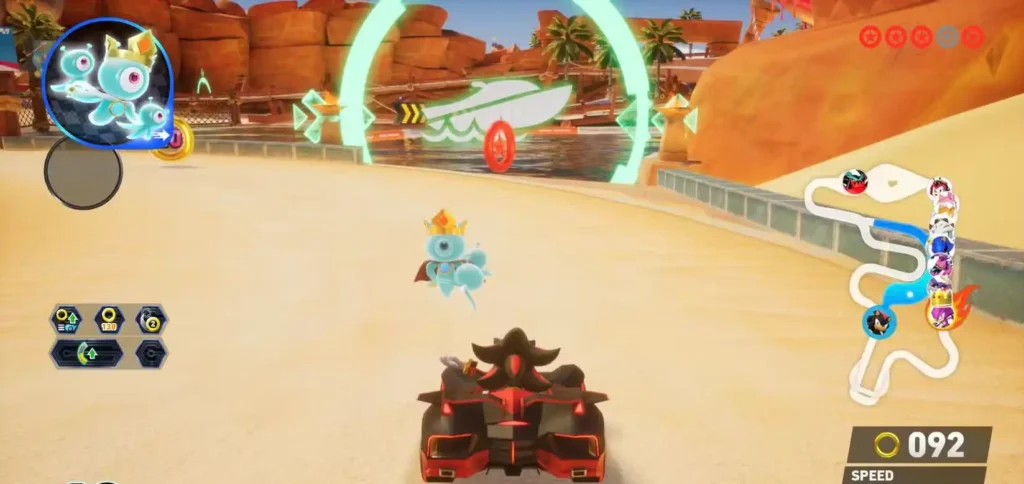
Sand Road: Temple Exploration and Lap-Specific Secrets
Sand Road combines temple exploration with desert racing, featuring rings that require both route knowledge and lap-specific timing. One ring only appears on the third lap, making complete collection require full Grand Prix participation.
Ring 1: Temple Upper Route
Location: Inside the temple near race start, upper left path Strategy: Enter temple and immediately turn left, take the ramp upward Difficulty: Easy – clear path indication Timing: Any lap when choosing upper route
Navigation Tip: The temple entrance provides clear visual cues for the upward path. This ring rewards players who explore vertical space rather than staying on the ground level.
Ring 2: Temple Ground Floor
Location: Same temple complex, ground floor continuation Strategy: Stay on ground level through temple, ring appears on pink booster Difficulty: Easy – directly on alternate racing line Timing: Second lap or after collecting Ring 1
Efficiency Note: Advanced players can collect Ring 1 then drop down to collect Ring 2 on the same lap, though this requires precise execution and may cost race position.
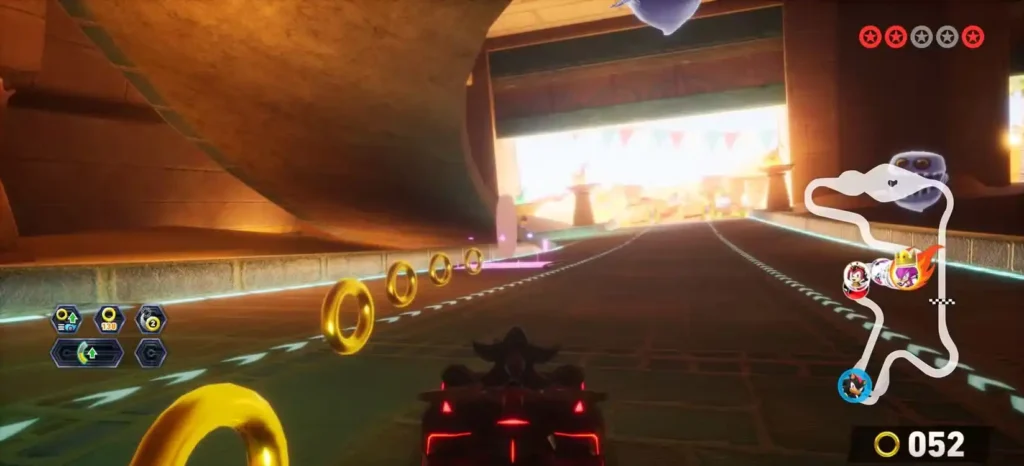
Ring 3: Wooden Plank Straightaway
Location: Mid-race section on wooden bridge structures Strategy: Follow normal racing line, ring appears before pink booster Difficulty: Easy – hard to miss on standard route Timing: Any lap following main racing line
Context Clue: This section features distinctive wooden plank terrain that makes the location memorable and easy to identify during races.
Ring 4: Dancing Worms Section
Location: Near lap end, after sand dune sequence Strategy: Look for animated worm NPCs, ring positioned nearby Difficulty: Easy – distinctive visual landmark Timing: Any lap during final approach
Visual Reference: The dancing worms serve as a clear landmark that makes this ring location easy to remember and spot during high-speed racing.
Ring 5: Third Lap Water Route (Lap-Exclusive)
Location: Temple exit area, water section entrance Strategy: Exit temple and continue straight into water instead of turning left Difficulty: Medium – requires lap timing and route deviation Timing: Third lap only – does not appear on laps 1-2
Critical Note: This ring demonstrates CrossWorlds’ dynamic track changes. Plan your Grand Prix strategy to ensure you reach the third lap with sufficient position to safely deviate for collection.
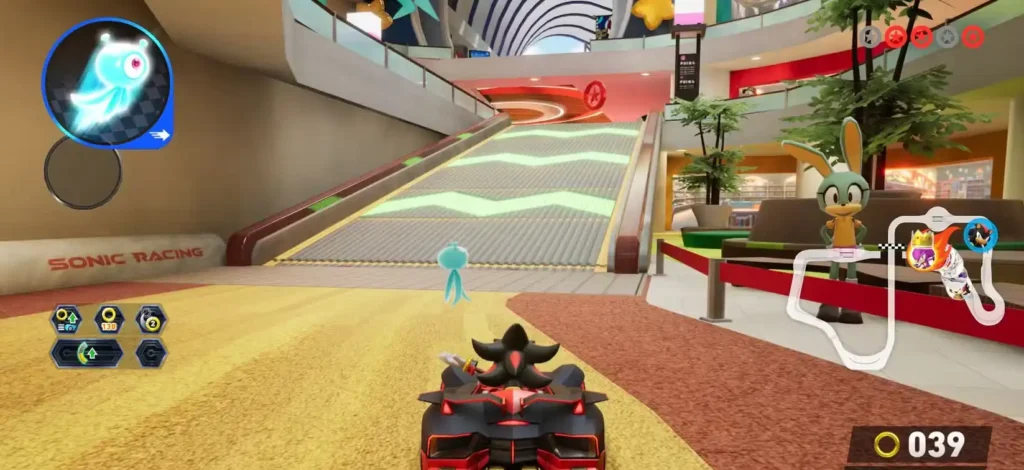
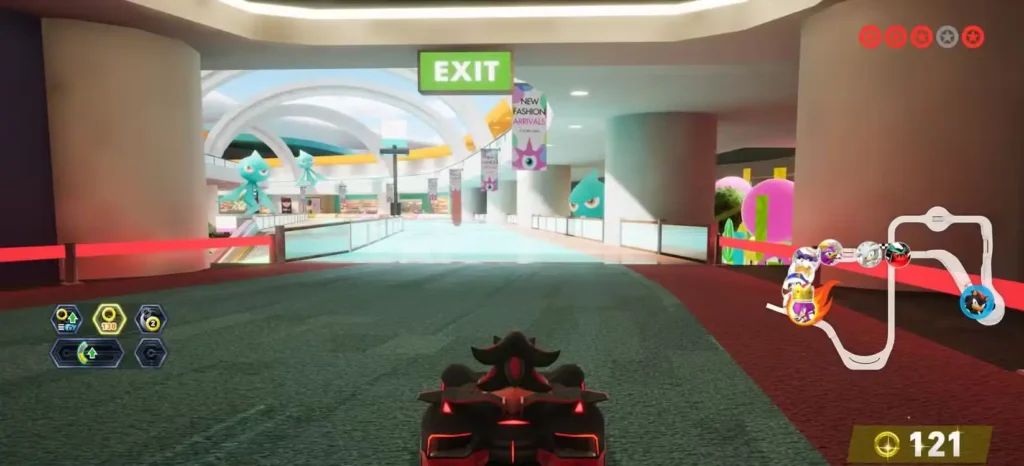
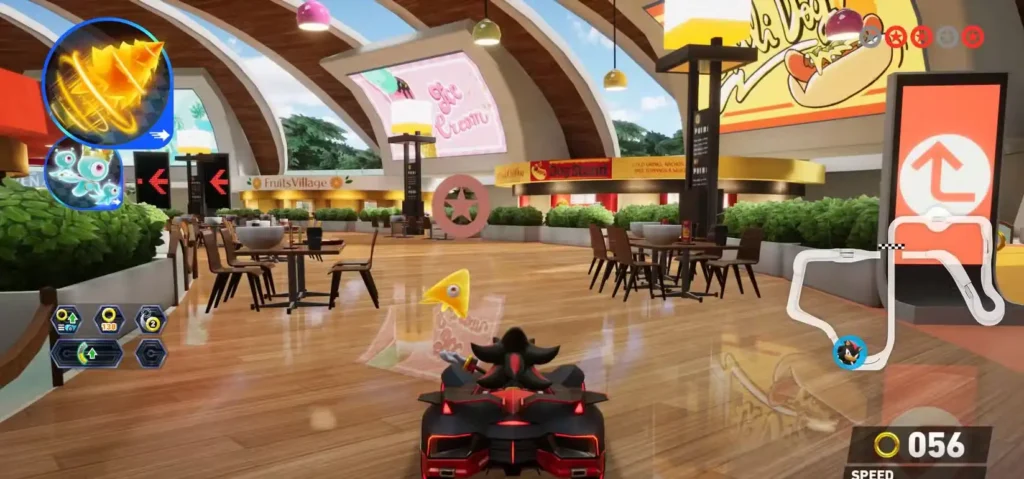
Colorful Mall: Multi-Level Maze Mastery
Colorful Mall presents the most complex collection challenge with its multi-story layout, hidden passages, and two rings that only appear during the third lap. Success requires spatial awareness and understanding of the track’s evolving architecture.
Ring 1: Ground Floor Opening
Location: First major circular area, ground level route Strategy: Resist the central ramp, stay on ground floor around the corner Difficulty: Medium – requires route discipline Timing: Any lap when choosing lower path
Strategic Choice: Most racers instinctively take the central ramp for better racing lines. This ring rewards players who explore less obvious routes.
Ring 2: Post-Jump Left Route
Location: Mid-race after large jump, left side of landing area Strategy: Land from jump and immediately turn left instead of taking central ramp Difficulty: Medium – requires post-jump positioning Timing: Any lap with proper landing execution
Execution Tip: Plan your jump approach to land with leftward momentum, making the immediate turn more natural and efficient.
Ring 3: Secret Upper Level (Third Lap Exclusive)
Location: Hidden upper section accessible via lap-specific ramp Strategy: Take opening ramp up, find new smaller ramp that spawns on lap 3 Difficulty: Hard – requires lap timing and exploration Timing: Third lap only – architecture changes after lap 2
Discovery Element: The spawning ramp represents CrossWorlds’ dynamic track evolution. The secret upper level features distinctive dark flooring and red ribbon decorations.
Ring 4: Portal Shortcut (Third Lap Exclusive)

Location: Extended upper level route near race end Strategy: After mid-race jump, stay on upper floors and find protruding track section Difficulty: Hard – requires precise navigation and lap timing Timing: Third lap only – route unavailable earlier
Bonus Reward: This collection route includes a portal passage that provides high-tier items, making it valuable for both collection and competitive advantage.
Ring 5: Seating Area Finale
Location: Final corner approach, left-side dining section Strategy: Enter the dark wood seating area instead of following main racing line Difficulty: Easy – clear visual distinction Timing: Any lap during final approach
Recognition Tip: The dining area features distinctive dark wood flooring and furniture that contrasts with the main track surface, making it easy to identify during races.
Strategic Collection Planning
Multi-Lap Coordination
Efficient Route Planning:
- Plan lap-specific routes in advance to minimize collection attempts
- Balance collection goals with competitive race positioning
- Consider Grand Prix standings when deciding collection timing
Risk Management:
- Prioritize easy collections first to guarantee partial success
- Save challenging aerial rings for laps where race position allows risk-taking
- Use defensive strategies to maintain position while collecting
Completion Strategies
For New Players: Focus on obvious rings first while building track knowledge. Complete collections may require multiple Grand Prix attempts as you develop the skills needed for challenging rings.
For Experienced Racers: Plan efficient routes that combine multiple collections per lap while maintaining competitive race pace. Use your understanding of vehicle builds to optimize for both collection and racing.
Collection Rewards and Benefits
Donpa Ticket Economy
Immediate Rewards: Complete ring collection provides substantial Donpa Ticket bonuses that support friendship progression and other unlock systems.
Long-term Value: Ring collection teaches advanced route knowledge that improves overall racing performance and reveals shortcuts useful in competitive play.
Skill Development Benefits
Track Mastery: Ring collection forces comprehensive track exploration that reveals optimal racing lines and strategic route options.
Precision Training: Challenging collections improve vehicle control and positioning skills that transfer to competitive racing situations.
Strategic Thinking: Balancing collection with race performance develops the multi-objective thinking crucial for Grand Prix success.
Essential Resources for Collectors
Master your collection journey with these key resources:
- Official Game Hub: Sonic Racing CrossWorlds Official Site – Latest updates and collection guides
- Start Collecting: Sonic Racing CrossWorlds on Steam – Begin your ring hunting adventure
- Community Database: Sonic Racing CrossWorlds Wikipedia – Comprehensive track and collection information
Master Collector Status Awaits
Collecting all 15 Red Star Rings across the Wisp Grand Prix represents more than just completionist achievement – it demonstrates mastery of route knowledge, precision driving, and strategic planning that elevates your overall CrossWorlds performance.
The varied challenges across Metal Harbor’s industrial routes, Sand Road’s mystical temples, and Colorful Mall’s multi-level complexity provide a comprehensive test of racing skills while rewarding exploration and curiosity. Each ring collected represents both immediate reward and long-term skill development.
The Collection Journey: Start with the obvious rings to build confidence, then gradually tackle the challenging aerial and lap-specific collections as your skills develop. Remember that complete collection may require multiple Grand Prix attempts – persistence and practice will ultimately lead to success.
Your Red Star Ring mastery begins with understanding these locations, but it’s perfected through the patient pursuit of every crimson collectible across CrossWorlds’ diverse racing environments.