Introduction
Visages is one of the most memorable and mechanically layered areas in Clair Obscur: Expedition 33. Located directly north of Old Lumiere, this island shrouded in red foliage and dominated by enormous floating masks serves as the home of one of Act 2’s two Axons — the Mask Keeper. Before you can face that boss at full power, the game sends you through three emotionally themed sub-zones: Joy Vale, Sadness Vale, and Anger Vale.
Each Vale contains its own mini-boss, unique weapons, Pictos, and hidden collectibles. You can technically sprint straight to the final boss and skip all three paths, but doing so means the Mask Keeper will call upon the powers of all three emotion masks during the fight, making it considerably harder. Clearing all three Vales first removes those bonus abilities entirely and loads you up with gear for the endgame.
This guide covers every single collectible in Visages — all 6 weapons, all 7 Pictos, all journals, all music records, all tint shards, and all key items — so you can hit 100% completion without missing a thing. Before heading into Visages, make sure your PC is running the game smoothly. If you haven’t yet, check out our best PC settings for Clair Obscur Expedition 33 for a full optimization guide covering FPS, graphics, and upscaling.
How to Reach Visages
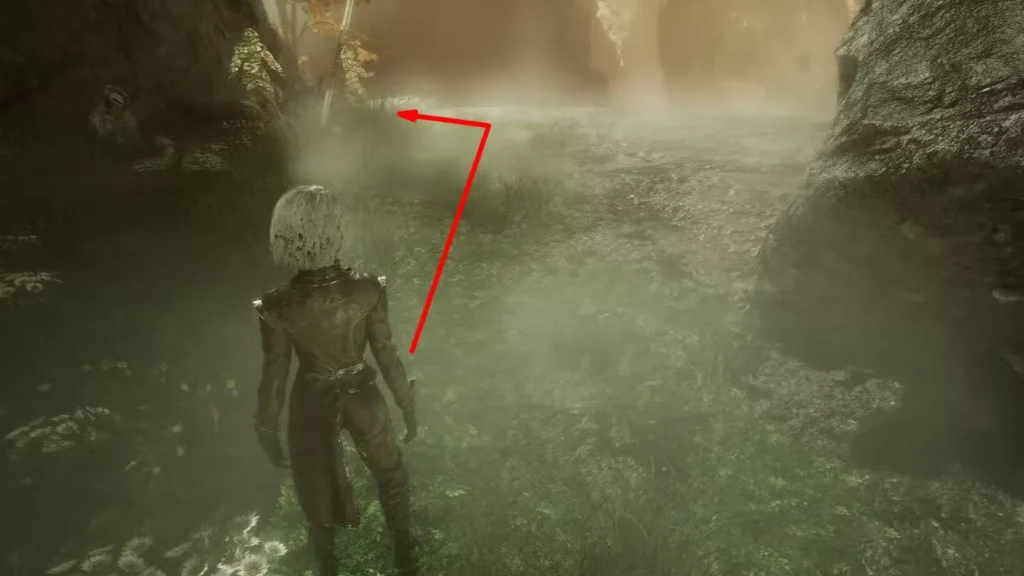
Visages is accessible during Act 2 after completing the events in Old Lumiere. You will need Esquie’s swimming ability — specifically the ability to swim through coral reef passages — to reach the island. Once you have that, swim north from Old Lumiere through the coral tunnels. Look for the island with red-tinted vegetation and the unmistakable giant masks hovering in the sky above. That is Visages.
Visages Layout and Structure
Once you arrive and trigger the opening cutscene with the Mask Keeper, activate the Plazza Expedition Flag. This is your central hub for the entire Visages region. From the Plazza, four paths branch outward:
- Joy Vale: Take the leftmost path from the Plazza. The environment shifts to green as you approach.
- Sadness Vale: The second leftward path, just next to the Joy Vale route. The area glows blue.
- Anger Vale: Located on the far right of the Plazza. Descend using the handholds in the wall to reach it.
- The Peaks: Head straight from the Plazza past Blooraga. This leads to the Visages final boss. Save this for last.
Each Vale contains a riddle mask at its conclusion. The masks ask you a question to determine your emotional state. The answers are straightforward — answer “Joy” in Joy Vale, “Sadness” in Sadness Vale, and “Anger” in Anger Vale. Getting these right triggers the optional boss fights and locks in your rewards. There is no penalty for answering correctly, and no trick or variation involved.
The Plazza: Merchant and Starting Items
Before heading into any Vale, take care of business at the Plazza.
On the right side of the path leading to the first expedition flag, pick up the Colour of Lumina sitting near the cliff edge. This is easy to miss if you walk past it quickly.
Just beyond the Plazza Expedition Flag, you will find Blooraga — a Gestral Merchant. In their regular inventory, Blooraga sells the Healing Share Pictos for 19,200 Chroma. If you defeat Blooraga in combat first, they will also add the Sadon weapon for Sciel to their shop for 12,800 Chroma. Both of these are worth picking up before you proceed.
Joy Vale: Full Collectibles Walkthrough
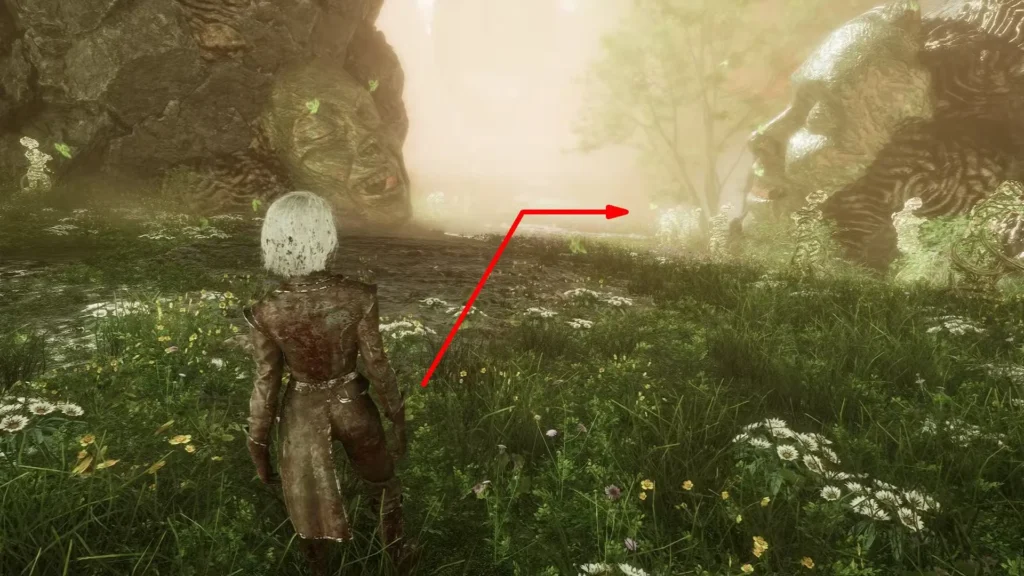
From the Plazza, take the leftmost path. You will be swallowed by the large smiling mask and deposited in Joy Vale, a green and flower-filled landscape that contrasts sharply with Visages’ red exterior.
Follow the path and deal with the two enemies you encounter. Continue forward and activate the Joy Vale Expedition Flag.
Now backtrack and head up the slope to the right of the flag. As you ascend, you will be ambushed by a Contorsionniste — a tough enemy with high HP whose weak point is the eye on its torso. Shoot the eye enough to stun it and make the fight manageable. Defeating this Contorsionniste drops the Contorso weapon for Verso. Next to a spear nearby you will find a Healing Tint Shard on the ground.
Continue up the slope and go to the opposite side to find the Confident Fighter Pictos near a tree and a Nevron corpse.
Go back down the slope and check the left wall of the large open area. There is a hidden corridor here. Walk to the end of it — you will be ambushed again, but at the end of this path you will find the Confuso weapon for Verso.
Return to the main area and locate the floating mask. Interact with it and answer “Joy” to begin the optional boss fight against the Jovial Moissonneuse. This boss is accompanied by two allies and has a unique mechanic — at the end of each of its turns, the mask heals the boss for around 8,000 HP. Focus down the boss and manage the healing efficiently. Defeating the Jovial Moissonneuse rewards you with the Chapelim weapon for Lune and a Resplendent Chroma Catalyst.
Near the beginning of the Joy Vale open area, you can also find a Chroma Catalyst by heading right as soon as you enter the space. There are also two hidden eyes in Joy Vale. Destroying both is required if you are chasing full environmental completion.
After the fight, you will be returned automatically to the Plazza.
Sadness Vale: Full Collectibles Walkthrough
From the Plazza, take the second leftward path — the one right next to the Joy Vale entrance. Follow the blue-lit corridor until the mask swallows you into Sadness Vale.
Defeat the Contorsionniste you encounter on the path and proceed to the Sadness Vale Expedition Flag.
From the flag, head left immediately to find a Chroma Catalyst sitting on or near one of the graves.
Continue along the left-side path and up the slope ahead. In the open area you reach at the top, look behind a crumpled-looking root formation on the ground to find a hidden Chroma pickup.
Now head right from the Expedition Flag and up a slope. Climb the ledge on your right to find another Chroma pickup. On the right side of the flag area, there is a slope that partway up branches left — take that left detour to grab a weapon upgrade material.
Continue to the top of the slope. At the summit you will find Expedition Journal 39. This is one of the area’s missable collectibles if you skip the Vales entirely, so make sure to grab it.
Continue further through the Sadness Vale path until you reach the open area where the Sorrowful Chapelier waits. Before fighting, turn 90 degrees right immediately upon entering and walk forward down a side path to pick up an Energy Tint Shard.
When ready, approach the large mask in the area and answer “Sadness” to begin the fight against the Sorrowful Chapelier. This boss fights similarly to a standard Chapelier but brings two allies. One of its key mechanics is randomly exhausting a party member at the end of its turn, disrupting your action economy. Defeating the Sorrowful Chapelier rewards you with the Boucharo weapon. You will also find the Glass Canon Pictos lying on the ground in the area where the fight took place — do not leave without picking it up.
After the fight, you are returned automatically to the Plazza.
Anger Vale: Full Collectibles Walkthrough
From the Plazza, go to the far right of the hub area and descend using the handholds on the wall. Follow the path down the slope. Before you reach the mask at the bottom, look to your left to pick up a small Chroma pickup.
Enter the mask to be transported to Anger Vale. Defeat the enemies at the start of the path and activate the Anger Vale Expedition Flag.
From the flag, look right and head up the slope to pick up a Resplendent Chroma Catalyst.
Head back to the main path and hug the left wall to collect a Chroma pickup at the far end. Continue back toward the main path until you spot a large statue. Turn left and climb the slope here, then defeat the enemies gathered at the top to earn a Revive Tint Shard.
Before reaching the cave entrance, turn left up another slope and defeat the enemies waiting there. There is a Resplendent Chroma Catalyst just behind them.
Head into the cave. The path splits into two:
Left fork: Defeat the group of Nevrons guarding the path to collect the Double Burn Pictos.
Right fork: This leads to a Manor Door. Enter it to be transported into a child’s playroom with a piano. Beside the piano, pick up the Verso music record. You can interact with the piano to play it for some genuinely beautiful tunes. Go through the door on the left inside this room and pick up Journal — Unknown from the foot of the bed near an Esquie plushie. This is one of the game’s hidden journals, and its authorship becomes clear if you have been collecting the other hidden journals. Exit the Manor once you have both the record and the journal.
Exit the cave and climb the slope on the right. Defeat the enemies at the top and grab the Resplendent Chroma Catalyst near the crates.
Head to the final mask in Anger Vale and answer “Anger.” This triggers the fight against the Seething Boucheclier. Unlike the Jovial and Sorrowful variants, this boss hits harder and deals fire damage that causes burns. It is accompanied by a Chapelier and a Moissonneuse, making party management more demanding. Defeating the Seething Boucheclier rewards you with the Clierum weapon.
You will also find the Powered Attack Pictos sitting on the ground near a Contorsionniste enemy in the Anger Vale area. Defeat the Contorsionniste that charges at you when you approach it — this drops the Contorso weapon for Verso as a duplicate if you already collected it in Joy Vale, but the Pictos is the priority pickup here.
After the fight, you are returned to the Plazza.

The Chromatic Ramasseur: Bonus Boss and Collectibles
Between Sadness Vale and Anger Vale, there is a Chromatic Ramasseur enemy encounter in the broader Visages open area. This is easy to walk past if you are focused on the Vales. Defeating the Chromatic Ramasseur rewards you with the Augmented Counter II Pictos. On the ground in the same area where this boss is fought, you will also find the Glass Canon Pictos — the same one found in Sadness Vale. Make sure you grab it here if you somehow missed it earlier.
The Peaks: Final Boss and the Immaculate Pictos
Once all three Vales are cleared, head straight from the Plazza through the stone pillars to reach the Peaks. Activate the Visages Peak Expedition Flag when you reach it.
At the end of the Peaks path, you will face Visages and then the Mask Keeper in succession. Because you cleared all three Vales first, the Mask Keeper will not be able to call upon the emotional mask powers during the fight, making the encounter significantly more manageable.
Defeating Visages and the Mask Keeper rewards you with the Immaculate Pictos, which is a guaranteed drop for clearing this boss encounter. You will also have a chance at receiving six Resplendent Chroma Catalysts and a Recoat from the fight.
After the cutscene, you will return to Camp automatically.
Post-Boss: The Hidden Music Record
After returning to Camp following the Mask Keeper’s defeat, choose the option to “Check up on the others” when interacting with your party. If you have been consistently keeping up with relationship events throughout Act 2, this interaction will unlock a Music Record as a reward. This is one of the few Music Records in the game tied to relationship progression rather than a fixed world location, so players who have neglected camp interactions up to this point may not receive it here.
Complete Visages Collectibles Summary
Here is everything in one place for quick reference:
Weapons (6 total):
- Sadon — Sold by Blooraga (defeat them first to unlock the sale, 12,800 Chroma)
- Contorso — Dropped by Contorsionniste in Joy Vale
- Confuso — Found in the hidden corridor in Joy Vale open area
- Chapelim — Dropped by Jovial Moissonneuse (Joy Vale boss)
- Boucharo — Dropped by Sorrowful Chapelier (Sadness Vale boss)
- Clierum — Dropped by Seething Boucheclier (Anger Vale boss)
Pictos (7 total):
- Healing Share — Purchased from Blooraga for 19,200 Chroma
- Confident Fighter — On the slope in Joy Vale open area
- Glass Canon — On the ground in the Chromatic Ramasseur / Sadness Vale area
- Augmented Counter II — Dropped by Chromatic Ramasseur
- Double Burn — Left fork in the Anger Vale cave
- Powered Attack — Near Contorsionniste in Anger Vale
- Immaculate — Reward for defeating Visages and the Mask Keeper
Journals (3 total):
- Expedition Journal 39 — Top of the slope in Sadness Vale
- Journal — Unknown — Inside the Manor playroom in Anger Vale cave, at the foot of the bed
- One additional journal entry in the room beyond the Anger Vale manor door
Music Records (2 total):
- Verso — Inside the Manor playroom in Anger Vale cave, beside the piano
- Relationship-linked record — Received at Camp after the boss fight by choosing “Check up on the others”
Tint Shards:
- Revive Tint Shard — Dropped by enemies on the slope in Anger Vale
- Energy Tint Shard — Side path in Sadness Vale open area
- Healing Tint Shard — Near the spear in Joy Vale after Contorsionniste fight
Outfit:
- Baguette Outfit for Verso — Defeat the Mime found in Joy Vale
Expedition Flags (5 total):
- Plazza Flag
- Joy Vale Flag
- Sadness Vale Flag
- Anger Vale Flag
- Peaks Flag
Tips for a Clean 100% Run Through Visages
Complete all three Vales before fighting the Mask Keeper. Not only does it make the final fight easier, but two of the three boss weapons are locked to those encounters and cannot be obtained after the area concludes.
Do not rush past the Contorsionniste in Joy Vale. It is easy to assume it is an obstacle rather than a required kill for the Contorso weapon.
The Confuso weapon is hidden behind an ambush in a corridor that blends into the wall. It is the most commonly missed item in the entire area because there is no visual indicator pointing you toward it.
Pick up the Glass Canon Pictos immediately after defeating the Chromatic Ramasseur. It sits on the ground and does not have a glowing beam marker in some instances, depending on your settings.
If you care about the post-battle Music Record at Camp, keep interacting with all party members during rest periods throughout Act 2 before reaching Visages. You cannot retroactively unlock the record if you skipped those relationship moments.
Why Visages Is Worth Doing Completely
The Immaculate Pictos alone is a strong reason to clear Visages fully — it is one of the more powerful combat enhancements available in Act 2. Combined with weapons like Contorso and Chapelim that scale well into the late game, a clean Visages run meaningfully improves your team’s combat flexibility heading into the game’s final chapters.
Sandfall Interactive packed this area with lore depth too. The Manor playroom in Anger Vale, the Unknown journal beside the Esquie plushie, and the relationship dialogue back at Camp all weave together threads of the game’s larger story that are easy to miss entirely if you skip the Vales. For more on how Sandfall approached storytelling and world design in this game, check out our article on Clair Obscur Expedition 33’s developer approach. And if you want to understand the conversations around AI use during the game’s development, our piece on the Clair Obscur Expedition 33 AI controversy explained covers the full story.
Visages is one of those areas that rewards thorough players generously. Follow this guide from the Plazza outward, clear each Vale before heading to the Peaks, and you will leave with every weapon, every Pictos, every record, and every journal the island has to offer.