What Is Gathering of Heroes?
Gathering of Heroes is the centerpiece quest of Chapter 2 in Where Winds Meet, and it’s unlike anything you’ve experienced so far. This isn’t a simple dungeon crawl or straightforward combat encounter. Instead, it’s a tightly woven narrative experience that blends stealth, infiltration, intense action sequences, and major plot revelations.
The quest introduces you to critical characters and factions that will shape the rest of your story—including the mysterious Gold-Making Vessel, a powerful artifact that everyone seems willing to kill for. By the end, you’ll understand why this quest is considered a turning point in the campaign. Fair warning: this quest is dialogue and cutscene-heavy, but for good reason.
Pre-Quest Preparation
Before you even head to Revelry Hall, take a moment to prepare. This will save you time and frustration later.
Unlock the Kaifeng Map Head to Kaifeng City’s entrance and collect the Kaifeng Map. This unlocks the region and gives you a full view of the area.
Unlock Southern Boundary Stones Find and unlock the Boundary Stones near Kaifeng’s southern entrance. You’ll use these teleport points repeatedly during the quest, so having them active now means you won’t waste time running between locations.
These preparations take just minutes but significantly streamline the quest experience once you get to the investigation phases.
Stage 1: Meeting Big Zhao and the Infiltration
The quest begins near Revelry Hall, where you’ll meet Big Zhao. He immediately reveals his situation: he couldn’t obtain an official Assembly Ticket to enter the Heroes Assembly. That’s when he introduces his backup plan.
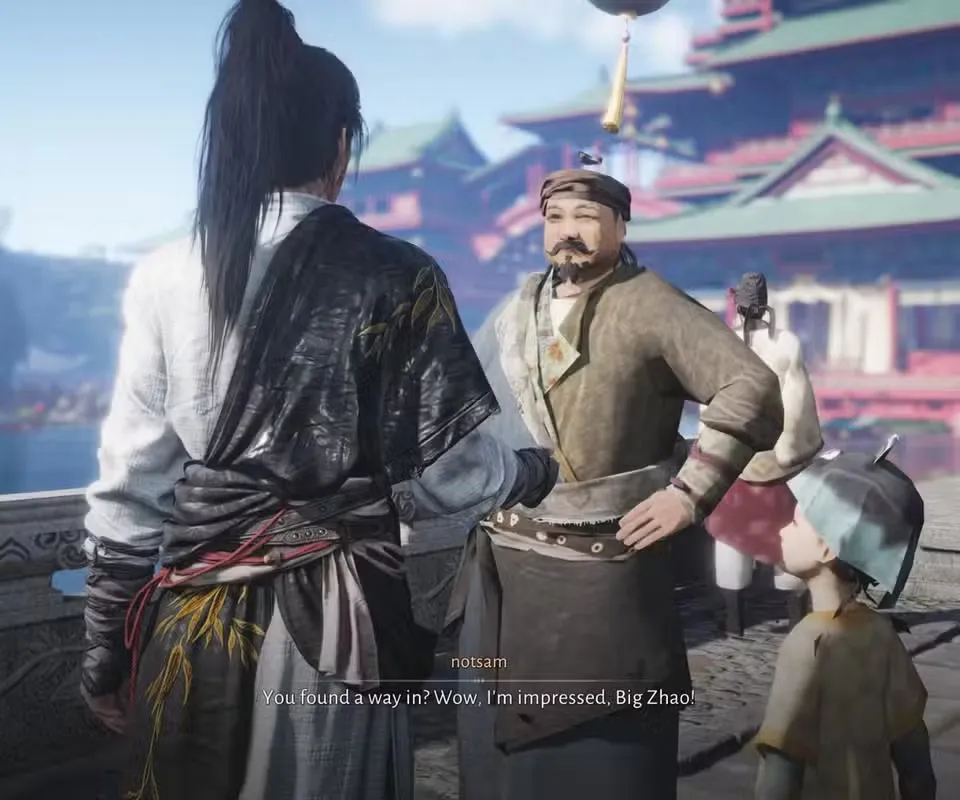
The Boatman’s Secret Route
Instead of attempting the front entrance, Big Zhao arranges for a Boatman to sneak you inside. Once you board the boat, a series of cutscenes plays out, showing you arriving at the heart of the Heroes Assembly. This is where things immediately get intense.
The Joyous Couple Confrontation
When you arrive, you witness a major moment. Several renowned Jianghu heroes are gathered outside Revelry Hall, guarded by the Velvet Shade Disciples. The tension erupts when the Joyous Couple challenges the guards.
This confrontation escalates dramatically. The Ember of East (Wen Wuque), one of the quest’s most important characters, appears and instantly kills the Joyous Couple with a single technique. It’s a shocking introduction that establishes the stakes immediately: the people in this assembly are genuinely dangerous.
The Velvet Shade Disguise
After regaining control, follow Big Zhao as he searches for a way inside without drawing attention. His solution is elegant: steal Velvet Shade Disciple uniforms and blend in. Once you’re dressed, your disguise works perfectly—the guards don’t recognize you.
However, as your group approaches the gate, a cautious disciple stops you and questions why Big Zhao’s face is covered. This is a dialogue choice moment, but unlike many games, there’s only one correct answer here:
Select: “He has a ringworm infection”
This excuse is specific enough to be believable and awkward enough that the disciple won’t press for details. Any other response fails, and you’ll have to fight your way through. The ringworm answer lets you pass without combat.
Stage 2: Inside the Inner Chamber
Once you’re past the gates, follow Big Zhao through the large hall decorated for the Heroes Assembly. The corridors wind upward as you explore, eventually reaching the third floor where the Ember of East’s private chamber is located.
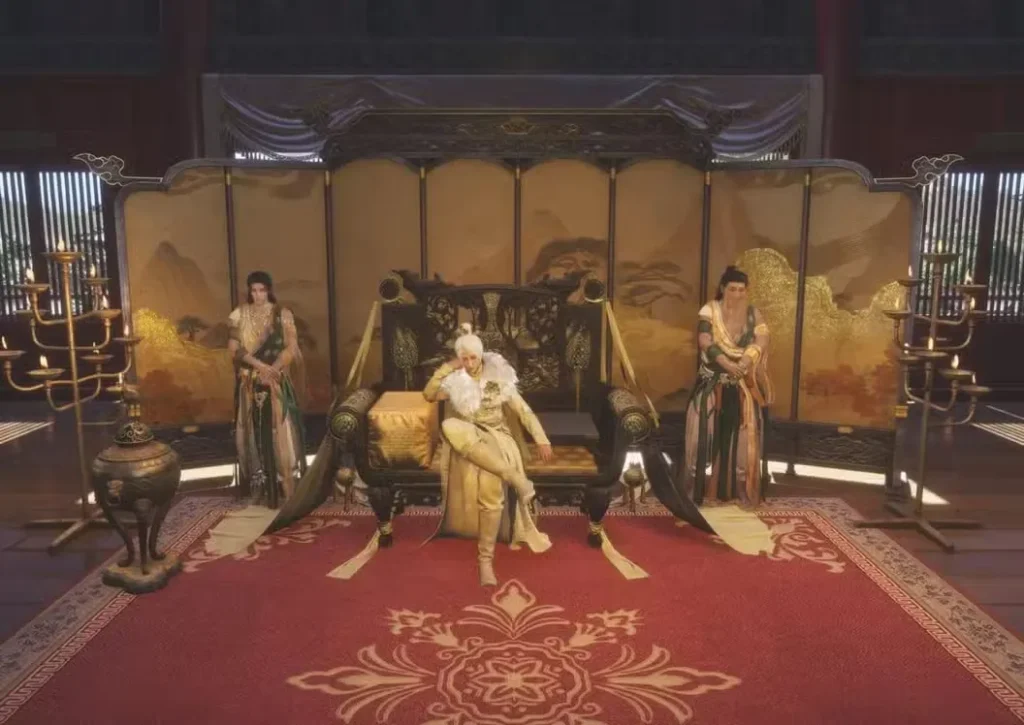
The Gold-Making Vessel Revelation
A lengthy cutscene begins when you enter the chamber. This is where you’re introduced to several major characters:
- Lord Shi – A Song Dynasty representative
- Dao Lord – An important faction leader
- Shen Yilun – An Ever-Normal Granary official
The Ember of East showcases the Gold-Making Vessel, and it’s genuinely impressive. Coins pour out in a dazzling display, demonstrating the artifact’s wealth-generating power. Everyone in the room is transfixed.
The Explosion and Chaos
Then comes the disruption. An explosion rocks the chamber, and the Gold-Making Vessel is snatched midair by an eagle in the chaos that follows. The assembled heroes immediately turn on each other, each trying to claim the treasure for themselves.
This marks the transition from cutscene to action.
Stage 3: The Illusion Fight
As fighting intensifies, something supernatural happens. Your character becomes trapped in an illusion, appearing to hold the Gold-Making Vessel itself. This sparks the combat section of the quest.
Combat Strategy
Waves of enemies rush toward you from all directions. The arena is small, making positioning crucial. You can’t simply tank damage here—you need to move, dodge, and manage your resources carefully.
Focus on:
- Staying mobile – The small arena means enemies will surround you quickly
- Prioritizing closer threats – Eliminate enemies near you before they can combo you
- Using crowd control – Any abilities that stun or knockback help manage the numbers
- Keeping your health up – Healing is important when you’re outnumbered
When you finally break free from the illusion and leave the platform, enemies continue to surround you. Just as things become overwhelming, Big Zhao arrives to help, turning the tide of battle.
The Bag Twist
Once the fighting stops, Lord Shi questions the bag you’re holding. When he examines it, shock sets in—the bag doesn’t contain the Gold-Making Vessel. It’s empty. This moment sets up the quest’s central conflict.
Stage 4: The Prefect’s Ultimatum and the Soulbreaker Pill
The Prefect of Kaifeng, the highest authority in the region, arrives immediately after the fight. He demands to inspect the Gold-Making Vessel. When he examines your bag, he discovers something that casts immediate suspicion on you and Big Zhao: instead of the vessel, it contains a chamber pot.
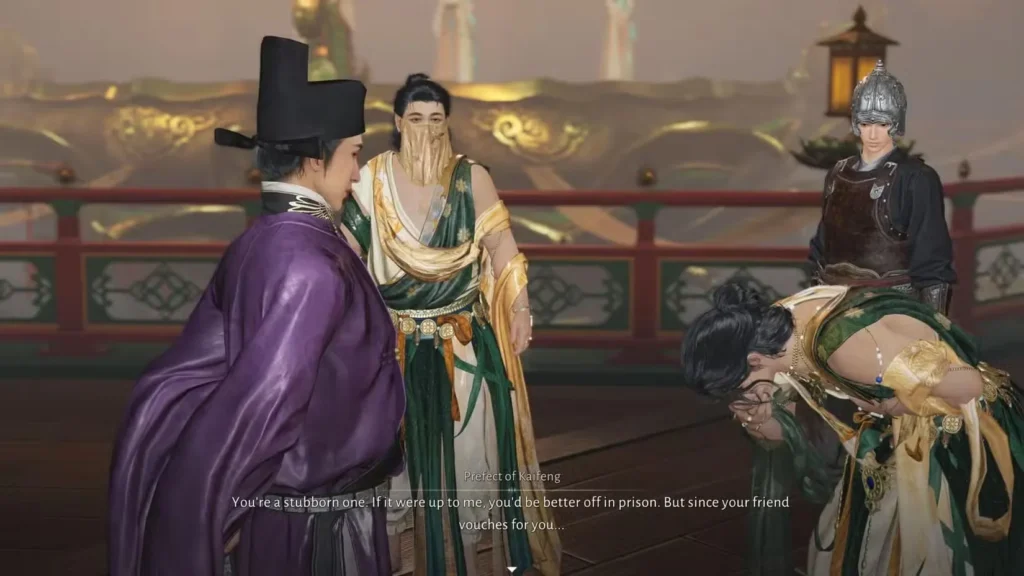
The Prefect is unmoved by Big Zhao’s defense that you had no opportunity to steal anything. Instead, he presents a brutal ultimatum:
Find the real thief within seven days, or die from the Soulbreaker Pill.
You’re given three dialogue options—resisting, surrendering, or accepting the deal—but the outcome is identical regardless of your choice. You are forced to swallow the Soulbreaker Pill, which activates a countdown timer for the investigation phase.
After consuming the pill, the Prefect takes Big Zhao aside for a private discussion. Pay attention here—this is foreshadowing for later revelations.
Stage 5: The Investigation Begins
With the pill’s threat looming, you need to gather clues. This is where the quest becomes more puzzle-oriented.
Eavesdropping on Big Zhao and the Prefect
First, approach a nearby balcony and eavesdrop on the private conversation between Big Zhao and the Prefect. Doing this reveals a major plot twist: Big Zhao and the Prefect are actually brothers. This revelation recontextualizes their entire interaction and hints at deeper layers to this quest’s story.
After the conversation ends and Big Zhao rejoins you, you can explore the building freely before continuing. Use this time to absorb what you’ve learned.
Finding the Broken Mask
When ready, head to the upper floor to investigate the area where the explosion occurred. On a table near the wall, you’ll find your first critical clue: the Broken Mask. This isn’t just random loot—it’s essential to progressing the investigation.
Take the mask to Big Zhao. He recognizes its significance and tells you he knows someone who can identify it: Master Pu, also known as the Know-It-All of Kaifeng.

Stage 6: Meeting the Know-It-All
Now you need to reach the Entertainment District to find Master Pu. This is where those unlocked Boundary Stones come in handy.
Fast-Travel to the Entertainment District
Use the Boundary Stones you unlocked earlier to fast-travel to the Entertainment District. Big Zhao meets you there, and together you approach Master Pu, the Know-It-All of Kaifeng.
Picking Up “The Analects”
Before speaking to Master Pu, you need to pick up a book lying on the ground near him titled “The Analects.” This is a required item interaction—don’t skip it.
The Broken Mask Analysis
After examining the mask, Master Pu reveals crucial information: the mask belongs to a secret organization called the Nine Mortal Ways. He won’t provide additional details about who they are or what they do, but he does give you the key to finding them.
Finding the Ferryman
Master Pu directs you to someone called the Ferryman, who can connect you with the Nine Mortal Ways. The Ferryman can be found in the Forsaken Quarter, located southeast of Kaifeng.
This revelation concludes the Gathering of Heroes quest and sets up the next major storyline in Chapter 2.
Key Dialogue Choices Summary
Most of this quest follows a fixed path, but here’s the one dialogue choice that matters:
- When the disciple questions Big Zhao’s covered face: Choose “He has a ringworm infection” – This is the only answer that works
Other dialogue moments are scripted and won’t change the outcome, so don’t stress about minor choices.
Pro Tips for Gathering of Heroes
Take Your Time with Cutscenes This quest is narrative-heavy. Let the story breathe and pay attention to character interactions. The plot twist about Big Zhao and the Prefect is easy to miss if you’re rushing.
Use the Pre-Quest Preparation Those Boundary Stone unlocks aren’t optional if you want a smooth experience. The quest requires fast-traveling multiple times, and having those points ready saves significant time.
Combat Positioning Matters During the illusion fight, don’t get backed into corners. The small arena means you need to keep moving and use the space strategically.
Explore the Building Freely After the initial combat sequence, you get time to explore before heading to find Master Pu. Use this to look for additional items or just absorb the atmosphere.
Remember the Disguise Detail If you somehow fail the ringworm dialogue check, you’ll have to fight through additional guards. The dialogue solution is always better.
What Comes Next?
Once the cutscene ends and Master Pu directs you to the Ferryman, the Gathering of Heroes quest officially concludes. However, this is just the beginning of Chapter 2’s story. The Nine Mortal Ways, the mystery of the Gold-Making Vessel, and the true identity of the thief all become central to what comes next.
The quest has successfully introduced major characters, factions, and mysteries that will drive the rest of the campaign. That’s why it’s considered such an important story moment in Where Winds Meet.
Related Guides for Chapter 2 Progression
Continue your journey through Where Winds Meet with these guides:
- Twisted Destiny Quest Walkthrough – Another important Chapter 2 encounter
- How to Change Time of Day – Essential for time-locked activities
- All Sects: How to Join Guide – Understand faction systems
- Best Mystic Arts to Unlock First – Optimize your abilities
- How to Break Through Level Caps – Stay powerful for story content
- Guidance Mode & Difficulty Settings – Adjust the experience to your preference
Final Thoughts
Gathering of Heroes is Where Winds Meet at its narrative best. It blends multiple gameplay styles—stealth, dialogue, combat, investigation, and puzzle-solving—into a cohesive story experience. The plot twists land because they’re set up properly, and the mystery propels you forward into Chapter 2 with genuine intrigue.
If you’re looking for where Where Winds Meet’s story truly takes off, this is it. The quest rewards patience and attention, offering one of the most memorable story moments in the game.
Where to Play Where Winds Meet
Ready to experience the Gathering of Heroes? Where Winds Meet is available on:
- Official Website – Official information and latest news
- Steam – Play on PC
- PlayStation – Available on PS5
- Wikipedia – Game overview and background
Explore our complete Where Winds Meet guide collection for walkthroughs, strategies, and tips for every quest and mechanic in the game.