Understanding These Interconnected Quests
Gleaming Abyss and Mysterious Colossus work together as a dual quest experience in Where Winds Meet. The Mysterious Colossus Lost Chapter quest serves as the gateway, leading directly into the Gleaming Abyss campaign quest. Together, they culminate in a challenging confrontation against The Void King, one of the game’s more memorable boss encounters.
What makes this pair of quests special is the puzzle design. These aren’t straightforward combat-focused missions—they’re filled with environmental puzzles, interactive mechanics, and exploration challenges that require actual problem-solving. If you’ve been frustrated by the puzzle elements in either quest, this guide breaks down every solution with clear step-by-step instructions.
Part 1: Mysterious Colossus Quest
Starting the Lost Chapter
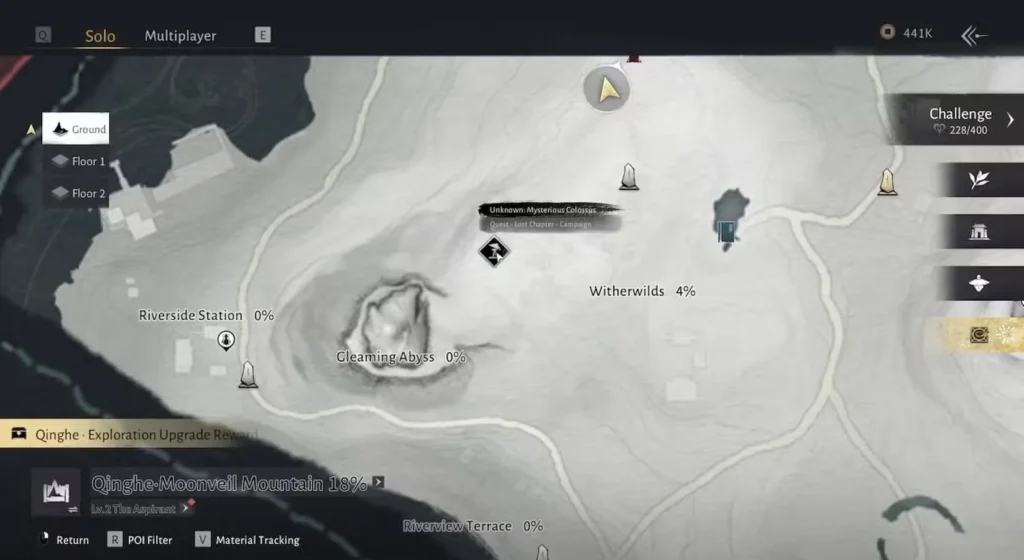
The Mysterious Colossus quest begins in the Gleaming Abyss region of Qinghe’s Moonveil Mountain. To trigger it, head to the Wraith Village Boundary Stone and follow the quest marker deeper into the area.
Approaching the Mysterious Colossus
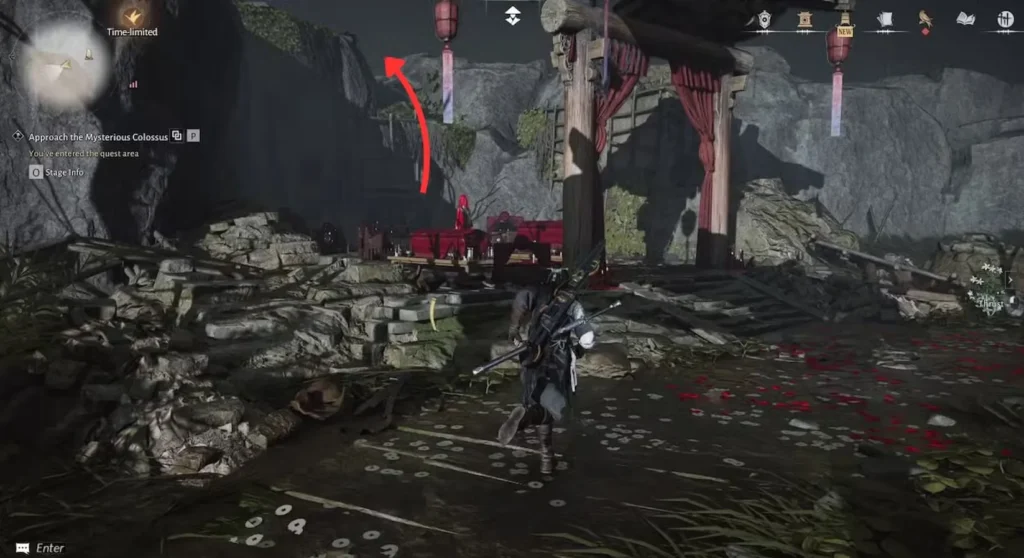
Follow the quest marker toward the heart of the Gleaming Abyss. The path leads into an area obscured by thick fog. You’ll encounter an area with two large red coffins and a red-robed figure—ignore these for now.
Instead, climb the wall behind them. As you ascend, look for two burning torches in the distance and walk toward them. As you approach, the heavy fog lifts dramatically, revealing a massive Buddha statue looming overhead. This is your first real encounter with the Mysterious Colossus.
Investigating the Anomalies
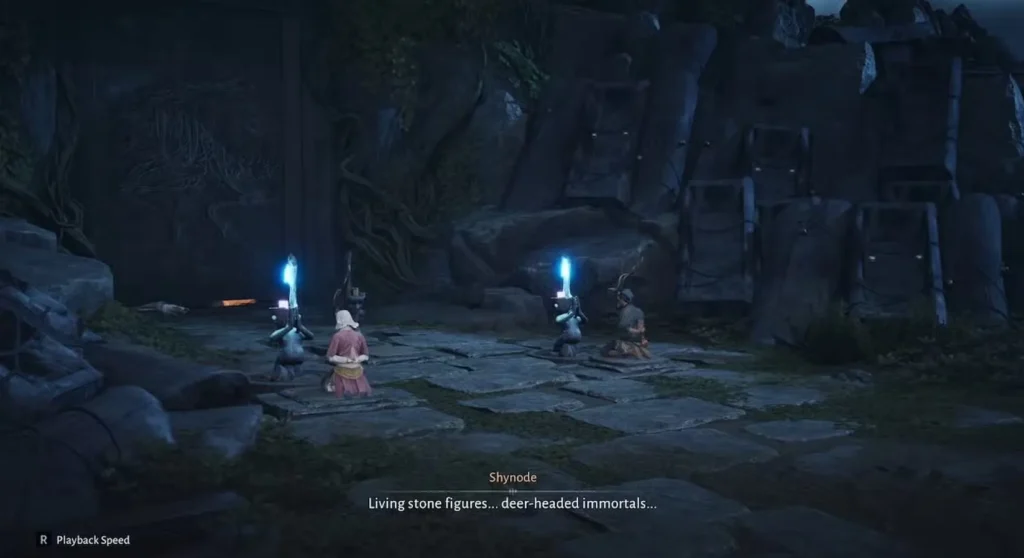
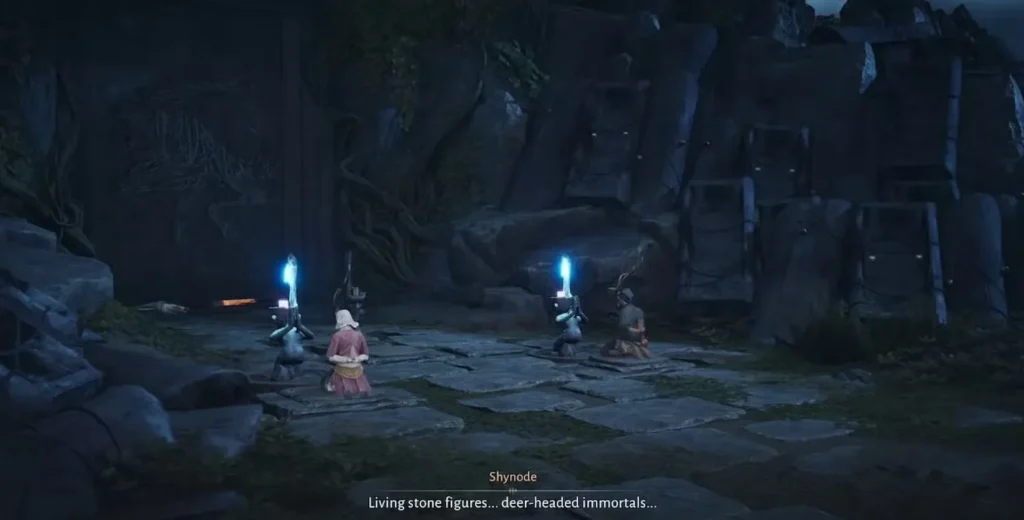
Now approach the stone men kneeling in front of the large statue. You’ll see a prompt to “Imitate” next to a red cloth on the ground. This is your first puzzle interaction.
Completing the Imitation Puzzle
Interact with the red cloth and sit down. Stay seated briefly. After a short delay, blue fire will erupt on nearby structures, and a blue Deer spirit will emerge and gallop away.
This isn’t just atmospheric—it’s a clue. Use Wind Sense (V) to sense the Deer Tracks and follow them. The path leads up the stairs and toward the back of the statue, where you’ll find two worshipping villagers kneeling in front of a stone door.
Opening the Stone Door: The Worship Puzzle
This is the quest’s central puzzle, and it requires precise timing and understanding of game mechanics.
How the Puzzle Works
The villagers naturally assume a worshipping pose in front of the stone statues, and when they do, the structures light up with blue fire. However, when you approach them, they stop worshipping and put their hands in front of their faces, causing the blue fire to go out.
Your goal is to maintain the villagers’ worship pose so the blue fire stays lit. This allows you to make offerings to the third statue and open the stone door.
Step-by-Step Solution
- Walk away from the villagers until they assume the correct worshipping pose and the blue fire activates
- Cast Meridian Touch on both villagers in quick succession—this forces them to maintain the worship position
- Quickly approach the third statue before the effect wears off
- Select “Make Offerings” to complete the puzzle
The key is speed. You need to freeze both villagers with Meridian Touch, then immediately interact with the third statue before they resume their normal behavior. If you’re too slow, you’ll have to repeat the process.
Pro Tip: If you’re struggling with the timing, wait until both villagers are positioned exactly as you need them before casting Meridian Touch. This gives you the best window to complete the interaction.
Part 2: Gleaming Abyss Quest
Once you open the stone door from the Mysterious Colossus puzzle, you transition into the Gleaming Abyss campaign quest proper.
Entering the Abyss
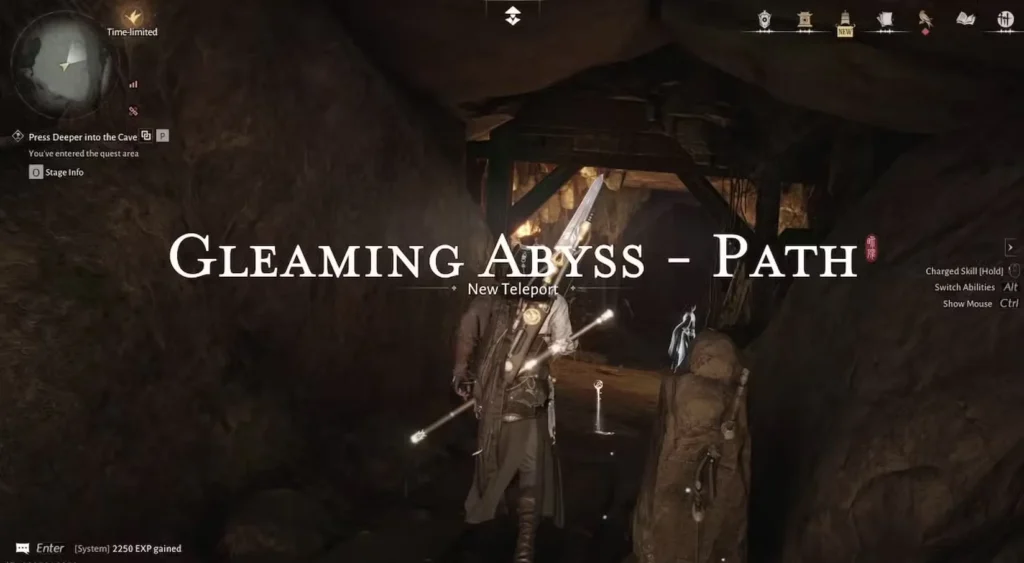
Activate the Path Boundary Stone
Enter the now-open cave entrance and immediately activate the Gleaming Abyss – Path Boundary Stone. This unlocks a permanent teleport point for faster navigation later.
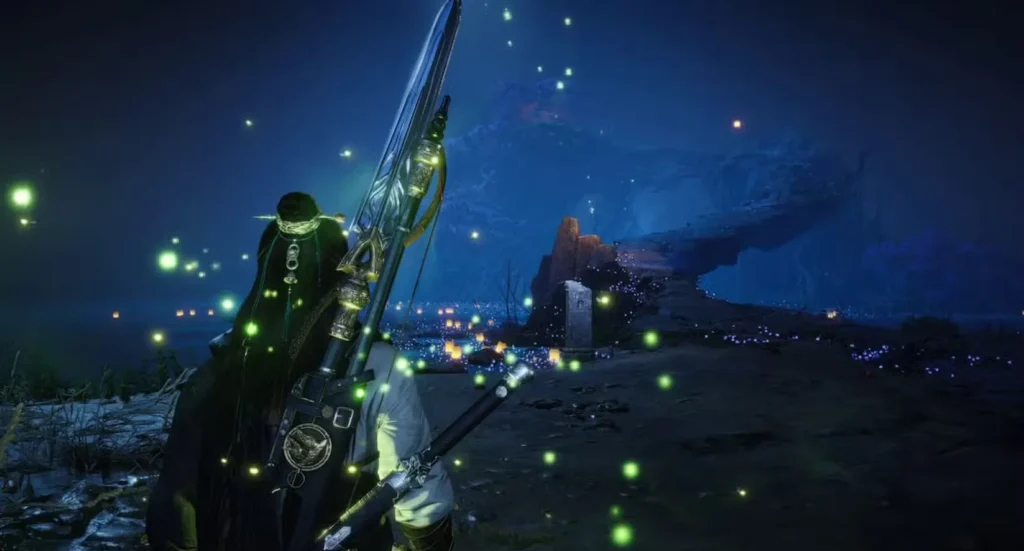
Capture the Fireflies
Inside the cave, you’ll notice five fireflies flying around. Capture all five of them. This unlocks the Glow of Fireflies Mystic Art, which creates an on-command light source. This is incredibly useful in the darker sections ahead, so don’t skip this.
Navigating to the Pond
Follow the narrow cave path leading down into the depths. You’ll eventually reach a large open pond with a winding path leading up to a glowing Stone Coffin. At the pond’s entrance, activate the Gleaming Abyss – Pond Boundary Stone.
Finding the Three Deer Shadows
Before you can reach the Stone Coffin, you need to locate and interact with three Deer Shadows scattered around the pond area. Each one requires a different approach.
Deer Shadow #1: Water’s Edge
To the left of the Boundary Stone, you’ll see two spirits and a Deer Shadow standing on a pier overlooking the pond. Walk up to them and select “Sense Dream Echo.” The Deer Shadow will return to the stone coffin, completing this objective.
Deer Shadow #2: Vine’s Depths
Right next to the Boundary Stone is a narrow entrance you can crawl into by crouching (press C). Enter this cramped area and interact with the male Dream Echo. The Deer Shadow will return to the stone coffin.
To exit, climb the vines next to the spirit to return to the main pond area.
Deer Shadow #3: Drum’s Top
This is the most complex of the three. Approach the two spirits standing on top of two drums, opposite the Boundary Stone’s location. This puzzle requires environmental interaction.
- Activate Wind Sense (V) to see hidden elements
- Look for an overgrown branch on the wall next to the two blue flame torches
- Use a Fire Arrow with your Bow to burn the branch to ashes
- A lantern will light up behind where the branch was
- Multiple drums will rise from the water as a result
- Follow the two spirits as they use the drums as jump pads to cross the pond
- You’ll see a Deer Shadow run back to the stone coffin
- Collect all treasures in this location before leaving
Opening the Path Forward
Once all three Deer Shadows have been guided back, the barrier blocking the path ahead will open. You can now approach the Stone Coffin. Interact with it and you’ll be pulled down to the next main location.
Clearing the Arena
You’ll enter a large arena filled with Poison Puppets. Defeat all the Poison Puppets to clear the area. These aren’t particularly dangerous individually, but there are many of them, so crowd control abilities help.

Obtaining the Stone Gate Key
After clearing the arena:
- Walk up the stairs on the opposite side of the arena
- You’ll see another Deer Shadow and a male spirit
- Interact with the Deer Skull on the ground to obtain a key material
- Continue forward to find an open wooden coffin standing upright with a mummy inside
- Interact with the coffin to obtain Human Cocoon’s Notes and the Stone Gate Key
- Return to the arena and interact with the stone contraption to place the Stone Gate Key and unlock the path ahead
Finding All Deer Skull Parts
This section involves collecting three Deer Skull parts scattered throughout the next area.
First Deer Skull
- Enter through the Stone Gate
- Defeat the puppet blocking your path
- Reach the Gleaming Abyss – Bottom Boundary Stone
- Look to your right and jump up through the stone pillars
- Drop down on the other side
- Turn right and you’ll see two Dream echoes and a Deer Shadow with a Deer Skull beside it
- Purify the Deer Skull to obtain the first Deer Antler
Second Deer Skull
- Turn back and climb the stone steps to reach a wooden platform
- You’ll see another Deer Shadow here
- Interact with the Deer Skull right next to it to obtain the second Deer Antler
Third Deer Skull
- Jump down to the right to drop in front of the blocked stone wall
- This area contains the third Deer Skull location (you should have already collected one from earlier in the arena section)
Unlocking the Path
Once you have all three Deer Skull parts:
- Interact with the blocked stone wall
- Place all three Deer Skull parts to unlock the path ahead
- Proceed forward to the boss arena
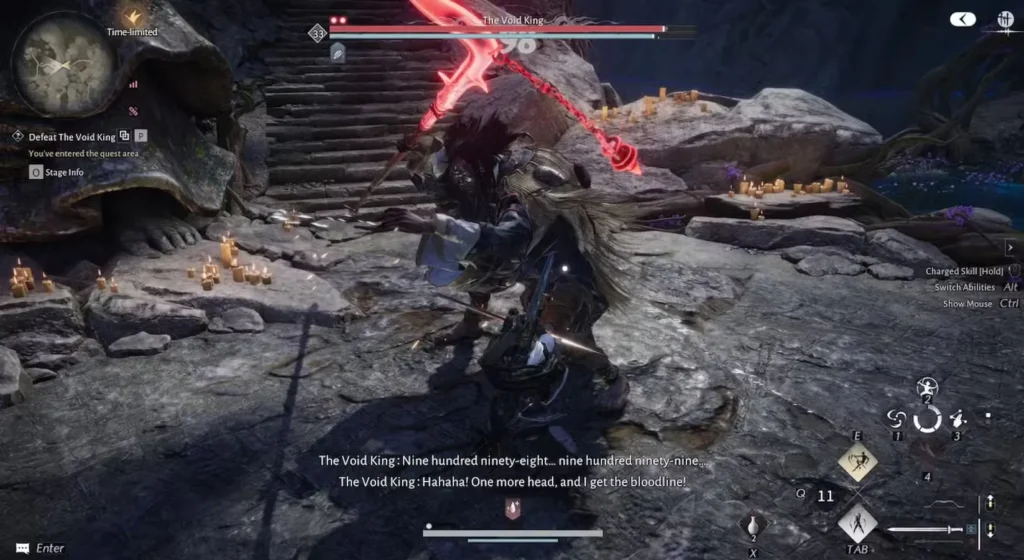
Boss Fight: The Void King
This is the climactic encounter of these quests. The Void King is a two-phase boss with a considerable challenge level.
Before You Fight
There’s a Hero’s Tomb at the entrance, which means you can summon help using a signpost if you need additional support. Don’t be prideful about using this—The Void King is legitimately tough.
Combat Strategy
The Void King has distinct phases with different attack patterns. During Phase One, focus on learning his move set and landing safe damage between his combos. He’ll have tells before major attacks—watch for these visual cues.
During Phase Two, he becomes more aggressive and introduces new attack patterns. Stay mobile, use crowd control if available, and prioritize survival over damage. Your goal is consistency, not flashy plays.
Post-Victory Rewards
Defeating The Void King grants:
- Echo Jade: x50
- Medicinal Tales: x1
- Coins: x30,000
- Longevity Fruit Seed: x1
- Divine Roulette Inner Way: Tome: x1
- Oscillating Jade: x5
- EXP: x30,000
- Qinghe Exploration: x100
Uncovering the Final Story
After defeating The Void King, the quest concludes with a final narrative section.
- Enter the Mist Gate behind The Void King’s arena to return to the cave
- Interact with the Dream Echo grieving in front of a grave—this reveals story context
- Run up the stairs to a large empty house and collect items inside
- Activate the ghostly contraption next to the two Dream echoes near the pond
- This creates a stone path leading back to Gleaming Abyss – Pond Boundary Stone
- Interact with the Deer Immortal sign etched on the ground to complete the quest
This final sequence unlocks the Gleaming Abyss campaign, opening up additional content.
Puzzle Solutions Quick Reference
Imitation Puzzle (Mysterious Colossus)
- Sit at the red cloth, trigger the Deer spirit and track it
Worship Puzzle (Stone Door)
- Walk away → Meridian Touch both villagers → Quickly make offerings to the third statue
Drum’s Top Puzzle (Pond Area)
- Use Wind Sense → Burn the branch with Fire Arrow → Follow the spirits across the rising drums
Deer Skull Collection
- Right platform behind stone pillars → Wooden platform area → Stone wall area (three total parts)
Pro Tips for These Quests
Use Wind Sense Liberally Many hidden elements require Wind Sense (V) to reveal. If you’re stuck, try using it.
Bring Bow and Fire Arrows The environmental puzzles require these tools. Make sure you have them equipped before entering puzzles that need them.
Resource Management There’s significant combat throughout these quests. Don’t blow all your healing items early—pace yourself.
Explore Thoroughly Each location has chests and items worth collecting. Take your time to fully explore areas before moving on.
Summon Help for The Void King This boss is challenging. Using the signpost to get support is smart strategy, not weakness.
Related Guides for Campaign Progression
Continue mastering Where Winds Meet with these resources:
- How to Get Celestial Seize – Useful Mystic Skill for puzzles
- Best Mystic Arts to Unlock First – Optimize your abilities
- Twisted Destiny Quest Walkthrough – Another major quest
- How to Change Time of Day – Essential game mechanic
- Wolf Maiden Boss Fight Guide – Master boss combat
- Best Early Builds & Weapon Combos – Strengthen your character
Final Thoughts
Gleaming Abyss and Mysterious Colossus represent some of Where Winds Meet’s most creative quest design. The puzzles are challenging but fair—once you understand the mechanics, the solutions become clear. The Void King fight serves as an excellent test of your combat skills and resource management.
Completing these quests feels earned because they demand engagement with multiple game systems simultaneously. You’re not just fighting or just puzzling—you’re doing both, and doing them well. That’s the hallmark of excellent quest design.
Where to Play Where Winds Meet
Ready to face the Void King and uncover the Gleaming Abyss? Where Winds Meet is available on:
- Official Website – Official information and updates
- Steam – Play on PC
- PlayStation – Available on PS5
- Wikipedia – Game overview and background
Explore our complete Where Winds Meet guide collection for more quest walkthroughs, strategies, and comprehensive gameplay guides.