Don’t miss a single Shrine in Worship’s Rise! Here’s your complete gamer-to-gamer guide to finding all 12 Shrines in Wuchang: Fallen Feathers, including tips, directions, and key routes.
Shrine Hunting in Wuchang? Say Less.
Look, Wuchang: Fallen Feathers doesn’t exactly hand out waypoints like a Ubisoft game. So if you’re feeling like you’ve wandered halfway across a cursed mountain and still can’t find a Shrine to save your XP—don’t stress. We’ve been there, we mapped it, and now you’re getting the rundown. All 12 Shrines in Worship’s Rise, explained like a gamer talking to gamers. Let’s go shrine-sniffing.
Pro Tip: That red blip on your compass? Yeah, that’s your hot-and-cold tracker for unactivated Shrines. It won’t show you the exact location, but it’ll let you know when you’re in the zip code.
???? Shrine #1 – Reverent Temple
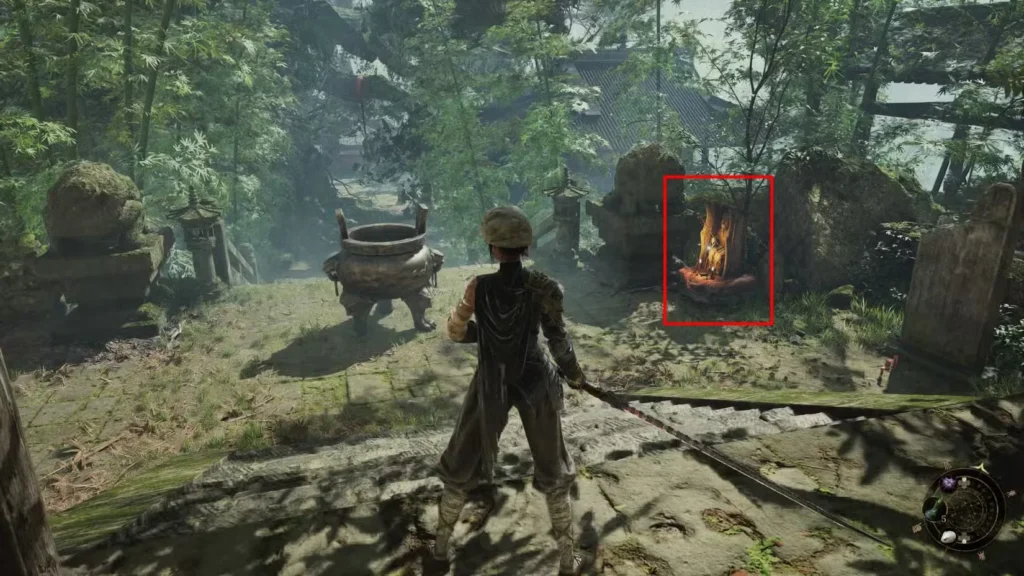
Where: Literally your starting zone.
How to Get There: Walk outside the opening structure and look right. Boom—free checkpoint.
⛰ Shrine #2 – Buddha Cliffs
Where: Up the scaffolding, post-Reverent Temple.
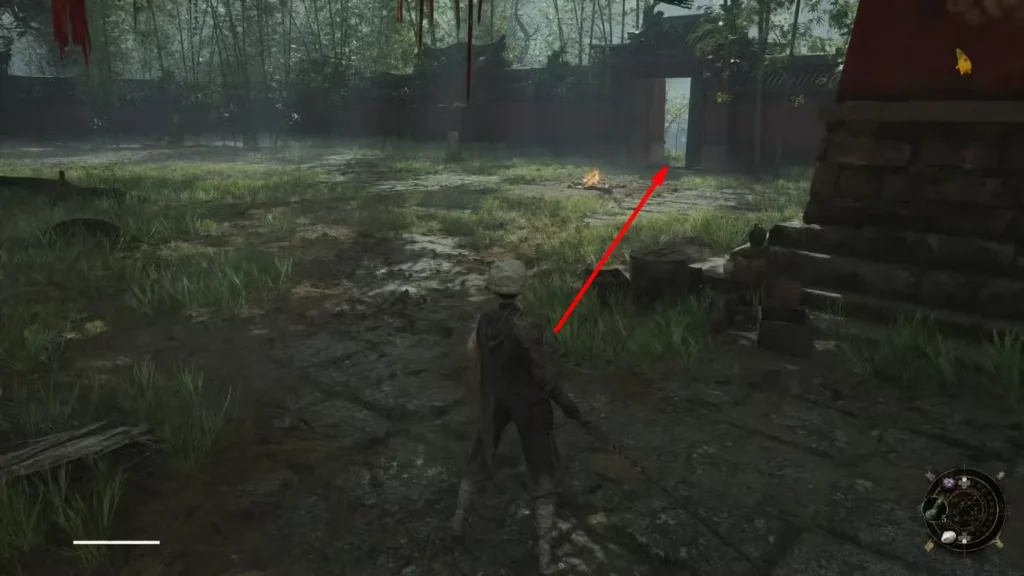
How to Get There: Take the path past the first shrine, hang a right through a gate, descend, and follow the wooden platforms straight to the top. It’s like a platformer, but with ghosts.
???? Shrine #3 – Lightzen Temple
Where: Just beyond Buddha Cliffs, after a ladder-cave combo.
How to Get There: Down the ladder, through the cave, go right, then left at the bottom—hello shrine. It’s basically your prep station before the Dhutanga beatdown.
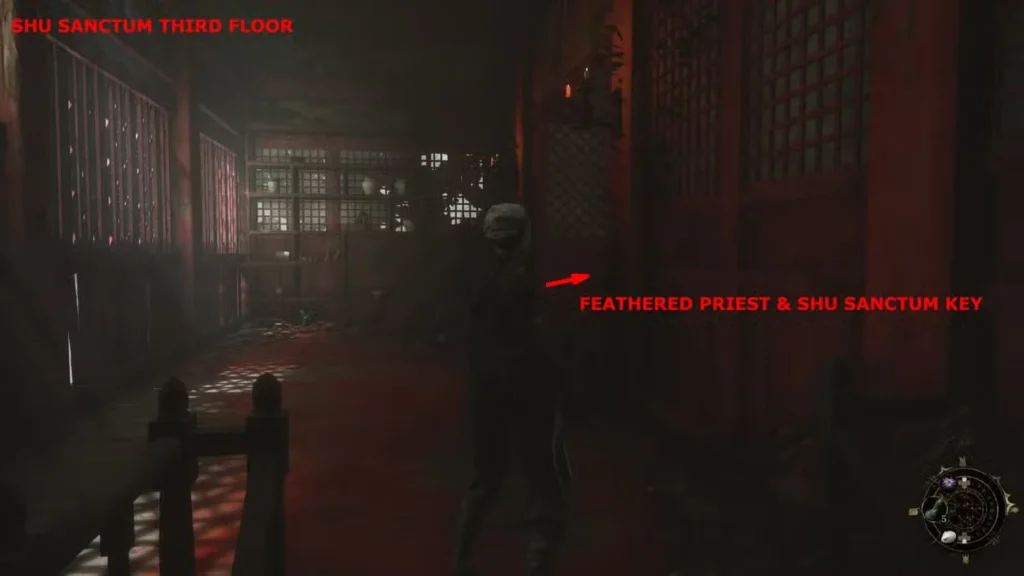
⚔️ Shrine #4 – Shu Sanctum
Where: Post-Dhutanga, past the unlocked gate.
How to Get There: Use the Lightzen Temple Key from the Dhutanga boss. Cross Narrow Stretch, climb stairs, reach a new building, and you’ll find this shrine on the ground floor.
???? Shrine #5 – Annalum
Where: Hidden behind what looks like a broken bridge. Spoiler: it’s not.
How to Get There: Exit Shu Sanctum, spot that “fake broken” bridge on the right, cross it like a boss. Left > right > stairs > roof > ladder > another ladder > fire dancer enemy > banner building. Cross the bridge nearby and enjoy your next save point.
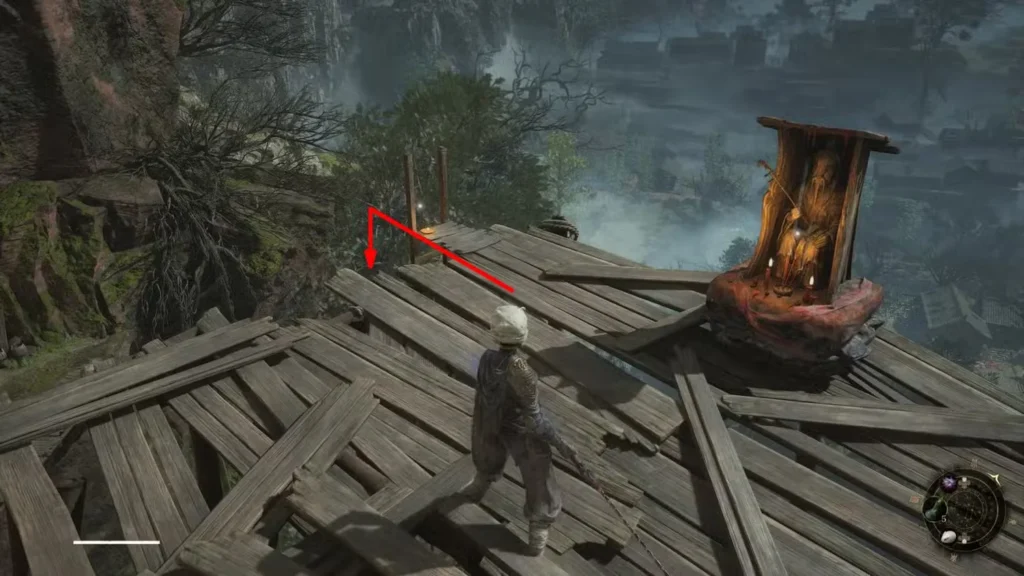
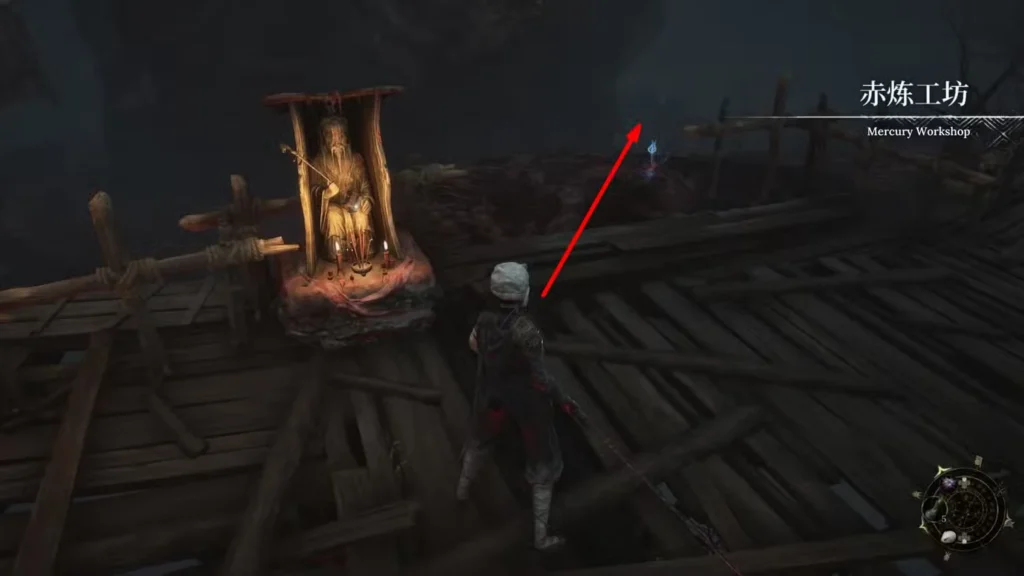
???? Shrine #6 – Mercury Workshop
Where: Hidden inside Shu Sanctum like a Matryoshka doll.
How to Get There: Beat Lu Bingzhang on floor 3 for the Shu Sanctum Key. Go back to floor 1, interact with the cylinder, descend the hidden stairs, and navigate the wood maze until you see your prize on the left.
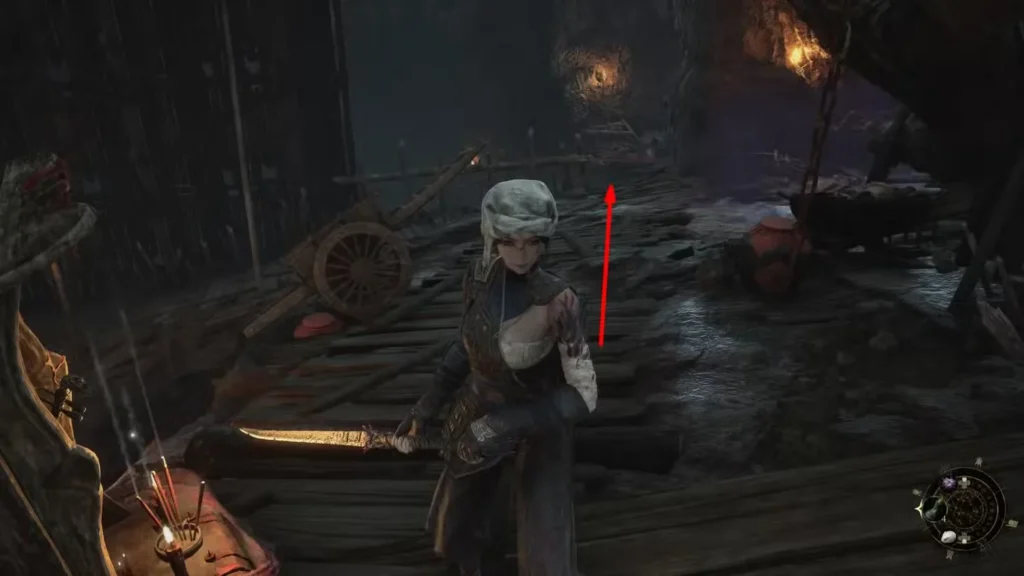
???? Shrine #7 – Bandit Cave
Where: Down bad and deep beneath the Workshop.
How to Get There: Cross the red feather platform by the Workshop shrine, then descend… a lot. Fight through the corruption and eventually you’ll hit a Bandit Cave. The Shrine’s near the top of a U-turn path.
???? Shrine #8 – Doomwillow Beach
Where: After throwing hands with a giant centipede.
How to Get There: Leave Bandit Cave, fight Blightweaver – Great Centipede, take the Tower of Sacrifice path, ride the lift, and the Doomwillow Beach shrine will be chillin’ on your left.
???? Shrine #9 – Lu Mansion
Where: Not far from Doomwillow.
How to Get There: From Doomwillow Shrine, go forward-right. Stick right at the fork. You’ll see an open area and the shrine is on your left by a lift.
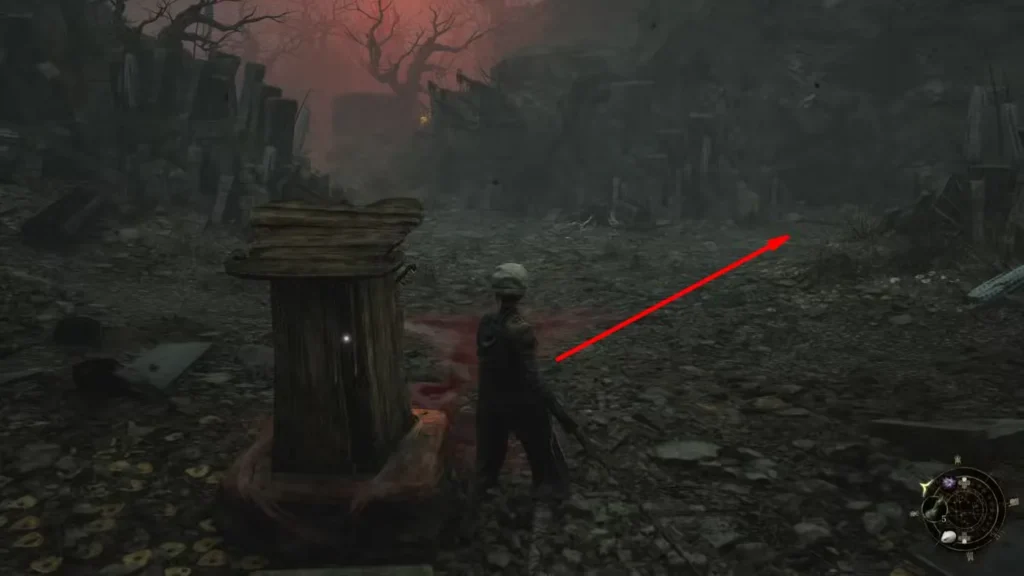
???? Shrine #10 – Corpse Pit
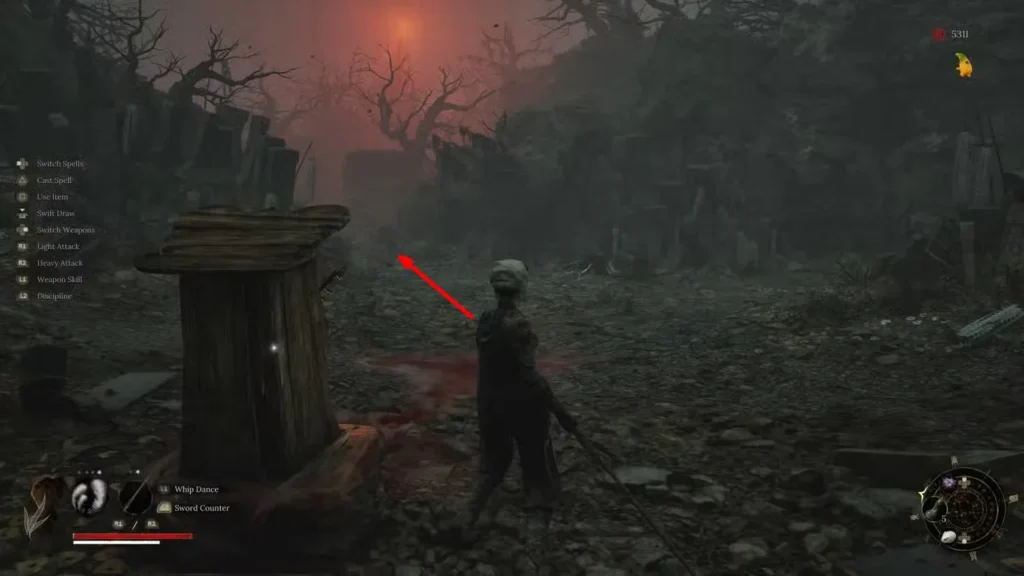
Where: Deep into blood river territory.
How to Get There: From Doomwillow, head forward-left. Wade through the blood river, kill the nightmare horse, climb the ladder, pass the fire, ignore the side ladder, go into tentacle corridor, and beat Reborn Treant – Soulwood. The shrine pops after you win.
???? Shrine #11 – Palace Hill
Where: On the high ground, Obi-Wan style.
How to Get There: Exit the Corpse Pit via slope, enter building, go upstairs, climb a ladder, keep climbing until you reach bridges and rooftops. Eventually, after a scenic walk, you’ll find a ladder to climb near a shrine-like device. That leads you to the Palace Hill Shrine.
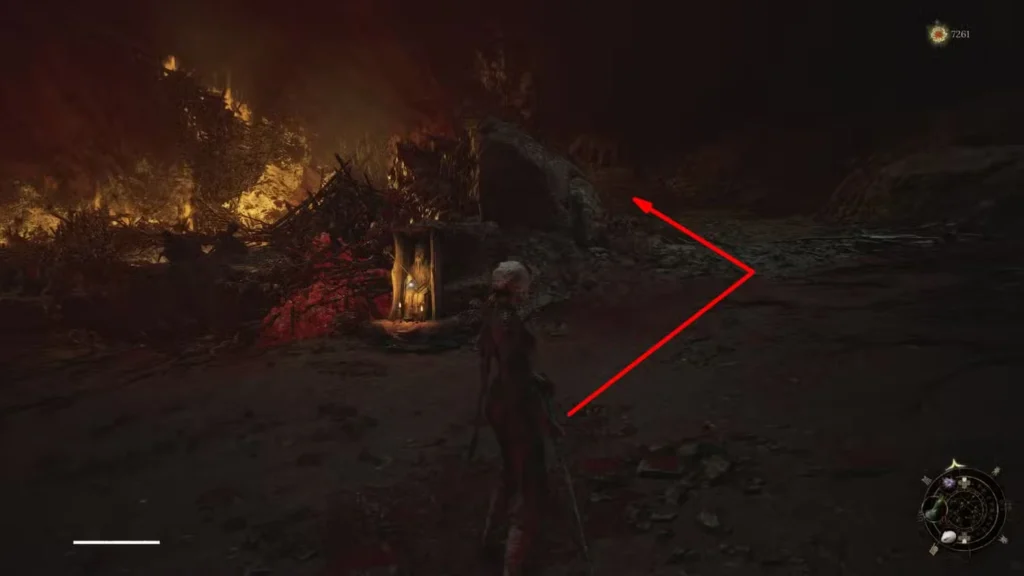
???? Shrine #12 – Lotus Pond
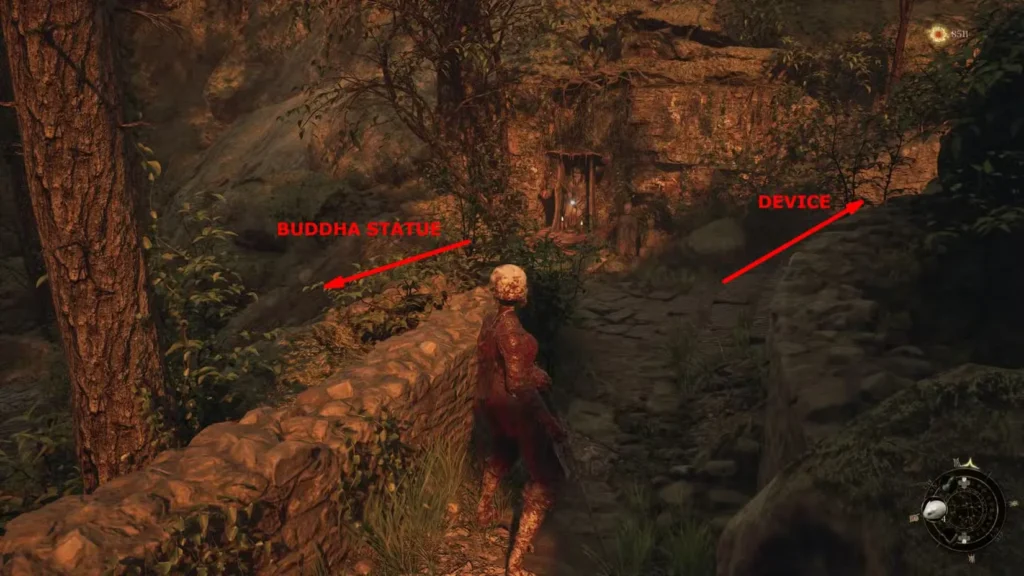
Where: Locked behind a mini puzzle and a boss fight.
How to Get There: Find the Buddha Statue near Palace Hill Shrine, and plug it into the device nearby. This drains a pool across from the Tang Palace Maid’s building. Enter it to fight Commander – Honglan. After winning, you’ll get teleported back to the start—but you must hike back to activate the shrine in her arena.
Final Word from a Fellow Shrine Hoarder
Some of these Shrines are right on the beaten path. Others? Hidden like they’re guarding the Elden Ring itself. If you’re thorough, patient, and not afraid to backtrack (a lot), you’ll hit all 12. And trust—having every checkpoint unlocked in Wuchang is the difference between rage-quitting and flexing on fire monks.
If you’re getting clapped in any specific section, hit me up for tailored strategies or map help. You’ve got this.
Related Articles:
- Wuchang: Fallen Feathers Camera Guide – Classic vs Standoff Perspective
- Wuchang Quest Guide: Get Nian Suichang His Elixirs (and Wipe the Floor with a Feathered Priest)
- Boss Fight Breakdown: Master Raider Dhutanga in Wuchang – Tips, Tricks & Gamer Insight
- Wuchang: Fallen Feathers Madness Guide – How to Use It, Abuse It, or Lose It