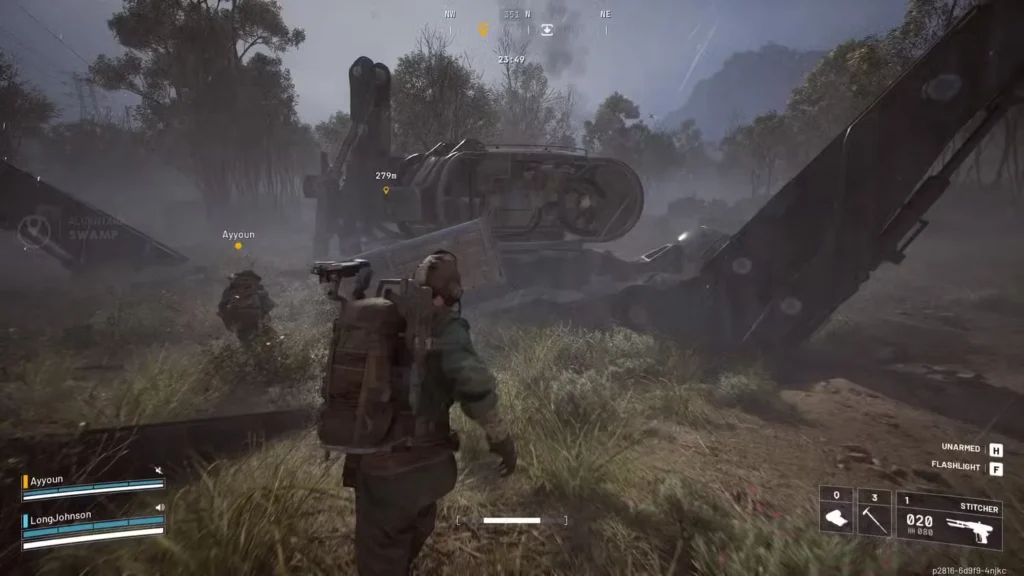
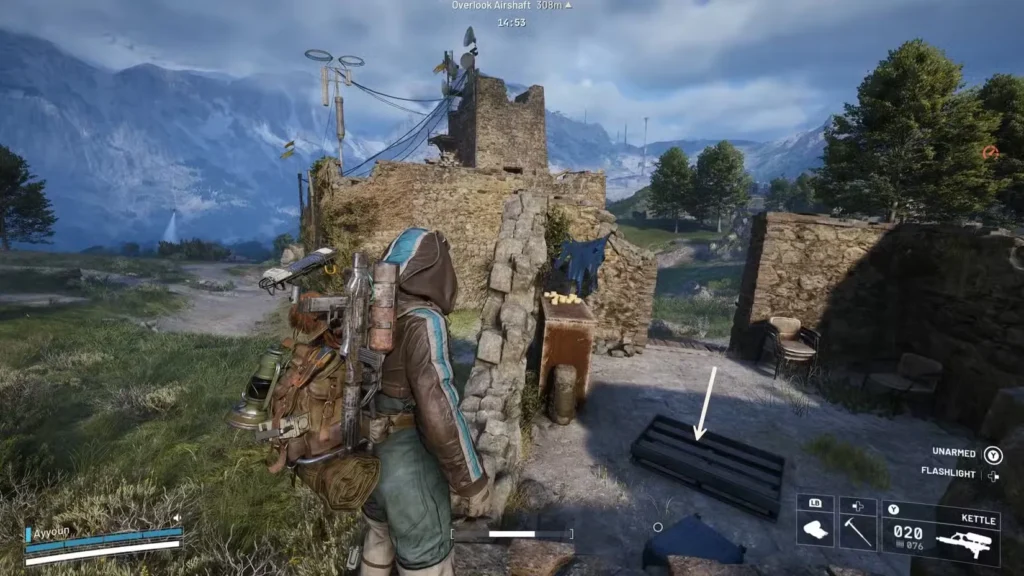
In the unforgiving world of ARC Raiders, shields often make the difference between a successful extraction and respawning back in Speranza empty-handed. Whether you’re in a tense firefight with rival players or absorbing blows from towering ARC machines, your shield absorbs critical damage that would otherwise deplete your health bar.
Understanding shield mechanics, knowing which type suits your playstyle, and managing shield recharge items can dramatically improve your survival rate. This comprehensive guide breaks down every shield type available in ARC Raiders, their stats, and all the ways to keep them charged during intense raids.
How Shields Work in ARC Raiders
Before diving into specific shield types, let’s clarify the core mechanics:
Damage mitigation: Shields don’t simply add extra health—they reduce incoming damage through a mitigation percentage. When you take a hit, the shield absorbs a portion based on its mitigation stat, and the remainder impacts your actual health.
Shield depletion: Your shield has a separate HP pool (displayed as bars). Once depleted through sustained damage, you’re vulnerable until you recharge it.
No automatic regeneration: Unlike some games where shields recharge over time, ARC Raiders requires you to use consumable items to restore shield HP.
Weight and mobility trade-offs: Heavier shields offer better protection but slow your movement speed, creating meaningful choices between survivability and agility.
This system rewards tactical thinking—knowing when to push with a Heavy shield versus when to prioritize mobility with a Light shield can define your success.
All Shield Types in ARC Raiders
ARC Raiders features three distinct shield categories, each with unique stats and accessibility requirements. Here’s the complete breakdown:

Light Shield: The Starter Option
Shield HP: 40 (Four Bars)
Damage Mitigation: 40%
Weight: 5.0
Movement Speed Reduction: None
How to obtain:
- Found during exploration and looting
- Craftable at Workbench (Level 1) and Gear Bench (Level 1)
- Purchasable from Lance at the Clinic for 1,920 coins
Best for: Early game progression, mobility-focused builds, speedrunners, and players who prioritize movement over raw protection.
The Light shield is what most players start with, offering modest protection without any movement penalty. While 40% damage mitigation isn’t exceptional, the zero speed reduction makes it ideal for aggressive playstyles that rely on positioning and evasion rather than face-tanking damage.
If you’re running farming routes where speed matters more than prolonged firefights, or if you’re still learning the maps and need mobility to escape dangerous situations, the Light shield remains viable even into mid-game.
Medium Shield: The Balanced Choice
Shield HP: 70 (Seven Bars)
Damage Mitigation: 42.5%
Weight: 7.0
Movement Speed Reduction: 5%
Level Requirement: 12
How to obtain:
- Found during exploration
- Craftable at Gear Bench (Level 1)
- Purchasable from Lance at the Clinic for 6,000 coins (requires Level 12)
Best for: Mid-game progression, balanced playstyles, squad support roles, and players transitioning from Light to Heavy shields.
The Medium shield represents the sweet spot for many players. With 75% more shield HP than Light (70 vs 40) and slightly improved mitigation, it significantly extends your survivability in combat. The 5% movement speed reduction is barely noticeable in practice—you won’t feel sluggish, but you gain substantial defensive benefits.
At 6,000 coins, it’s affordable for players running consistent coin farming routes, making it an excellent mid-game investment before you unlock Heavy shields.
Heavy Shield: Maximum Protection
Shield HP: 80 (Eight Bars)
Damage Mitigation: 52.5%
Weight: 9.0
Movement Speed Reduction: 15%
Level Requirement: 20
How to obtain:
- Found during exploration (rare)
- Craftable at Gear Bench (Level 2)
- Purchasable from Lance at the Clinic for 16,500 coins (requires Level 20)
Best for: Late-game progression, tank builds, PvP-focused players, holding contested objectives, and high-risk farming runs.
The Heavy shield is the ultimate defensive option in ARC Raiders. With double the HP of Light shields and over 52% damage mitigation, it transforms you into a mobile fortress. That 15% movement speed reduction is significant, but when you’re defending an extraction point or engaging in prolonged firefights, the survivability trade-off is absolutely worth it.
At 16,500 coins, it’s a substantial investment, but a single successful Old Battleground farming run can cover a significant portion of that cost. Once you hit Level 20 and can afford it, the Heavy shield becomes your go-to for serious content.
Shield Comparison and Recommendations
Here’s a quick reference to help you choose:
Light Shield:
- Best early-game option
- No speed penalty = maximum mobility
- Sufficient for low-risk farming and learning phases
- Cheapest to purchase and recharge
Medium Shield:
- Best all-around choice for mid-game
- Minimal speed penalty with significant survivability boost
- Great for mixed PvE/PvP encounters
- Affordable at 6,000 coins
Heavy Shield:
- Best for late-game and competitive play
- Substantial protection justifies speed reduction
- Essential for holding positions or tanking damage
- Premium price reflects premium performance
Playstyle considerations:
Aggressive rushers: Stick with Light or Medium to maintain positioning advantages
Methodical farmers: Medium offers the best balance for consistent survival
PvP specialists: Heavy shield gives you critical extra seconds in gunfights
Solo players: Consider Medium or Heavy since you can’t rely on teammates to cover you
How to Recharge Shields During Raids
Unlike health, which can be restored through various medical items, shields require specific recharge consumables. Here are all your options:

ARC Powercell
Recharge amount: Two Shield Bars
Where to find:
- Looted from destroyed ARC machine bodies
- Found in ARC Pods and Courier containers
Best use: Emergency top-ups during combat when you don’t have better recharge items available.
ARC Powercells are the most common shield recharge item you’ll encounter. Since they drop from the ARC machines you’re already fighting, they provide organic opportunities to restore shields during extended raids. The two-bar restoration is modest—enough to absorb a few more hits but not enough for full recovery.
Think of Powercells as your “quick fix” option. Pop one between skirmishes to maintain some shield presence rather than running completely exposed.
Shield Recharger
Recharge amount: Four Shield Bars
Where to obtain:
- Craftable at Workbench and Medical Lab
- Purchasable from Lance at the Clinic for 1,920 coins
Best use: Standard shield maintenance during raids, affordable restocking between runs.
The Shield Recharger is your bread-and-butter shield consumable. Four bars is enough to meaningfully restore your defensive capacity—it fully recharges a Light shield and gets a Medium shield most of the way back.
At 1,920 coins, it’s affordable enough to carry multiple units on every raid. Stock up before heading Topside, especially if you’re planning high-risk activities like Security Locker farming in contested areas.
Surge Shield Recharger
Recharge amount: Five Shield Bars
Where to obtain:
- Craftable at Medical Lab (Level 2)
- Purchasable from Lance at the Clinic for 3,600 coins
Best use: Critical moments, Heavy shield restoration, intense PvP encounters.
The Surge Shield Recharger is your premium option, restoring five bars in a single use. This is particularly valuable for Heavy shield users, as it restores over half your total shield capacity. For Medium shield users, it’s a near-complete restoration.
While nearly double the cost of standard Shield Rechargers (3,600 vs 1,920 coins), that extra bar can save your life when you’re in a desperate situation. Carry at least one Surge Recharger as emergency insurance during high-stakes extractions.
Pre-Raid Shield Preparation
Before you even head Topside, make sure your shield is at full capacity:
Manual repair in Speranza: Access your action menu in the safe zone and select the repair option for your shield. This costs nothing and ensures you start every raid with maximum protection.
Loadout checks: Verify your shield type matches your intended activities. Swapping a Light shield for Heavy before a contested farming run could save your life.
Recharge item stocking: Always carry multiple recharge items. A general recommendation:
- Light shield users: 2-3 Shield Rechargers
- Medium shield users: 2 Shield Rechargers + 1 Surge Recharger
- Heavy shield users: 1-2 Shield Rechargers + 2 Surge Rechargers
Remember, you need adequate inventory space to carry both recharge items and loot. Balance your consumable loadout accordingly.
Shield Management During Combat
Knowing when and how to recharge shields separates surviving Raiders from corpses:
Combat flow awareness: Don’t wait until your shield is completely depleted. Pop a recharge after winning an engagement while you’re still in cover, not mid-firefight.
Resource conservation: Use ARC Powercells first if available, saving your purchased Shield Rechargers for when you really need them.
Extraction priority: As you approach extraction zones, use a Surge Recharger to ensure maximum protection. Other players often camp extractions, and arriving with full shields gives you a fighting chance.
Team coordination: If playing with squadmates, coordinate shield recharges so you’re not all vulnerable simultaneously. Stagger your recovery so someone’s always ready to provide cover fire.
Risk assessment: In low-threat areas, you might not need to immediately top off shields. Save resources for when you’re moving through high-danger zones or engaging in PvP.
Economic Considerations
Shield purchases and consumables represent ongoing costs in ARC Raiders:
Initial investment costs:
- Light Shield: 1,920 coins (affordable early)
- Medium Shield: 6,000 coins (mid-game goal)
- Heavy Shield: 16,500 coins (late-game investment)
Ongoing consumable costs per raid:
- Budget loadout: ~4,000-6,000 coins (basic rechargers)
- Premium loadout: ~8,000-12,000 coins (surge rechargers included)
Compare these costs against your typical extraction profits. If you’re consistently bringing back 15,000-40,000 coins per successful run, investing in premium shields and recharge items becomes easily sustainable.
Progression Path Recommendations
Here’s a logical shield progression as you advance through ARC Raiders:
Week 1 (Levels 1-10):
- Use found Light shields
- Purchase 1-2 crafted Light shields as backup
- Stock basic Shield Rechargers
- Focus coins on Workshop upgrades first
Week 2-3 (Levels 10-20):
- Unlock and purchase Medium shield at Level 12
- Upgrade to Gear Bench Level 1 for crafting options
- Mix Shield Rechargers with occasional Surge Rechargers
- Accumulate coins toward Heavy shield
Week 4+ (Level 20+):
- Purchase or craft Heavy shield
- Upgrade Medical Lab to Level 2 for Surge Recharger crafting
- Maintain multiple shield types for different situations
- Carry premium recharge loadouts consistently
This timeline assumes moderate play frequency. Hardcore players will progress faster, while casual players might take longer—adjust expectations accordingly.
Advanced Shield Tactics
Once you’re comfortable with basic shield management, consider these advanced techniques:
Shield tanking: With Heavy shields, you can intentionally absorb fire to protect squaddmates with lower defenses. Position yourself as the primary target while allies flank.
Bait and switch: Use Light shields for mobility when traversing open areas, but carry a Medium or Heavy shield in inventory to swap before major engagements.
Resource trading: In squad play, players with different shield types can share appropriate recharge items. Heavy shield users need more bars restored, so give them Surge Rechargers while you use standard ones.
Ambush preparation: Before setting up ambushes near extractions or high-value loot spawns, fully charge shields and ensure recharge items are on hotkeys for immediate use.
Optimizing Your Complete Loadout
Shields are just one component of survival. Maximize your effectiveness by combining shield management with:
- Performance: Ensure smooth gameplay with our PC optimization guide
- Team play: Coordinate shield types and recharge distribution with friends across platforms
- Free rewards: Supplement your gear with Twitch Drop cosmetics
Final Thoughts
Shields in ARC Raiders represent a critical survival layer that demands active management rather than passive reliance. The three-tier system offers meaningful choices based on your current level, playstyle, and economic situation.
Start with Light shields while learning the game, transition to Medium shields once you’ve established consistent income, and invest in Heavy shields when you’re ready for serious competitive content or high-risk farming. Always carry appropriate recharge items—running out of shield restoration mid-raid is a recipe for disaster.
Master shield management alongside positioning, aim, and map knowledge, and you’ll dramatically increase your extraction success rate. Every percentage of damage mitigation and every shield bar matters when you’re one firefight away from a massive payday.
External Resources:
Keep your shields charged and your extractions successful!


