Why Recon Matters More Than You Think
Let’s be real: most players see “Recon” and immediately think “camping sniper on a hill.” But if that’s your whole understanding of this class, you’re missing out on one of the most versatile and game-changing roles in Battlefield 6.
Recon isn’t just about getting those satisfying long-range headshots (though that’s definitely part of it). The class is fundamentally about information warfare. A skilled Recon player feeding intel to their team is often more valuable than someone topping the scoreboard with kills. When your squad knows exactly where enemies are positioned, every engagement becomes easier.
Here’s the key insight: even if you’re having an off day with your aim, you can still hard-carry your team through spotting alone. Tagging enemies before your teammates engage them is genuinely one of the highest-impact things you can do in this game. Think of yourself as the team’s eyes and ears first, and a lethal operator second.
That said, Recon can absolutely dominate in combat when played right. Let me break down two completely different but equally effective approaches to this class.
Build #1: The Long-Range Sniper
This is the classic Recon fantasy: finding the perfect vantage point and eliminating high-value targets from extreme distances.
Loadout Breakdown
| Slot | Equipment | Why It Works |
|---|---|---|
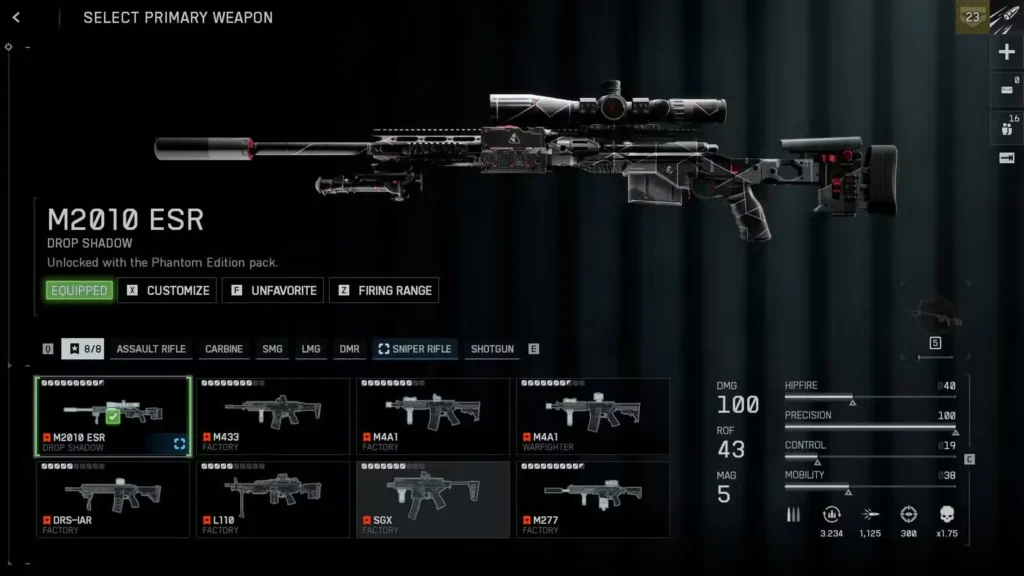
| Primary | Sniper Rifle (your preference) | Pick based on bullet velocity and damage profile |
| Gadget 1 | Recon Drone | Your intel-gathering workhorse — spot enemies, mark targets, and feed info to the squad |
| Gadget 2 | Sniper Decoy | Baits enemy snipers and reveals their position — basically a “free revenge kill” machine |
| Grenade | Frag Grenade | Standard explosive for versatility — great for clearing cover or finishing off damaged enemies |
| Field Spec | Sniper | Enhances long-range effectiveness — boosts accuracy, breath control, and overall “one shot, one thrill” energy |
How to Play This Build
The Intel Game: Your Recon Drone is criminally underrated. While everyone else is obsessed with getting kills, you can single-handedly reveal the entire enemy team’s position. Here’s the technique: launch your drone, fly it high above the battlefield (away from the action where it won’t get shot down), and systematically spot every red dot you see.
This isn’t just about helping your team—it helps you. You’ll identify camping spots, engineer positions, and most importantly, enemy counter-snipers. Once you’ve located a high-value target, switch back to your rifle and line up the shot.
Decoy Tactics: The Sniper Decoy is sneaky good. Plant these around your general area (but not right next to you—that defeats the purpose). When enemy snipers take shots at your decoys, they get automatically spotted. Boom—free intel, and now you know exactly where to aim.
Pro tip: Space your decoys out across different angles. If you cluster them, smart enemies will realize they’re fake. Make it look natural.
Finding the Perfect Nest: Location is everything for long-range sniping. Look for spots with:
- Natural concealment – bushes, rocks, shadowy rooms
- Multiple sightlines – you want options, not tunnel vision
- Ambient brightness – bright environmental lighting helps mask your scope glint
- Escape routes – never set up somewhere you can’t retreat from
Range Finding: For those ultra-long shots beyond 300 meters, Battlefield 6 includes a Range Finder attachment that’s invaluable for calculating bullet drop. It takes the guesswork out of extreme-distance engagements.
Want to improve your sniping accuracy even more? Check out our no recoil guide for weapon control tips that apply to all classes.
Build #2: The Commando (Aggressive Recon)
This is where Recon gets spicy. Forget sitting on hills—this build puts you in the thick of combat, disrupting enemy backlines and causing absolute chaos.
Loadout Breakdown
| Slot | Equipment | Why It Works |
|---|---|---|
| Primary | Suppressed Rifle / Carbine / SMG | Close-quarters firepower with stealth — stay silent, stay deadly. |
| Gadget 1 | Claymore / AP Mine | Protects flanks and guards objectives — cheap tripwire for enemy egos. |
| Gadget 2 | Demolition Charge | Vehicle destruction and area denial — big boom, big mood. |
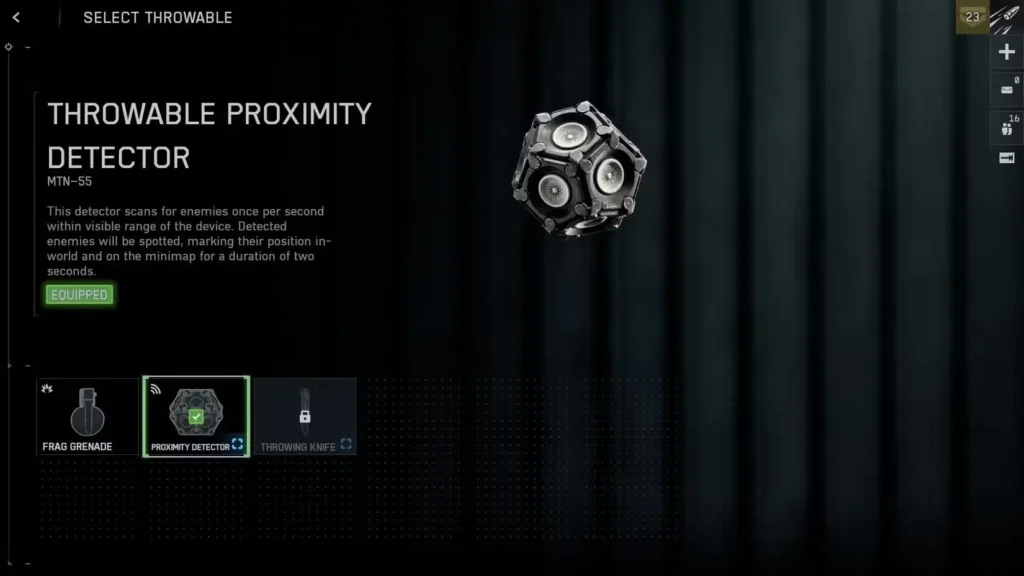
| Grenade | Throwable Proximity Detector | Reveals nearby enemies instantly — turns ambushes into “whoops, there they are.” |
| Field Spec | Spec Ops | Reduces spotted time and detects enemy gadgets — ninja mode, but with gadgets. |
How to Play This Build
The Infiltration Specialist: This playstyle is all about getting behind enemy lines and making their life miserable. You’re not holding the front line—you’re the knife in the enemy’s back, disrupting their spawn points and supply routes.
UAV Overwatch Dominance: Here’s where Recon’s class-specific ability becomes absolutely broken in close quarters. The UAV Overwatch reveals every enemy within 100 meters for a full minute. That’s not a typo—60 seconds of wall hacks for you and your team. In tight urban maps or when attacking objectives, this ability is genuinely unfair.
Intel Overload: Even without the UAV active, you’re running multiple detection tools:
- T-UGS gadget picks up nearby movement
- Proximity Detectors tag enemies in tight spaces
- Spec Ops Field Spec reveals enemy gadgets
Combined, these tools give you borderline supernatural awareness of your surroundings.
Claymore Tactics: When you successfully push an objective or capture a hard point, immediately lay Claymores covering the most likely approach routes. This serves two purposes:
- Stops reinforcements from easily retaking the position
- Alerts you to flanking attempts so you can reposition
Weapon Selection Matters: Since you’re fighting at close-to-medium range, your primary weapon choice is crucial. For detailed loadout recommendations, check out our guides for the best M4A1 build and best M277 build—both excellent options for aggressive Recon play.
Universal Recon Tips
Master the Spotting System: Seriously, learn how to spot and ping enemies effectively. This single skill separates average Recon players from great ones. Every enemy you tag is an enemy your team can pre-aim.
Complete Your Challenges: Working through the Recon Class challenges naturally improves your skills while unlocking valuable gear. The Deadeye challenges specifically reward precise shooting.
Optimize Your Settings: Recon benefits enormously from proper sensitivity and visual settings. Our best settings guide and alternative optimization guide help you dial in your setup for maximum accuracy.
Understand Field Specs: The Field Specs system offers different passive bonuses that dramatically change how your class plays. Experiment with options beyond just Sniper and Spec Ops to find what suits your style.
Learn Movement Techniques: Even snipers benefit from advanced movement. The combat roll can save your life when enemies close the distance on your position.
Map-Specific Considerations
Different maps favor different Recon approaches:
Open Maps (Desert, Plains): Long-range sniper builds shine here. Plenty of sightlines and distances where you can safely operate. Check our maps ranked guide to understand which maps fit this description.
Urban Maps (Cities, Close Quarters): Commando builds dominate. The UAV Overwatch ability becomes incredibly powerful in these environments. The Close Quarters challenges will prepare you for this playstyle.
Mixed Terrain: This is where versatile Recon players shine. Know when to pull out your rifle for long shots and when to push with your secondary loadout.
Game Mode Optimization
Conquest: Both builds work. Snipers can defend captured points from range, while Commandos excel at back-capping distant objectives.
Breakthrough: Commando build is generally superior. The focused combat areas make UAV Overwatch devastatingly effective.
Rush: Commando all the way. You need to be in the thick of objective play.
For detailed breakdowns of each mode’s unique dynamics, see our complete game modes guide.
Leveling Your Recon Class Efficiently
Want to unlock Recon gear faster? A few strategies:
- Use XP boosters during focused play sessions (activation guide here)
- Complete multiple challenge tracks simultaneously (Recon, Deadeye, and weapon-specific challenges all stack)
- Play objective modes for higher XP gains
- Focus on spotting assists when your aim is off
Our XP farming and fast leveling guide has even more detailed strategies for rapid progression.
Don’t Forget Campaign Practice
The single-player campaign is actually a great place to practice Recon skills without the pressure of multiplayer. You can experiment with gadgets, practice long-range shooting, and get comfortable with the tools. Plus, there are collectibles worth hunting:
- Moving Mountains collectibles
- Nile Guard collectibles
- Night Raid collectibles
- Operation Gladius dog tags
- No Sleep dog tags
- The Rock dog tags
Check out the full campaign missions guide for complete walkthroughs.
Which Build Should You Choose?
Honestly? Learn both.
The sniper build teaches you patience, positioning, and target prioritization. The commando build teaches you aggression, map awareness, and objective play. The best Recon players switch between these approaches based on what their team needs in the moment.
Having a bad sniping round? Switch to commando and start spotting aggressively. Your team getting rolled because nobody’s watching flanks? Go sniper and lock down sightlines.
Flexibility is the mark of a truly skilled Recon player.
Final Thoughts
Recon in Battlefield 6 is far deeper than most players realize. Whether you’re delivering surgical precision from 500 meters away or wreaking havoc behind enemy lines, you’re playing one of the most impactful classes in the game—assuming you actually use your spotting tools.
Remember: information wins games. Your K/D ratio doesn’t matter nearly as much as keeping your team informed about enemy positions. Master that mindset, nail down one of these loadouts, and you’ll become the Recon player everyone wants on their squad.
For more class-specific content, don’t miss our Support Class loadouts guide and Assault Class challenges guide. And for general gameplay improvement, our best tips, tricks, and settings guide covers everything else.
Now get out there and show your team what a good Recon player can really do.
Official Resources: