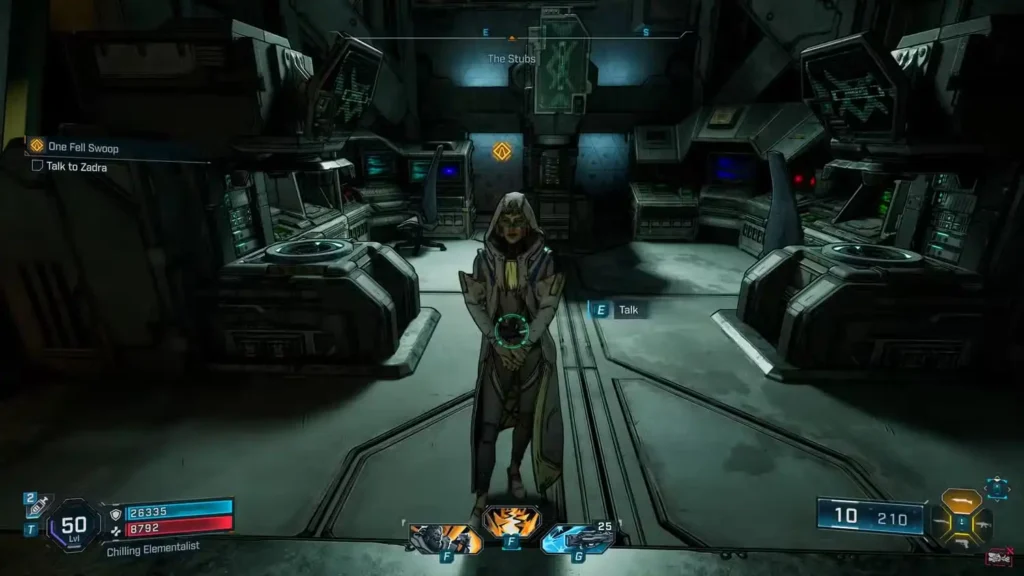
Getting stuck on the “Talk to Zadra” step in Borderlands 4’s One Fell Swoop mission? You’re not alone. This main story quest in The Fadefields has been giving players headaches with a persistent glitch, but don’t worry – we’ve got you covered with proven fixes and a complete walkthrough.
The Infamous Talk to Zadra Glitch (And How to Fix It)
Before we dive into the mission walkthrough, let’s tackle that annoying bug that’s probably brought you here. The Talk to Zadra glitch is frustratingly common, but there are several ways to get past it.
What Happens During the Glitch
When you start One Fell Swoop after completing “A Lot to Process,” you’re supposed to talk to Zadra to progress the mission. Instead, many players find themselves stuck watching Zadra loop through animations without any dialogue options appearing.
Quick Fix Methods:
- Wait it out first – Let Zadra finish her computer animation loop completely. She should eventually walk down the stairs and position herself between two Ripper canisters. This simple patience often does the trick.
- The save file workaround – If waiting doesn’t work, try this proven method:
- Create a new Vault Hunter save file
- Skip through the prologue completely
- Load into your new character briefly, then quit to main menu
- Switch back to your original Vault Hunter and attempt to talk to Zadra again
- Prevention tip – Talk to Zadra immediately after finishing “A Lot to Process.” The longer you wait between missions, the more likely the glitch becomes.
Pro tip: Gearbox is aware of this bug, so a permanent fix should arrive in future updates. Until then, these workarounds have helped thousands of players get unstuck.
If you’re new to Borderlands 4 and encountering multiple issues, check out our Borderlands 4 Beginners Guide for essential tips that can help prevent common problems.
Complete One Fell Swoop Mission Walkthrough
Once you’ve successfully talked to Zadra (phew!), here’s your step-by-step guide to completing the rest of this action-packed mission.
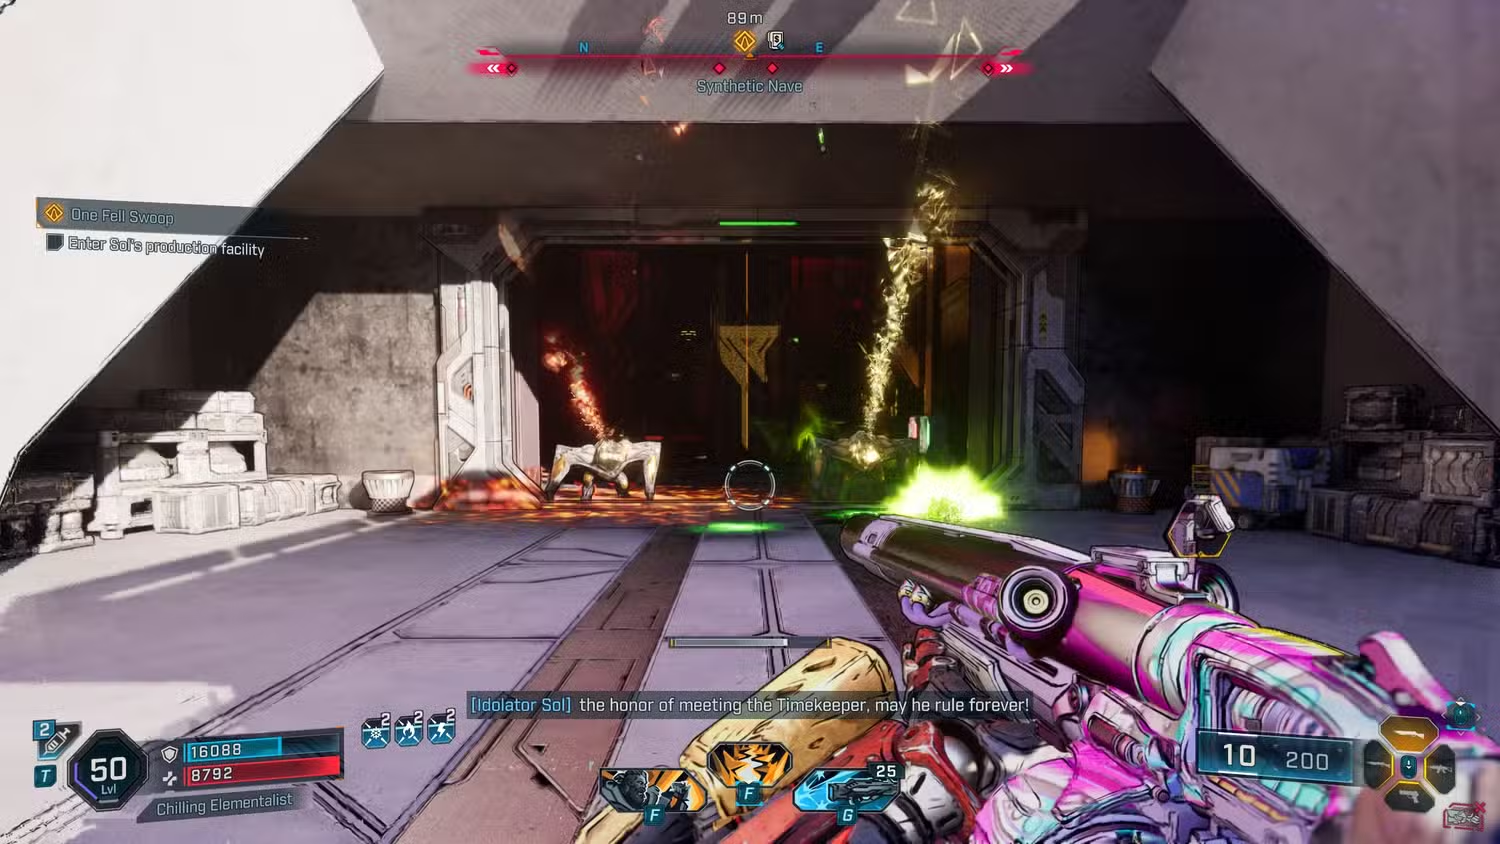
Phase 1: Infiltrate Sol’s Production Facility
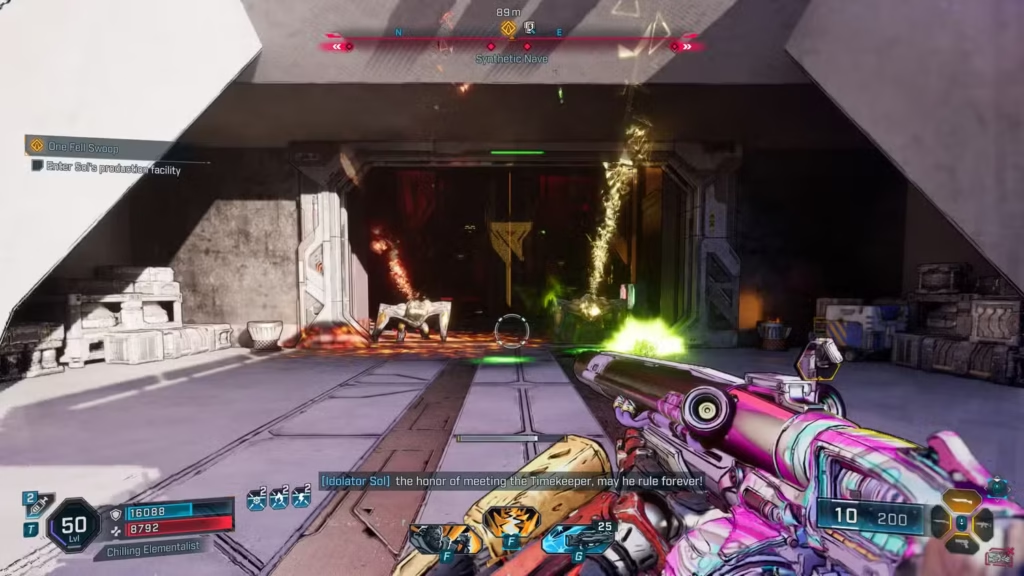
After your conversation with Zadra, follow her to exit the secret base. Your next destination is Sol’s Production Facility, located just north of your current position in the Dissected Plateau area.
Key steps:
- Enter the facility and immediately take the right-hand door
- Clear out all Order production line guards (they’re pretty standard enemies)
- Head to the northwest corner and interact with the computer terminal
- Continue deeper into the facility to find the synth processor valve chamber
- Open the valve, then shoot it to destroy it completely
- Return to the main entrance where Zadra will be waiting by an elevator
Combat tip: The guards here are fairly easy, but watch out for explosive barrels that can work for or against you depending on positioning.
Phase 2: Master the Locust Container Mechanic
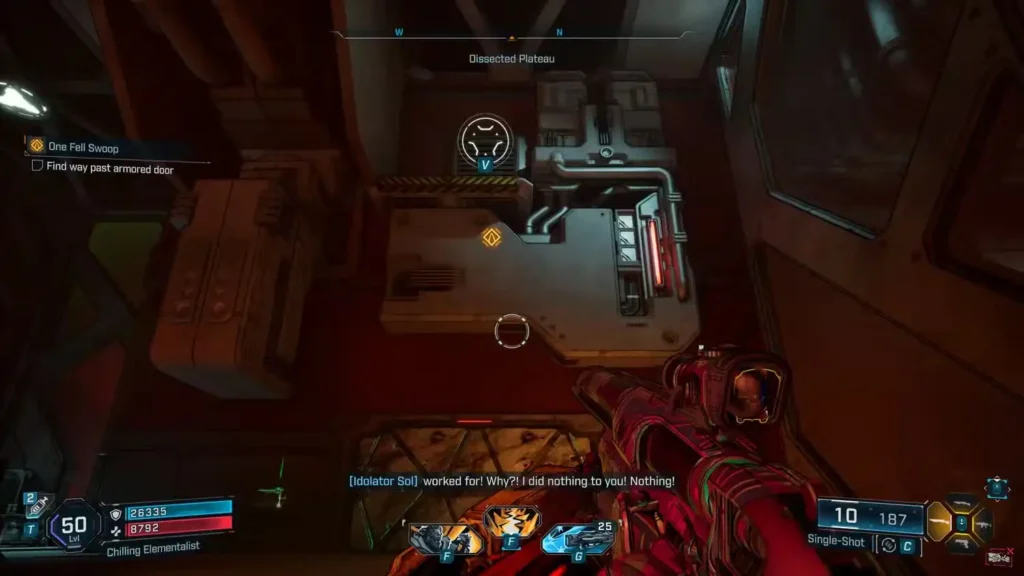
This is where One Fell Swoop gets interesting. You and Zadra will encounter an armored door that’s completely impenetrable to normal attacks.
The grapple hook solution:
- Look above the armored door for a vent opening
- Use your grapple hook to pull the vent cover off
- Jump through the vent to access the lab area
- Clear out enemies in the lab
- Find the switch on the south wall to activate Locust containers
Understanding Locust containers: These are your new best friends. You can grapple them and throw them at specific white doors that are otherwise invulnerable. Think of them as biological door keys.
- Grab a Locust container with your grapple hook
- Throw it at the white door to open it
- Grab another container and throw it at the southeast door in Zadra’s room
Phase 3: Bio-Bulkhead Boss Fight Strategy
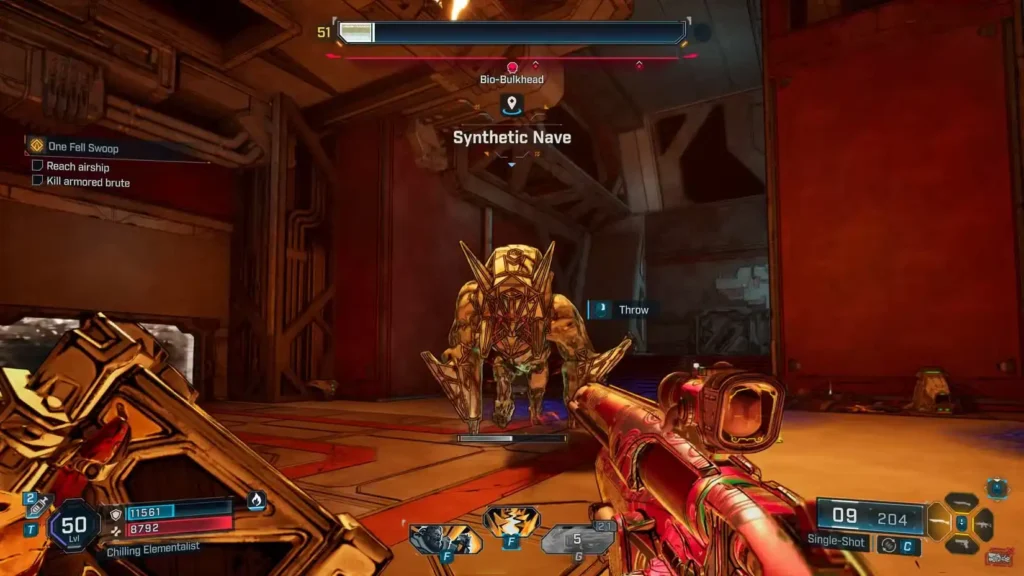
Past the vending machines (perfect time to stock up!), you’ll face the Bio-Bulkhead boss. Don’t let his intimidating appearance fool you – he’s got a specific weakness you can exploit.
Boss mechanics explained:
- The Bio-Bulkhead starts completely armored and immune to damage
- Look for Locust containers at the central corners of the arena
- Throw a Locust container at the boss to strip his armor
- Once armor is removed, his health bar turns yellow
- Elemental advantage: Use Corrosive or Cryo weapons for maximum damage
Strategy note: Keep moving and prioritize grabbing fresh Locust containers over sustained fire. His armor regenerates, so you’ll need to repeat this process multiple times.
Having trouble with the boss fight? This is a great mission to test your Vault Hunter’s capabilities. If you’re struggling, consider checking our Borderlands 4 Best Solo Class Guide to optimize your build, or use our Borderlands 4 Respec Guide to adjust your skills for better combat performance.
Phase 4: The Airship Chase Sequence

After defeating the Bio-Bulkhead, use the grapple points to race toward the airship. Here’s where the mission throws you a curveball – the airship will fly away no matter how fast you are. This isn’t a failure; it’s scripted!
What to do when the airship escapes:
- Don’t panic – this is supposed to happen
- Travel back to Outbounders HQ at the Launchpad
- Help Rush fight off the Order troops attacking the base
- Important: Rush might get downed during combat. Revive him immediately if this happens
Phase 5: Final Airship Infiltration
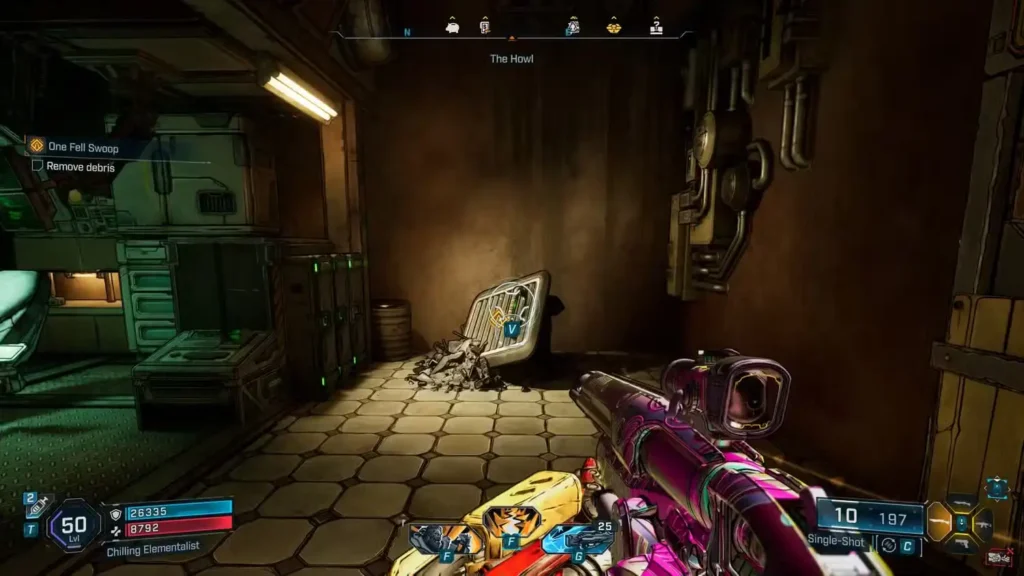
With the Launchpad secure, you’re ready for the mission finale:
- Return to the bunker area
- Use your grapple hook to clear debris blocking the Fast Travel station
- Head back to the surface
- Enter the airship through the orange portal on the southeast side of the Launchpad
Inside the airship:
- Look for a button that reveals three critical systems
- Shoot all three critical systems (they’ll be highlighted)
- Exit by jumping down from the central chamber
Mission reward: Completing One Fell Swoop unlocks the ability to open Order Bunkers throughout Kairos – a valuable endgame feature! Make sure to check out our detailed Order Bunkers Complete Guide to maximize your loot farming potential.
Pro Tips for Success
- Save frequently during this mission to avoid repeating sections if bugs occur
- Stock up at vending machines before the Bio-Bulkhead fight – consider using Golden Keys for better gear if you’re underleveled
- Experiment with different Vault Hunters if you keep hitting the Zadra glitch
- Join co-op if you’re struggling – other players can sometimes trigger dialogue when the host can’t
What’s Next After One Fell Swoop?
With One Fell Swoop completed, you’ve made significant progress in Borderlands 4’s main campaign. This mission opens up several new opportunities:
Immediate Benefits:
- Access to Order Bunkers across Kairos for premium loot
- Progression toward higher-level content and better rewards
- New fast travel points for easier navigation
Recommended Next Steps:
- Start farming Order Bunkers using our complete locations guide
- Focus on fast leveling to tackle upcoming challenges
- Begin collecting Legendary Class Mods for endgame builds
This mission also sets up important story elements for the rest of your Borderlands 4 journey, so you’re well on your way to uncovering more of the game’s mysteries.
Official Resources & Community Support
Official Links:
Essential Borderlands 4 Guides:
- Borderlands 4 Beginners Guide Essential Tips
- Borderlands 4 Best Solo Class Guide
- Order Bunkers Complete Guide
- Fast Leveling Complete Guide
- Vehicle Customization Guide
Remember, if you’re still stuck after trying these fixes, the community forums and official support channels are great resources. The Talk to Zadra bug is well-documented, so you’re definitely not alone in experiencing it. Keep these solutions handy – they work for most players facing this frustrating glitch!