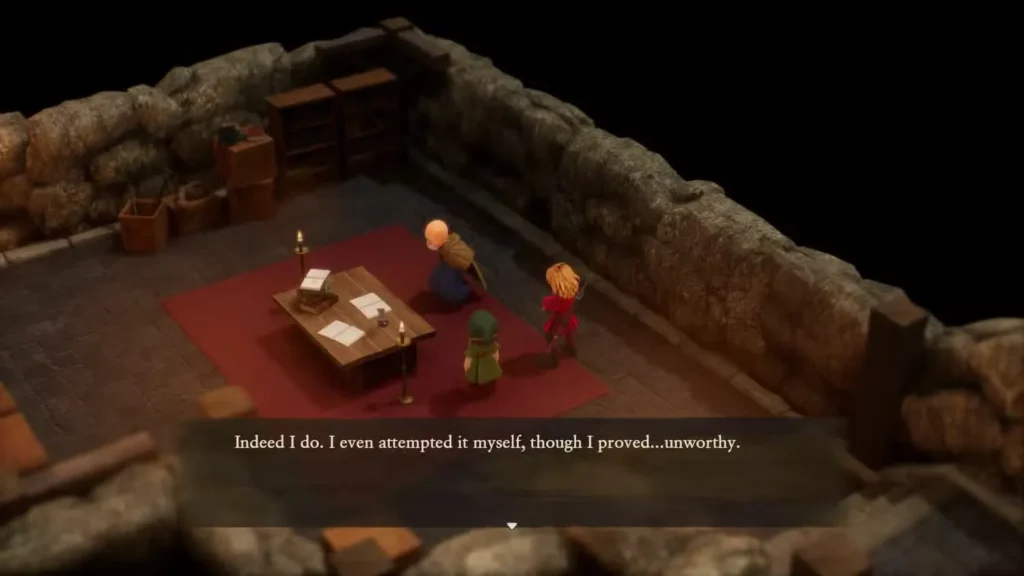
The Dragon Quest 7 Reimagined remake brings back all the challenging puzzles from the original classic, including an early-game brain teaser that stops many players in their tracks. The Shadow Puzzle in Estard’s Trial Room doesn’t come with explicit instructions, which means you’ll need to experiment with positioning and pay close attention to your surroundings.
This puzzle relies on logic rather than combat skills, and once you understand the pattern you’re creating, the solution becomes clear. Let’s break down exactly how to navigate this trial and claim the Yellow Tablet Fragment waiting at the end.
Getting to the Shadow Puzzle Room
After leaving the Hermit’s Cottage, retrace your steps back toward the cave entrance. Instead of exiting, you’ll notice a door you can now open that leads deeper into the trial area.
Step through this door and you’ll enter a chamber containing two bronze statues. Each statue features a distinctive half-flame pattern. Look toward the right side of the room—there’s a door with a circular pattern and a hole in the center. This visual clue might make you think you need to recreate that exact shape using statue shadows, but that’s actually a red herring.
Understanding What You’re Really Solving
The actual solution sits directly in front of you as you enter the room. Check the wall opposite the entrance—this is the pattern you need to complete using shadows. Forget about the circular door design for now. Your goal is filling in the wall pattern by positioning the statues correctly and adding one final piece yourself.
Step-by-Step Statue Positioning
The puzzle requires precise statue placement to cast shadows that match the wall pattern. Here’s exactly where each statue needs to go:
Left Statue Movement:
- Shift it two blocks to the right
- Move it three blocks down from its starting position
Right Statue Movement:
- Push it two blocks to the left
- Shift it three blocks up from where it started
Take your time with these movements. The statue shadows will shift as you reposition them, and you’ll start seeing the wall pattern take shape. Once both statues are in their correct spots, you’ll notice one crucial element is still missing.
Completing the Pattern
With both statues properly positioned, climb the steps in the room. Position your character directly in front of the shadow pattern on the wall. Your character’s shadow serves as the final piece needed to complete the puzzle. Stand in the right spot, and the door will unlock automatically.
This clever design forces you to become part of the solution rather than just manipulating objects—a nice touch that makes the puzzle more interactive than your standard block-pushing challenge.
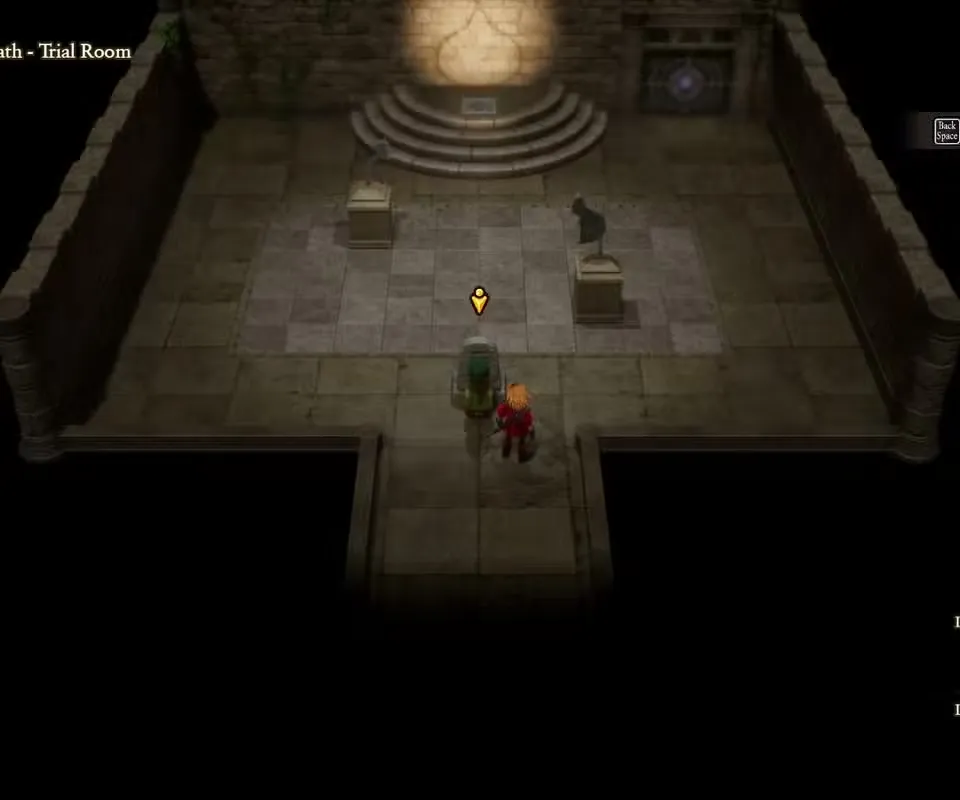
Facing the Trial Room Challenge
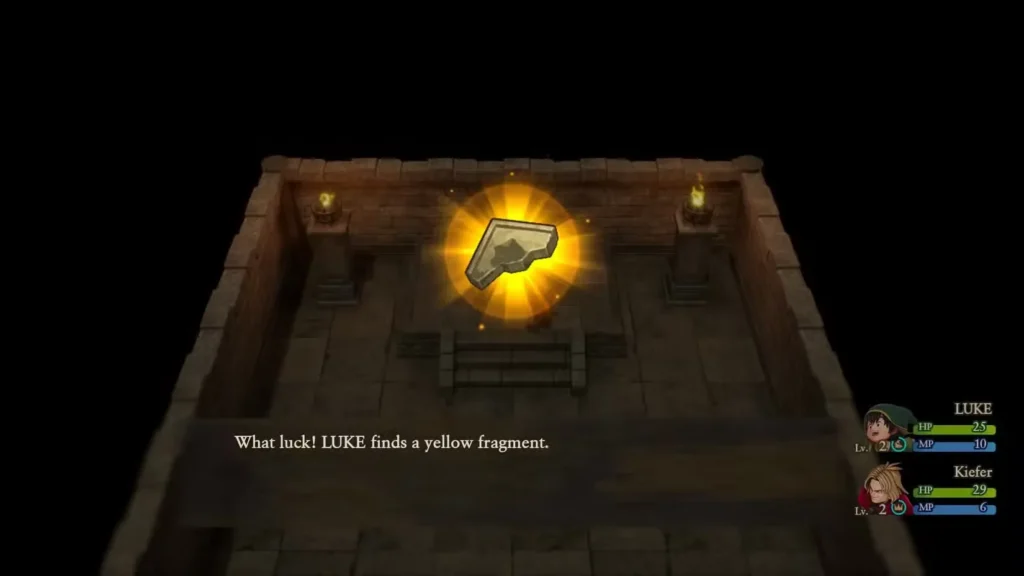
Walk through the newly opened door and you’ll arrive at the actual Trial Room. You’ll immediately spot a Yellow Tablet Fragment resting on a small altar with Kiefer by your side. Before you can claim this reward, two Shadow enemies materialize to test your combat readiness.
The fight isn’t particularly demanding, especially if you’ve been leveling naturally up to this point. Standard attacks and basic abilities should handle these foes without much trouble. Focus on one Shadow at a time to eliminate threats efficiently. Once both enemies fall, approach the altar and collect the Yellow Tablet Fragment.
Completing this trial marks a significant early milestone in your adventure. Before moving forward, consider heading back and creating a manual save to lock in your progress—you don’t want to risk losing this achievement.
Reporting Back to the Hermit
After securing the tablet fragment, return to the Hermit’s Cottage to share your success. The Hermit provides valuable information about where to find the remaining fragments scattered across Estard. This conversation opens up new exploration opportunities and pushes the story forward.
Pay attention during this dialogue—the hints about fragment locations will guide your next steps and prevent aimless wandering.
Platform Access
Want to experience this puzzle yourself? Dragon Quest 7 Reimagined is available on PlayStation, Xbox, Nintendo Switch, and Steam.
Frequently Asked Questions
What happens if I position the statues incorrectly?
Nothing breaks or locks you out permanently. You can freely reposition the statues as many times as needed until they cast the correct shadow pattern. There’s no penalty for trial and error, so experiment until the arrangement looks right.
Do I need any special items to solve this puzzle?
No items are required. The shadow puzzle relies entirely on positioning the two statues and your character correctly. If you made it to the Trial Room, you already have everything necessary to complete the challenge.
Can I leave the Trial Room and come back later?
Yes, you can exit and return whenever you want. The puzzle state resets when you leave, so you’ll need to reposition the statues again if you decide to take a break. However, the puzzle is quick enough that completing it in one attempt makes more sense.
Are the Shadow enemies difficult to defeat?
Not particularly. They’re designed as an early-game challenge that tests whether you’ve been keeping your party’s equipment updated and health topped off. Basic attacks and entry-level abilities handle them easily. Just make sure you’re not severely underleveled.
Where do I go after collecting the Yellow Tablet Fragment?
Return to the Hermit’s Cottage immediately after the trial. The Hermit gives you critical information about finding other tablet fragments around Estard, which sets up your next objectives. This conversation is mandatory for story progression, so don’t skip it.