Complete walkthrough for What Lies Beyond the Pines side quest in Dying Light: The Beast. Step-by-step guide with locations, stealth tips, and cave escape strategies.
Looking for a comprehensive guide to tackle one of Dying Light: The Beast’s most emotionally complex side quests? “What Lies Beyond the Pines” isn’t just another fetch mission – it’s a heartbreaking story about family, mental illness, and difficult choices that’ll stick with you long after the credits roll.
This quest becomes available early in your adventure and offers some serious rewards (we’re talking 10,000 XP plus valuable manual pages), but it’s also one of the more challenging side missions you’ll encounter. Between navigating treacherous cave systems, setting up explosives while dodging hordes of zombies, and making some tough emotional decisions, there’s a lot to unpack here.
I’ve completed this quest multiple times using different approaches, and I’ll share the most efficient strategies to help you get through it without losing your sanity – or your character’s life.
When and Where to Start the Quest
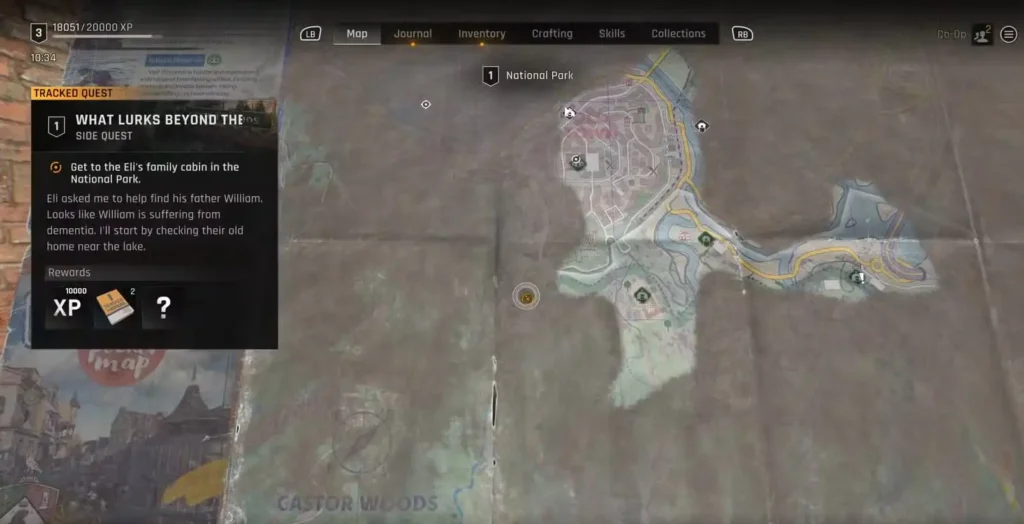
Availability: Early game, unlocks alongside the “Power Gambit” main quest Starting Location: Town Hall Quest Giver: Eli Recommended Level: Any (though having basic combat skills helps)
The timing here is perfect for new players – you’ll get this quest right when you’re getting comfortable with the game’s mechanics but before things get overwhelmingly difficult. It’s an excellent way to earn substantial XP early on while experiencing some of the game’s best storytelling.
Phase 1: Finding Eli’s Family Cabin
Location and Preparation
The family cabin is located southeast of Town Hall in the National Park area. Before heading out, make sure you’re prepared:
- Healing items – Stock up on medkits and bandages
- Weapon durability – Repair your gear before leaving town
- Stealth gear – Any noise-reduction items will help later
- UV light – Essential for the cave sections
Pro Tip: This quest involves significant combat and stealth sections, so don’t attempt it if you’re low on resources or carrying damaged weapons.
Clearing the Cabin Area
When you arrive at the cabin, you’ll immediately notice it’s overrun with zombies. Here’s the most efficient clearing strategy:

Recommended Approach:
- Survey from distance – Use binoculars or scope to count enemies
- Pick off stragglers – Use ranged weapons for zombies on the perimeter
- Draw them out – Make noise to lure groups away from the cabin entrance
- Clear systematically – Work your way toward the building methodically
The zombie concentration here is higher than typical early-game encounters, so patience is key. Rushing in will likely result in being overwhelmed.
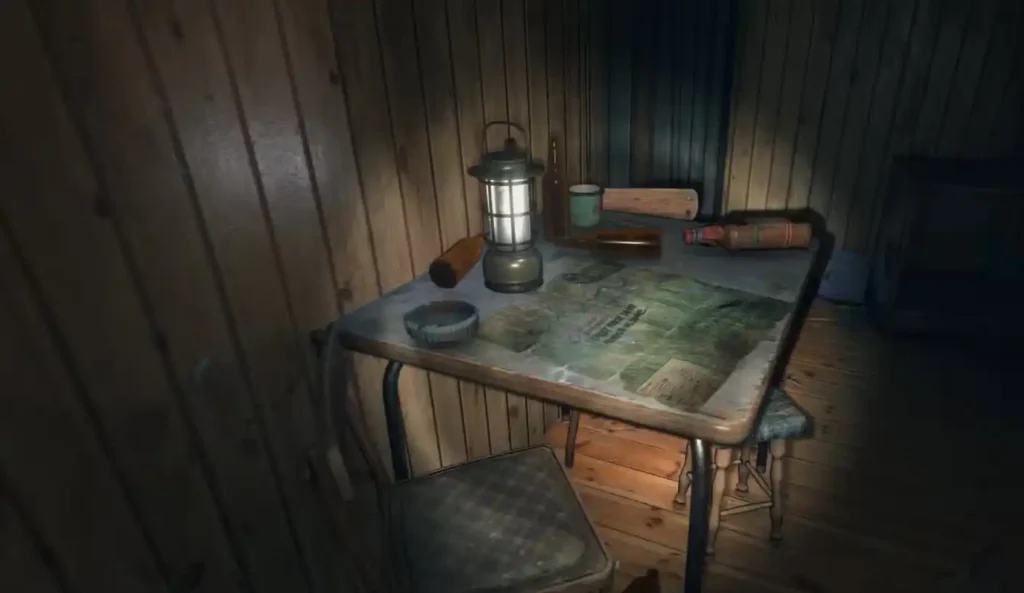
Inside the Cabin: Key Investigation Points
Once you’ve secured the area, head inside and investigate:
- The large map on the back room table – This reveals your next destination and provides the Cave Spare Key
- Letter on the bedside ledge – Offers crucial backstory about William’s wife leaving
- General supplies – Search thoroughly for crafting materials and consumables
The environmental storytelling here is exceptional – take a moment to absorb the details. The cabin tells a story of a family that’s been slowly falling apart, which adds emotional weight to what comes next.
Phase 2: Reaching the Cave System
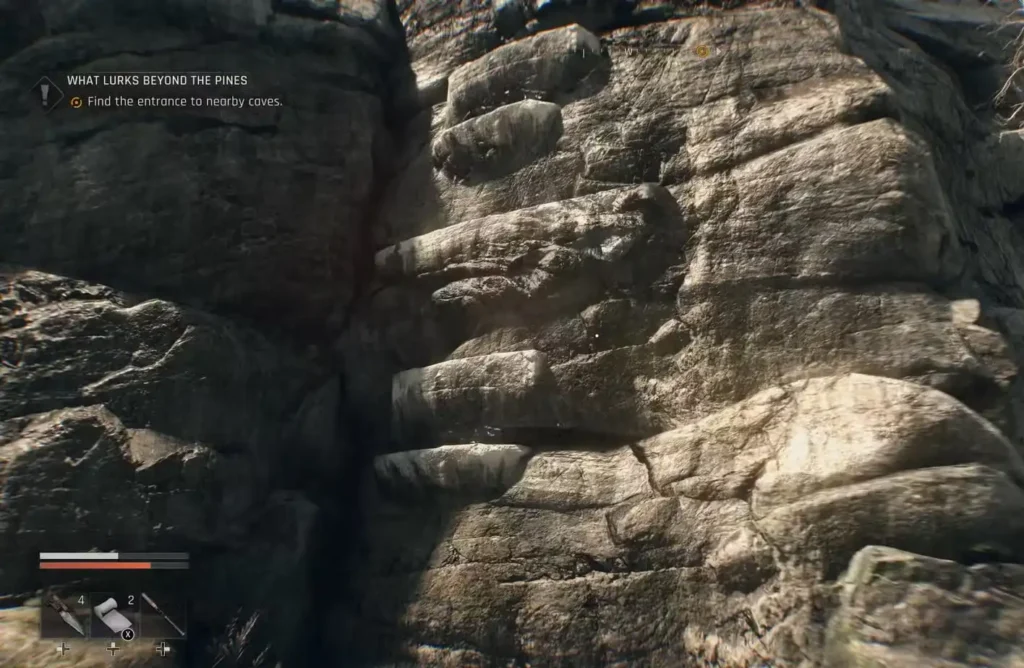
Navigating the Cliff Path
Exiting the cabin, turn right to find the cliff ledges that lead to the cave entrance. This platforming section requires:
- Careful camera control – The climbing perspective can be disorienting
- Patience with jumps – Don’t rush the tree branch traversals
- Stamina management – Rest at safe ledges to recover stamina
Common Mistake: Many players try to rush this section and fall to their death. The cliff climbing here is more technical than most early-game platforming, so take your time.
Cave Entrance and Meeting William
Use the Cave Spare Key at the locked gate. Inside, you’ll encounter William on a metal walkway overlooking a zombie-infested cavern. Here’s where the quest gets emotionally complex.
The Mental Illness Element: William suffers from a condition that makes him believe you’re his son. You have two dialogue options:
- Play along – More emotionally supportive but potentially enabling
- Tell the truth – Honest but potentially devastating
My Recommendation: Choose based on your comfort level with the themes. Both options lead to the same quest outcomes, but they affect the emotional tone of subsequent conversations.
Phase 3: Connecting the Explosives (The Technical Challenge)
This is where the quest gets mechanically complex. William wants to detonate explosives throughout the cave to eliminate the zombie threat. You’ll need to connect four separate explosive devices while avoiding detection.
Explosive #1 and #2: Upper Cave Navigation
Route to First Explosive:
- Take the small bar to the right of William’s position
- Follow the wall-mounted arrow markers
- Use wall climbing and shimmying techniques
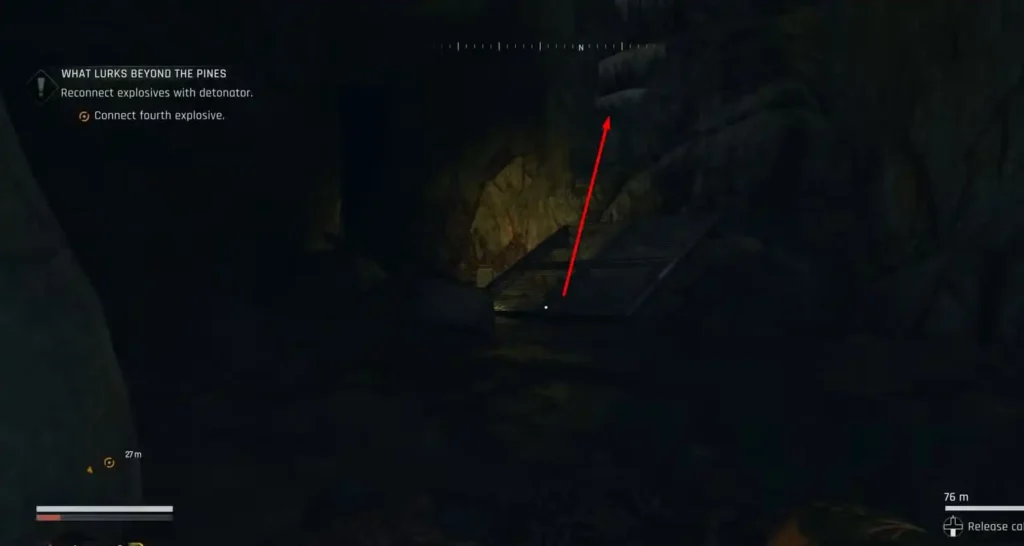
Route to Second Explosive:
- Jump to the cliff face with handholds
- Critical Detail: Look down and right for a metal walkway below
- Drop to this walkway (don’t try to go around the top)
- Follow the path around the rocky outcrop
- Use cliff handholds to reach the platform
Navigation Tip: The game’s visual cues can be misleading here. The higher handholds are decoys – you must drop to the lower metal walkway.
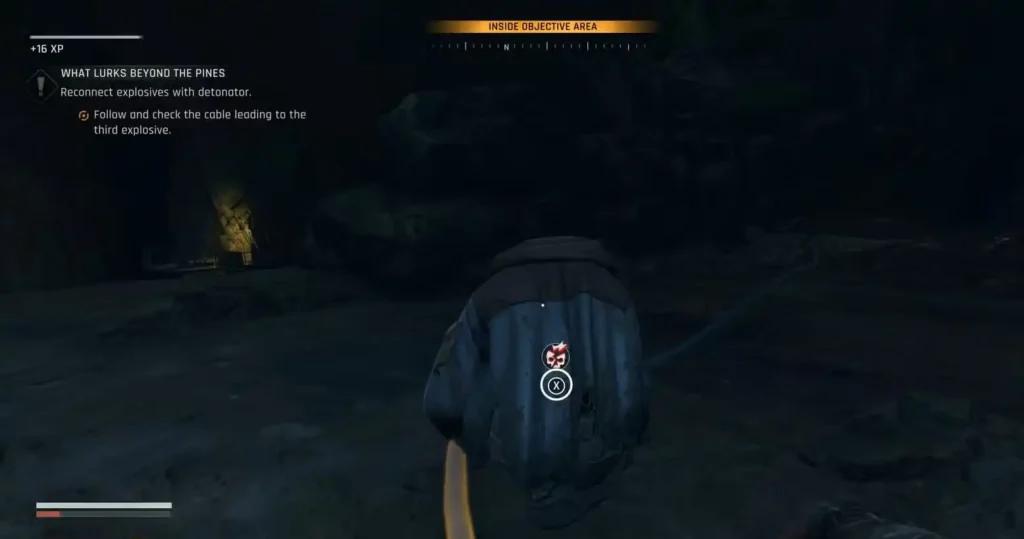
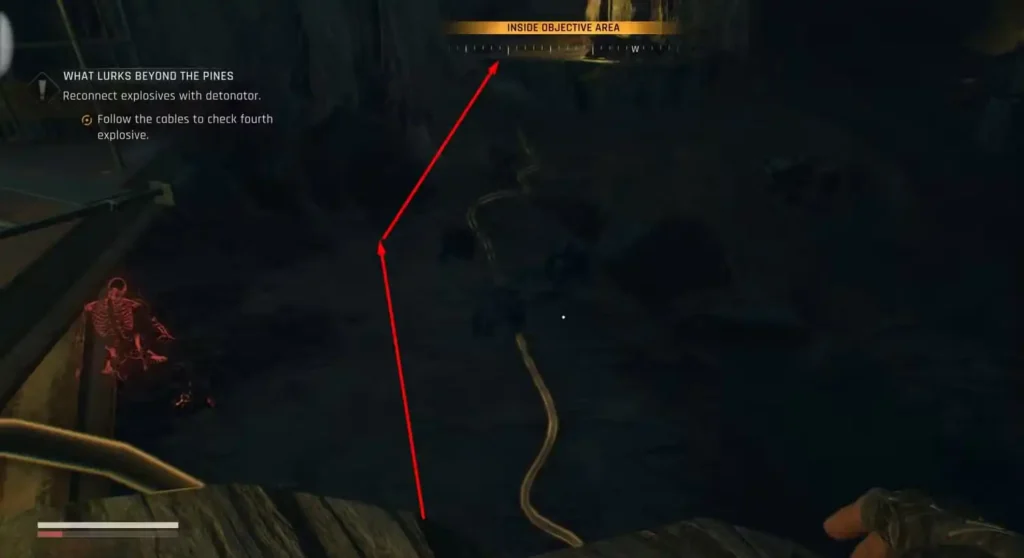
Explosive #3 and #4: Stealth Section in Lower Cave
This is where the quest becomes genuinely challenging. You need to follow electrical cables through zombie-infested areas while remaining undetected.
Stealth Strategy for Success:
- Crouch-walk on the cables themselves – This is your safe path
- Use Survivor Sense (R3) constantly – Tracks cable paths and enemy positions
- Silent takedowns only – Eliminate zombies directly blocking your path
- Repair cable breaks immediately – Don’t let damaged cables slow you down
For the Three Zombies Near Cable #4: Instead of engaging them, hug the left rock face and circle around. This is much safer than attempting multiple stealth kills in close proximity.
Advanced Tip: The cable-walking mechanic is unique to this quest. Practice the movement early in the section when fewer zombies are around.
Connecting the Final Circuit
After reaching explosive #4, you’ll need to:
- Interact with the cable spool to complete the circuit
- Navigate back up using metal walkways and cliff handholds
- Follow white painted handholds back to William’s position
The return journey is more straightforward than the descent, but watch for stamina management during the climbing sections.
Phase 4: The Underwater Escape Sequence
After the emotional climax with William, the explosives detonate and you’re thrust into an underwater escape sequence that many players find disorienting.
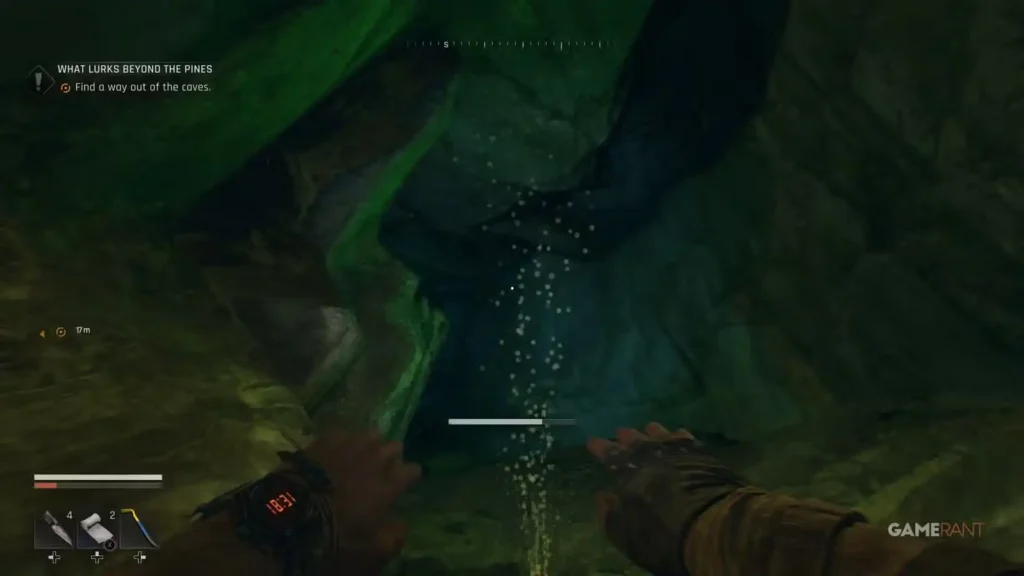
Underwater Navigation Strategy
Key Survival Elements:
- Follow the bubble streams – These indicate the correct path at forks
- Manage oxygen carefully – Don’t panic-swim; move deliberately
- Stay oriented – The camera can become confusing underwater
Detailed Escape Route:
- Initial underwater section – Follow bubbles through tunnel system
- Large air pocket cave – Surface for air, then continue to far side
- Stalactite tunnel – Crawl through the narrow passage
- Second underwater section – Shorter and more straightforward
- Final climbing section – Use handholds to reach the exit
The Exit Sequence
QTE Warning: A zombie will grab you from behind just before the exit. Be ready for a quick-time event – it’s easy to miss if you’re not expecting it.
Post-Cave Combat: You’ll face more zombies outside the cave. You have two options:
- Fight them – Good for XP and loot
- Run past – Faster completion, less risk
Choose based on your current health/resource situation.
Quest Resolution and Rewards
Returning to Eli
Back at Town Hall, you’ll have dialogue choices about how to explain William’s fate to Eli. The conversation outcomes don’t affect rewards, but they do impact the emotional resolution.
Key Story Detail: Eli won’t forgive his father and refuses William’s knife, meaning you keep it as a quest reward.
Final Rewards Breakdown
- 10,000 XP – Substantial boost for early-game progression
- Manual pages – Crucial for skill development
- William’s knife – Useful weapon for mid-game content
- Story completion – Contributes to overall quest completion percentage
Value Assessment: This quest offers some of the best XP-to-time ratios in the early game, making it highly worthwhile despite its complexity.
Advanced Tips and Strategies
Preparation Optimization
Before Starting:
- Complete basic combat training side quests first
- Ensure you have at least 3-4 healing items
- Practice cliff climbing on easier locations
- Read our beginner survival guide for foundational skills
Skill Integration
Recommended Skills for This Quest:
- Early stealth abilities for the cave section
- Climbing stamina improvements
- Basic combat skills for zombie clearing
Check our best early game skills guide for optimal skill point allocation.
Resource Management
The quest provides good opportunities for resource gathering:
- Search the cabin thoroughly for crafting materials
- Loot defeated zombies for money and items
- Use our money farming guide to maximize economic benefits
Common Pitfalls and How to Avoid Them
Technical Issues
- Camera disorientation during climbing – Take breaks to reorient yourself
- Stealth detection in caves – Move slower than you think you need to
- Underwater confusion – Follow bubbles religiously; don’t improvise routes
Strategic Mistakes
- Insufficient preparation – This quest is harder than it initially appears
- Rushing the emotional decisions – Take time to consider dialogue choices
- Ignoring environmental storytelling – The details enhance the experience significantly
Integration with Overall Progression
This quest fits perfectly into early-game progression strategies. The substantial XP reward accelerates character development, while the narrative elements provide excellent context for the game’s themes.
Recommended Quest Order:
- Complete basic tutorial missions
- Do 1-2 simple side quests for practice
- Tackle “What Lies Beyond the Pines”
- Use earned XP for major skill investments
For comprehensive progression planning, check our complete mission and quest list and XP farming strategies.
The Bottom Line
“What Lies Beyond the Pines” represents Dying Light: The Beast at its storytelling best – combining technical challenge, emotional depth, and substantial rewards into a memorable experience. While it’s more complex than typical early-game content, the payoffs make it absolutely worth completing.
The quest succeeds because it doesn’t just challenge your gaming skills; it makes you think about difficult real-world issues while delivering solid mechanical gameplay. Whether you’re in it for the XP, the story, or the unique gameplay experiences, this quest delivers on all fronts.
Ready to tackle this emotional journey? Make sure you’re properly prepared, take your time with the stealth sections, and don’t be afraid to reload if things go wrong. The rewards – both narrative and mechanical – are worth the effort.
📥 Get Dying Light: The Beast:
- Official Website
- Steam
- PlayStation
- Xbox
🎮 Enhance Your Gameplay: