Complete guide to where to go after beating the Bell Beast in Hollow Knight: Silksong. Covers new areas, bosses, quests, abilities, and optimal progression paths through Pharloom.
The World Opens Up – Choose Your Path Wisely
Beating the Bell Beast marks Silksong’s transition from linear tutorial to open-world exploration. Suddenly, you have multiple paths available, new abilities to master, and choices that affect your progression route through Pharloom.
After extensively mapping all post-Bell Beast content and testing different progression orders, I’ll show you the optimal exploration sequence, which objectives to prioritize, and how to efficiently tackle the seven major opportunities that open up after this pivotal boss fight.

The Bell Beast Victory Aftermath
What Just Unlocked
Defeating the Bell Beast provides:
- Fast travel system (Bellways) fully operational
- Access to eastern areas beyond the boss arena
- New zones with different environmental challenges
- Advanced ability locations for enhanced traversal
- Major boss encounters that gate further progression
Bell Beast Victory TL;DR: Fast travel unlocked → eastern areas open → new zones available → boss gates ahead

Strategic Approach to New Content
Don’t try to do everything at once. The post-Bell Beast content is designed for strategic progression:
- Some paths require specific abilities obtained elsewhere
- Resource costs can be significant for certain upgrades
- Boss difficulty varies dramatically between different encounters
Priority 1: Free Grindle (Information Merchant)

Navigation to the Prison
From the Bell Beast arena:
- Continue right past the boss room
- Ring the giant bell in the next chamber
- Keep heading right through connecting rooms
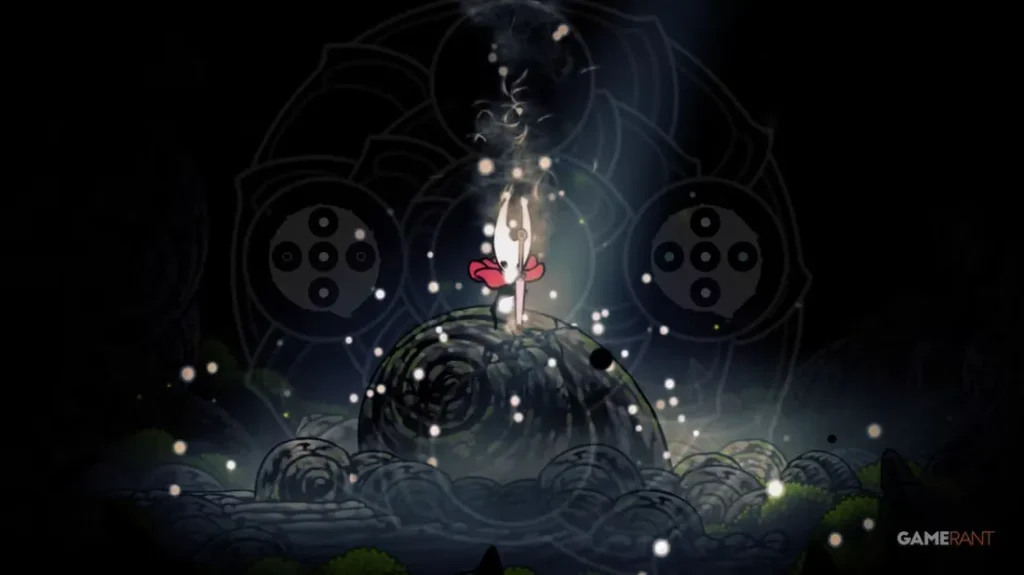
- Enter the large room with red spherical growths
- Strike downward on red growths to bounce in facing direction
Navigation TL;DR: Boss arena → ring bell → continue right → red bounce room
Finding the Prison
In the red growth room:
- Navigate to bottom-right corner using bounce mechanics
- Hit the lever to extend platforms down the chasm
- Descend the chasm but skip first right exit (leads to boss)
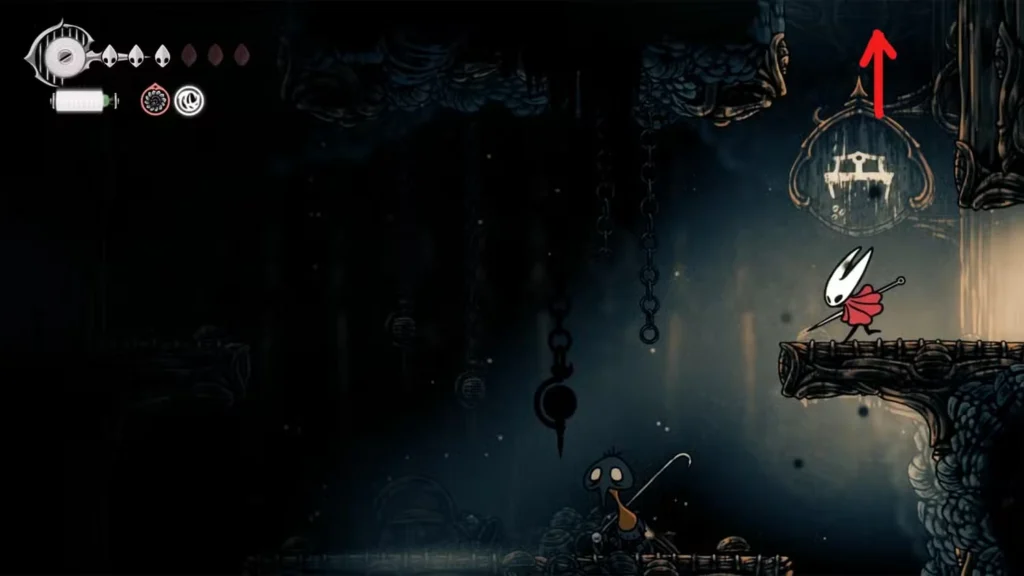
- Look for building with circle-and-lines sign (prison symbol)
Prison Location TL;DR: Bottom-right of bounce room → extend platforms → descend → skip first exit → find prison sign
Grindle Benefits
Inside the prison:
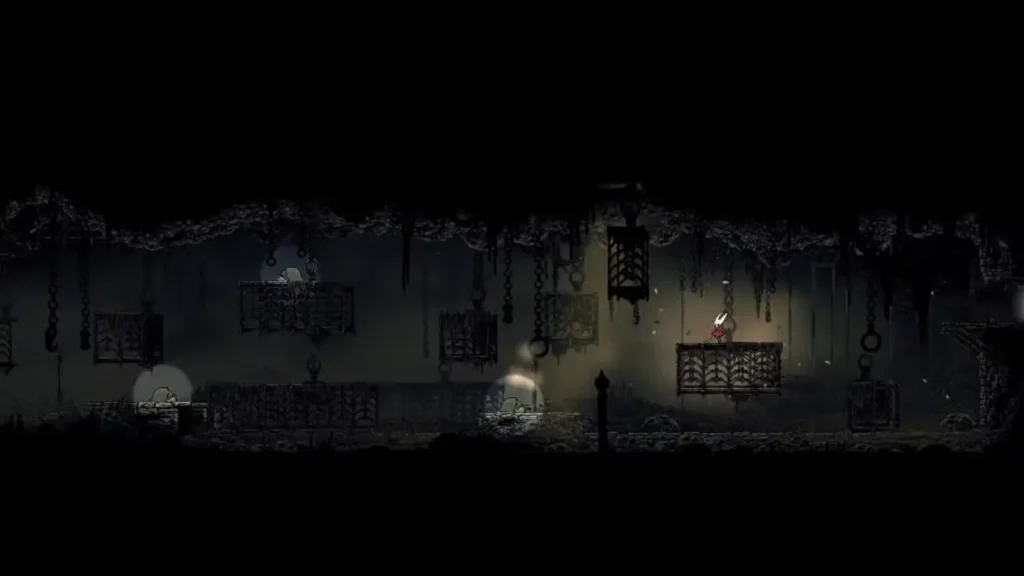
- Jump to second level to find Grindle in his cell
- Hit cell door to break it and free him
- Collect Straight Pin tool from platform above Grindle
- Establish information trading relationship
Grindle’s Services:
- Trades secret information for increasing Rosary costs
- Reveals upcoming areas and boss details
- Provides strategic intelligence for difficult encounters
Grindle TL;DR: Free prisoner → get Straight Pin tool → unlock information trading
Priority 2: Deep Docks Access and Mapping

Reaching the Deep Docks
From Grindle’s prison:
- Exit prison and continue down the chasm carefully
- Drop into transition room between The Marrow and Deep Docks
- Head to far right (avoid lava – 2 masks damage)
- Navigate through pipe system in connecting rooms
Deep Docks Access TL;DR: Prison → down chasm → transition room → avoid lava → through pipes
Essential Deep Docks Purchases
Find the elevator at pipe room end with 30 Rosary bench (worth the cost for save point).
Shakra’s New Location:
- Moved from The Marrow to Deep Docks entrance
- Deep Docks Map: 50 Rosaries
- Vendor Pins: 80 Rosaries
- Ring Marker: 40 Rosaries
Budget consideration: 170 Rosaries total for complete Deep Docks mapping setup.
Deep Docks Mapping TL;DR: Find Shakra → buy Deep Docks map (50R) → consider pins for navigation
Priority 3: Unlock Wishwall Quests (Bone Bottom)

Fast Travel Back to Base
Use your new Bellways system:
- Find Deep Docks Bellway station (left of Shakra)
- Fast travel back to Bone Bottom
- Check Flick’s completed Wishwall for new quests
Wishwall Access TL;DR: Deep Docks Bellway → fast travel to Bone Bottom → check completed Wishwall
Available Wishwall Quests
Bone Bottom Repairs Quest:
- Requirement: Donate 200 Shell Shards
- Reward: Visual improvements to Bone Bottom (cosmetic but satisfying)
- Timeline: Progressive updates as Flick works on repairs
Garb of the Pilgrims Quest:
- Requirement: Collect 12 Pilgrim Shawls from Pilgrim enemies
- Reward: Rosary String (valuable death-proof currency)
- Strategy: Collect passively during exploration rather than dedicated farming
Wishwall Quests TL;DR: 200 Shell Shards for repairs → 12 Pilgrim Shawls for Rosary String
Priority 4: Meet the Forge Daughter (Crafting System)

Forge Location Navigation
From Deep Docks Shakra:
- Go right to next room
- Take first exit down near entrance
- Continue through connecting rooms using elevators
- Reach bottom-right corner
- Beat enemy waves then continue right
Forge Access TL;DR: Shakra → right → first exit down → elevators to bottom-right → beat enemies
Forge Daughter Services
The Forge Daughter unlocks:
- Crafting system using Rosaries and Craftmetal
- Tools, traps, and specialized equipment
- Environmental resistance items
Essential early craft: Magma Bell (if you have Craftmetal)
- Reduces lava damage from 2 masks to 1 mask
- Reduces fire surface damage throughout Deep Docks
- Significantly improves area survivability
Forge Daughter TL;DR: Unlocks crafting → Magma Bell reduces lava damage → essential for Deep Docks
Priority 5: Acquire Swift Step Ability

Swift Step Location Route
From Deep Docks Shakra:
- Go upward from entrance area
- Navigate to top-right of upper room
- Continue right through fiery surface areas
- Walk on fire (safe but don’t linger)
- Go up at room end, continue upward past flying red ants
Swift Step Route TL;DR: Shakra → up → top-right → through fire areas → up past red ants
Challenge Room and Ability
Final Swift Step acquisition:
- Stop at bench room (costs 30 Rosaries – worth it for save point)
- Jump up into new zone, go left
- Complete enemy wave challenge room
- Continue left and drop down carefully
- Find exit left, enter room, go to far left
- Interact with Weaver statue to get Swift Step
Swift Step Mechanics:
- Hold right trigger to dodge into sprint
- Works in mid-air for enhanced mobility
- Jump at sprint end for extended distance catapult
Swift Step TL;DR: Challenge room → left → down → far left → Weaver statue → sprint ability
Priority 6: Choose Your Boss Path

Two Major Boss Gates
Post-Swift Step, you face two progression-blocking bosses:
Ant Guardian (Hunter Guardian/Skull Ant):
- Location: Above Grindle’s prison in The Marrow
- Access: Fast travel to The Marrow → prison bench → room left → upward
- Unlocks: Hunter’s March area
- Difficulty: Moderate – good test of current abilities
Lace:
- Location: Right side of Deep Docks
- Access: Deep Docks Shakra → directly right → Swift Step to upper lever
- Unlocks: Far Fields area
- Difficulty: Challenging – significant skill check
Boss Choice TL;DR: Ant Guardian unlocks Hunter’s March → Lace unlocks Far Fields → choose based on difficulty preference
Recommended Boss Order
For most players: Ant Guardian first
- Easier encounter helps build confidence
- Hunter’s March provides additional resources and experience
- Better preparation for Lace encounter
For experienced players: Either order works
- Lace first provides immediate access to Far Fields content
- More challenging but opens advanced progression
Priority 7: Far Fields and the Seamstress

Reaching the Seamstress (After Lace)
Far Fields navigation:
- Use Swift Step to bypass most ant enemies
- Head to far right of initial Far Fields room
- Continue right to next room
- Navigate to bottom-right (avoid lava pit)
- Go right → down past air vents
Far Fields Navigation TL;DR: Swift Step past enemies → far right → next room → bottom-right → avoid lava
Seamstress Location and Services
Finding the Seamstress:
- Find Shakra for Far Fields Map (50 Rosaries)
- Enter alcove halfway down the pit (below Shakra)
- Drop down → navigate right through lava-filled room
- Note deactivated golem in background (future content hint)
- Reach open-air area with air vents and balloon platforms
- Platform right → loop back → enter floating house
Seamstress Services:
- Offers cloak improvement (“something far more buoyant”)
- Provides Flexile Spines quest (leads to Drifter’s Cloak)
- Gateway to advanced traversal abilities
Seamstress TL;DR: Find in balloon house → cloak improvements → Flexile Spines quest → Drifter’s Cloak
Optimal Progression Strategy
Recommended Order Summary
- Free Grindle → information access + Straight Pin
- Deep Docks mapping → essential navigation
- Wishwall quests → long-term collection goals
- Forge Daughter → crafting access + Magma Bell
- Swift Step ability → enhanced mobility
- Ant Guardian → easier boss + Hunter’s March
- Lace → challenging boss + Far Fields
- Seamstress → Flexile Spines quest + cloak upgrades
Optimal Order TL;DR: Grindle → mapping → quests → crafting → Swift Step → Ant Guardian → Lace → Seamstress

Resource Planning
Budget for post-Bell Beast progression:
- Deep Docks setup: ~170 Rosaries
- Bench unlocks: 90 Rosaries (3 benches × 30 each)
- Far Fields map: 50 Rosaries
- Total recommended: ~310 Rosaries
Shell Shard goals:
- Wishwall quest: 200 Shell Shards
- Crafting materials: Variable based on desired items
Common Progression Mistakes
Rushing Boss Encounters
Don’t immediately challenge Lace or Ant Guardian:
- Swift Step ability significantly improves boss fight mobility
- Magma Bell helps with environmental damage
- Resource preparation prevents frustrating repeated attempts
Ignoring Resource Collection
Don’t skip Rosary and Shell Shard collection:
- Many upgrades require significant currency investment
- Wishwall quests provide long-term goals worth pursuing
- Information from Grindle can save time and prevent mistakes
Poor Fast Travel Usage
Utilize Bellways system effectively:
- Plan efficient routes between distant objectives
- Use fast travel for resource collection and merchant visits
- Don’t walk long distances when fast travel is available
Your Post-Bell Beast Adventure Awaits
The Bell Beast victory transforms Silksong from guided tutorial into strategic exploration. Each path you choose influences your capabilities for future encounters, making progression order surprisingly important.
Essential post-Bell Beast checklist:
- ✅ Free Grindle for information trading
- ✅ Map Deep Docks with Shakra’s services
- ✅ Start Wishwall quests for long-term goals
- ✅ Meet Forge Daughter and craft Magma Bell
- ✅ Acquire Swift Step for enhanced mobility
- ✅ Choose boss path based on difficulty preference
- ✅ Find Seamstress for cloak upgrades
Master this progression and you’ll efficiently unlock Pharloom’s deeper mysteries while building the skills and equipment needed for even greater challenges ahead.
Related Guides:
- Challenge Button Guide
- Frayed Rosary String Guide
- Silksong Maps & Navigation
- Fast Travel Bellways System
- Flexile Spines Quest Guide
- Essential Beginner Tips
Official Silksong Links:


