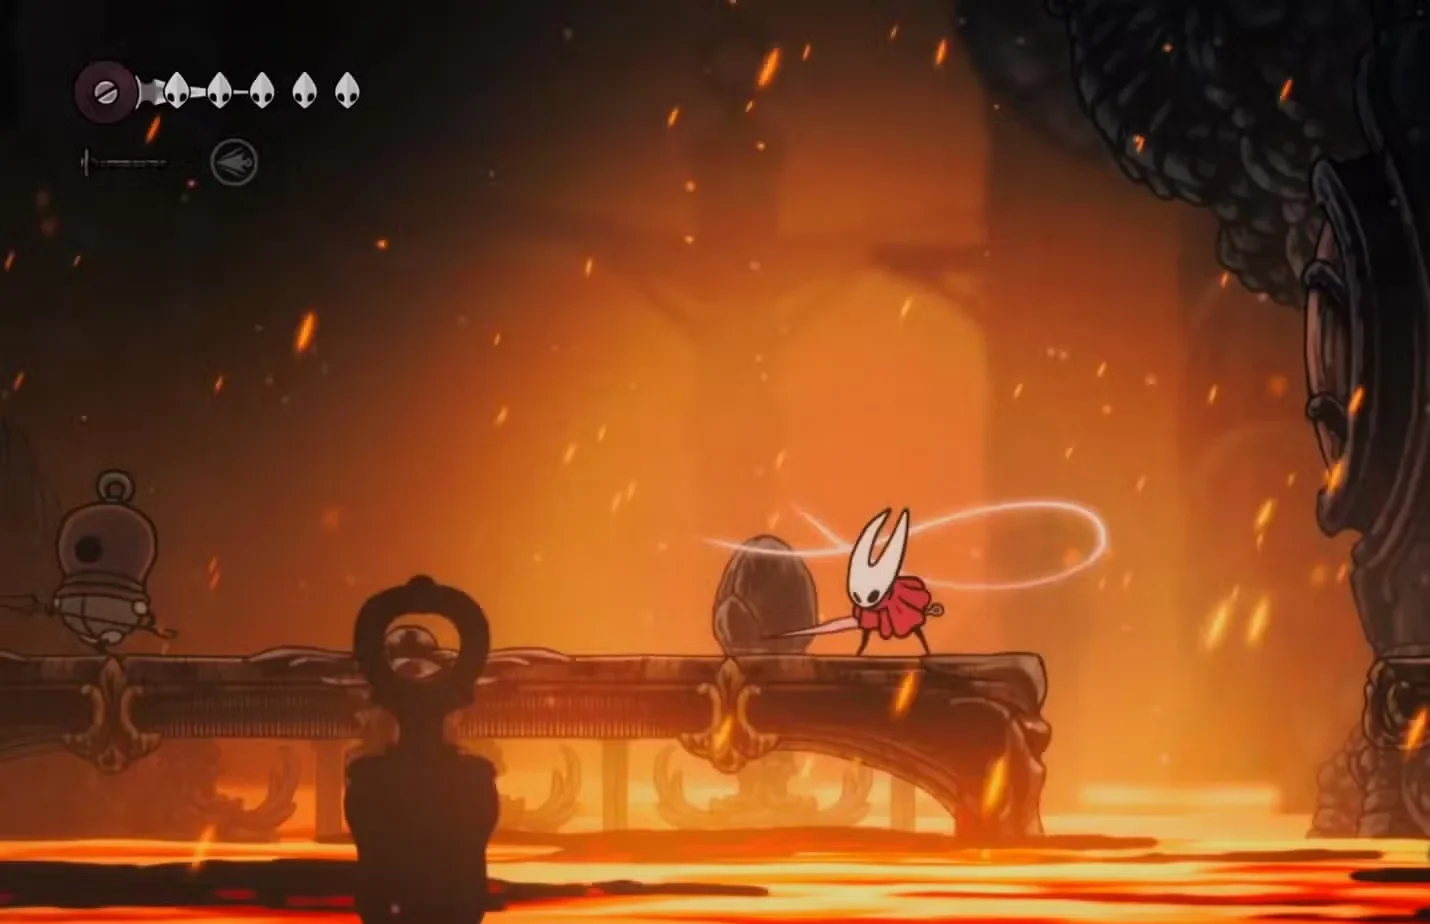
Learn what the Challenge button does in Hollow Knight: Silksong. Complete guide to the Garama taunt mechanic, controls, strategic applications, damage, and NPC interactions.
The Hidden Mechanic That Changes Combat Strategy
Silksong’s Challenge button is one of the game’s most misunderstood mechanics. Many players discover it accidentally, see Hornet perform a taunt animation, and dismiss it as useless. What most people don’t realize is that this taunt — known as “Garama” — actually does a small amount of damage on top of aggroing enemies, and even has uses against certain bosses.
This guide covers exactly how the Challenge mechanic works, the correct controls on every platform, when to use it strategically, and how it fits into Silksong’s broader combat systems.
Understanding the Challenge Button Mechanic
What Challenge Actually Does
The Challenge button performs a taunt action called “Garama” that:
- Aggros all nearby enemies, drawing them toward Hornet’s position
- Forces enemies to focus on Hornet instead of patrol behavior
- Deals a tiny amount of chip damage — most players don’t realize this at all
- Can be used against certain bosses to challenge them directly
- Consumes a small amount of Silk when Silk is available
- Changes the animation — silk threads appear around Hornet when Silk is available
Challenge TL;DR: Taunts nearby enemies → draws them closer → deals tiny chip damage → consumes Silk → strategic crowd control
The “Garama” Taunt and Its Damage
When Hornet uses Challenge, she widens her stance and yells “Garama!” — a taunt cry that aggros enemies around her. What surprises many players is that the Garama actually does a small amount of direct damage. It’s extremely low — barely a scratch per use — but it’s real damage, not purely cosmetic.
This became a community phenomenon in late 2025 when YouTuber Bloblumordthe3rd started a “Garama%” challenge run, attempting to defeat every boss in Silksong using only the taunt as a damage source. The discovery that the taunt even deals damage shocked most of the player base, with comments full of people saying they never knew it did anything beyond pulling aggro. The viral run took over 20 minutes to defeat a single boss — but it confirmed the damage is real.
Visual and Audio Feedback
When using Challenge:
- Hornet performs a distinctive widened stance with a vocal taunt (“Garama”)
- Silk threads appear around Hornet when Silk is available — similar to the Bind healing animation
- Nearby enemies react with aggression and move toward Hornet
- The animation is shorter when Silk is depleted
Controls and Input Methods
Challenge Button Mapping
Here are the confirmed default inputs for Challenge:
- PC Keyboard: V key (default)
- Controller (Xbox / PS / Switch): No default binding — Challenge does not appear in the standard controller layout
Controls TL;DR: V key on keyboard → no controller default → remap in settings if you want it on a button
Why Challenge Isn’t in the Controller Menu
Challenge is notably absent from Silksong’s standard control display. If you go into the controller options, you won’t find any mention of it — it only shows up on the PC keyboard bindings list as the V key. This is why so many players discover it by accident or miss it entirely.
If you want to use Challenge on a controller, you can remap it in the advanced control settings to any unused button of your choice. Many players assign it to a shoulder button or a face button they don’t use in combat.
Strategic Applications of Challenge
Platforming Section Management
Challenge shines most in platforming areas with scattered flying enemies:
Before Challenge:
- Flying enemies patrol randomly and unpredictably
- Timing jumps and platforms is harder with erratic enemy movement
- Multi-enemy encounters become chaotic during platforming
After Challenge:
- All nearby enemies focus on Hornet’s current position
- Predictable movement patterns let you engage them on your terms
- You can lure a single enemy away from a group and fight it one-on-one
- Clear the enemies first on your schedule, then run the platform section cleanly
Platforming TL;DR: Random enemy patrols → Challenge → predictable focused approach → clear them, then platform
Combat Crowd Control
For multi-enemy encounters:
Phase 1: Assessment
- Identify enemy positions and patrol patterns
- Choose an optimal position for Challenge activation
- Ensure adequate Silk for Challenge plus combat needs
- Plan escape routes in case the response is overwhelming
Phase 2: Challenge Activation
- Position strategically relative to enemy groups
- Activate Challenge to draw aggro
- Observe enemy movement toward your position
- Engage with a focused, controlled combat approach
Crowd Control TL;DR: Position strategically → Challenge to group enemies → engage focused encounter
NPC Interactions
Challenge isn’t just for enemies. Some NPCs in Pharloom respond to Garama with unique dialogue or reactions when you use it near them. This adds a layer to the mechanic worth experimenting with — certain hidden interactions and extra NPC lines are only accessible by challenging them first. It also means the V key has more value than pure combat utility.
Advanced Tactical Applications
Stealth Breaking (Intentional)
- Force idle or sleeping enemies into an active state on your terms
- Control engagement timing instead of accidental activation
- Group multiple scattered encounters into one manageable fight
Enemy Repositioning
- Draw enemies away from environmental hazards you don’t want to fight near
- Pull flying enemies into close ground-based combat range
- Use Challenge from a specific position to lure only the enemies you want, leaving dangerous ones behind
Silk Management
- Challenge consumes a small Silk amount — useful for burning excess Silk before it caps
- The Silk cost is low enough that it rarely impacts your combat abilities budget
When NOT to Use Challenge
High-Risk Scenarios
Avoid Challenge when:
- Already overwhelmed by the current enemy count — pulling more attention makes it worse
- Low on health with no safe escape routes
- Low on Silk and need it for Bind (healing) or essential Silk Skills
- Environmental hazards make grouping enemies more dangerous than spreading them out
Risk Assessment TL;DR: Overwhelmed already → low health → Silk needed for survival → environmental dangers nearby
Enemy Type Considerations
- Some boss enemies have specific Challenge responses — test carefully before committing
- Certain elite enemies become significantly more aggressive when aggroed
- Static environmental hazards (traps, turrets) don’t respond to Challenge at all

Advanced Challenge Techniques
The Bait and Switch
- Challenge from a strategic position
- Allow enemies to approach your Challenge location
- Quickly reposition using dash or mobility abilities
- Attack the now-grouped enemies from a new advantageous angle
Bait and Switch TL;DR: Challenge from position A → enemies approach → move to position B → attack grouped enemies
Selective Aggro Management
- Use Challenge from specific positions to pull only the enemy group you want
- Avoid aggroing dangerous enemies through careful positioning before pressing V
- Isolate a single enemy from a group by Challenging from just within its detection range
Environmental Exploitation
- Challenge near environmental hazards to lure enemies into damage they do to themselves
- Use high ground or chokepoints so grouped enemies funnel into optimal attack range
- Combine with Hornet’s movement abilities for post-Challenge repositioning advantage
Speedrun and Sequence Break Uses
The community has discovered that Garama has uses beyond combat. Speedrunners have used the taunt to lure enemies into precise positions as jump-off platforms, allowing them to reach areas and skip entire sections of the map. If you’re exploring every corner of Pharloom, experimenting with Challenge near unexpected surfaces and characters can reveal shortcuts and interactions most players walk right past.
Common Challenge Button Mistakes
Panic Challenging
- Don’t use Challenge when already overwhelmed — it pulls even more enemies into an already chaotic fight
- Challenge is a setup tool, not a panic button
- Assess your current situation before pulling additional aggro
Ignoring the Silk Cost
- Challenge plus other Silk abilities can drain your meter faster than expected
- Always ensure you have Silk remaining for Bind (healing) in difficult encounters
- The Silk cost is small, but in Silk-scarce situations it matters
Poor Positioning
- Don’t Challenge from positions with no escape route available
- Think about how enemies will approach your position before activating
- High ground and chokepoints make post-Challenge combat far more manageable
Challenge Button in Different Game Phases
Early Game
- Simple enemy types with predictable responses make this an ideal learning environment
- Especially useful in The Marrow’s flying enemy sections where platforming and combat mix
- Practice using it from safe positions before relying on it in difficult encounters
Mid-Game Tactical Use
- More sophisticated enemy types require more careful Challenge timing
- Integrates well with your expanded ability set once you have dash and mobility options
- Silk management becomes more critical as encounters get more demanding
Late Game Mastery
- Complex multi-enemy encounters benefit significantly from Challenge-based crowd control
- The confirmed boss-challenging functionality opens up unique interactions in later fights
- Precision timing of Garama in boss fights is a legitimate advanced technique
Conclusion: Master the Garama, Master the Fight
The Challenge button is one of Silksong’s most overlooked tools. Once you know it pulls aggro, deals chip damage, triggers NPC interactions, and even works on certain bosses, it stops feeling like a novelty and starts feeling like a genuine tactical option. Even if you never try a “Garama%” run, knowing when to yell at Pharloom’s enemies is a skill worth having.
Essential Challenge mastery checklist:
- ✅ Understand that Challenge (Garama) taunts nearby enemies and draws them toward Hornet
- ✅ Know the correct controls — V key on PC; no default controller binding (remap in settings)
- ✅ Remember the taunt deals a tiny amount of chip damage — not zero
- ✅ Use near NPCs for hidden dialogue and unique interactions
- ✅ Try it against certain bosses to trigger challenge-specific reactions
- ✅ Practice positioning before Challenge activation
- ✅ Integrate with Silk management — keep enough for Bind and Silk Skills
- ✅ Use for platforming crowd control with flying enemies
- ✅ Avoid panic Challenging in already overwhelming situations
- ✅ Combine with mobility abilities for the Bait and Switch technique
Related Guides:
- Frayed Rosary String Guide
- Silksong Maps & Navigation
- Fast Travel Bellways System
- Flexile Spines Quest Guide
- Essential Beginner Tips
- First Steps Guide
Official Silksong Links:


