Complete Guide to Finding All Cloister Excogitation Logs in The Outer Worlds 2
Cloister might be one of the more mysterious regions in The Outer Worlds 2, but it’s also home to one of the game’s most rewarding collection quests: “Deviations Under Duress.” This mission tasks you with exploring hidden Excogitation Chapels scattered across the frozen landscape to recover four ancient Sojourner’s Logs.
Unlike the Golden Ridge mural collection quest that starts automatically, this one actually has a quest-giver — though you can technically bypass him if you stumble across a chapel first. The rewards are solid too: XP, a High Security Lockbox containing the exclusive Shadow Hacker unique helmet, and an achievement to boot.
What makes this collection quest interesting is that each chapel presents unique challenges. Some require combat skills, others demand specific character traits or engineering knowledge, and one is locked behind main story progression. There’s also a hidden dialogue choice at the end that can net you a unique perk most players miss entirely. Let me break down everything you need to know to find all four Excogitation Logs efficiently.
How to Start Deviations Under Duress
There are two ways to begin this collection quest.
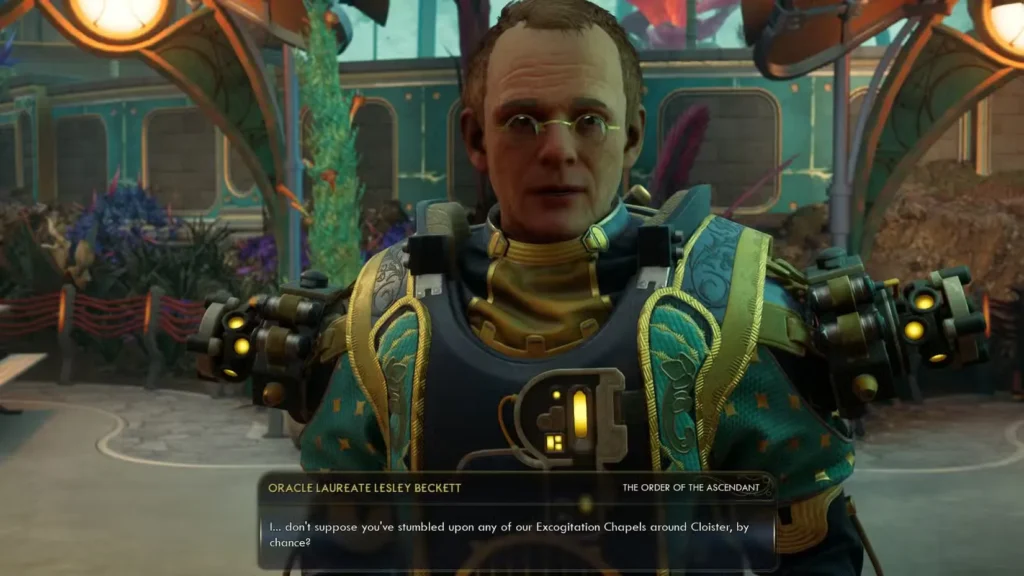
Method 1: Talk to Oracle Laureate Lesley Beckett (Recommended)
Head to Laplace Garden, the Order of the Ascendant stronghold located down the main path from Cloister’s landing pad. It’s impossible to miss if you’re following the natural exploration flow. Once inside, look for a balding man meditating near the left side of the stream running through the garden. This is Oracle Laureate Lesley Beckett. Speak with him, and he’ll ask if you’ve discovered any Excogitation Chapels or Logs during your exploration of Cloister. Accept his request to officially start the “Deviations Under Duress” mission.
Method 2: Find a Chapel First (Alternative)
You can also trigger this quest organically by discovering any Excogitation Chapel on your own and picking up the Sojourner’s Log inside. The mission will track your progress automatically, though you’ll still need to return to Laureate Beckett eventually to claim your final rewards.
Pro tip: Recommend talking to Beckett first. It gives you proper quest tracking from the start and adds context to what you’re actually searching for. Plus, you’ll be passing through Laplace Garden anyway if you’re following the main story missions.
All 4 Excogitation Chapel & Sojourner’s Log Locations
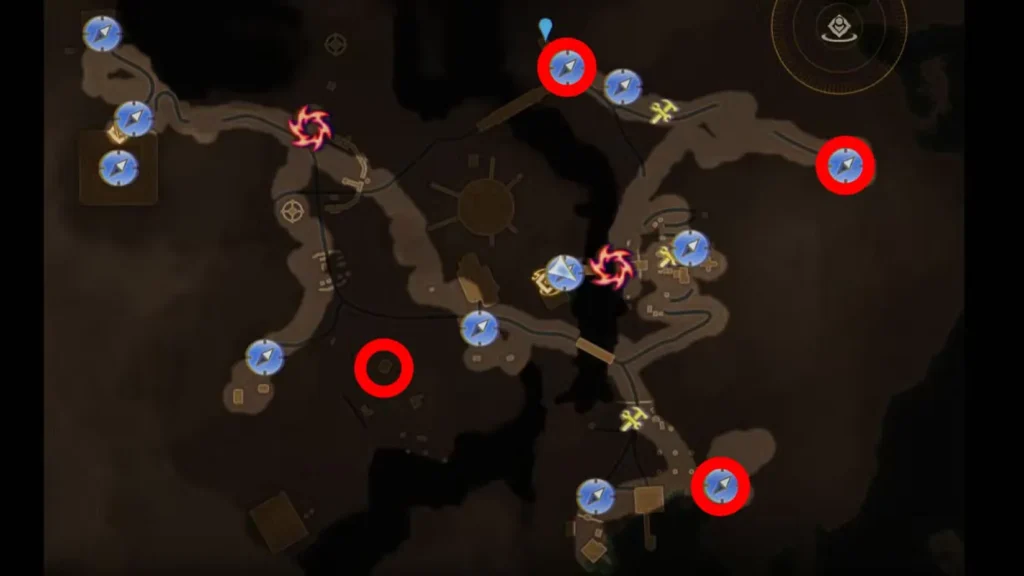
Here’s where to find each of the four chapels in Cloister. I’ve organized them in a logical exploration order, though chapel #4 requires story progression to access.
Log #1: East From Winter’s Grasp
Where to find it: Located on top of a cliff east of Winter’s Grasp.
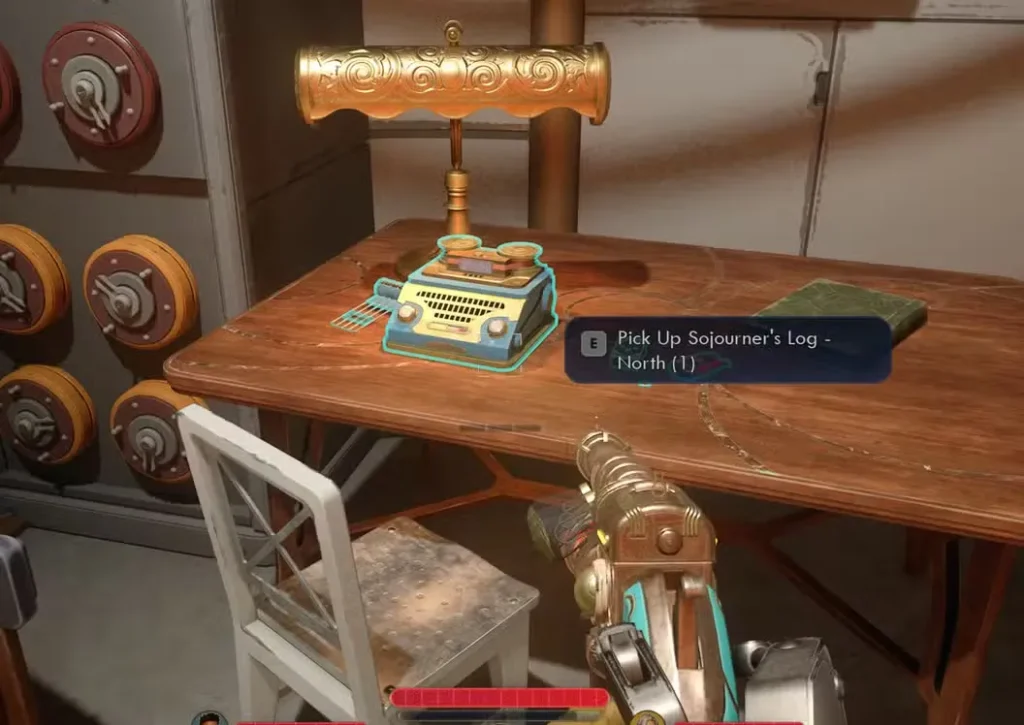
How to reach it: This is the most straightforward chapel of the four. There aren’t any major puzzles guarding the entrance, but be aware of Mantisaurs and areas filled with Zyranium gas in the approach — equipping a Gas-Energy Deflector Shield helps here. If you have the Brawny trait or at least Engineering 4, you can break open the front door directly. If you don’t have either, go around the outside of the chapel and climb through a vent to reach the upper level. Once inside, you’ll find an Advanced Decryption Key on a lower table, and the Sojourner’s Log sitting on a desk on the second floor. There’s also a hackable lift that leads to a basement, though it only contains standard Order gear.
This is typically the first log most players find since it sits near early Cloister landmarks.
Log #2: Northeast of The Archive
Where to find it: On the eastern side of the map, southeast of the previous chapel, in a very isolated location that requires some commitment to reach. Approach from either the north or the south.
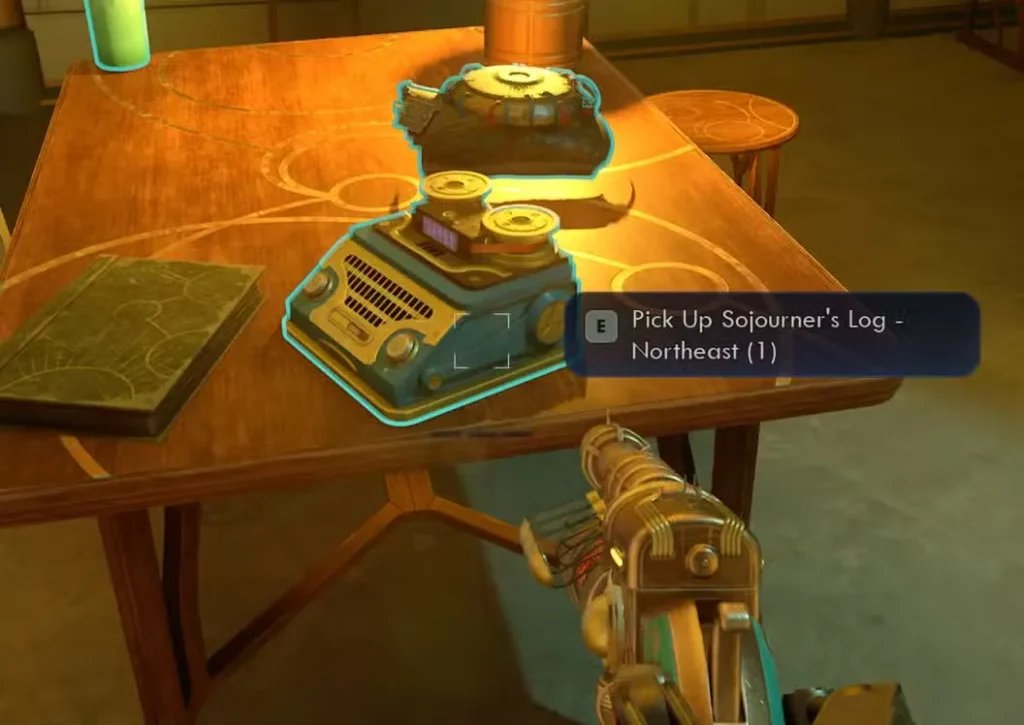
How to access it: This area is overrun by Scrappers and packed with mines, so come prepared. The chapel door is locked, and you’ll need a key to get inside. That key is carried by Buckshot Bill, a named Scrapper enemy who guards the area. You have two options — kill Buckshot Bill and loot the chapel key from his body, or pickpocket the key if your Stealth skills are high enough. Once you have the key, enter the chapel and claim your second Sojourner’s Log.
This encounter can be challenging if you’re under-leveled, so make sure you’ve got solid companion support or enough inhaler charges before engaging. Because this chapel is so far from other fast travel points, make sure you’re fully stocked before making the journey.
Once you have the key, enter the chapel and claim your second Sojourner’s Log. This encounter can be challenging if you’re under-leveled, so make sure you’ve got solid companion support or enough inhaler charges before engaging.
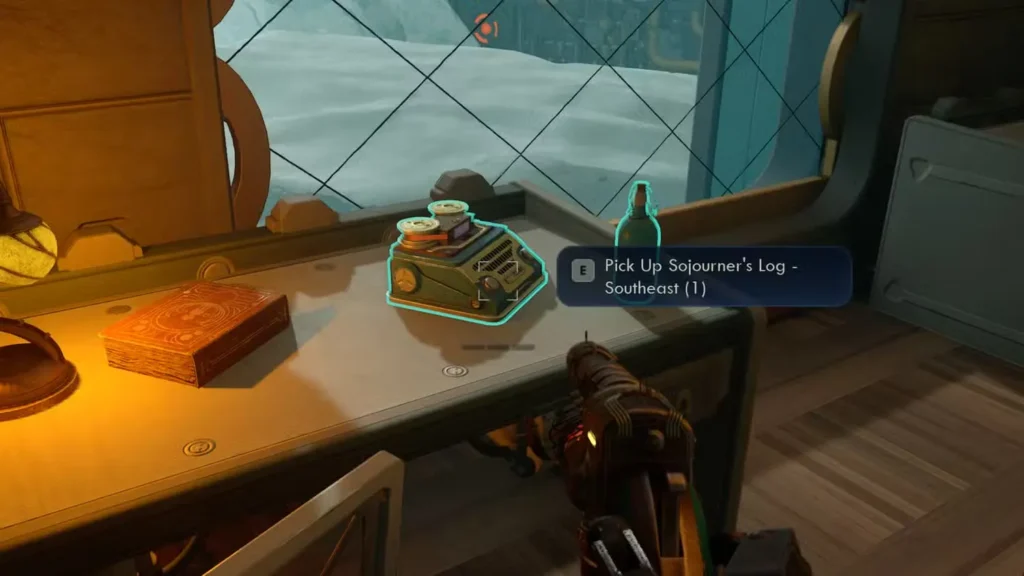
Log #3: Southeast – East of Winter’s Grasp
Where to find it: East of Winter’s Grasp in the southeast of Cloister.
How to reach it: The chapel sits on top of a cliff. Rather than rope climbing, look for a small cave system nearby — enter it and climb up the ladders and ledges inside until you reach the top, where you’ll find the chapel building. Once you’re at the chapel doors, head inside and the Sojourner’s Log is on the table on the left-hand side of the room.
Log #4: Southwest – Via The Underlands (Story-Locked)
Where to find it: In the southwest corner of Cloister, atop a large hill with sheer edges — completely inaccessible from the surface. This is the only chapel you cannot reach by normal exploration.
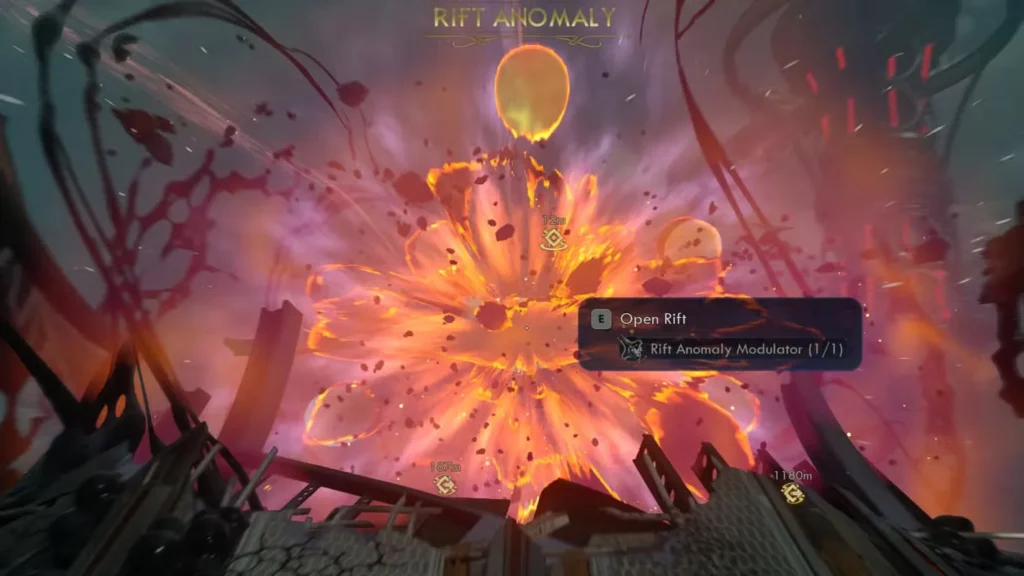
Prerequisites before you can access this: You need to have closed the rift on the bridge and completed the negotiations between Auntie Cleo and Ruth Basaar before The Archive opens to you. Without both of those done, you cannot proceed into The Archive and therefore cannot reach The Underlands or this chapel at all.
How to reach it, step by step:
Once you’re inside The Archive, make your way down into the underground area called The Underlands. When you arrive, don’t just wander looking for a lift — the elevators back to the surface are locked down and won’t work until you reactivate them. Here’s exactly what to do:
First, find the building on the southwest side of the Underlands and interact with the terminal inside. This reactivates the surface lifts — this step is part of a side quest called “Way of the Light” that you’ll pick up in the Underlands. Without completing this quest and hitting that terminal, the elevators simply will not function, which is why so many players get stuck here.
Once the lifts are reactivated, go to the building east of the terminal building and take that elevator up to the surface. You’ll emerge on top of the previously inaccessible hill. The chapel is directly ahead of you and can be walked straight into — reaching it is the challenge, not getting inside. Head to the back of the chapel and you’ll find the final Sojourner’s Log sitting on a container to your right, next to a body slumped against the wall. There’s also another Advanced Decryption Key on a corpse inside, and a secret panel you can interact with if your Observation Skill is high enough.
Quest Rewards: What You Get For Finding All Logs
Completing “Deviations Under Duress” offers several worthwhile rewards:
1. Mission Completion XP
Standard experience points for finishing the quest. Not massive, but every bit helps on your journey to max level.
2. High Security Lockbox
The real prize here. Oracle Laureate Beckett rewards you with a High Security Lockbox containing valuable loot. However, there’s a catch: you need Advanced Decryption Keys to open it.
These keys can only be used aboard the Incognito ship at high security lockbox terminals. If you don’t have any keys yet, check out our Advanced Decryption Keys farming guide to learn the best methods for obtaining them.
The lockbox typically contains rare weapons, armor, consumables, or bits (currency)—making it well worth the effort to unlock.
3. Cloister Excogitation Logs “CEL-ebration” Achievement/Trophy
Completing this collection quest unlocks:
- Xbox: Achievement (Gamerscore value varies)
- PlayStation: Trophy (tier varies by platform)
Tips for Efficient Log Collection
Here are some strategies to streamline your Excogitation Chapel hunting:
• Prepare before tackling Log #2: Make sure you’re combat-ready before engaging Buckshot Bill. Bring companions with strong damage output and stock up on healing items.
• Build versatility matters: Having a mix of Engineering, Lockpicking, and combat skills makes accessing the chapels much easier. If you’re planning a specialized build, consider bringing companions who cover your weaknesses.
• Save Log #4 for story progression: Don’t waste time searching for the fourth chapel early. It’s literally inaccessible until The Archive section of the main quest. Focus on collecting the first three logs while exploring freely.
• Stock up on tools: Bring Mag-Picks and Bypass Shunts before your expedition. You never know which locks you’ll encounter.
• Combine with other activities: Cloister has plenty of side content and faction missions. Collecting logs while completing other objectives saves travel time.
• Mark locations on your map: If you spot a chapel but aren’t prepared to tackle it yet, place a custom marker so you can return later with proper equipment.
Comparing Cloister’s Collection Quest to Other Regions
The Outer Worlds 2 features four regional collection quests, each with unique mechanics:
• Paradise: Collect Science Magazines for permanent stat bonuses • Golden Ridge: Recover Tramicular Station murals for the Art Enthusiast XP perk • Cloister: Find Excogitation Logs for a High Security Lockbox reward • Praetor: Recalibrate Lightning Towers (coming in future guides)
The Cloister quest sits somewhere in the middle difficulty-wise. It’s more challenging than the Paradise magazines but less time-consuming than hunting down all five Golden Ridge murals. The High Security Lockbox reward is excellent for players who’ve been farming Advanced Decryption Keys.
Should You Prioritize This Collection Quest?
Yes, if you’re:
- A completionist who wants all achievements/trophies
- Looking for valuable loot from the High Security Lockbox
- Already exploring Cloister and passing by chapel locations naturally
- Building reputation with the Order of the Ascendant faction
Maybe later, if you’re:
- Rushing through the main story
- Under-leveled for combat encounters like Buckshot Bill
- Low on lockpicking supplies or lacking versatile skills
- Focused on other urgent mission chains
Honestly, the quest isn’t particularly difficult once you know where to look, and the rewards are solid. The High Security Lockbox alone makes it worthwhile, especially if you’ve been stockpiling Advanced Decryption Keys with nothing to spend them on.
Plus, the Excogitation Logs contain interesting lore about Cloister’s history and the Order of the Ascendant’s philosophical teachings. If you care about world-building in The Outer Worlds 2, reading these logs adds valuable context to the region’s mysteries.
Troubleshooting Common Issues
Can’t find the ropes for Log #1? They’re on the cliffside directly below the chapel icon on your map. If you’re at the base and looking up, they should be visible. Walk along the cliff base until you spot them.
Buckshot Bill is too tough? Come back when you’re a few levels higher, or recruit better companions. You can also use stealth to avoid direct confrontation.
Can’t open the door at Log #3? Check your character sheet for Engineering skill level or see if you have the Brawny trait. If neither is available, invest in Lockpicking or bring more Mag-Picks.
Where exactly is The Underlands? You can’t access it until the main story takes you to The Archive. Just continue progressing the campaign—you’ll reach it naturally.
The High Security Lockbox won’t open? You need Advanced Decryption Keys, which are used at terminals aboard the Incognito. If you don’t have any, see our key farming guide or continue exploring to find more.
Final Thoughts
The “Deviations Under Duress” collection quest offers a nice balance of exploration, combat, and puzzle-solving across Cloister’s frozen landscape. While it doesn’t provide the same permanent passive benefits as the Golden Ridge murals or Science Magazines, the High Security Lockbox reward makes it worth completing—especially for players who’ve invested in lockpicking and key collection.
The variety of access methods for each chapel also rewards diverse character builds. Whether you’re a smooth-talking diplomat, a brute-force warrior, or a sneaky engineer, you’ll find ways to tackle these challenges that suit your playstyle.
If you’re working through Cloister and making critical story decisions, definitely take time to collect these logs. The lore enriches your understanding of the region, and the rewards provide tangible gameplay benefits.
For more collection guides and tips for beginners, check out our full library of Outer Worlds 2 content. And if you’re still deciding on your character build, consider how your skill choices will impact accessing these chapels.
Happy log hunting, and may Oracle Laureate Beckett reward you generously!
Related Guides:
- Golden Ridge Mural Locations Guide
- Science Magazine Locations
- All Backgrounds & Traits Guide
- Best Traits Tier List
Official Resources:
Написано, что я не пропущу 4 журнал, но я как полоумный обшарил все закоулки, прошёл весь квест, связанный с Архивом и так и не встретил “лифтов, ведущих на поверхность”. Так что, где искать этот последний журнал, остаётся непонятным.
Сначала вам нужно выполнить побочный квест «Путь Света» в Подземелье (в статье нигде не упоминается о существовании этого квеста).
Найдите терминал в юго-западном здании Подземелья и взаимодействуйте с ним, чтобы снова активировать лифты.
Затем поднимитесь на лифте в здании к востоку от этого терминала на поверхность.
Часовня находится прямо перед вами — идите прямо внутрь, бревно лежит сзади на контейнере рядом с лежащим телом.